

Zeta's Mobile In-App Messaging capability enables marketers to deliver toaster-style messages directly within their mobile app experience. These messages automatically display when you open the app, making them ideal for timely nudges, contextual updates, or low-urgency promotional messages. With no opt-in or consent required, in-app push ensures high reach across your mobile install base.
Why Use In-App Messaging?
-
High Reach, Zero Friction: Reaches nearly 100% of app users without needing consent.
-
Contextual Engagement: Perfect for relevant yet non-urgent messages like flash promos, reminders, or content suggestions.
-
Non-Interruptive UX: Seamlessly integrates within the app's interface, maintaining user experience while still delivering impactful communication.
Creating an In-App Message Campaign
1. Navigate to Campaigns > Broadcast from the left-hand side navigation within ZMP. Click on Create Campaign.
-20260714-054855.gif)
2. Name your campaign and choose Mobile InApp Push as the channel from the dropdown to begin.

3. After entering the campaign name, description, and A/B/n test settings, click on the Content section within In App Messaging Setup to begin composing your in-app message.
-20260714-055925.gif)
-
Compose your message by adding a title, message copy, and selecting an on-click action (e.g., web link, deep link, or dismiss).
-
Based on your selection, relevant fields will appear to input the URL and choose how the link opens (in-app webview or external browser).
-
Add visual assets by uploading portrait images in JPG or PNG format (up to 2 MB).
Note: For Mobile channels, the Title and Message share a combined character limit of 2,000 characters. The total length of both fields cannot exceed this limit.
4. To collect your customer’s email address, simply turn on the Form Collection toggle. The Submit button is fully customizable, allowing you to match the color scheme to your app’s branding.
You can also define your own CTA text, such as “Get Started,” “Sign Up,” or “Submit.”
-20260714-060408.gif?cb=9b99f84b43670cfaaa939264ea00bbc5)
-
Once you’ve finished editing, return to the Content section to preview your message. Use the platform dropdown (e.g., iOS or Android) to see how your message will appear across different devices.
5. You can then set the:
-
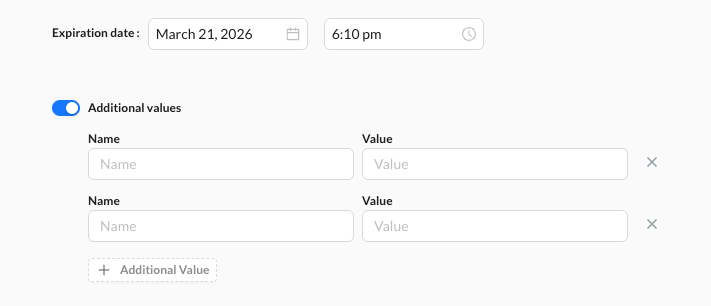
Expiration Date & Time: Define when the in-app message should stop displaying by setting an expiration date and time. After this point, users will no longer see the message, even if they open the app.
-
Additional Values (Optional): Toggle this on to pass extra parameters or metadata (supports up to 10 fields) for advanced tracking or personalization.
-
External Campaign Codes (Optional): Enable this if you want to associate the message with external campaign identifiers for cross-platform reporting or attribution.
6. Define your audience and targeting settings.
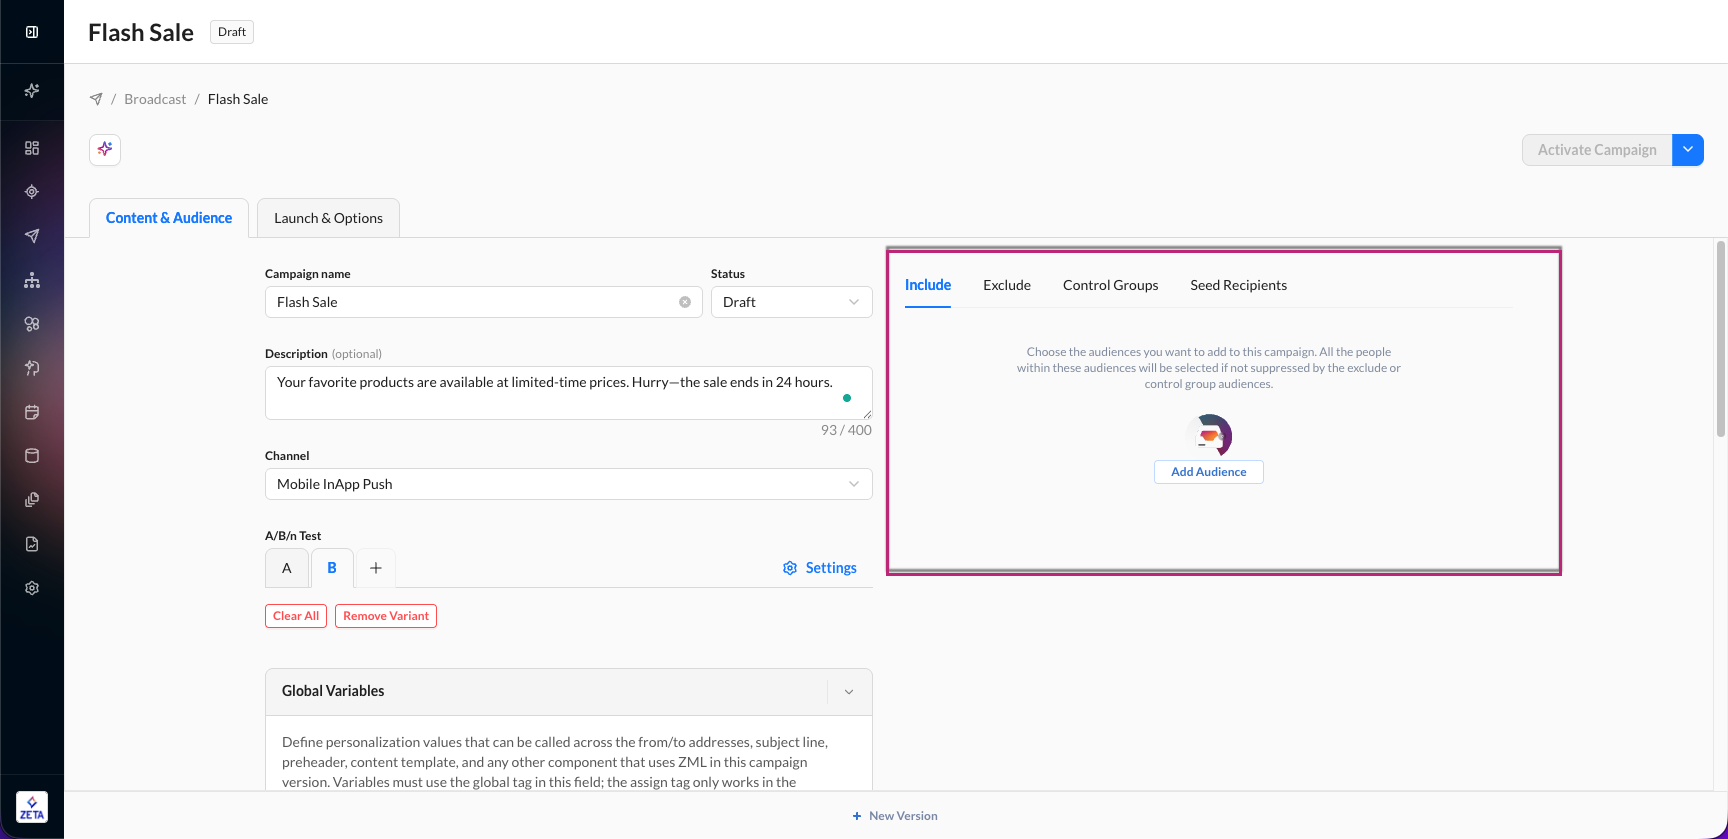
Learn more about audience selection options.
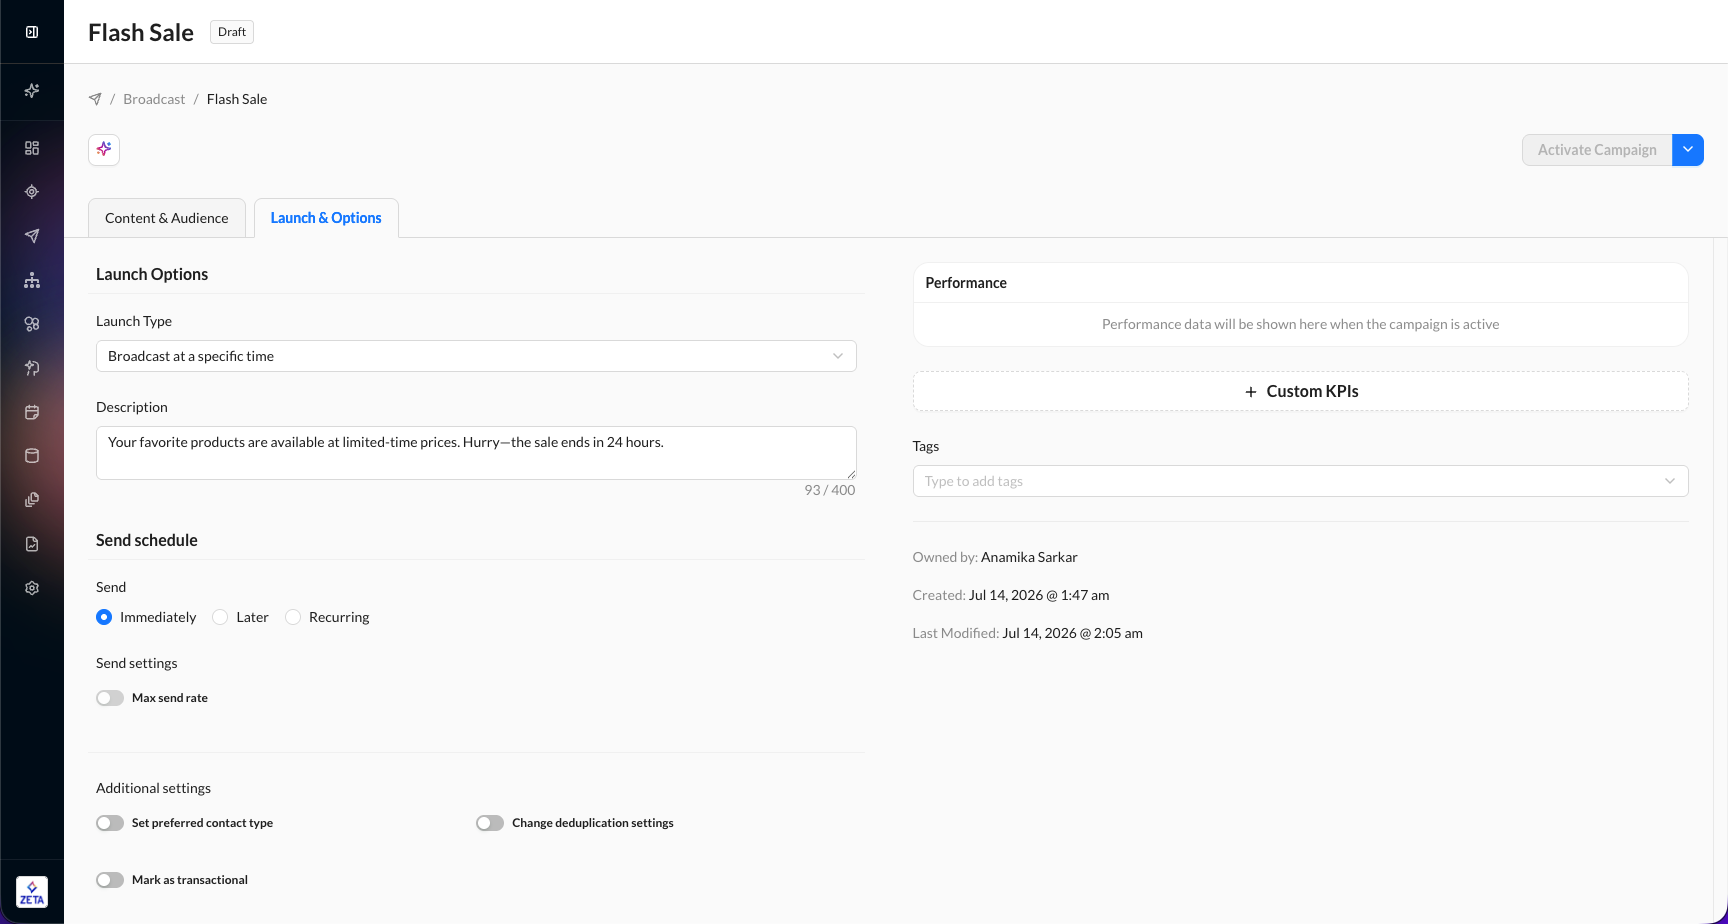
7. Go to the Launch & Options tab to configure the launch type, schedule your send, and adjust additional settings.
To explore the different launch types in detail, check out this guide.
8. Activate the campaign.