How Do I Upload HTML Content Pre-Contained with Images?
When uploading raw HTML to ZMP, you can import the HTML with local images in a single zip file. This will upload images directly to the Asset Library, so you can skip that step and get to the final output in HTML Editor faster.
This page will display steps for a broadcast campaign, but this process is also applicable to triggered campaigns and standalone templates.
Preparing Your Files
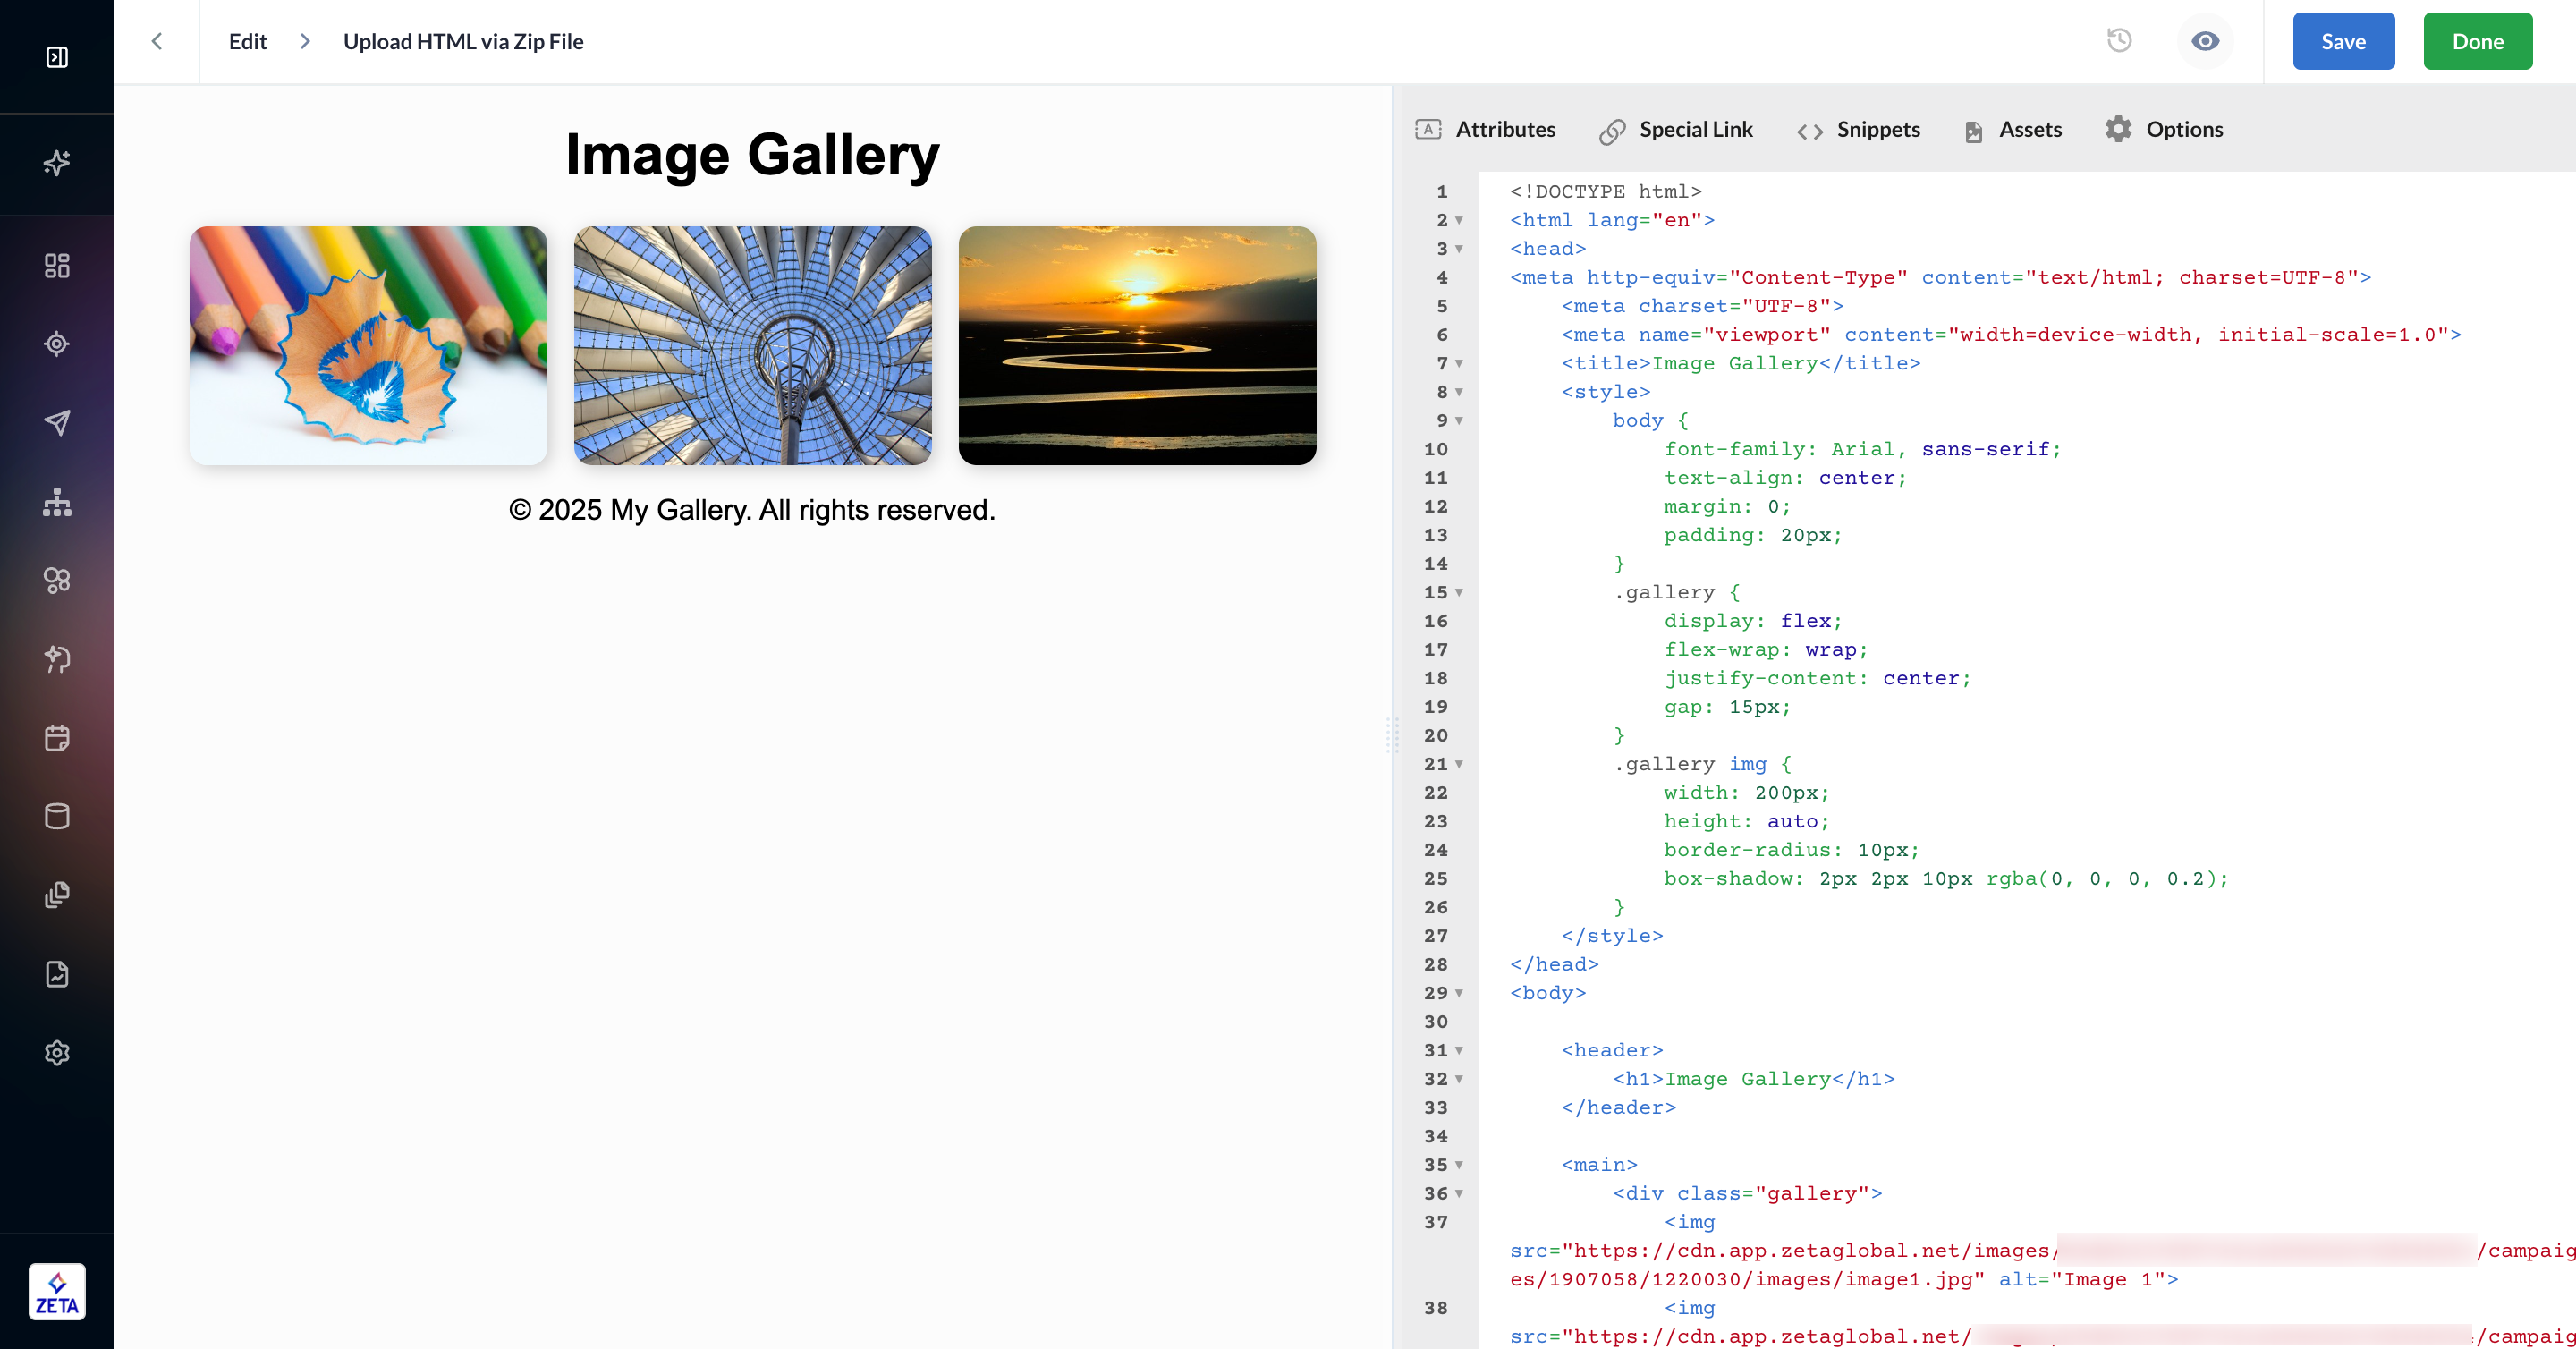
1. When coding your HTML, use local references for your <img src> tags. This means that rather than using a full URL in that tag, you should instead use a local file path that begins with images/, such as "images/image1.jpg". You may add alt tags as usual to complete the tag.
    <main>
        <div class="gallery">
            <img src="images/image1.jpg" alt="Image 1">
            <img src="images/image2.jpg" alt="Image 2">
            <img src="images/image3.jpg" alt="Image 3">
        </div>
    </main>
2. Create a folder called images to put all of your image files into. This folder must be named images in order to be uploaded using this upload method to match the required images/ filepath.
Select and Compress Images and Index.html Files
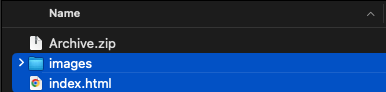
1. Select both images and index.html files. Note that both item names are all lowercase.
2. With both items selected, open the menu and select the corresponding compression action based on your operating system. In macOS, this is called Compress.
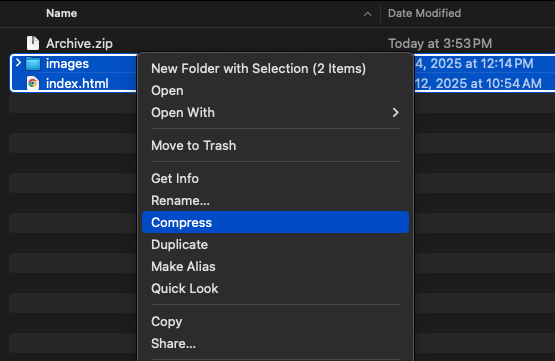
3. You only need the .zip file after this.
Be sure the HTML file inside your .zip file is named index.html. Otherwise, the upload will fail without an error.
Uploading Your File
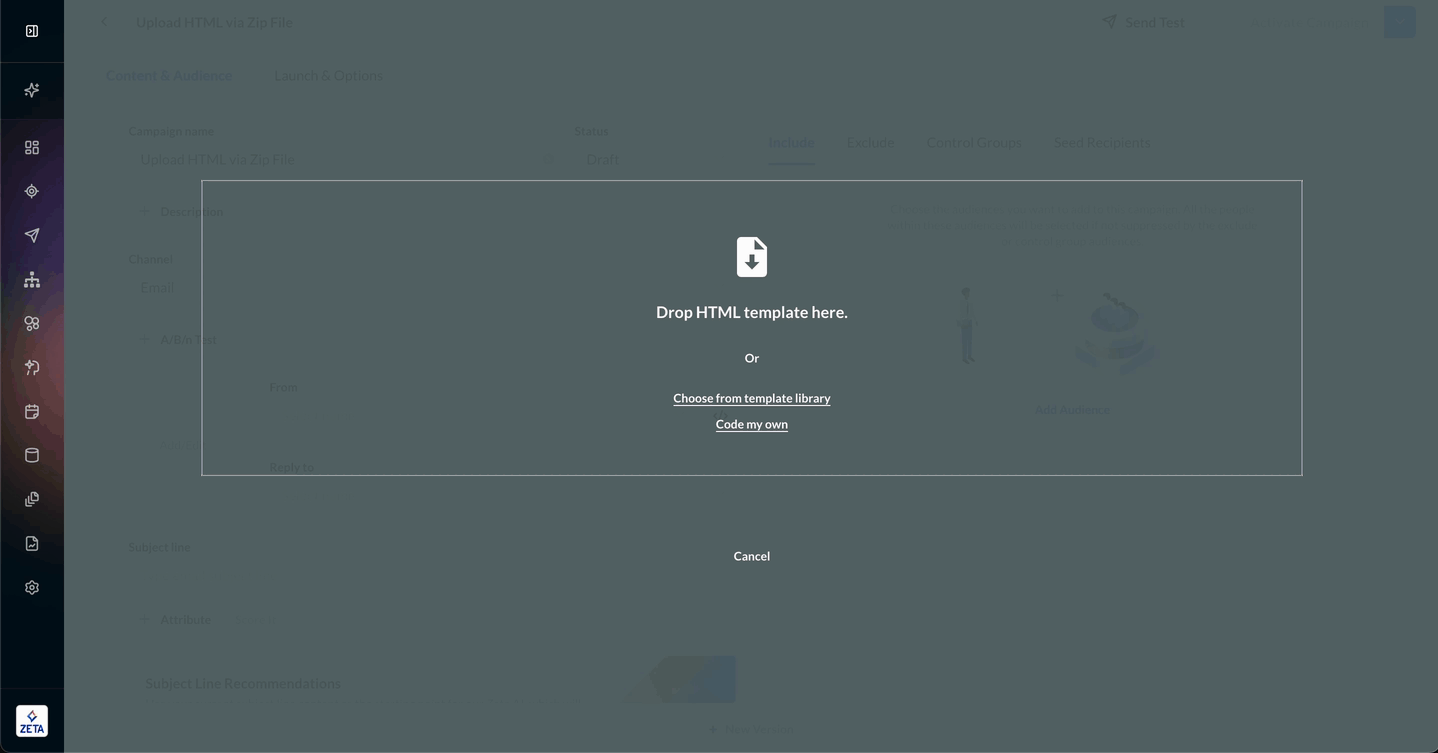
1. When loading your template on a blank campaign, click the Add/Edit Content box and select the Upload HTML option.
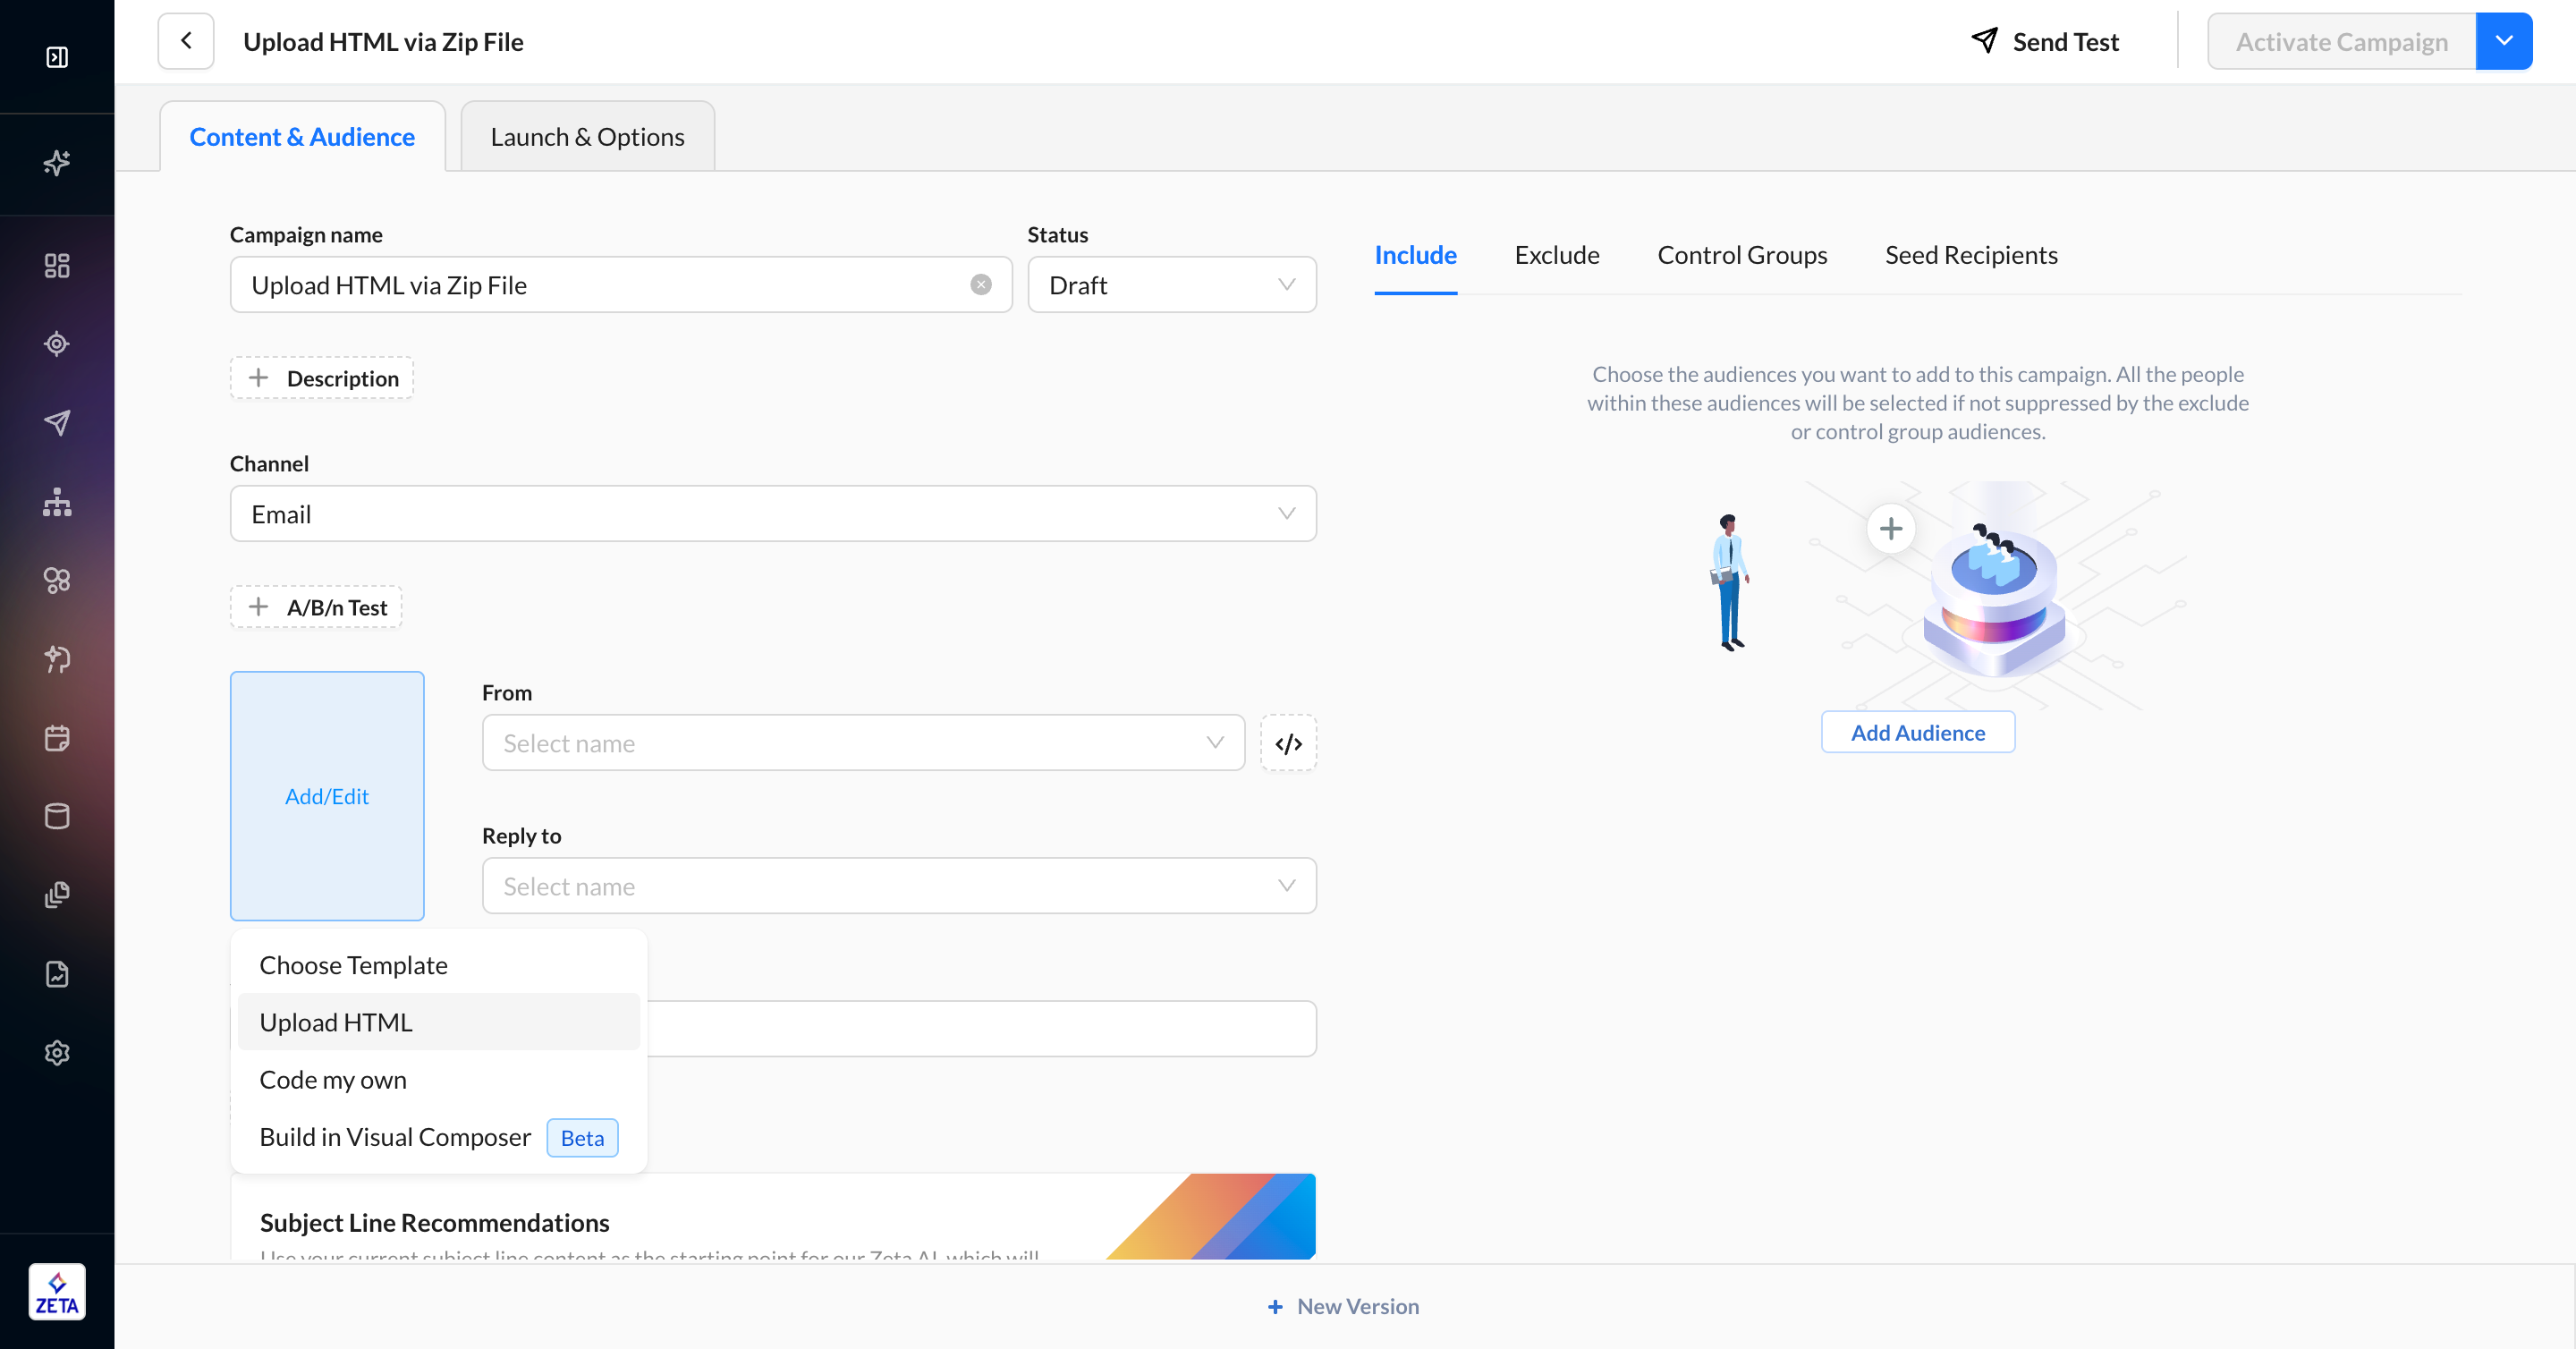
2. Select the zip file you want to upload by dragging it into the content area. The zip file must include one HTML file named index.html and one folder named images at the top level, or the upload will fail.
3. The template will appear in the content tab automatically.
Edit Content
1. To edit or delete the content, click the thumbnail and select either of the options. Deleting the template is not reversible.
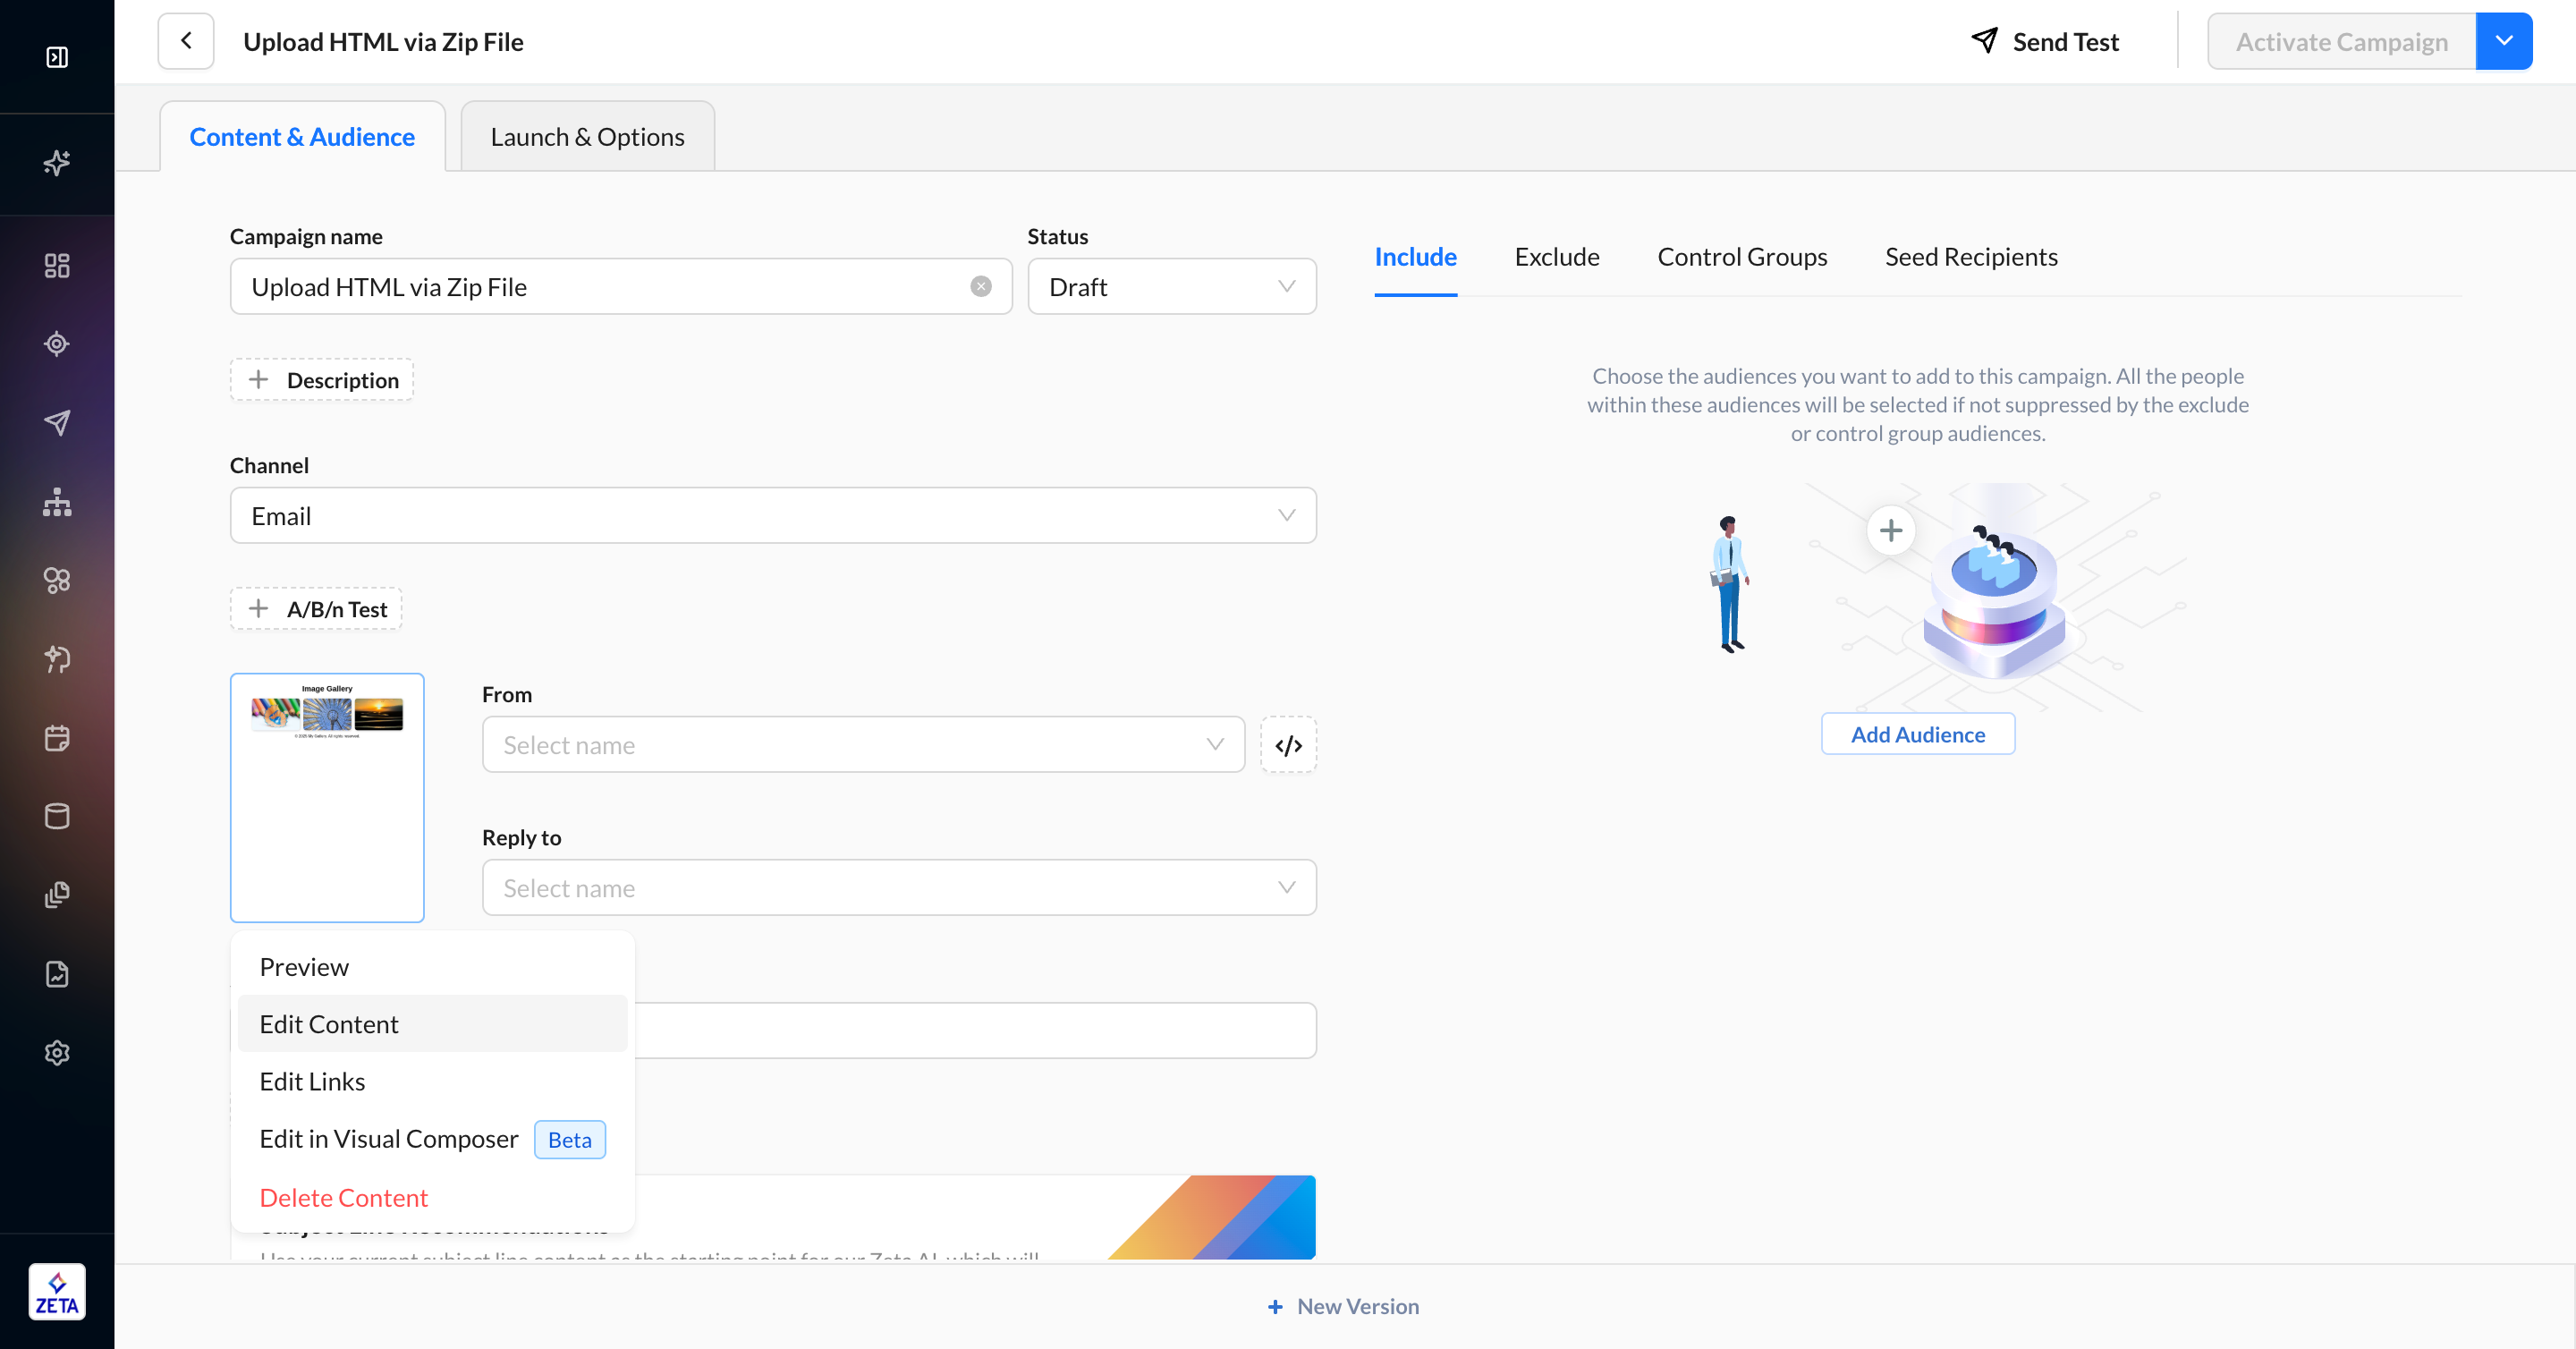
2. Clicking Edit Content will open the template in the HTML Editor.
Accessing Assets
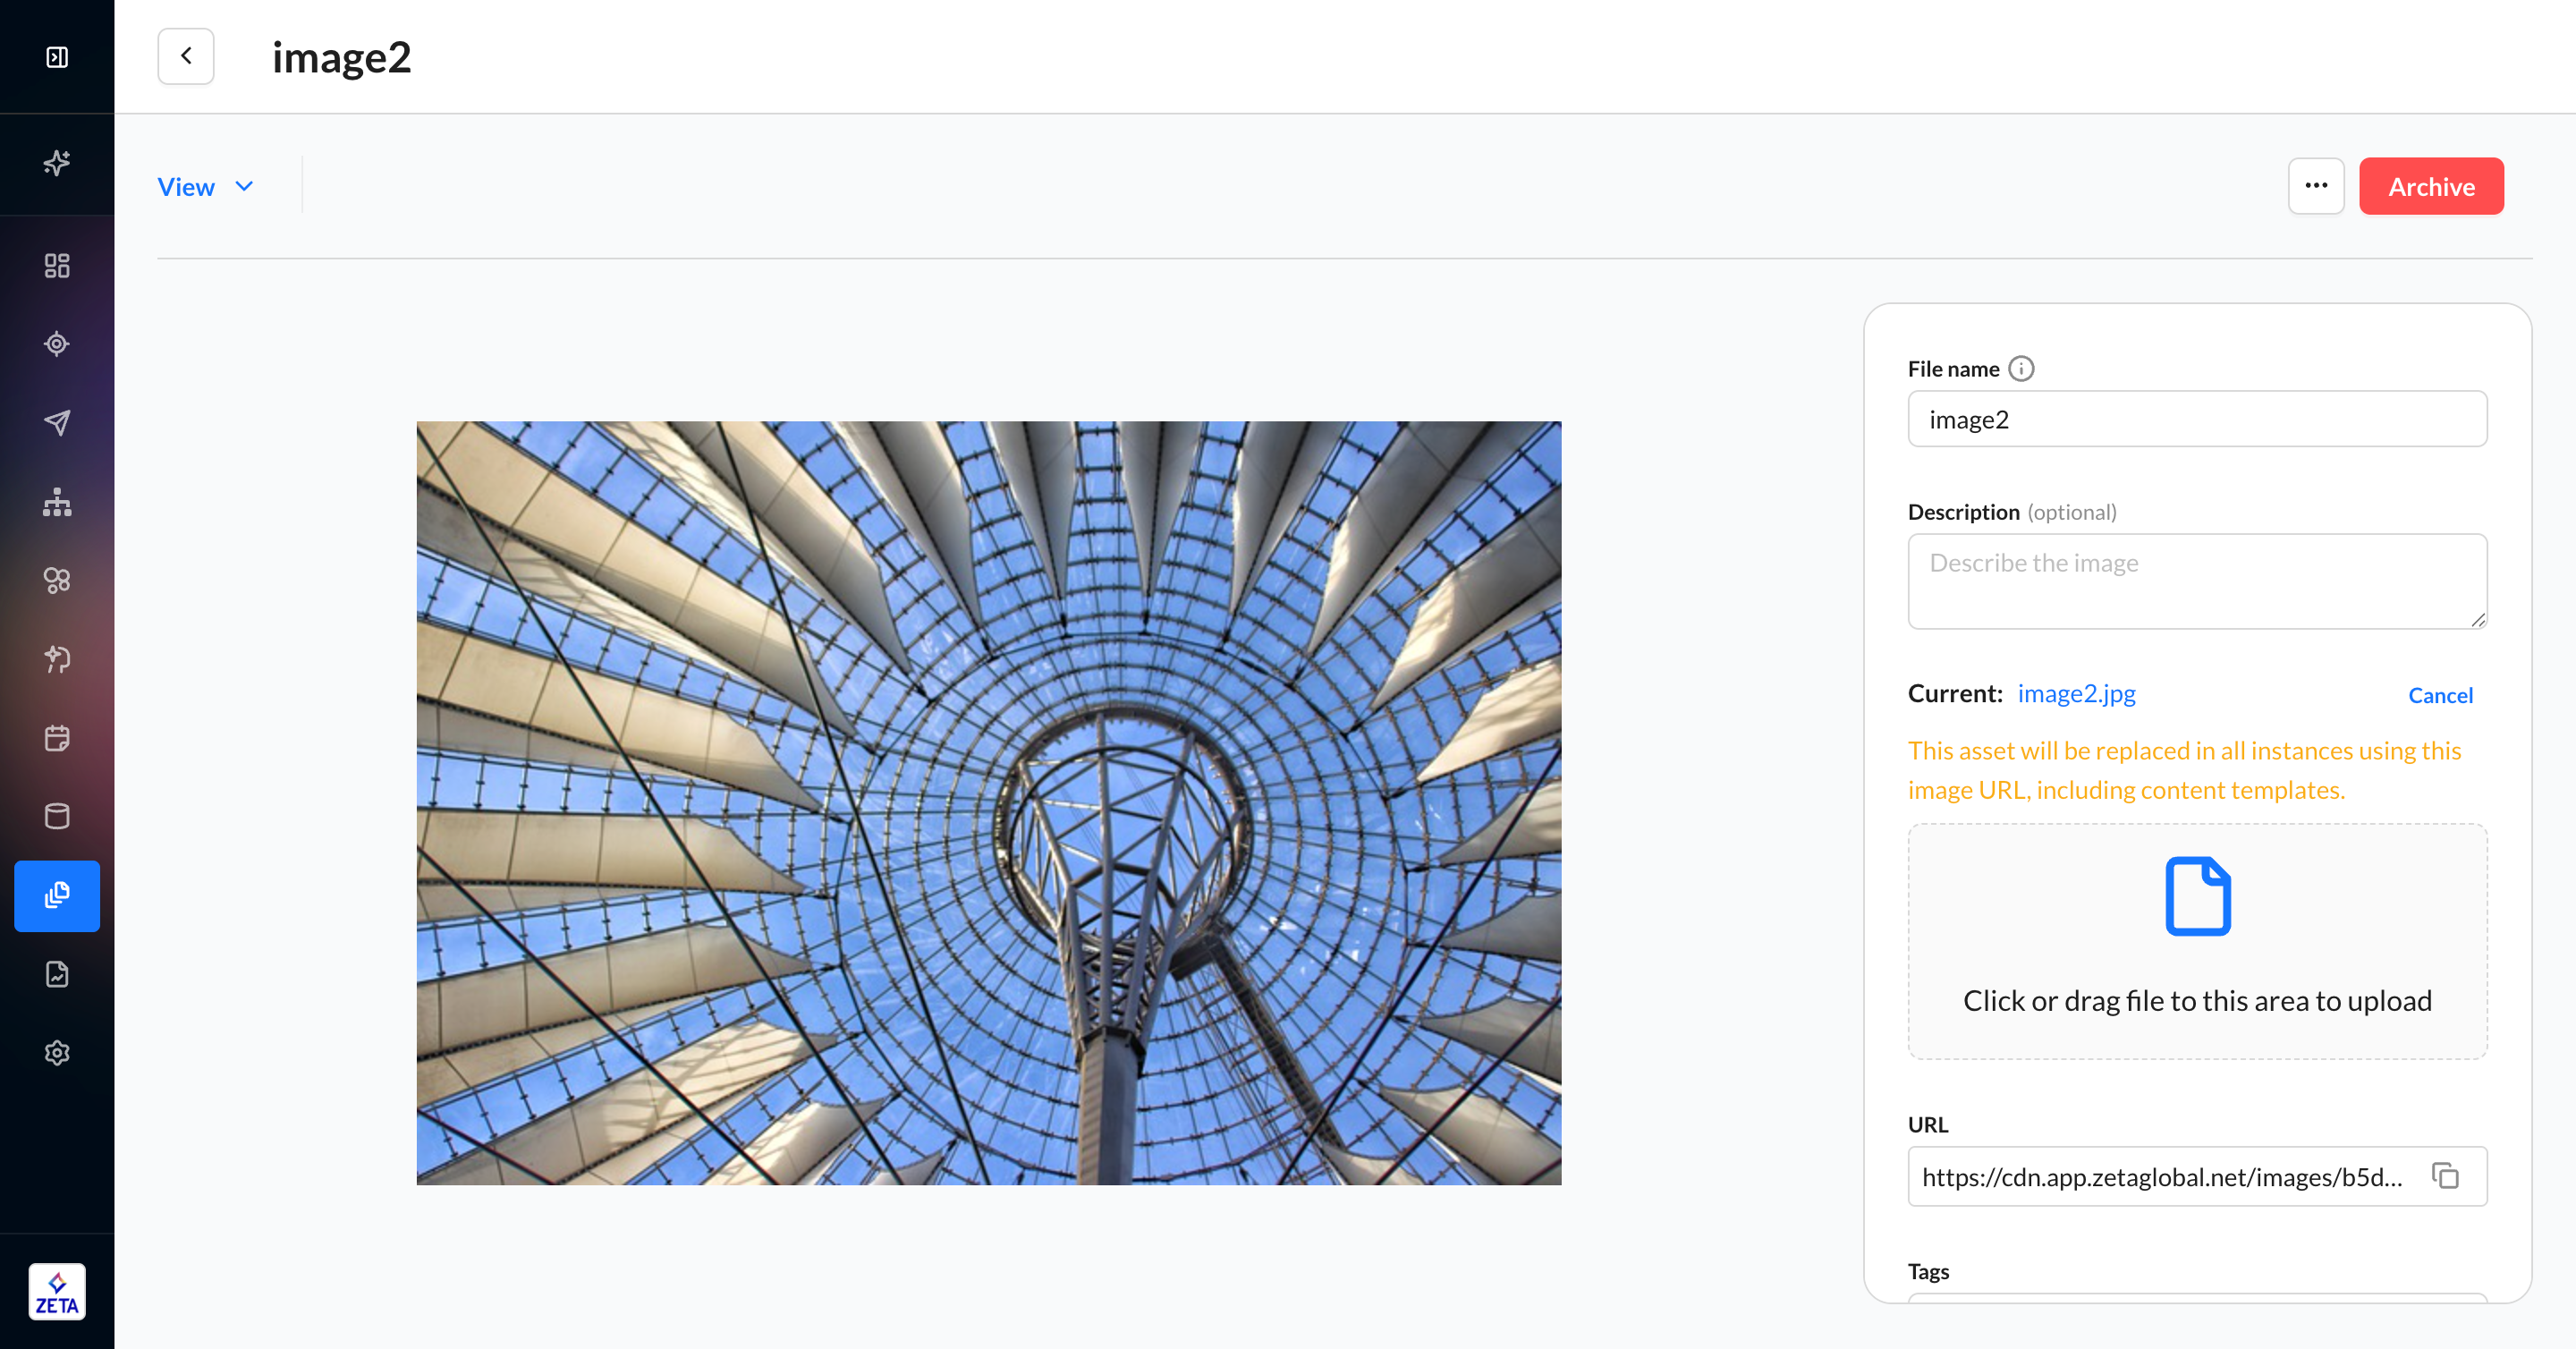
Once you upload your template via a .zip file, all local images are automatically uploaded to the Asset Library, and the <img src> tags are replaced with the corresponding Asset Library URL.
1. To find your folder, navigate to the campaign_images folder and find the folder ID listed in your asset URL. You may need to drill down a few more levels to images.
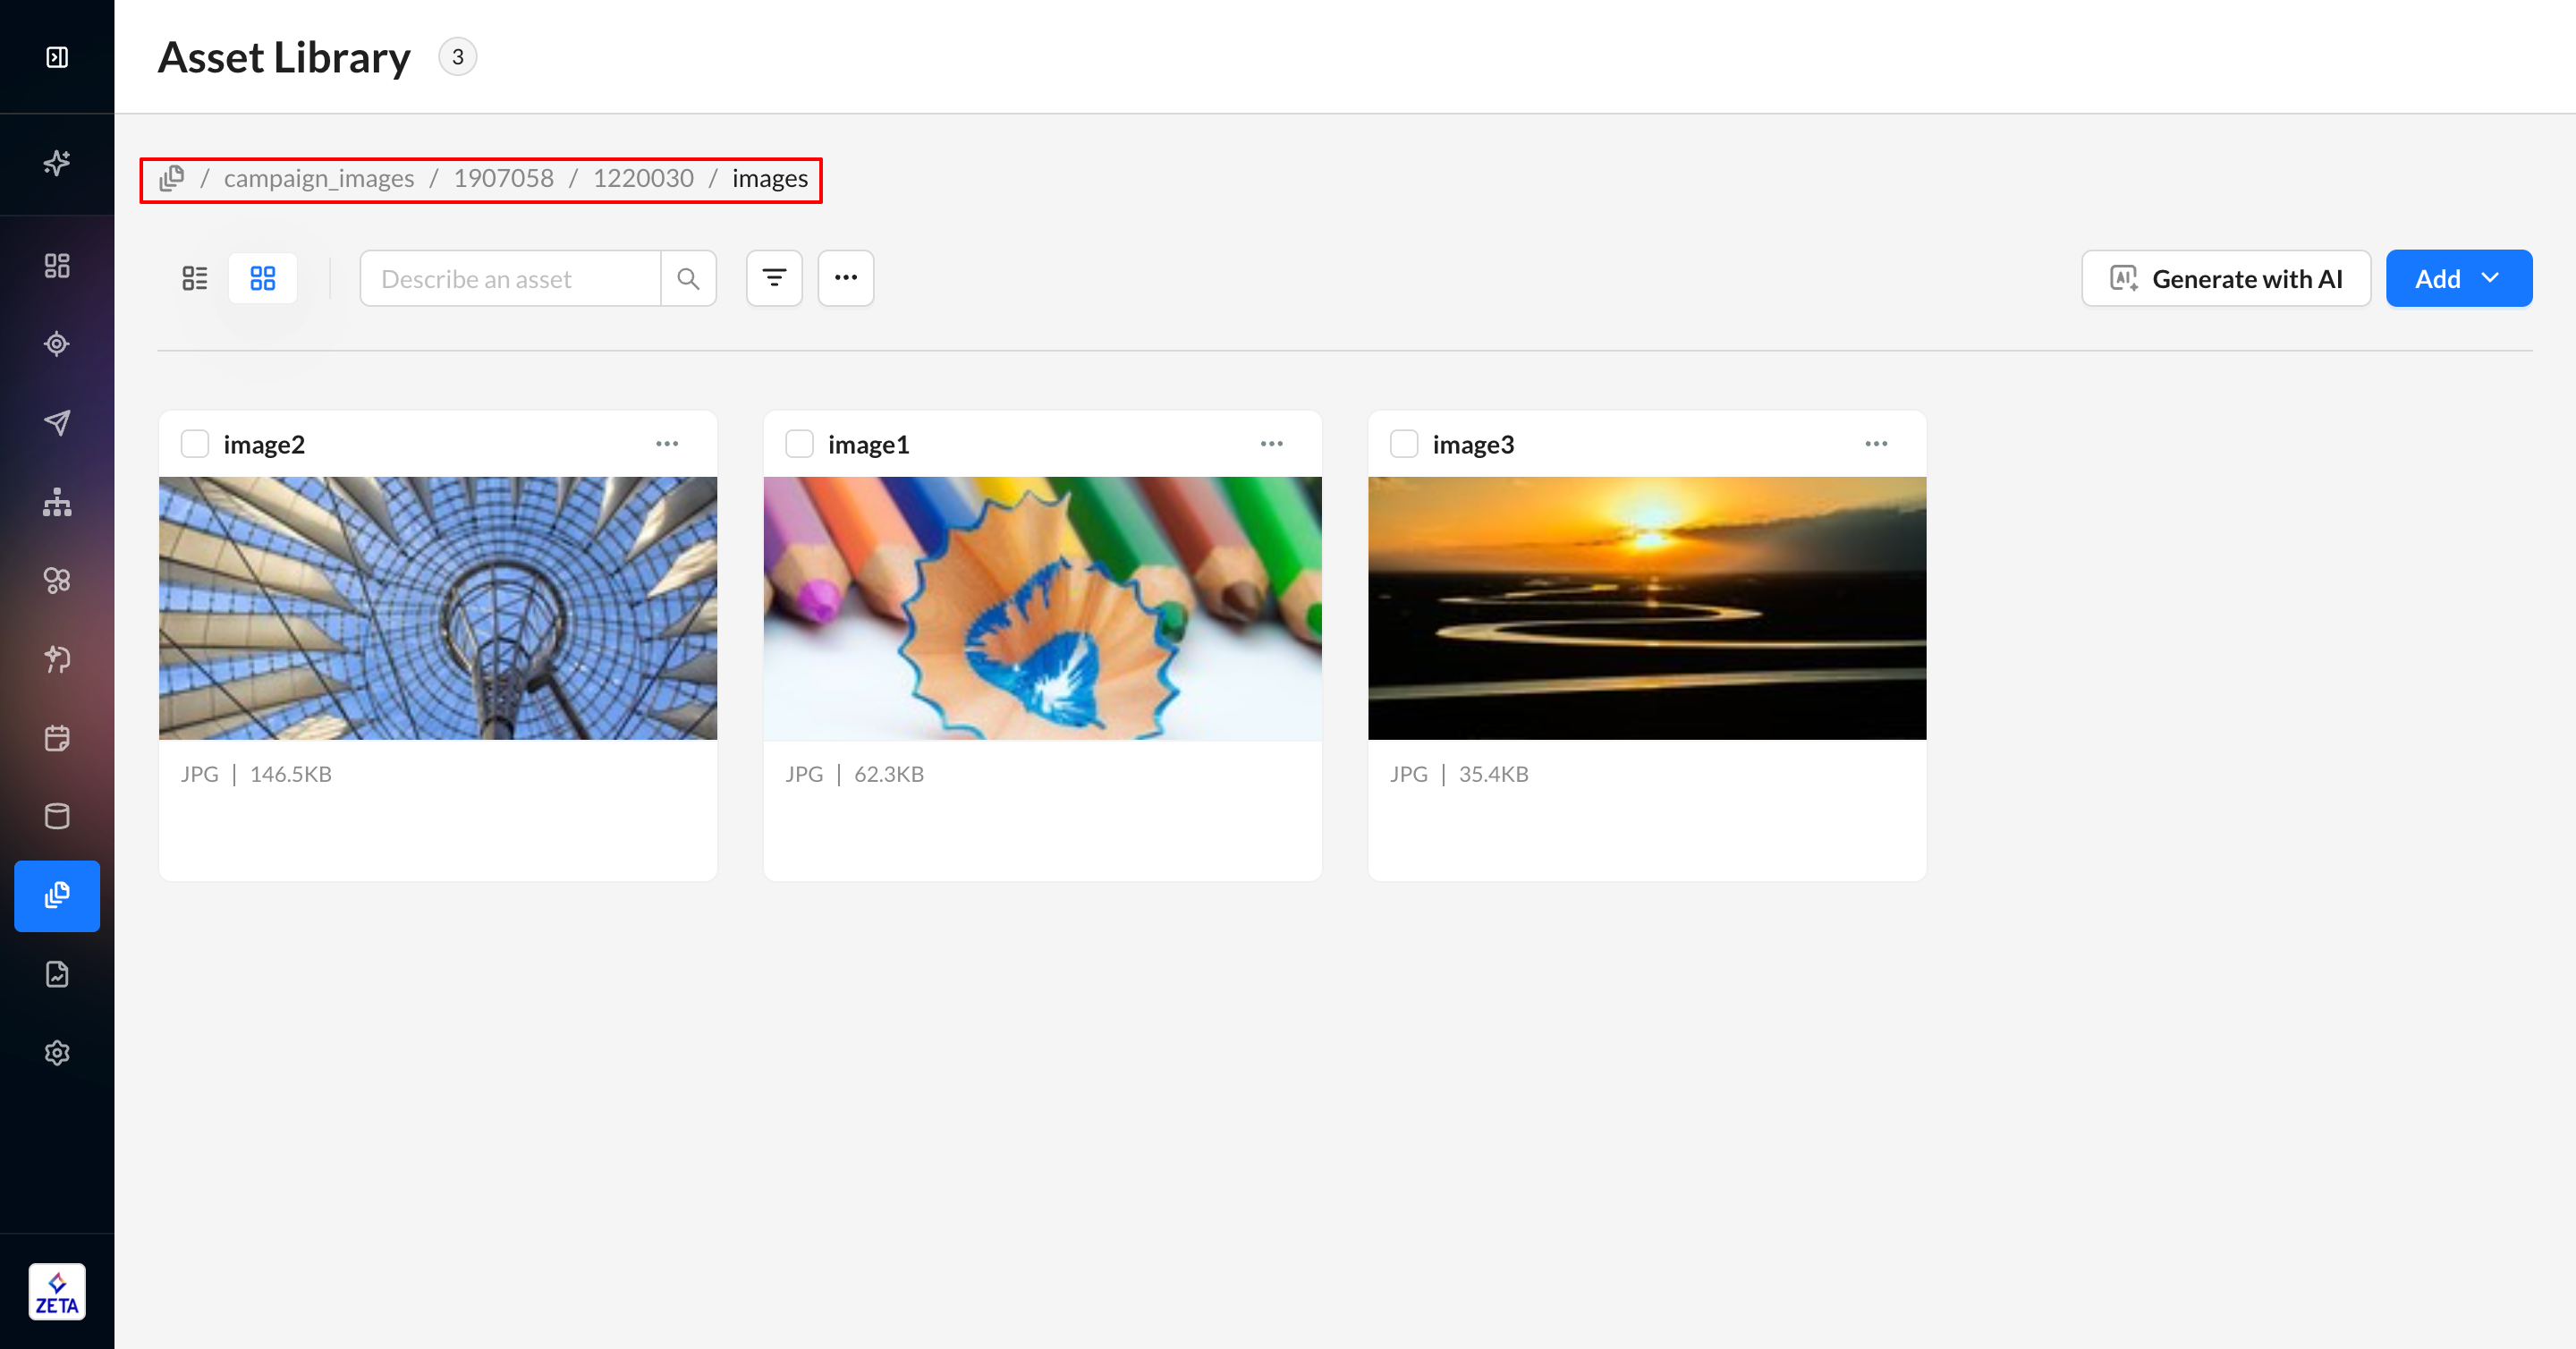
2. You may still change the underlying file or asset metadata if you have sufficient permissions; the URL will remain intact.