Content Templates

A common hassle for most marketers is creating highly interactive and great-looking content for the audience. Simplifying the creation of consistent content alongside saving time and reducing costs, templates have proven successful at quickly developing engaging content for one and all.
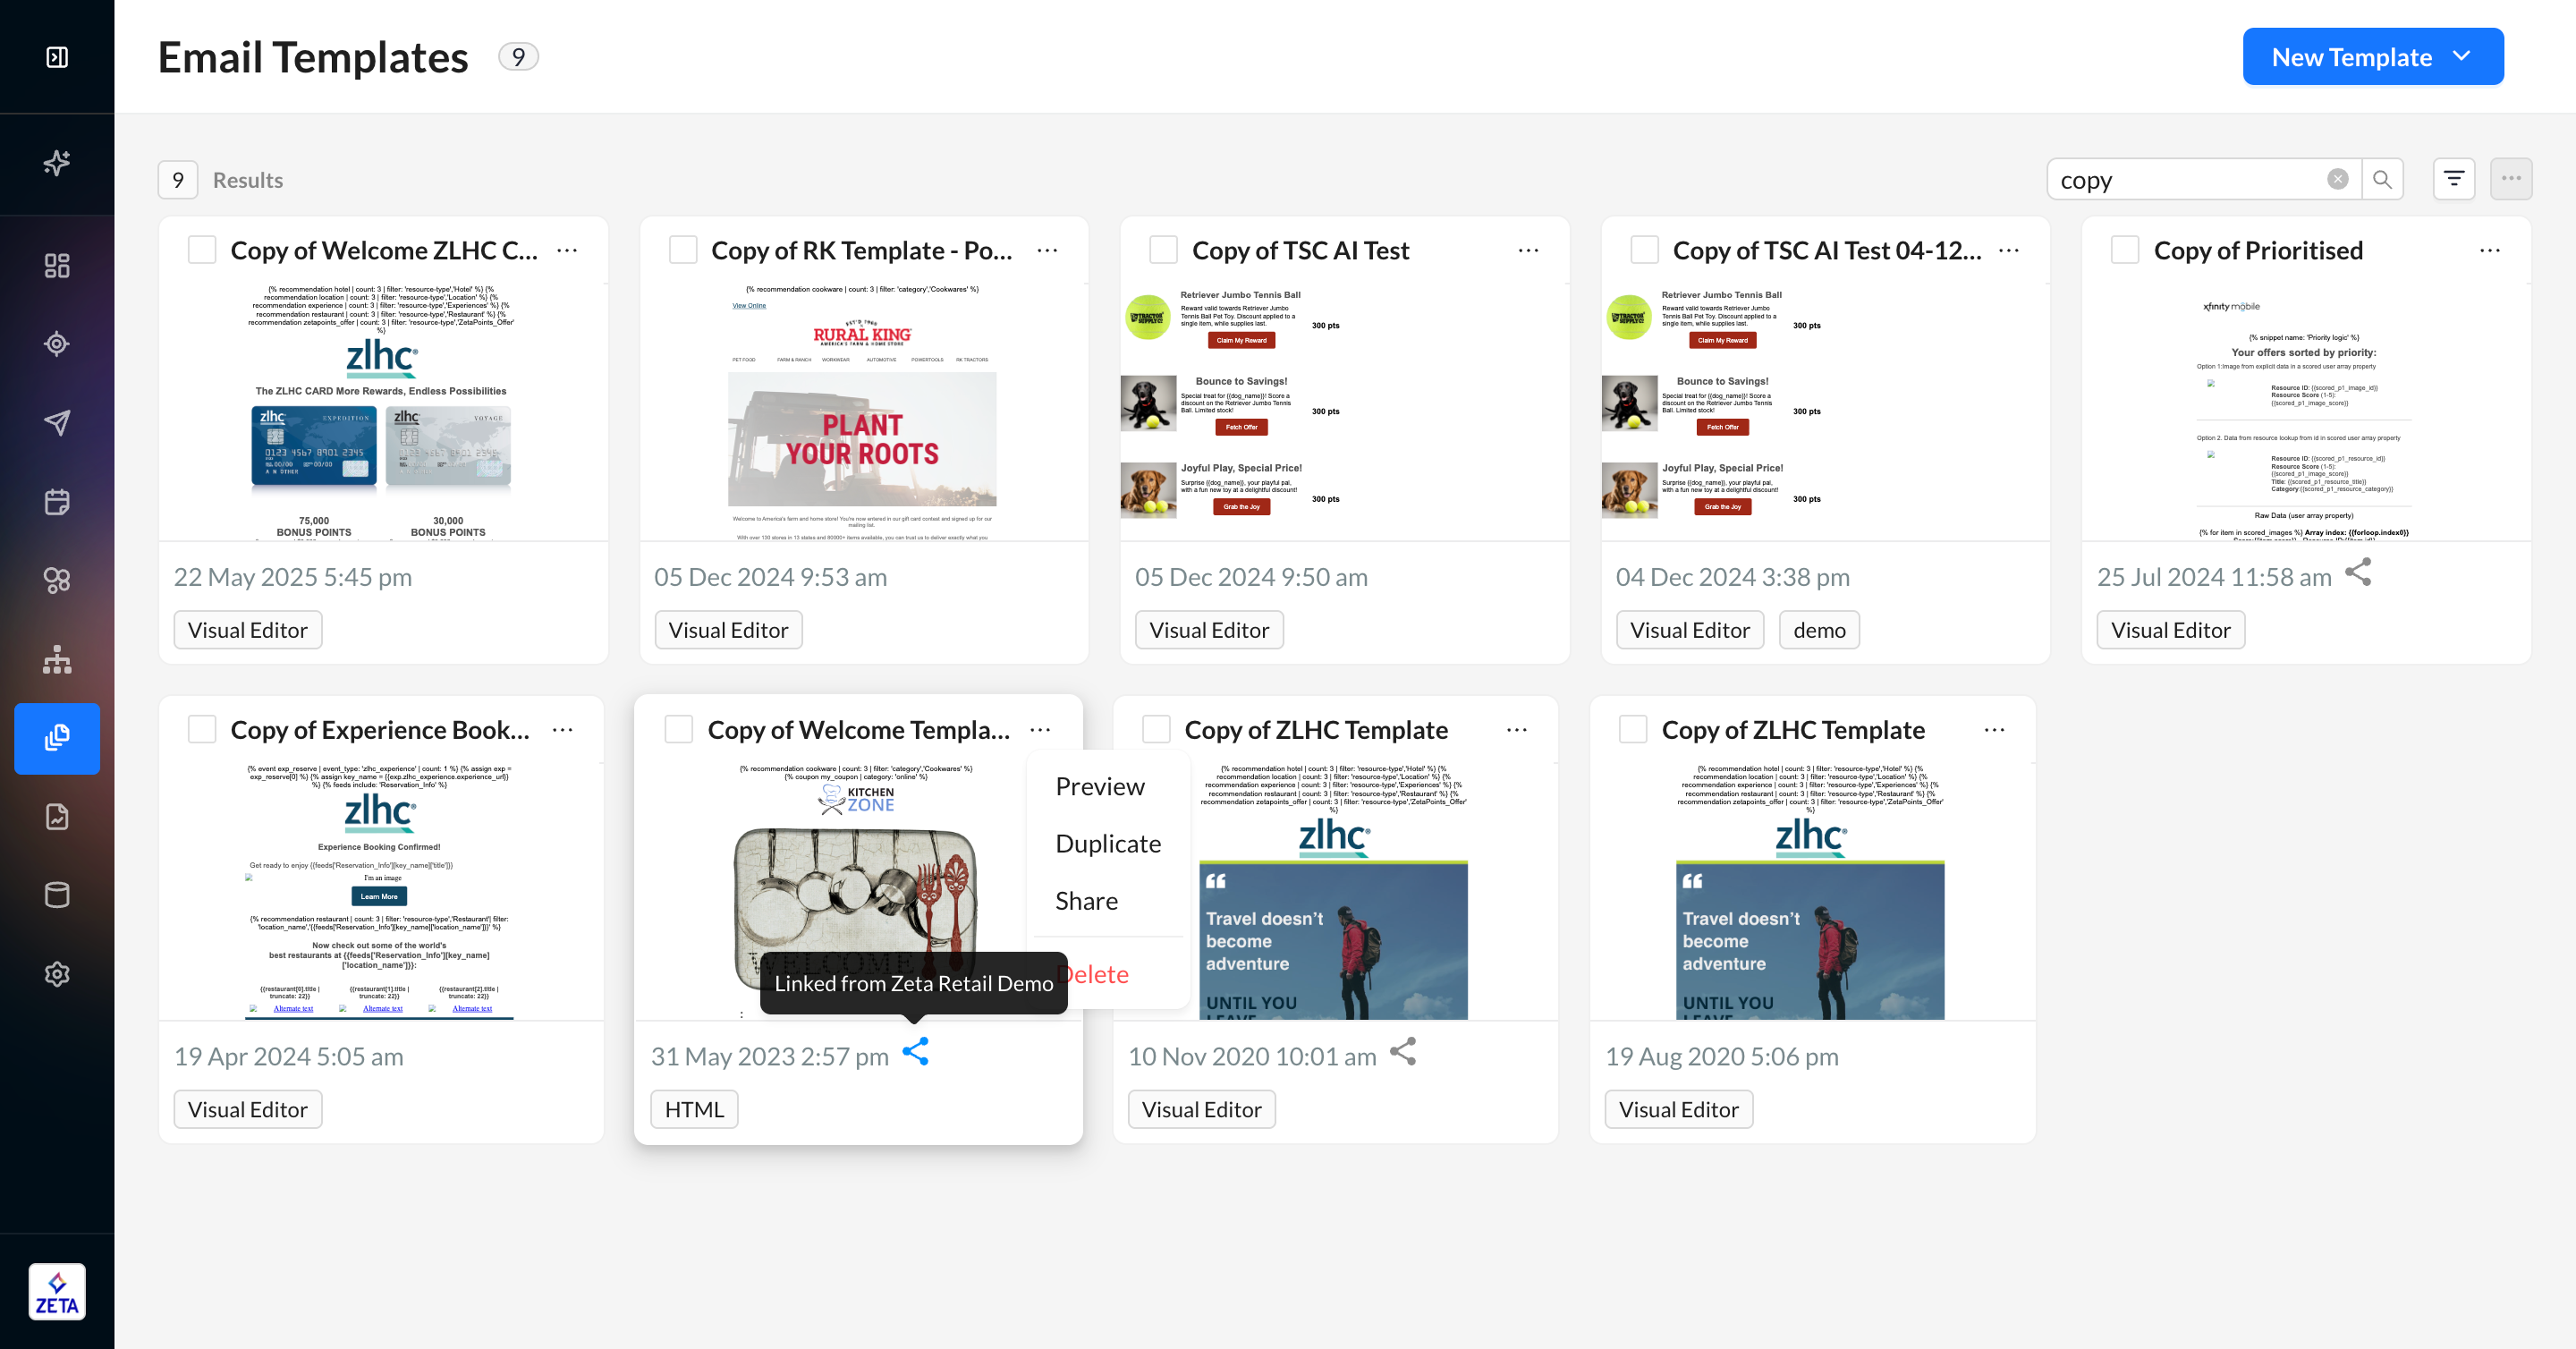
The Zeta Marketing Platform gives you a space to create, store, and manage master templates using the Visual Editor and the HTML Editor. Here, you can search for a specific template using the search icon and explore some pre-made designs, or create a new template.
Navigate to Content > Email Templates from the menu on the left to access all the templates for the account or create a new one.
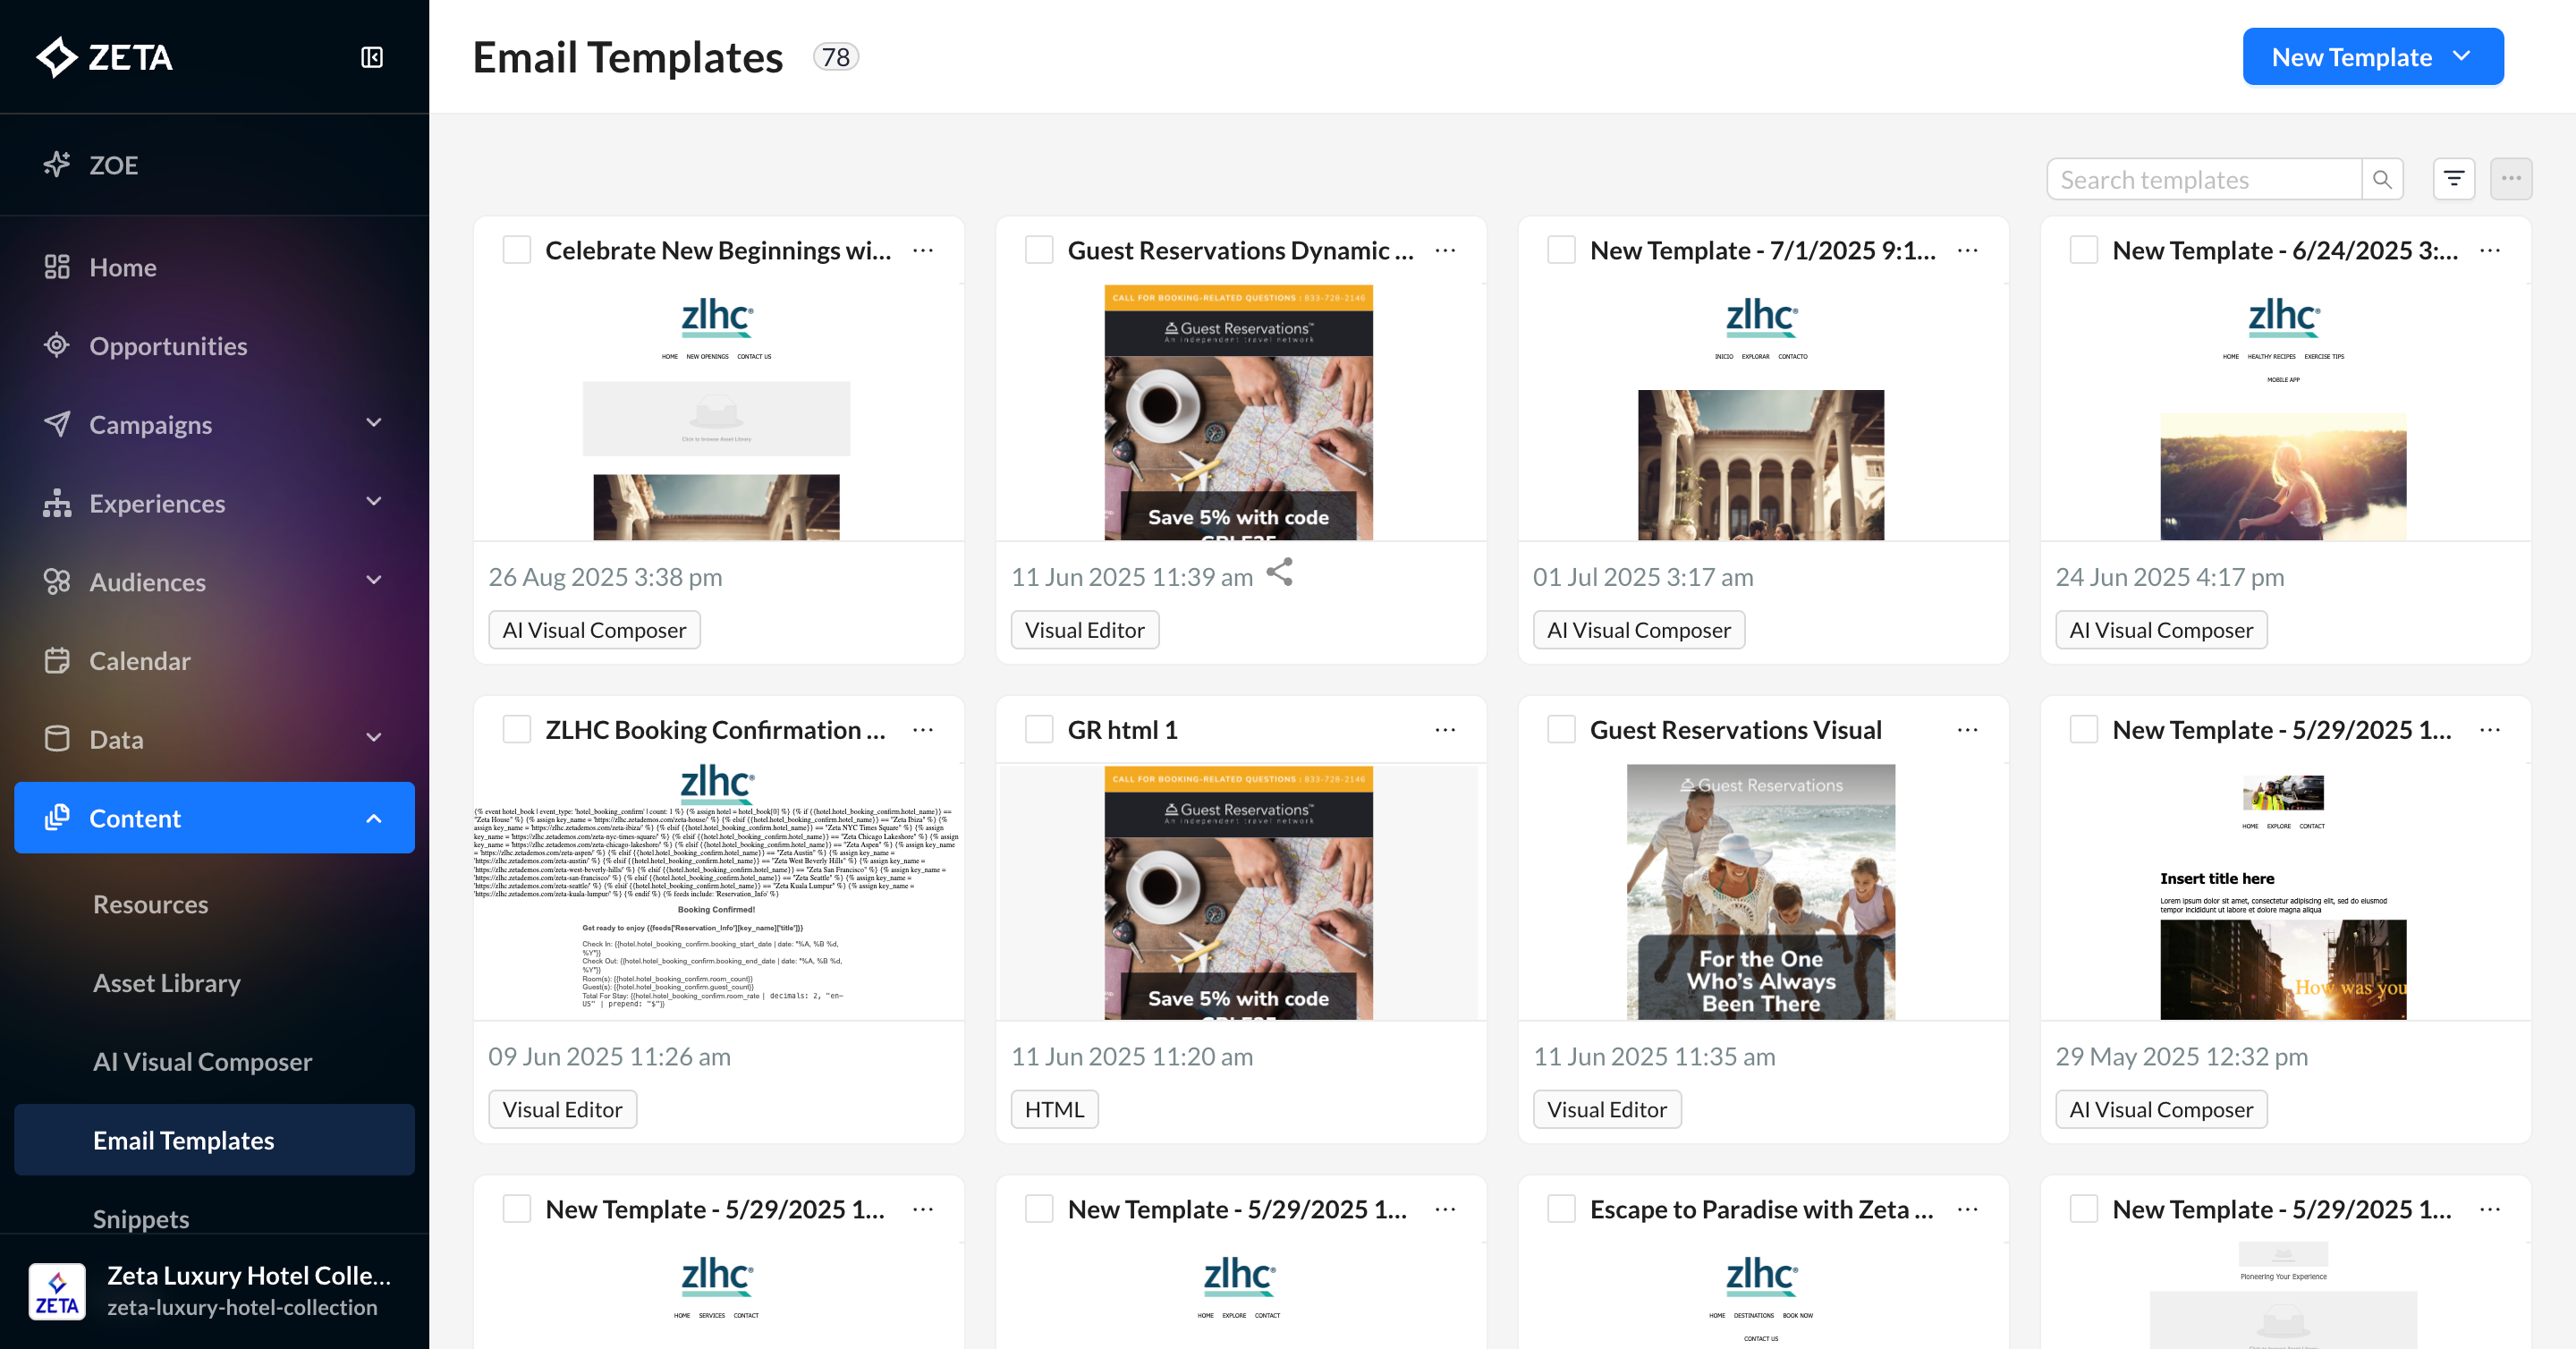
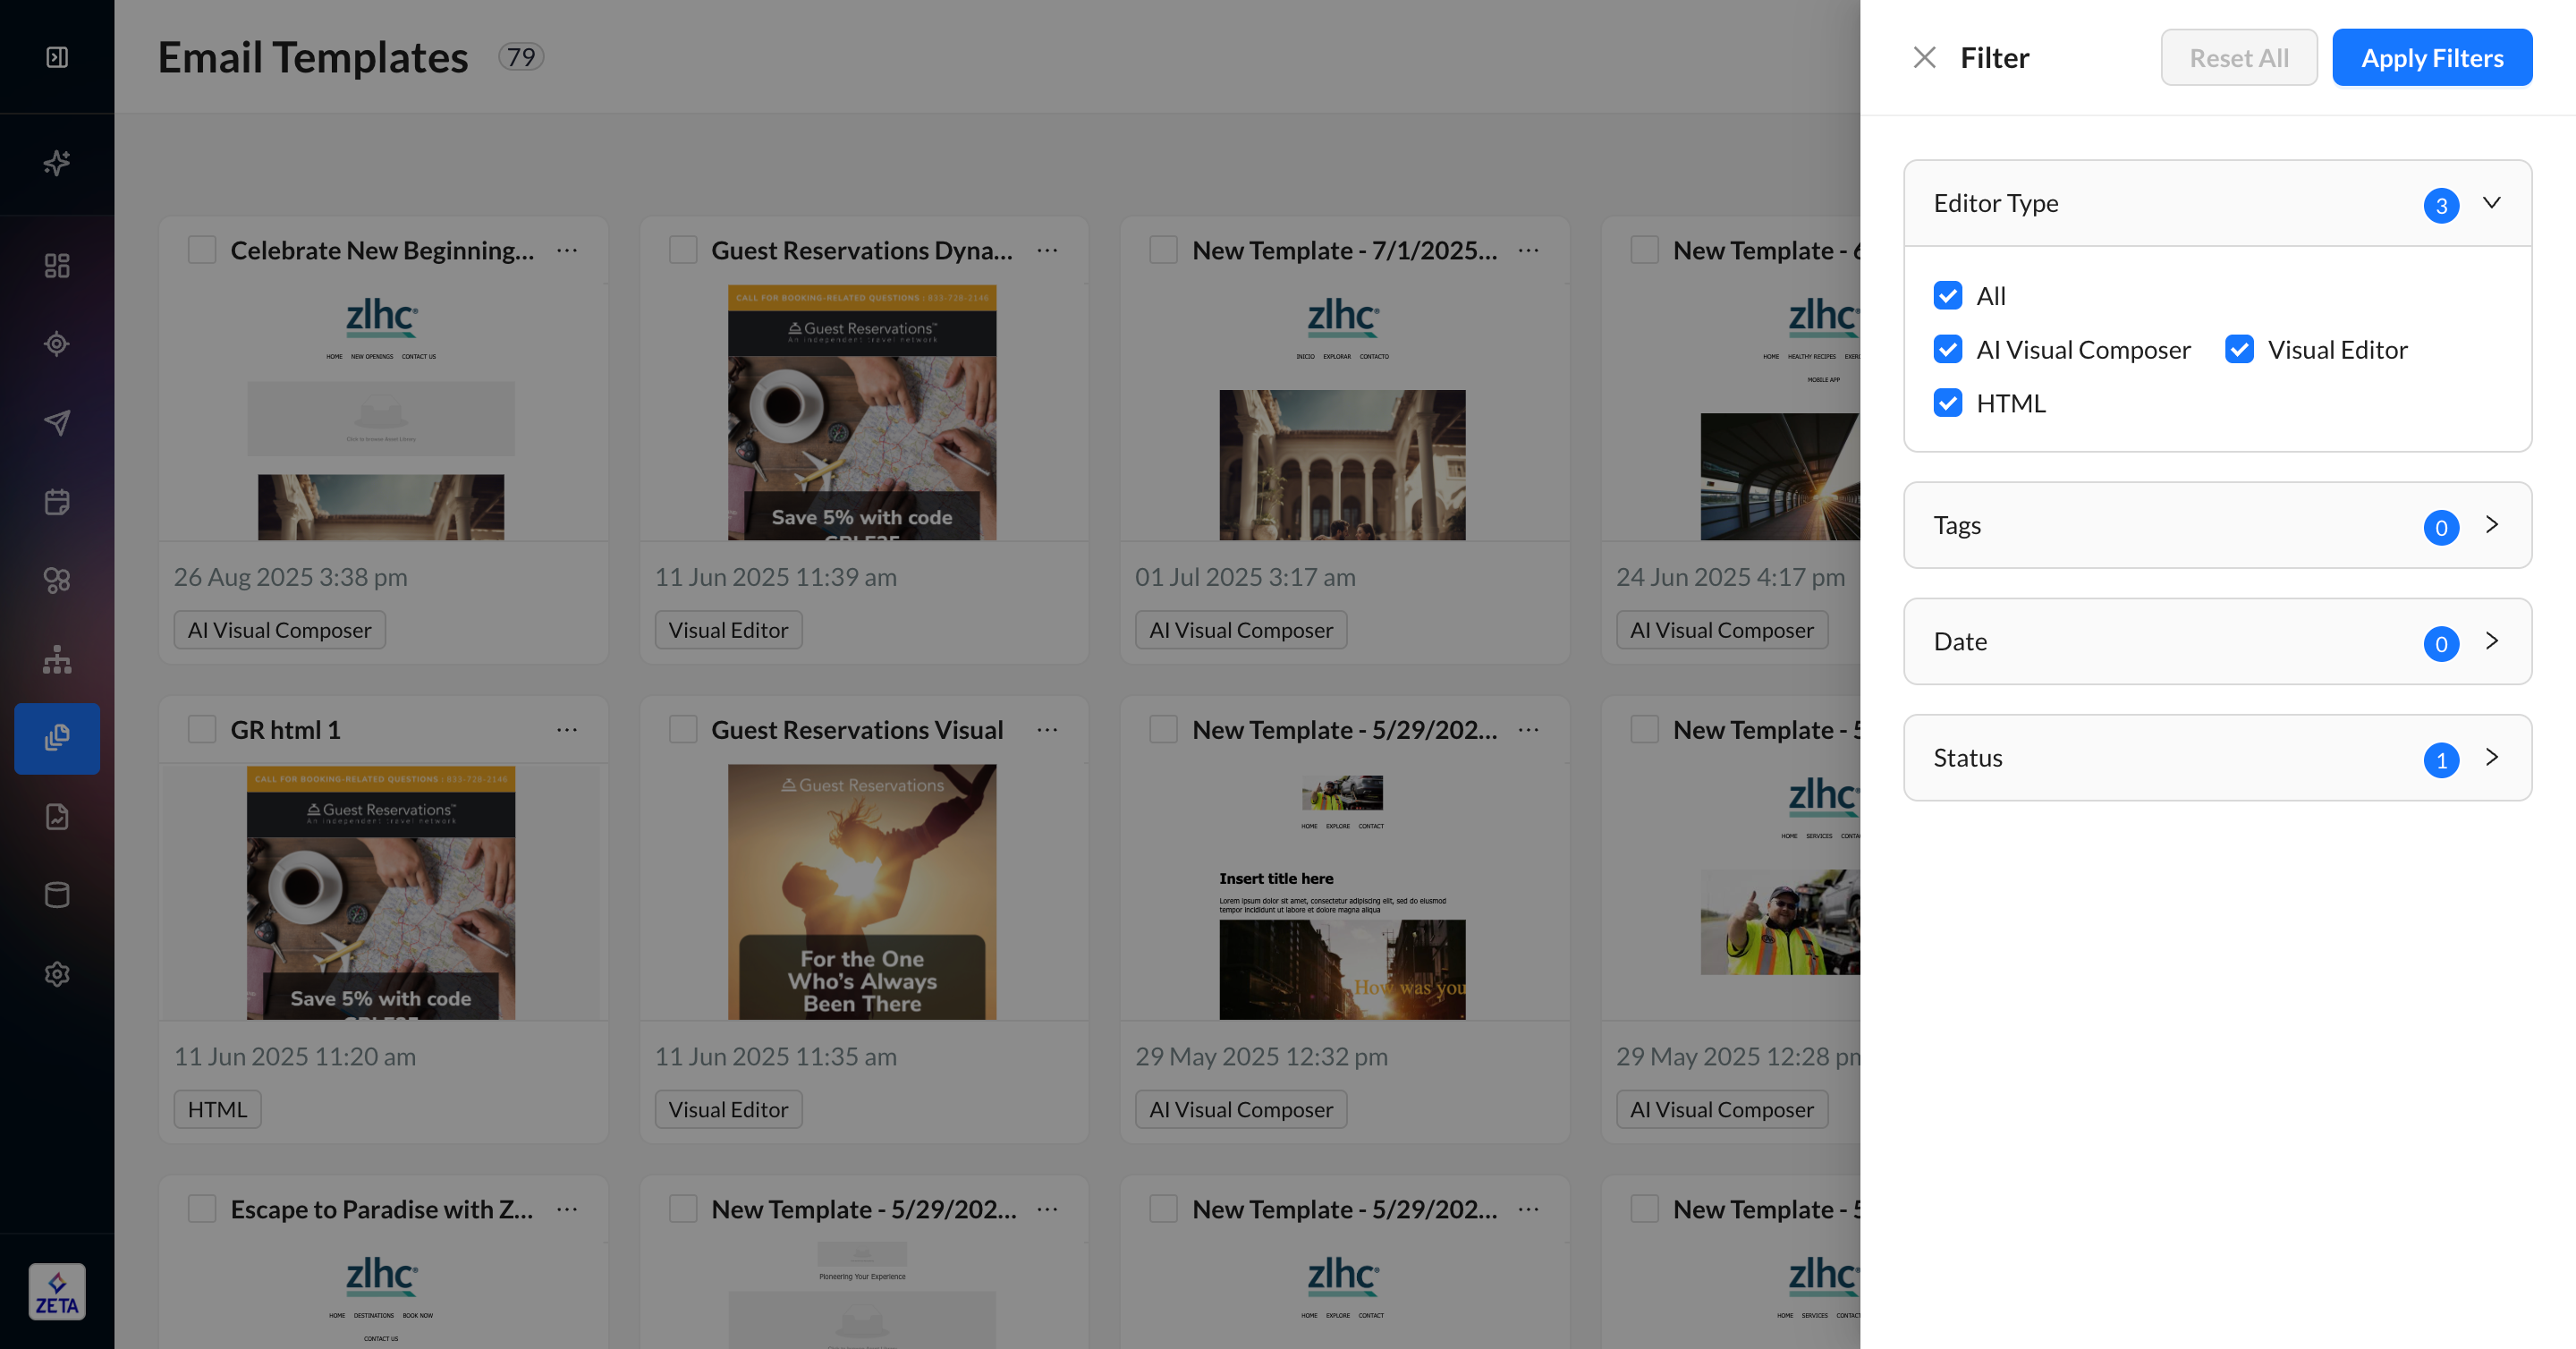
Templates can also be tagged with any relevant information, such as custom tags or the CMS tool from which it was created. You can filter and search on tags, names, and more using the corresponding icons in the top nav.
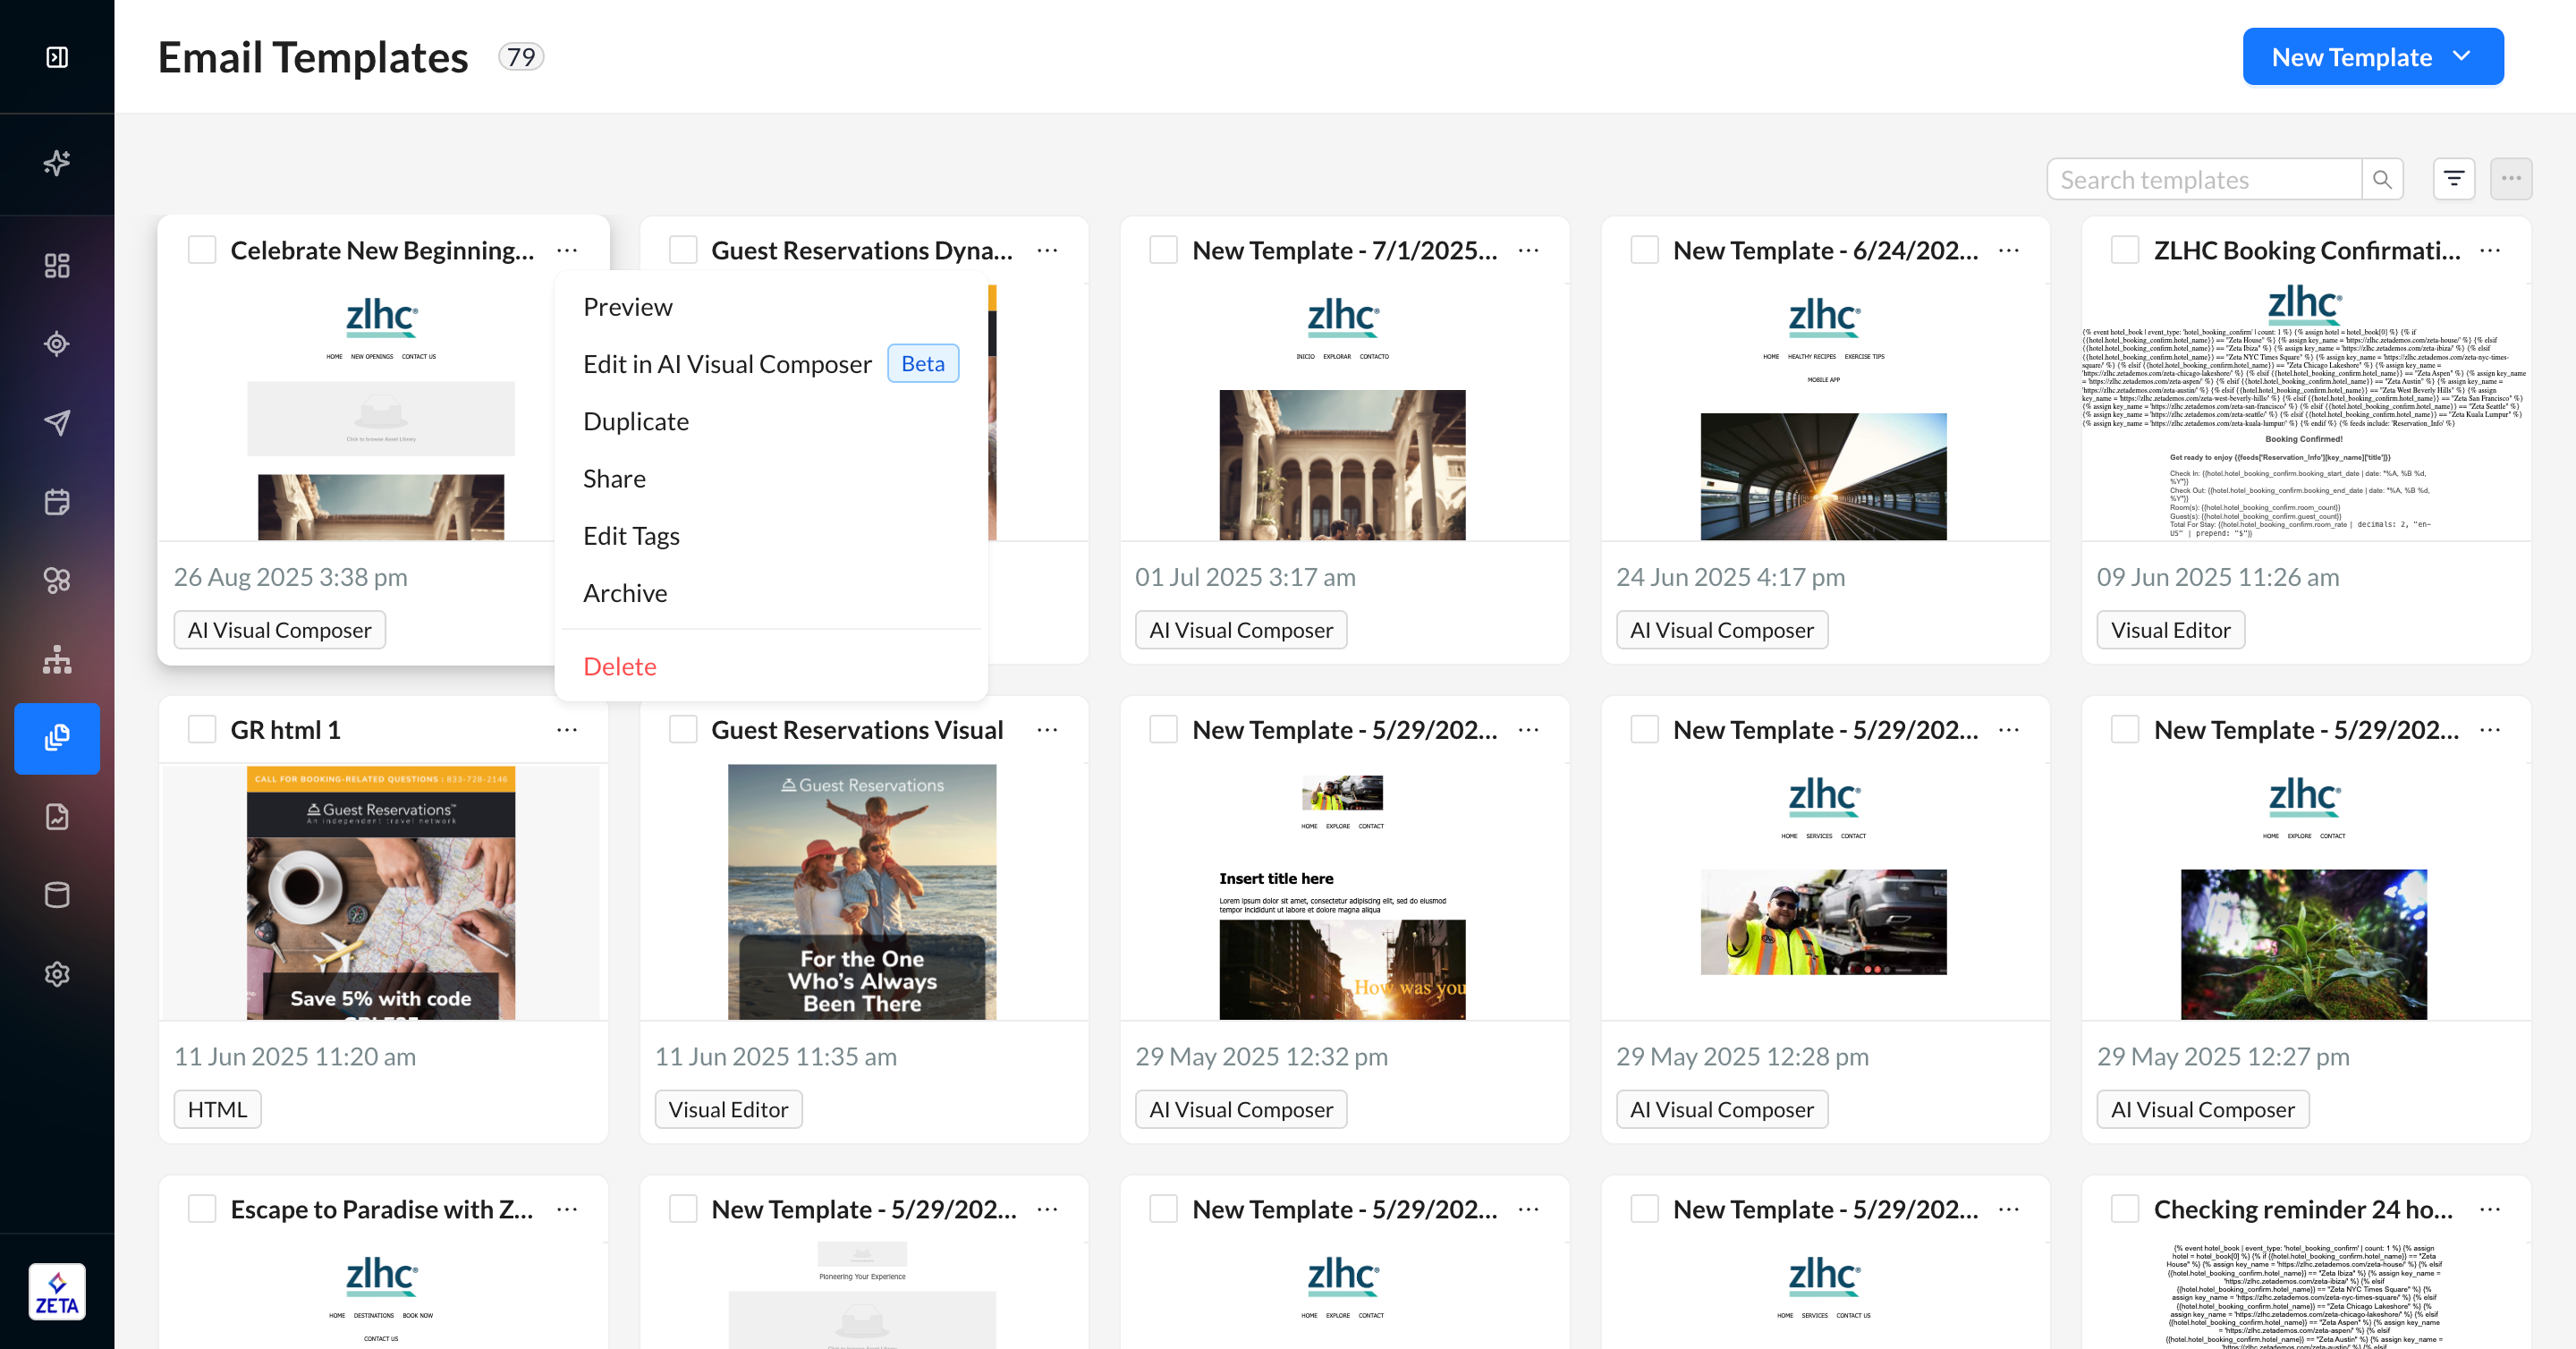
Lastly, each tile has its own menu of options depending on the template type:
Preview
Edit
Converting to AI Visual Composer (beta feature)
Duplicate
Share
Edit Tags
Archive
Delete
Preview
Templates must be added to campaigns to be deployed to end users.
When previewing the email, the preview will automatically be generated based on a random user in the platform. You may also easily update the uid above the preview, which will generate the message based on a specific user, including the subject line. Click the refresh icon to randomly generate a message for another user.
You can either preview in Litmus or send yourself or a teammate a test email.
.png?inst-v=e0b02120-c4bf-4009-b8b5-1c73473a87a2)
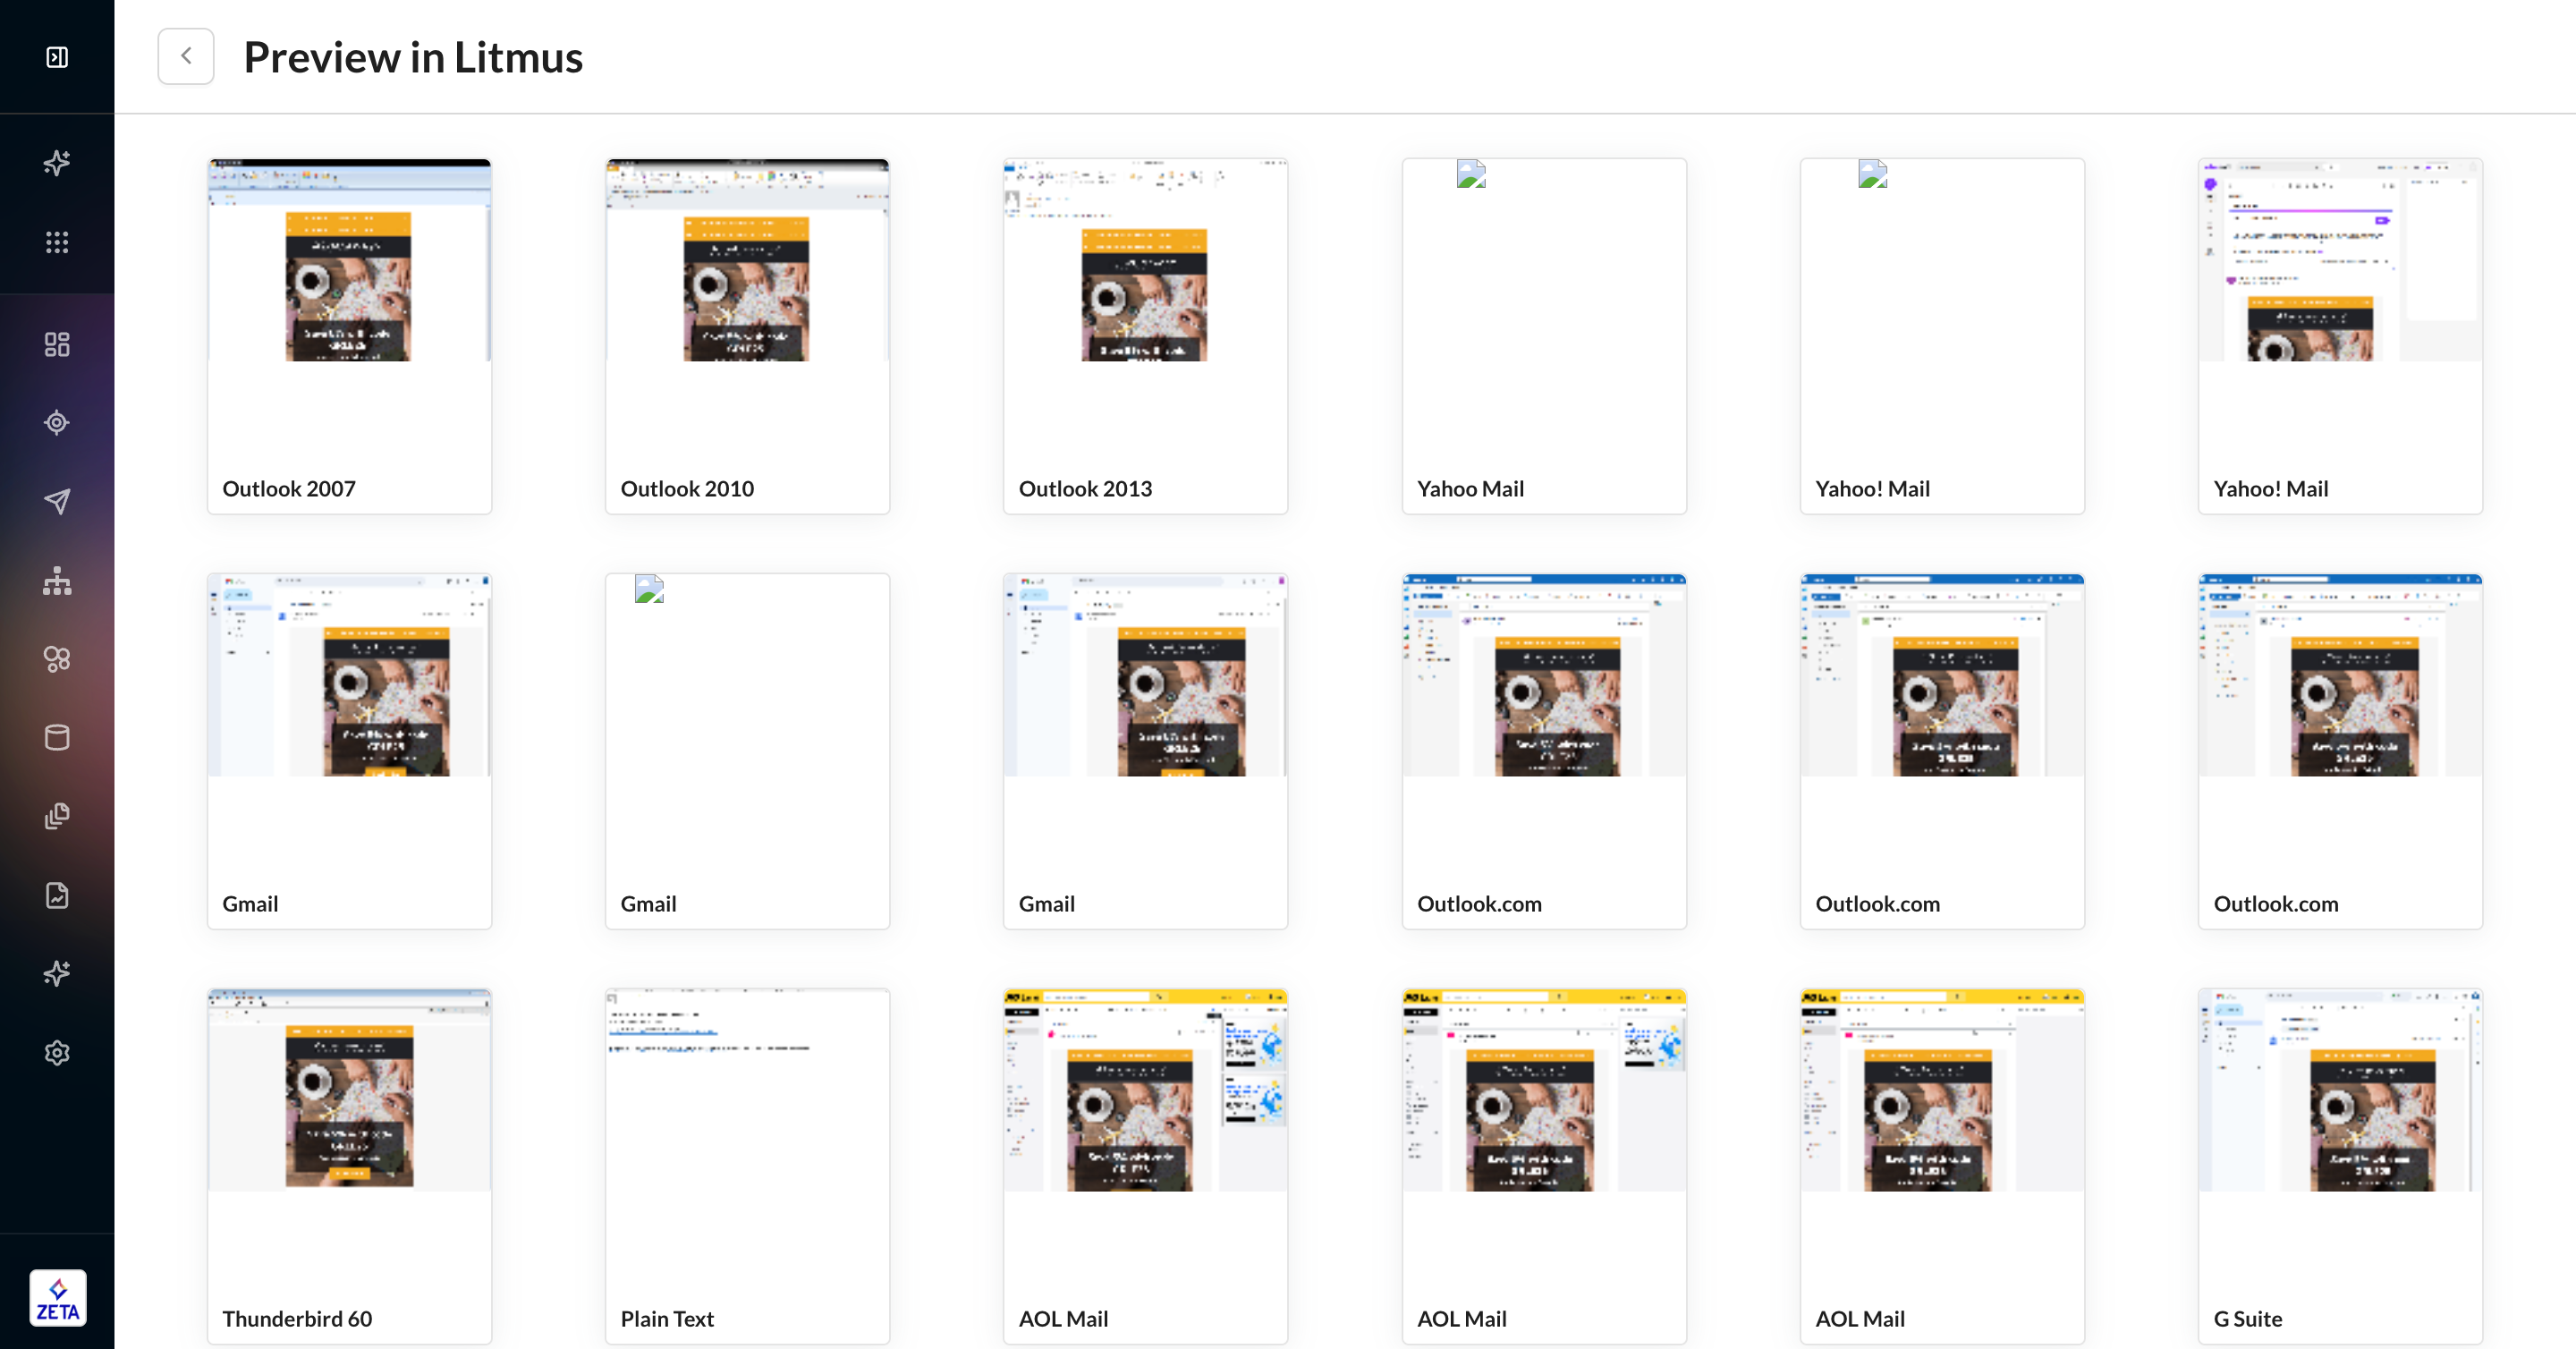
Preview in Litmus
Previewing your content in Litmus will allow you to see the preview on screen as it would appear on a number of device / OS / email client combinations. Each rendering will be produced as a PNG file that can be saved, copied, and shared as needed.
Sending Test Emails (Proof)
The visible preview on the screen can be sent as a test email (or proof) to any valid email address. Test emails can be sent from the preview function on any of the following pages:
Content Templates
Campaigns
Experiences
When accessing from a Campaign, you must go to the Content & Audience Tab. For Experiences, you must open the Campaign Action Node. From there, you can click on the thumbnail to Preview and send a Test Email.
You now have the ability to send one/multiple tests to yourselves
1. Select Send Test Email to render the following pop-up:
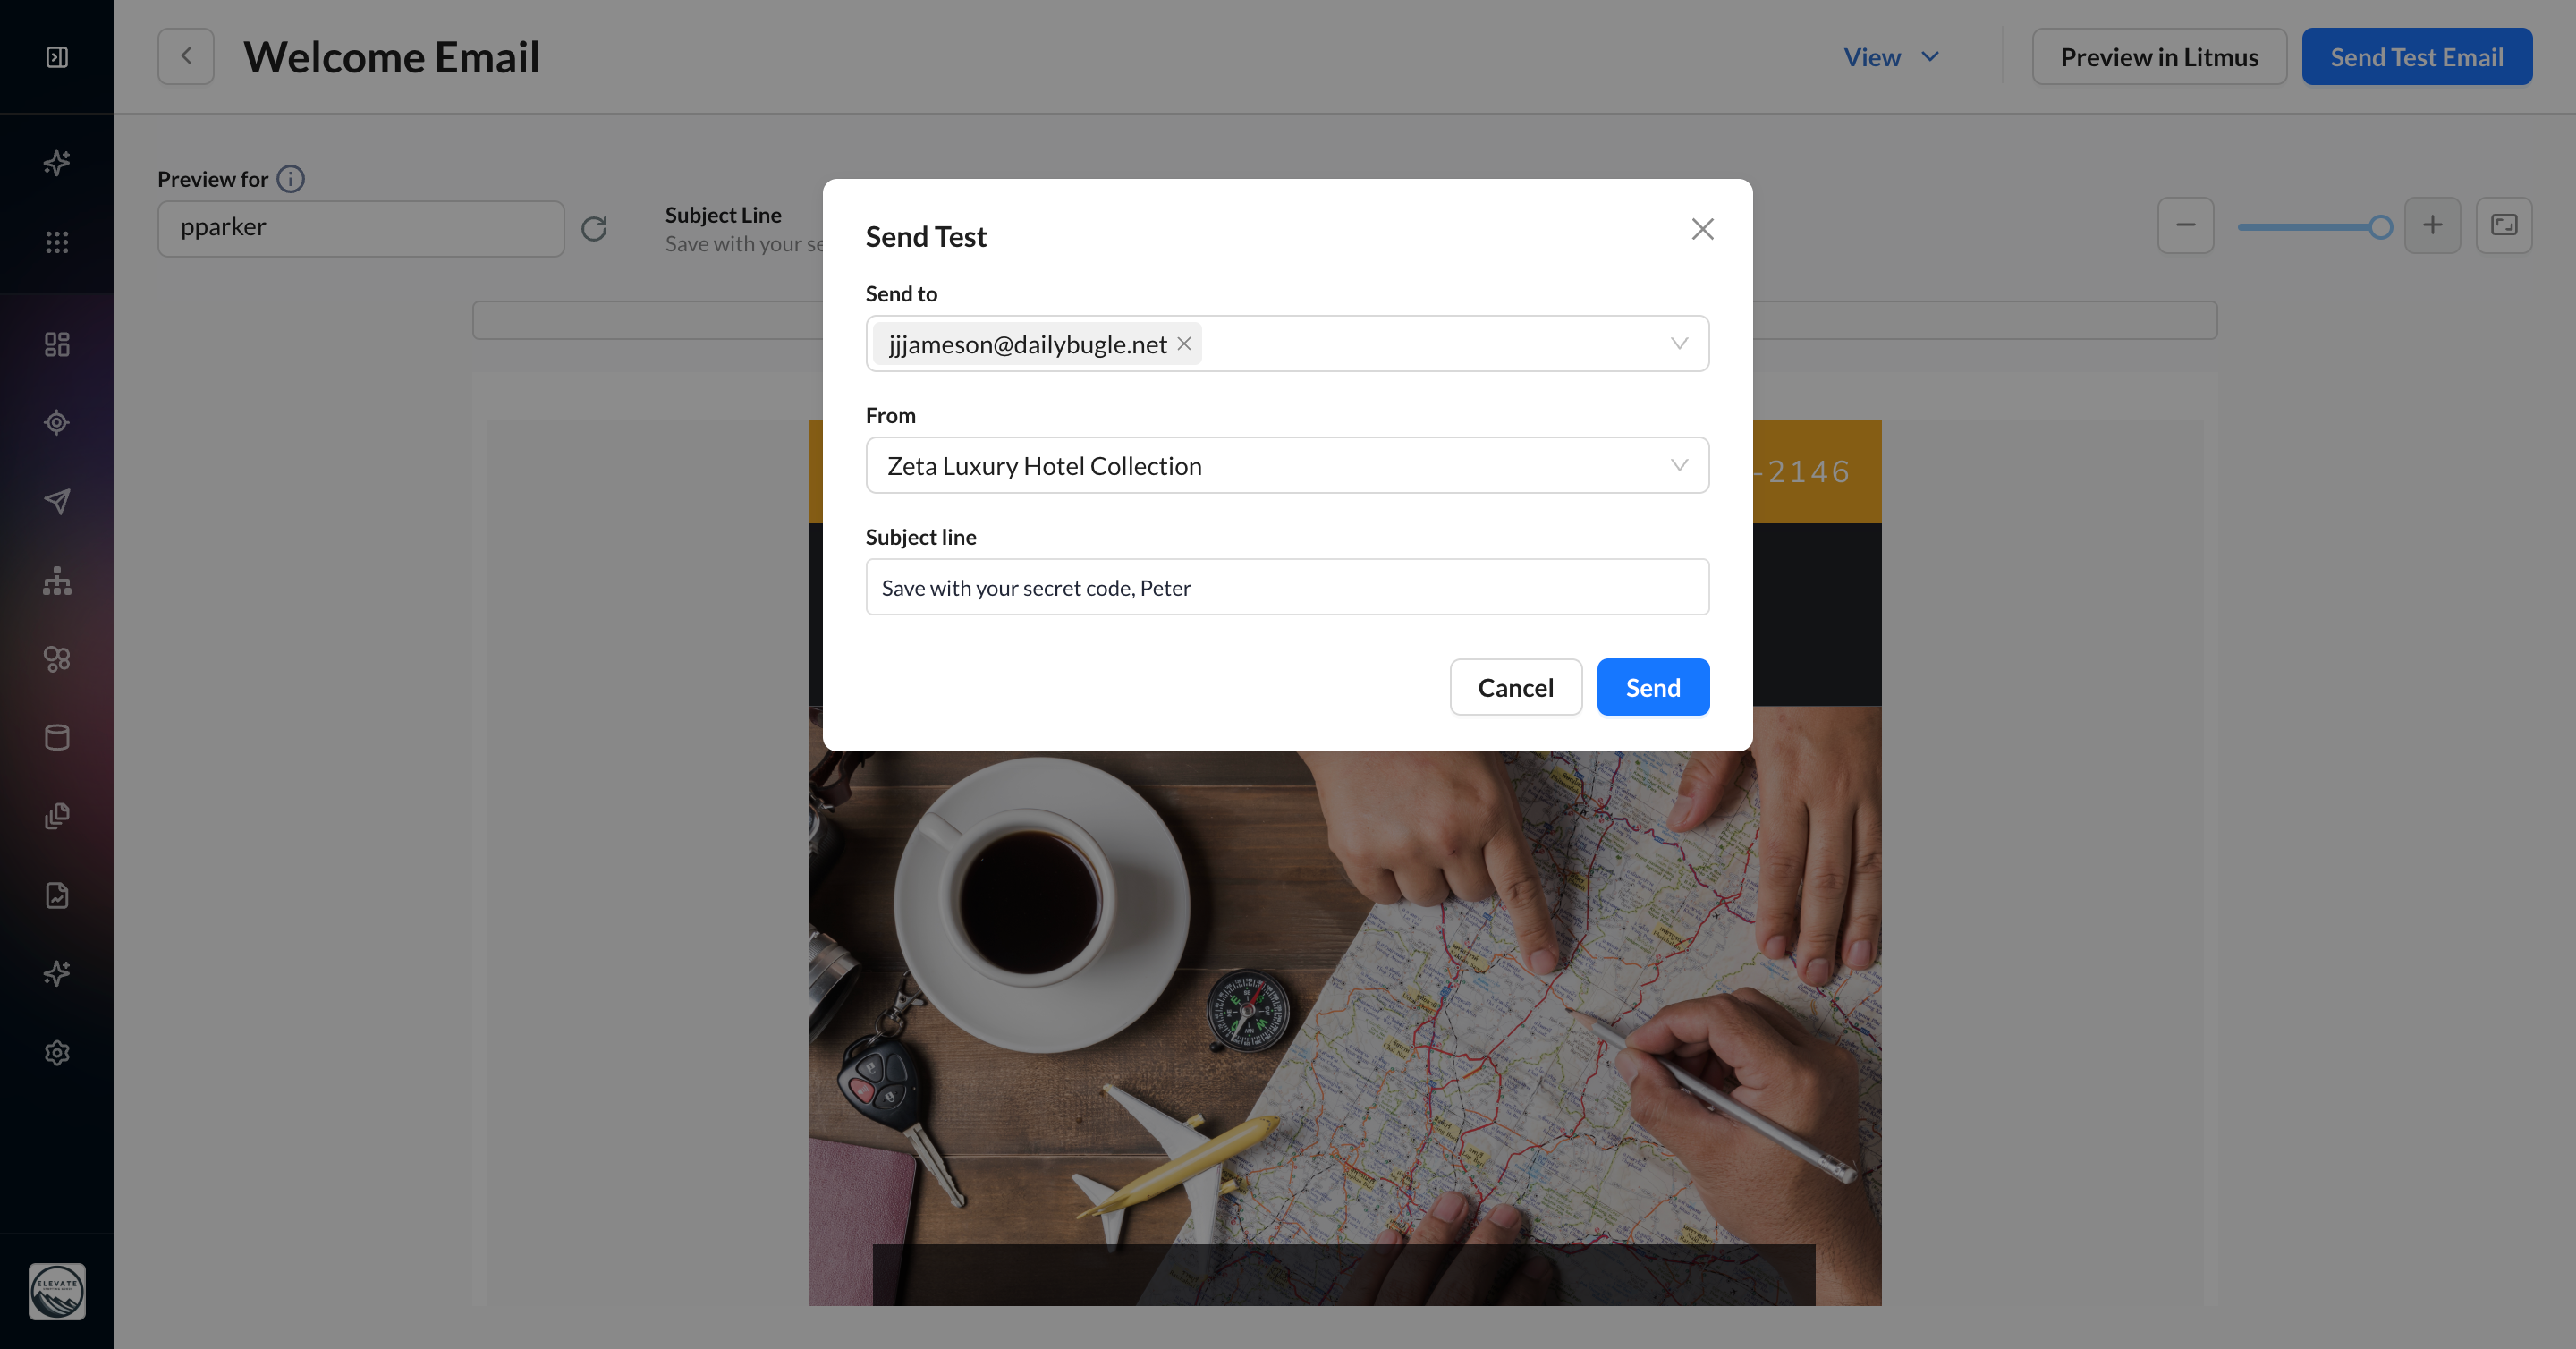
2. Add a subject line and email addresses in the To and From fields
3. Click on Send.
An alternative way to send Test Email proofs is from the campaigns directly:
1. Click Send Test on the Campaigns page.
2. Select the versions, channels, recipients, and audiences.
3. Click Send Test.
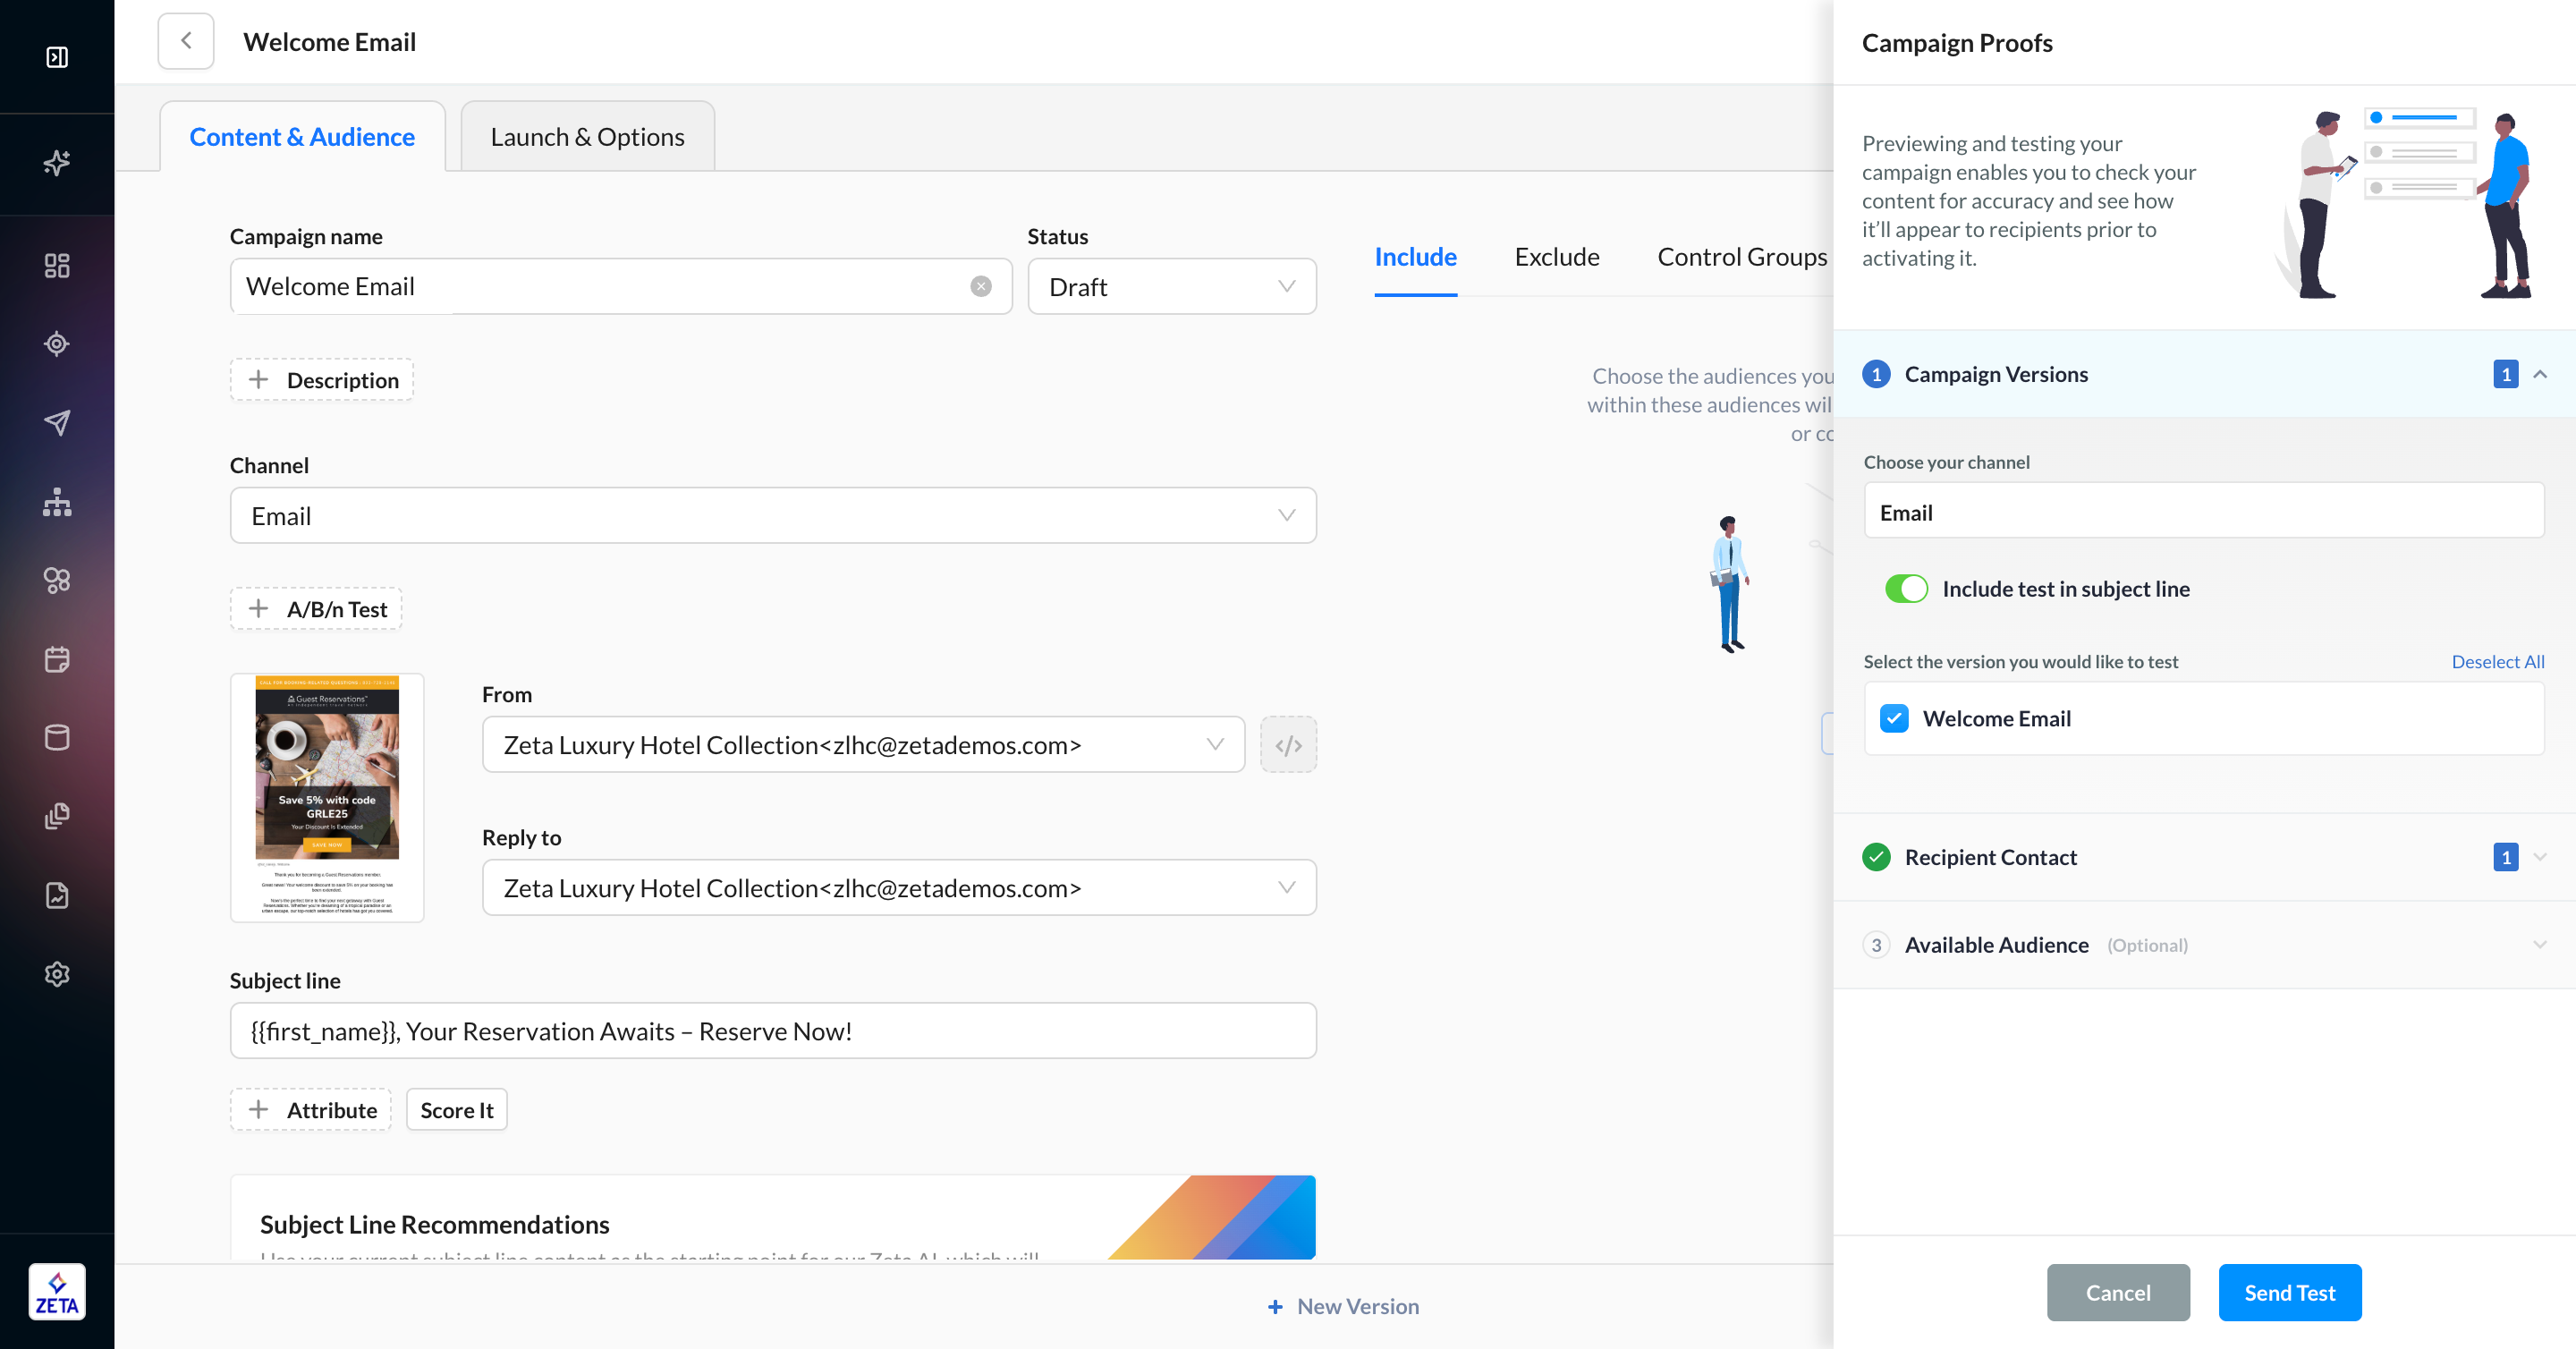
When you preview the content, you must use the uid instead of the email.
Template Version History
When editing standalone templates or templates in campaigns, each change is logged so that you can go back and see older versions of the template you’re working on. Audit details include the date, timestamp (to the millisecond), and user. Version History is available across all email editors (Visual Editor, HTML Editor, AI Visual Composer).
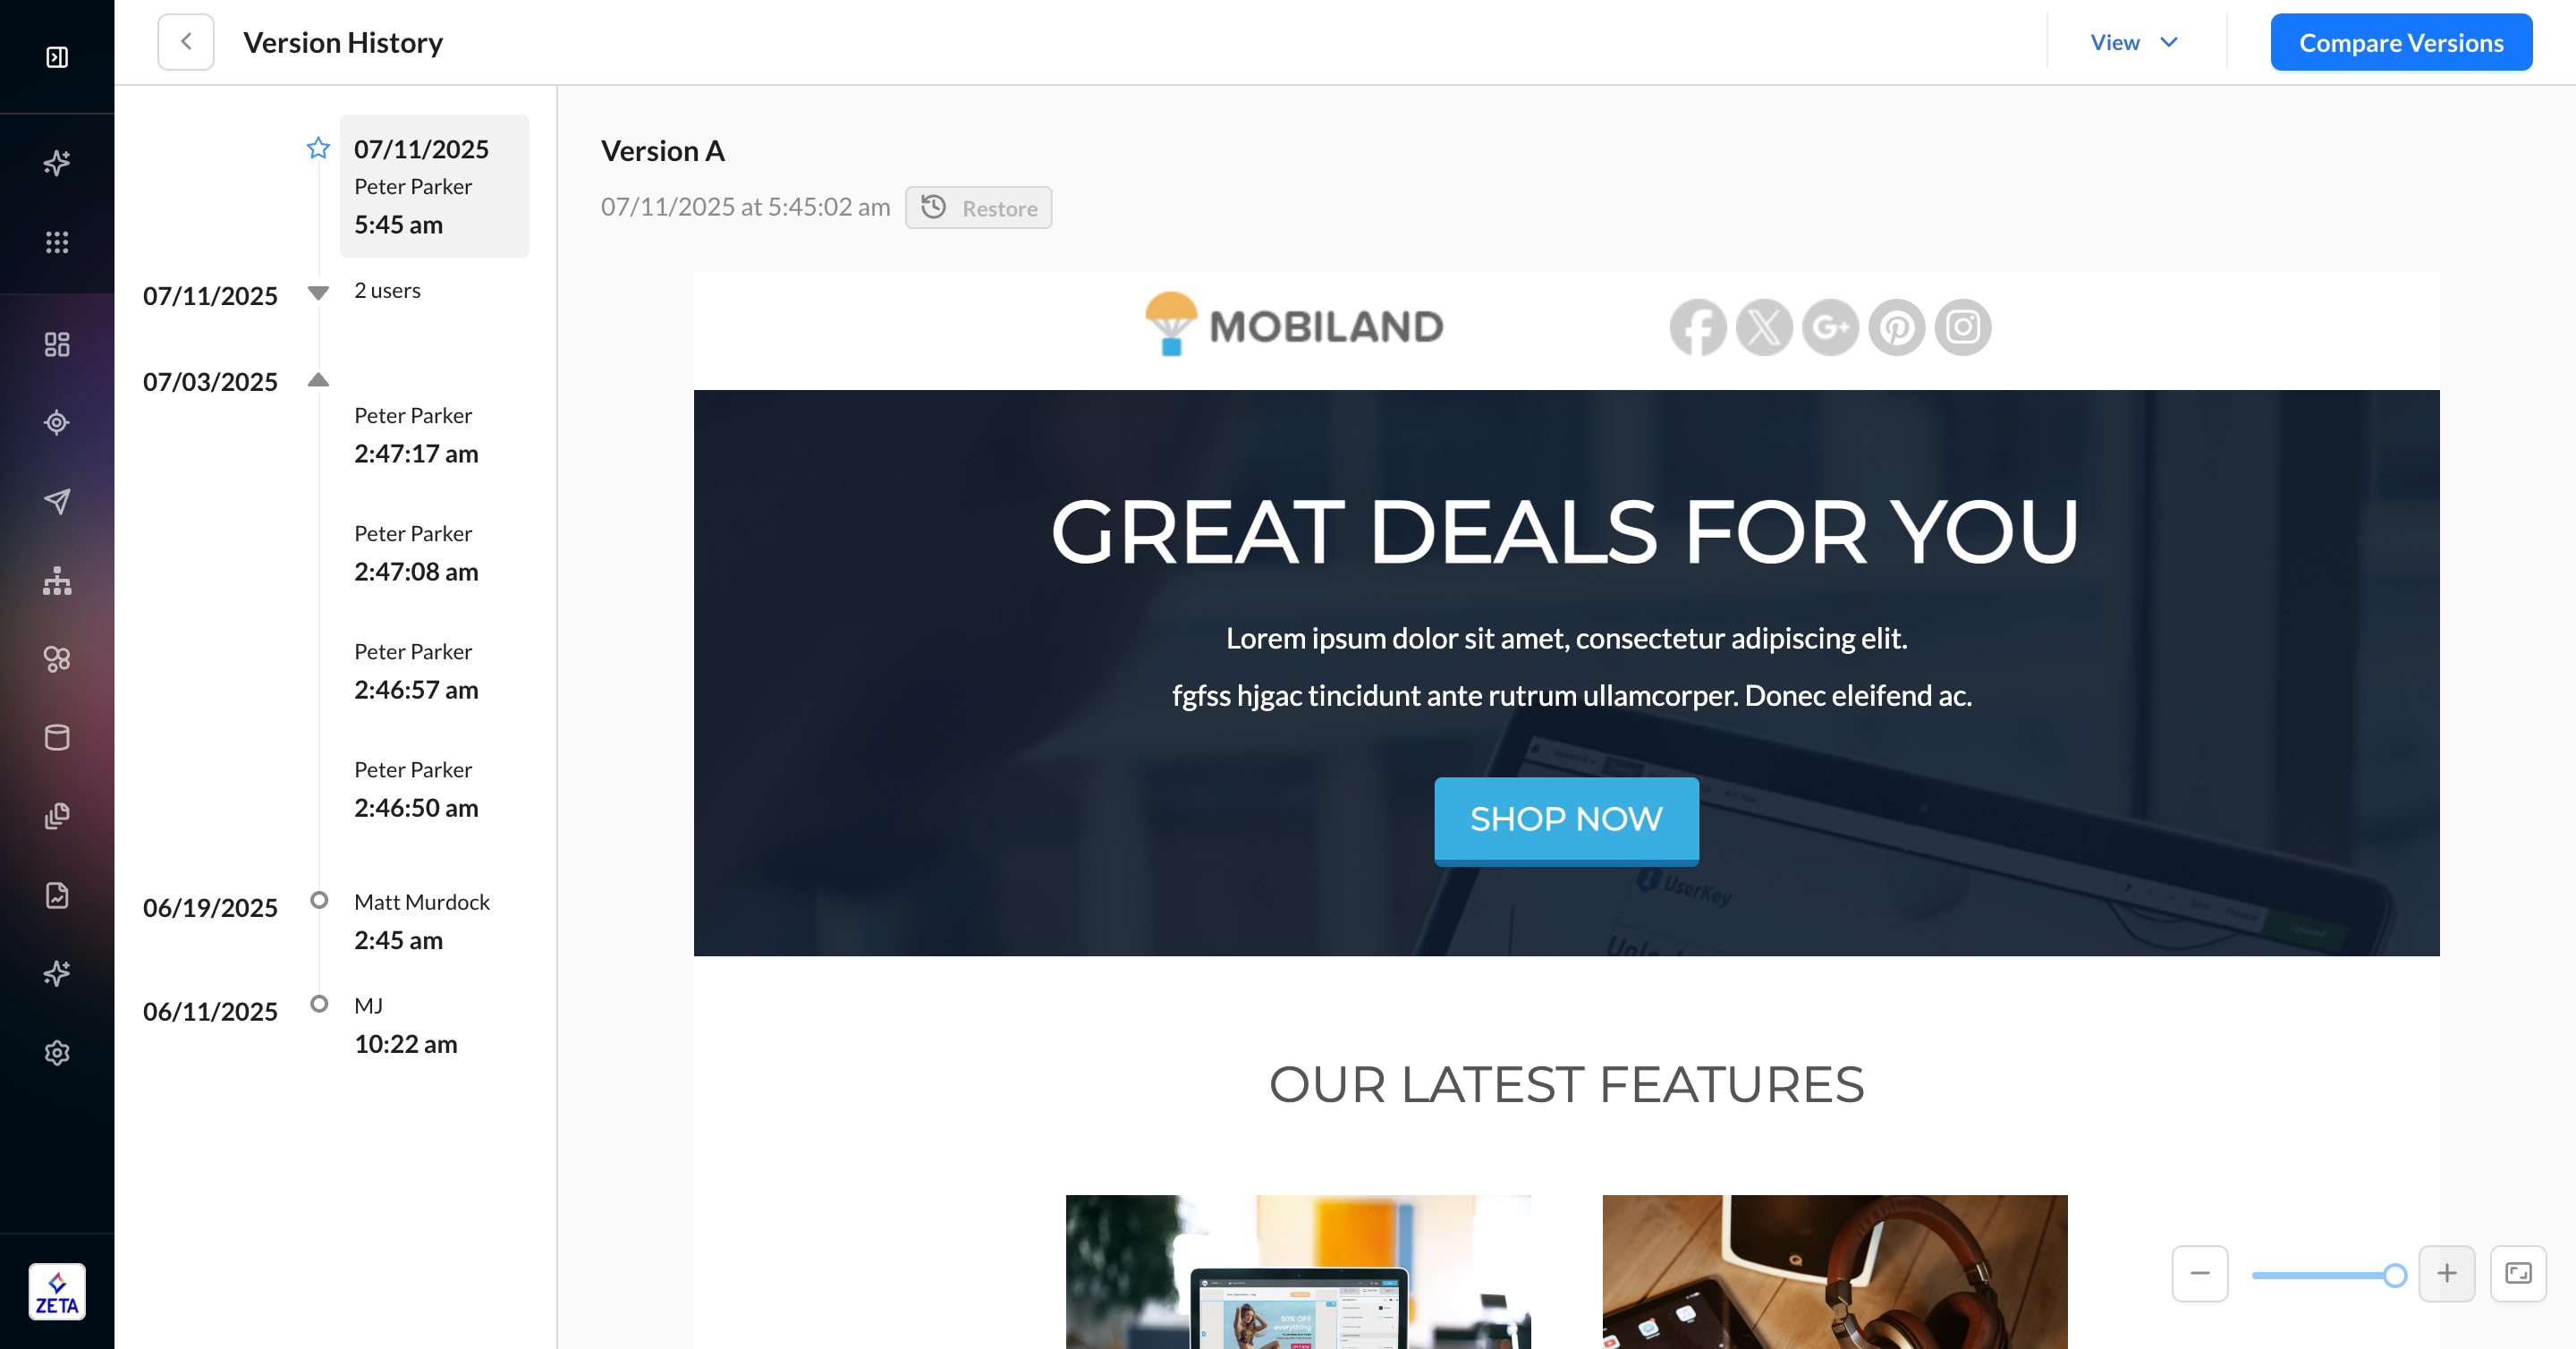
1. From the editor page, click the history icon to open the history view for this template.
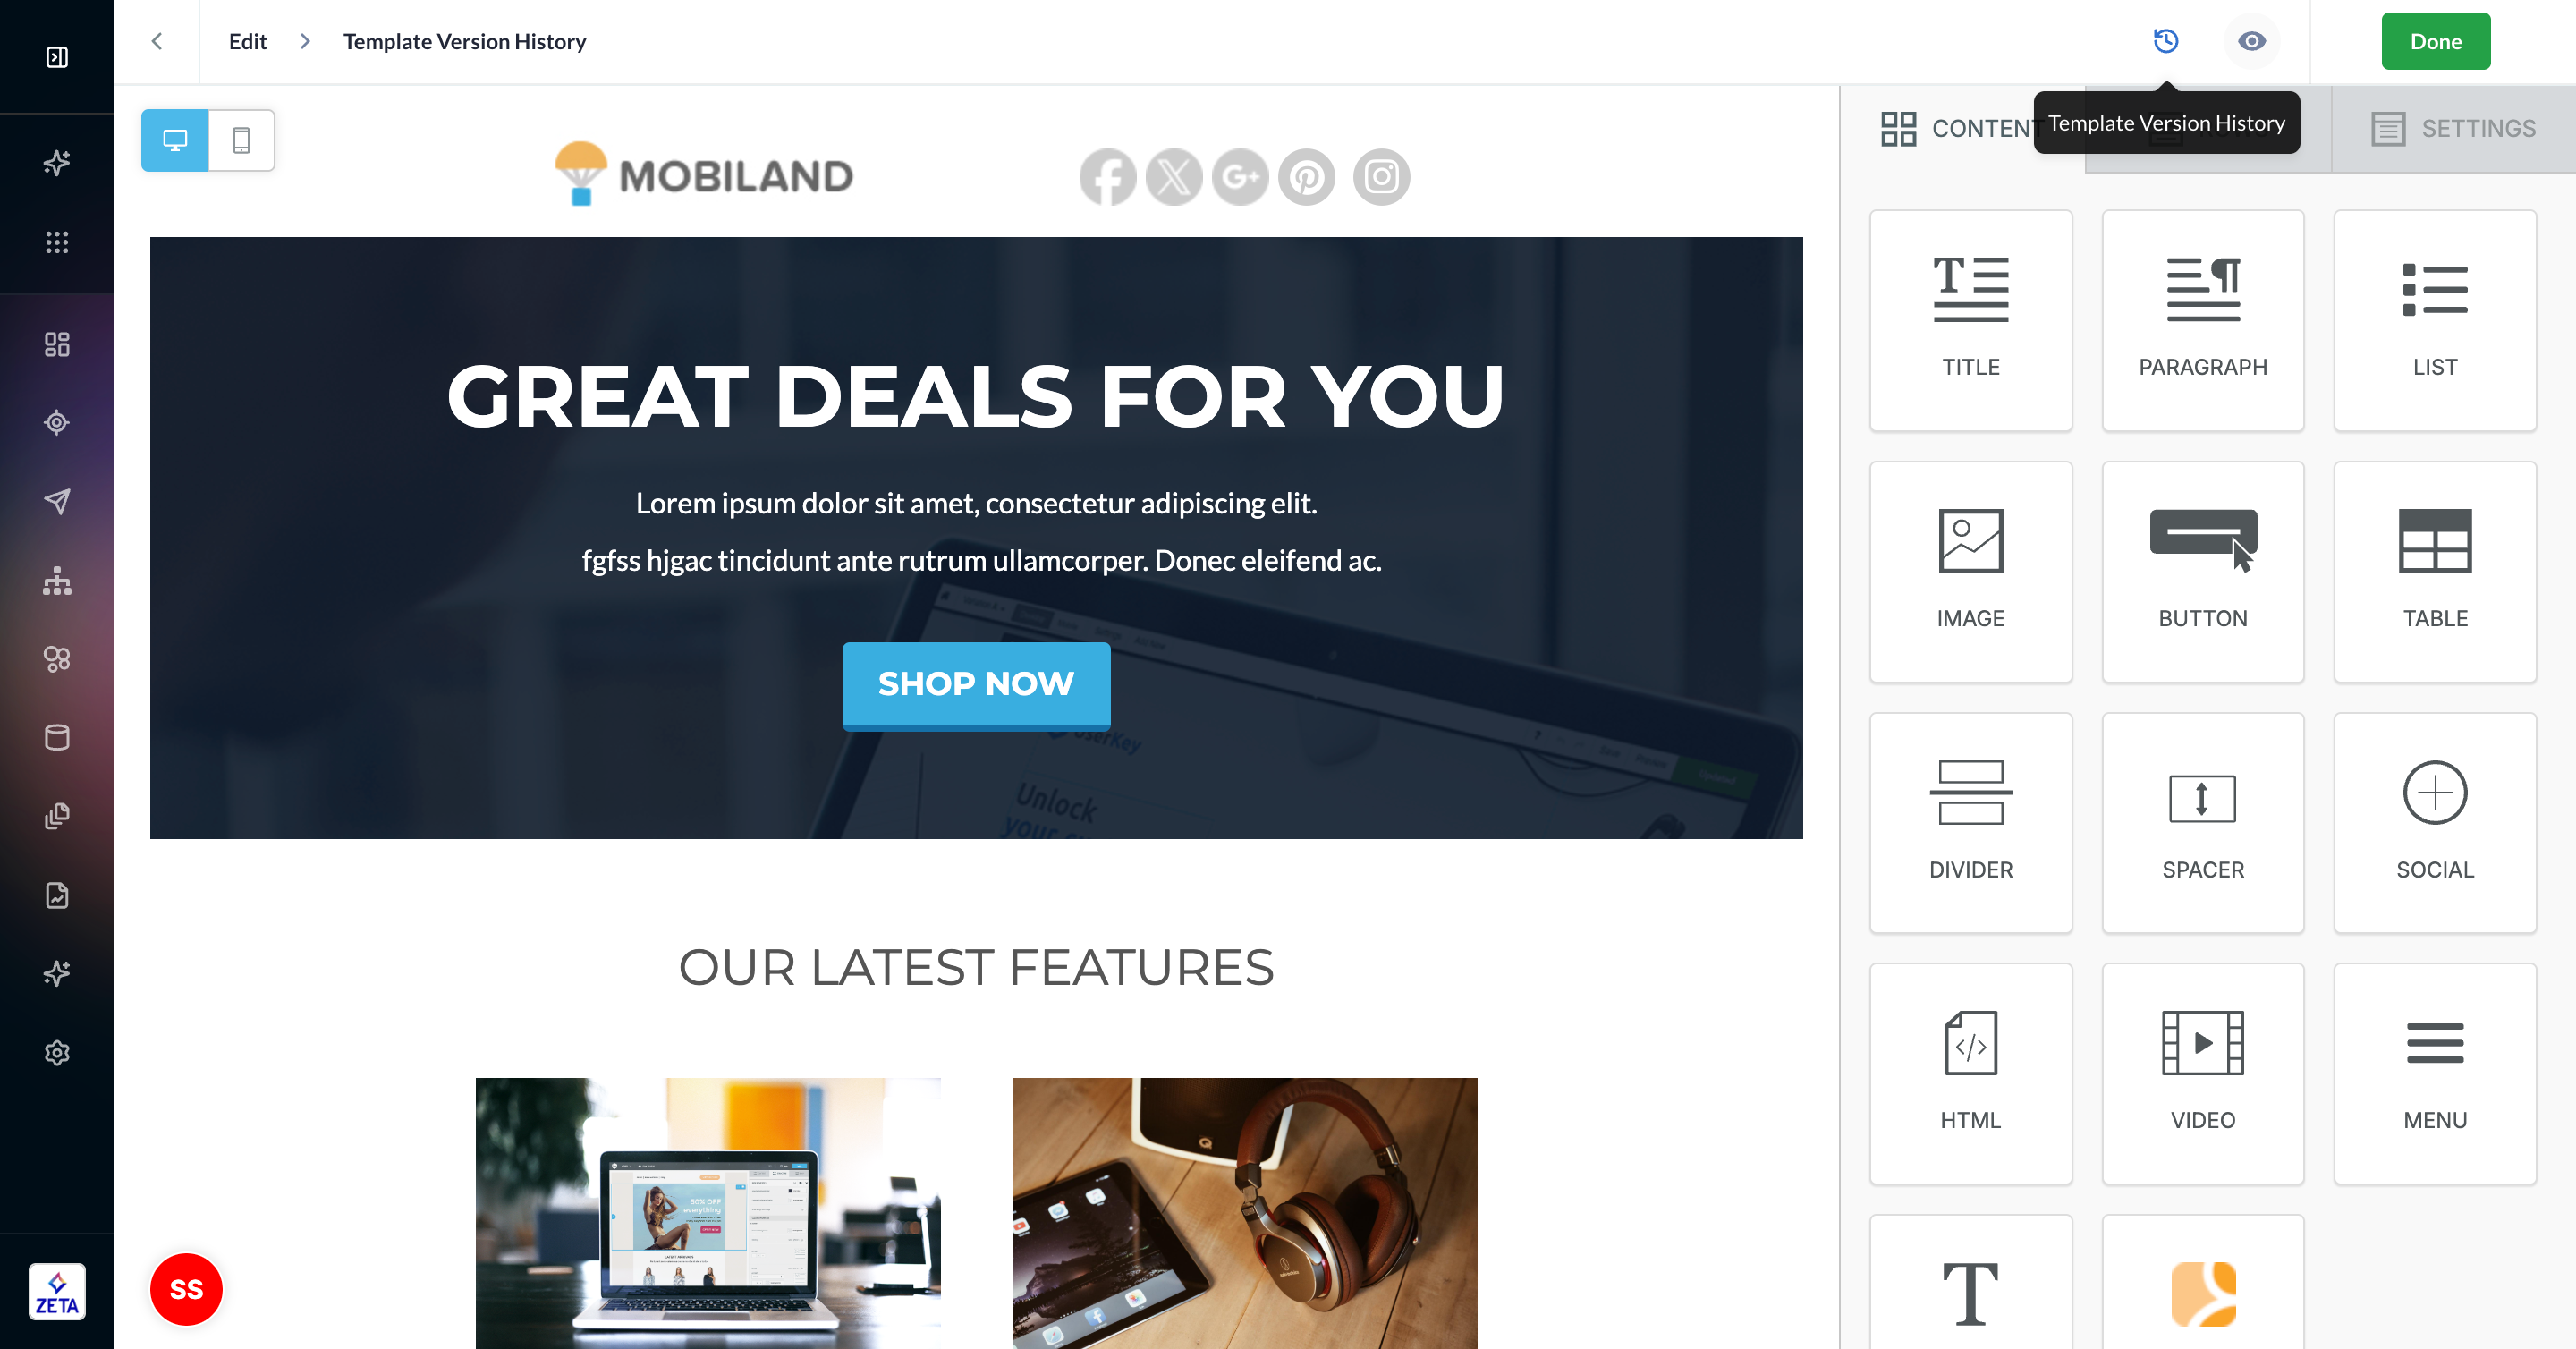
2. By default, the Version History page opens to the current version of the template. The timeline on the left-hand side lists each version that exists for this template, grouped by date. If there is more than 1 user who edited the template on a given date, you will see the number of users on the right-hand side of the timeline. You can click the down arrow to expand the group and see each version listed by timestamp to the millisecond, along with the user who made the changes. You can click on any version to display it.
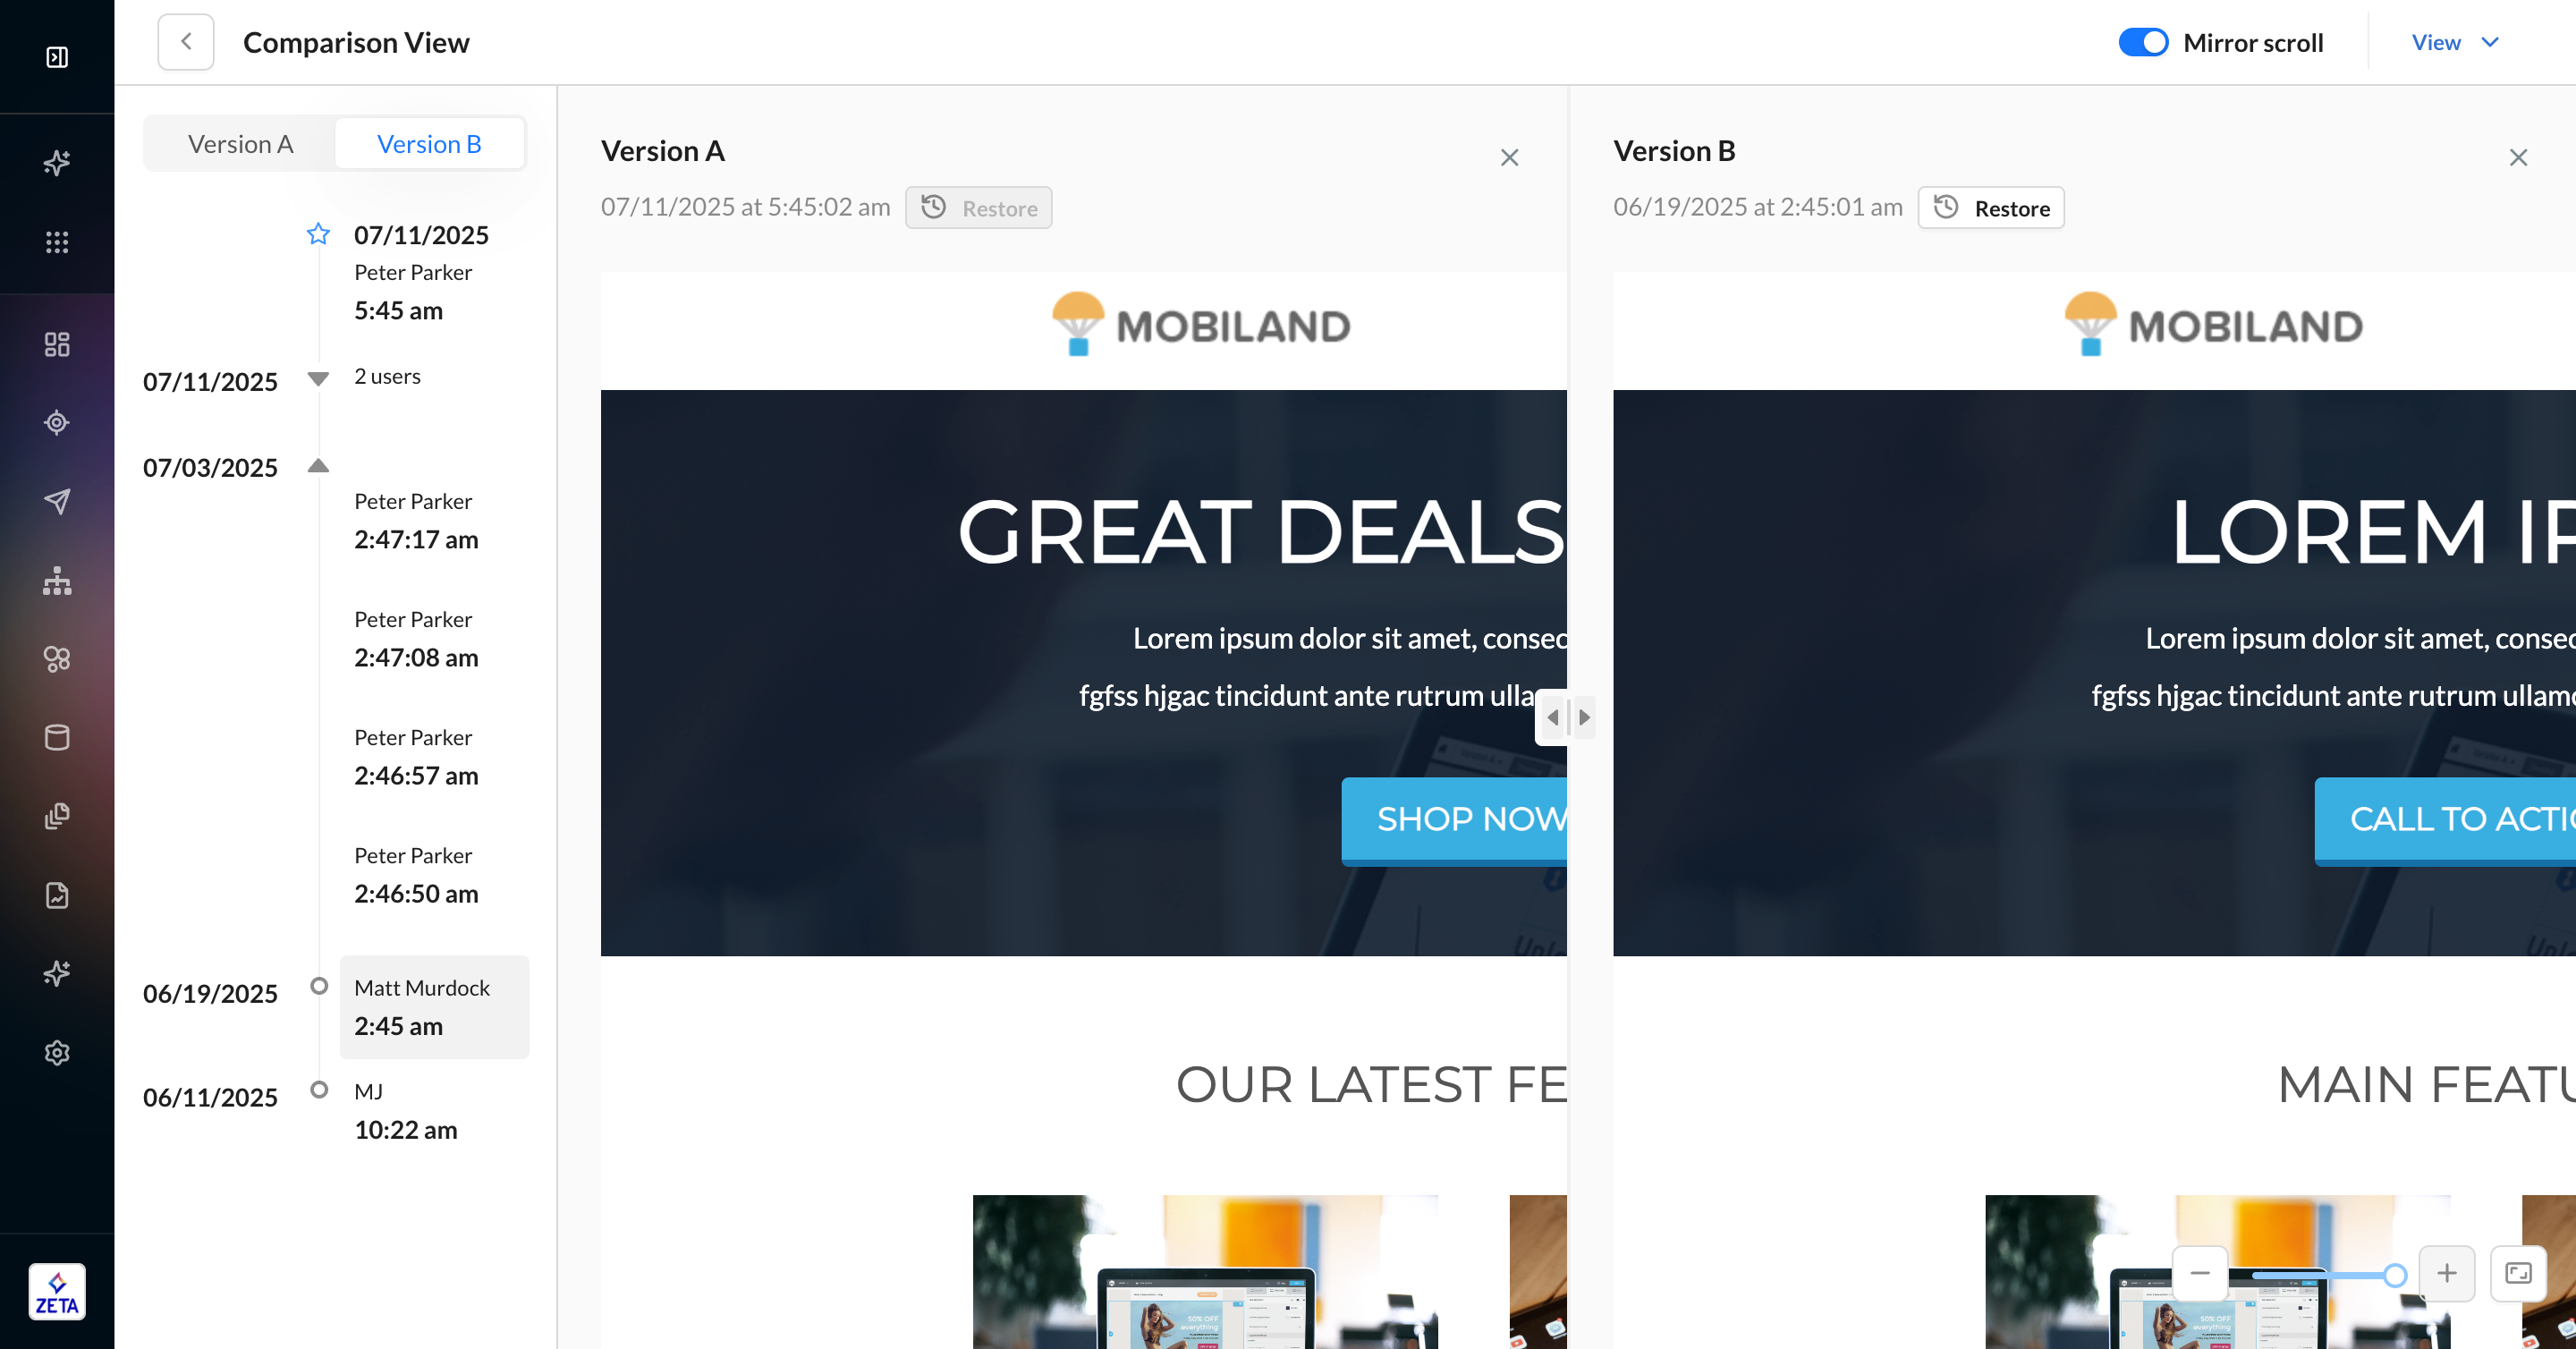
3. To compare 2 versions side by side, click Compare Versions. The version you were viewing will become Version A, and you can select a second version as Version B. You can toggle the switcher above the timeline to change your selection on either side. You can also adjust the size of each version using the slider in between them or toggle off Mirror scroll to allow each version to be scrolled individually.
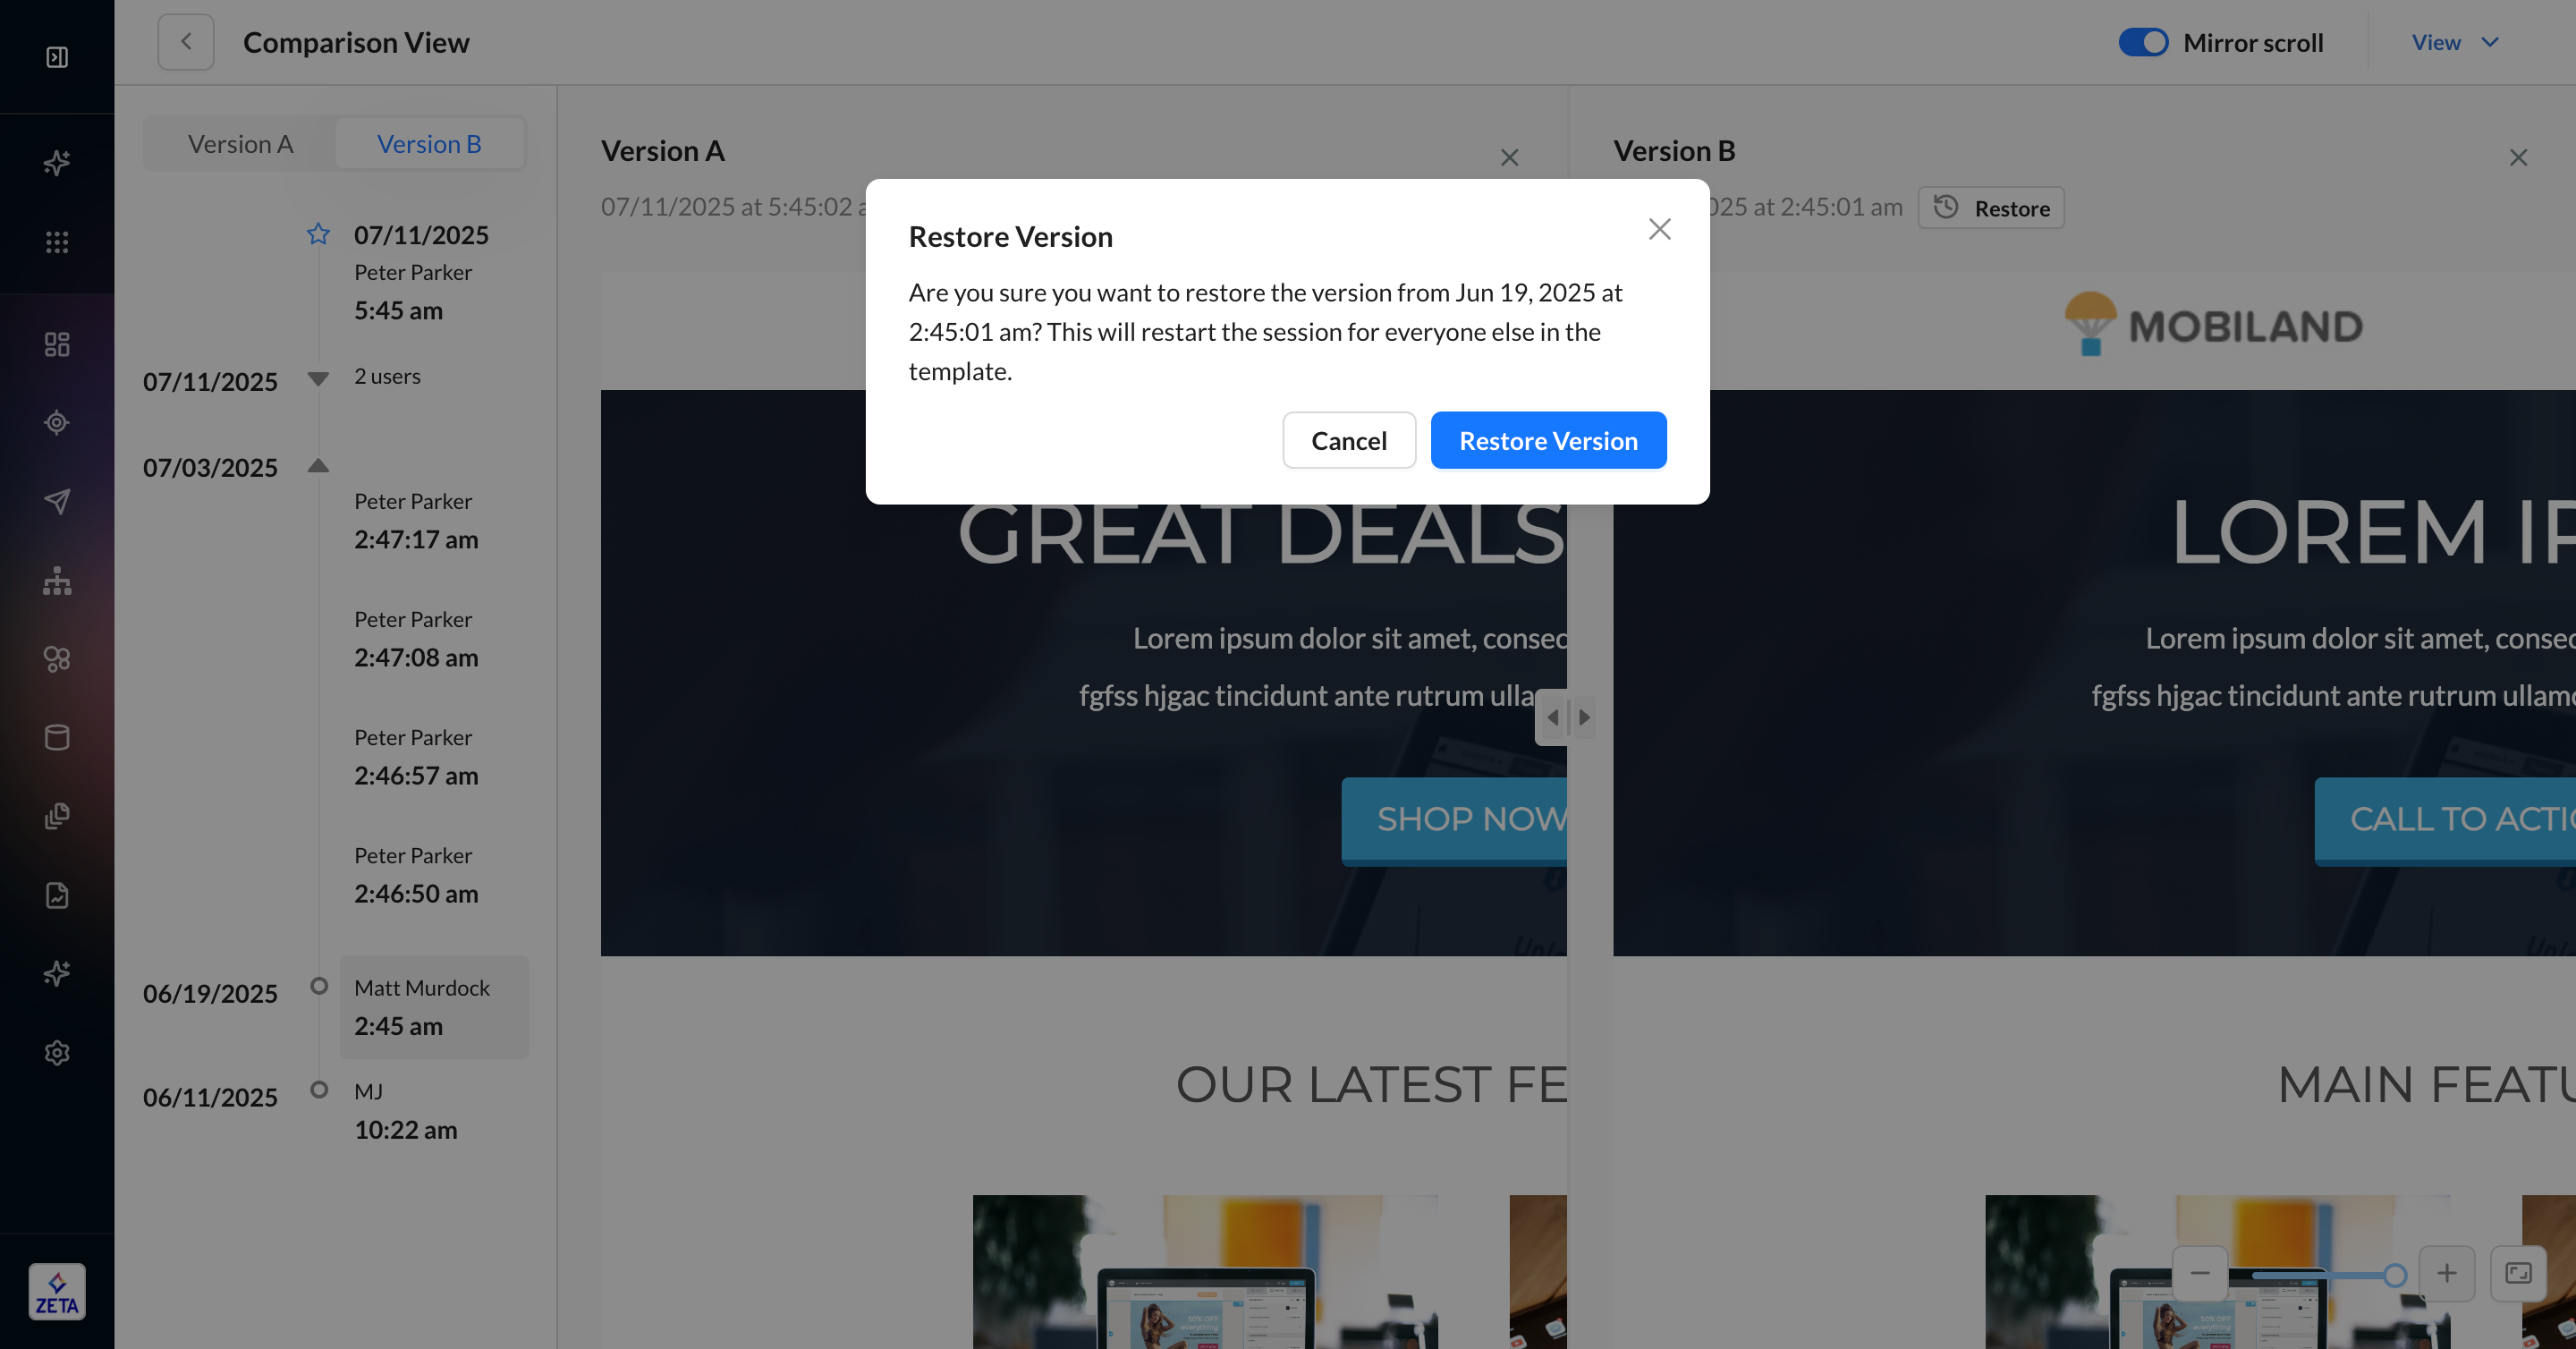
4. If you need to restore an older version of a template, click the Restore button next to the timestamp. You will be prompted to confirm your decision and also be reminded that anyone who is currently editing this template will have their session restarted with the newly restored template.
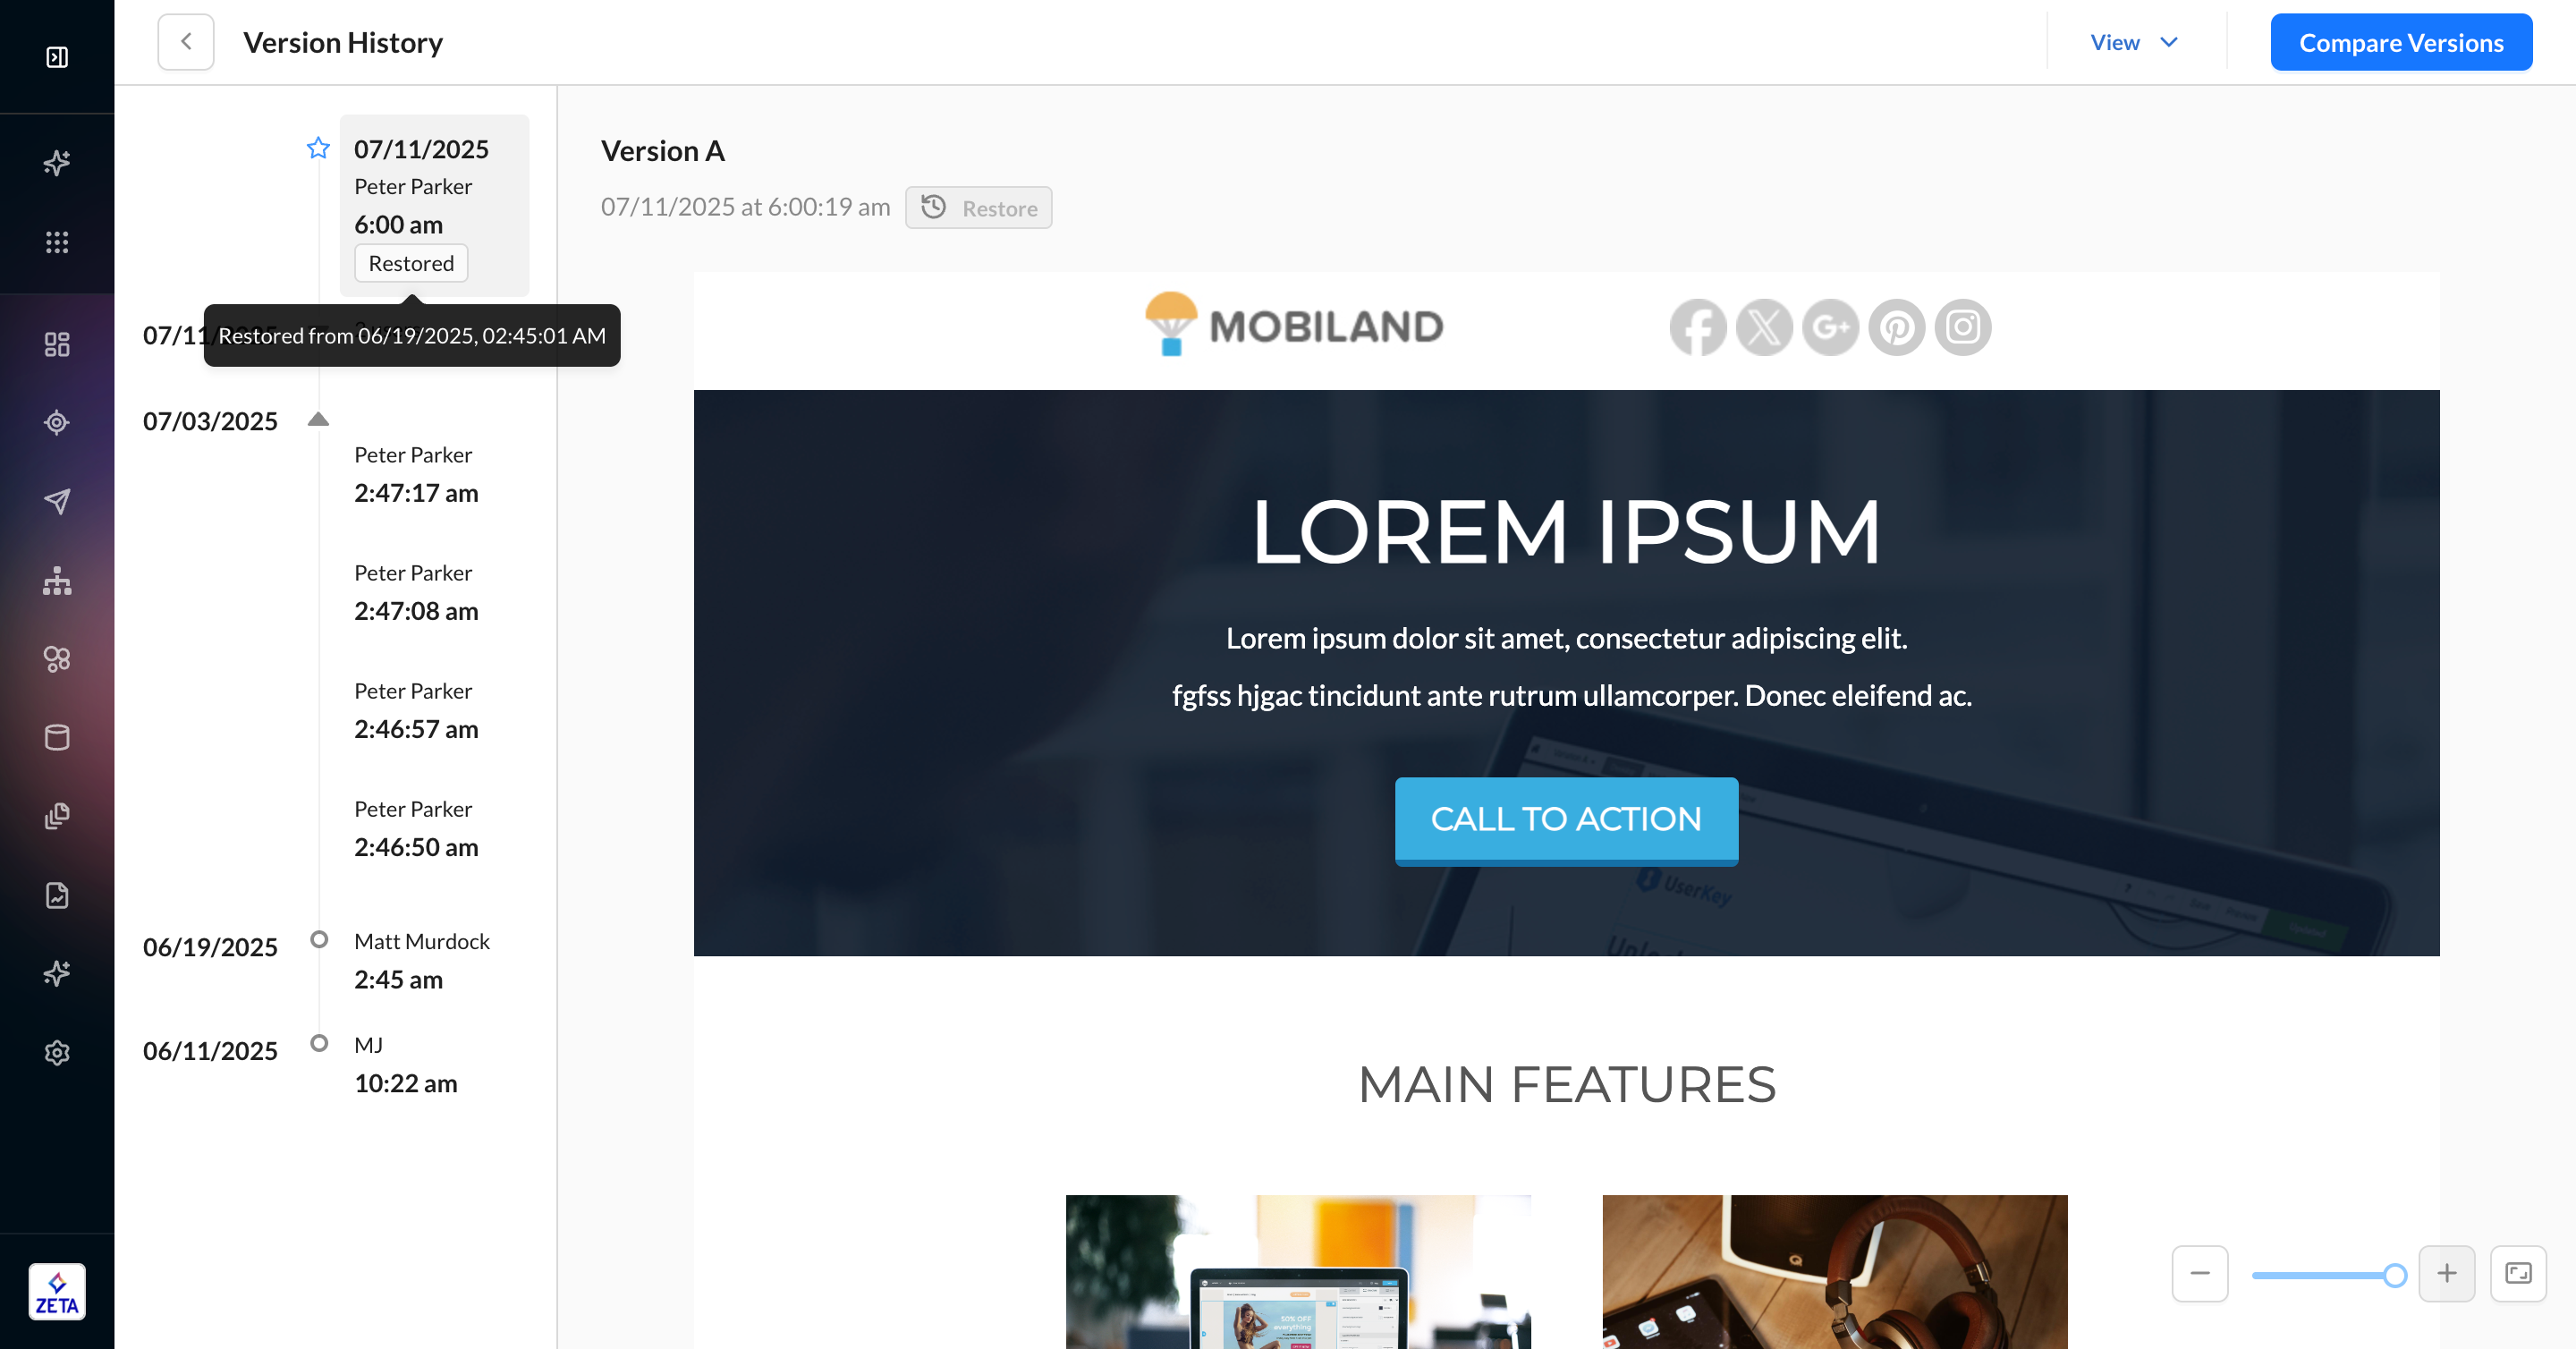
5. Upon restoring, you will be redirected to the editor with the newly restored template. This action is reflected in the Version History timeline with a Restored badge linking it to the timestamp of the version restored. All versions between the restored template and the current template remain intact and accessible in the Version History timeline.
Exporting Templates
Marketing templates can be reused over and over again. In some cases, you may want to export the HTML from the template to use on your local machine. You can do this by clicking the … menu > Export HTML in the top nav for any email editor.
This will open a panel that lets you export by downloading the HTML or copying it to your clipboard. You can choose to minify this HTML prior to export.
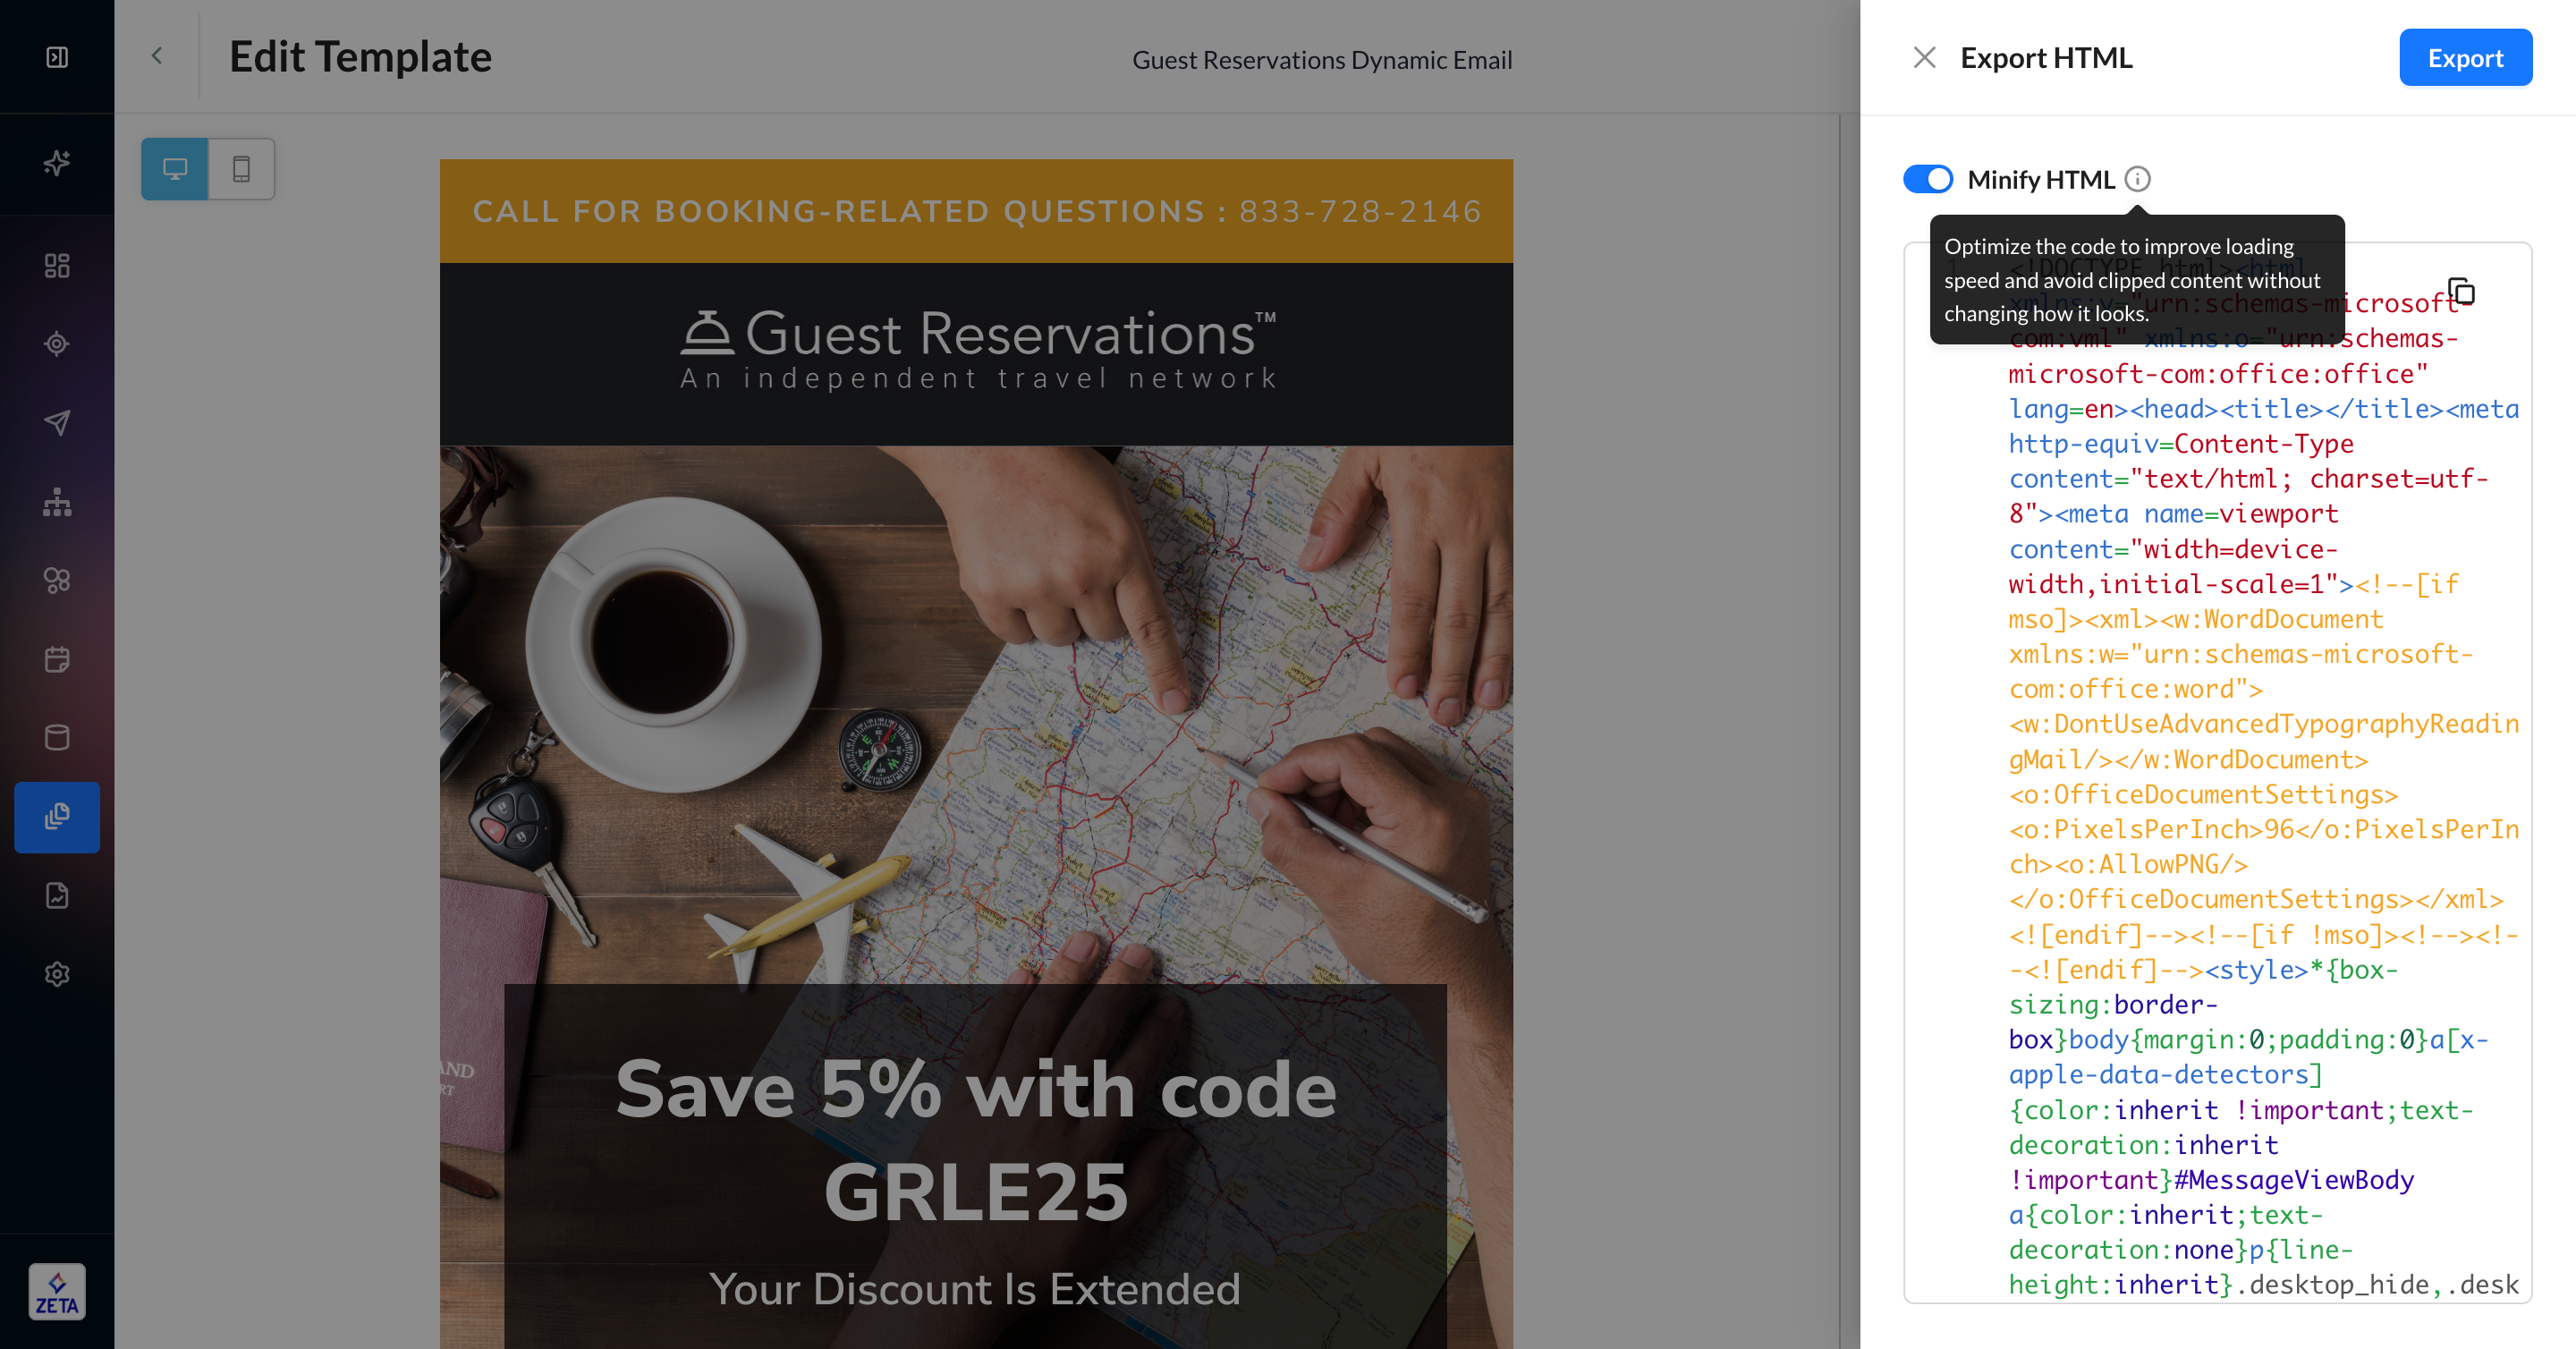
Exporting is only available for marketing templates, not messaging templates inside of campaigns.
Sharing Templates
To simplify testing across development and production accounts, you can share a template either as a copy or a linked copy to accounts within the same family structure.
On the Email Templates page, select a template and click Share from the tile menu.
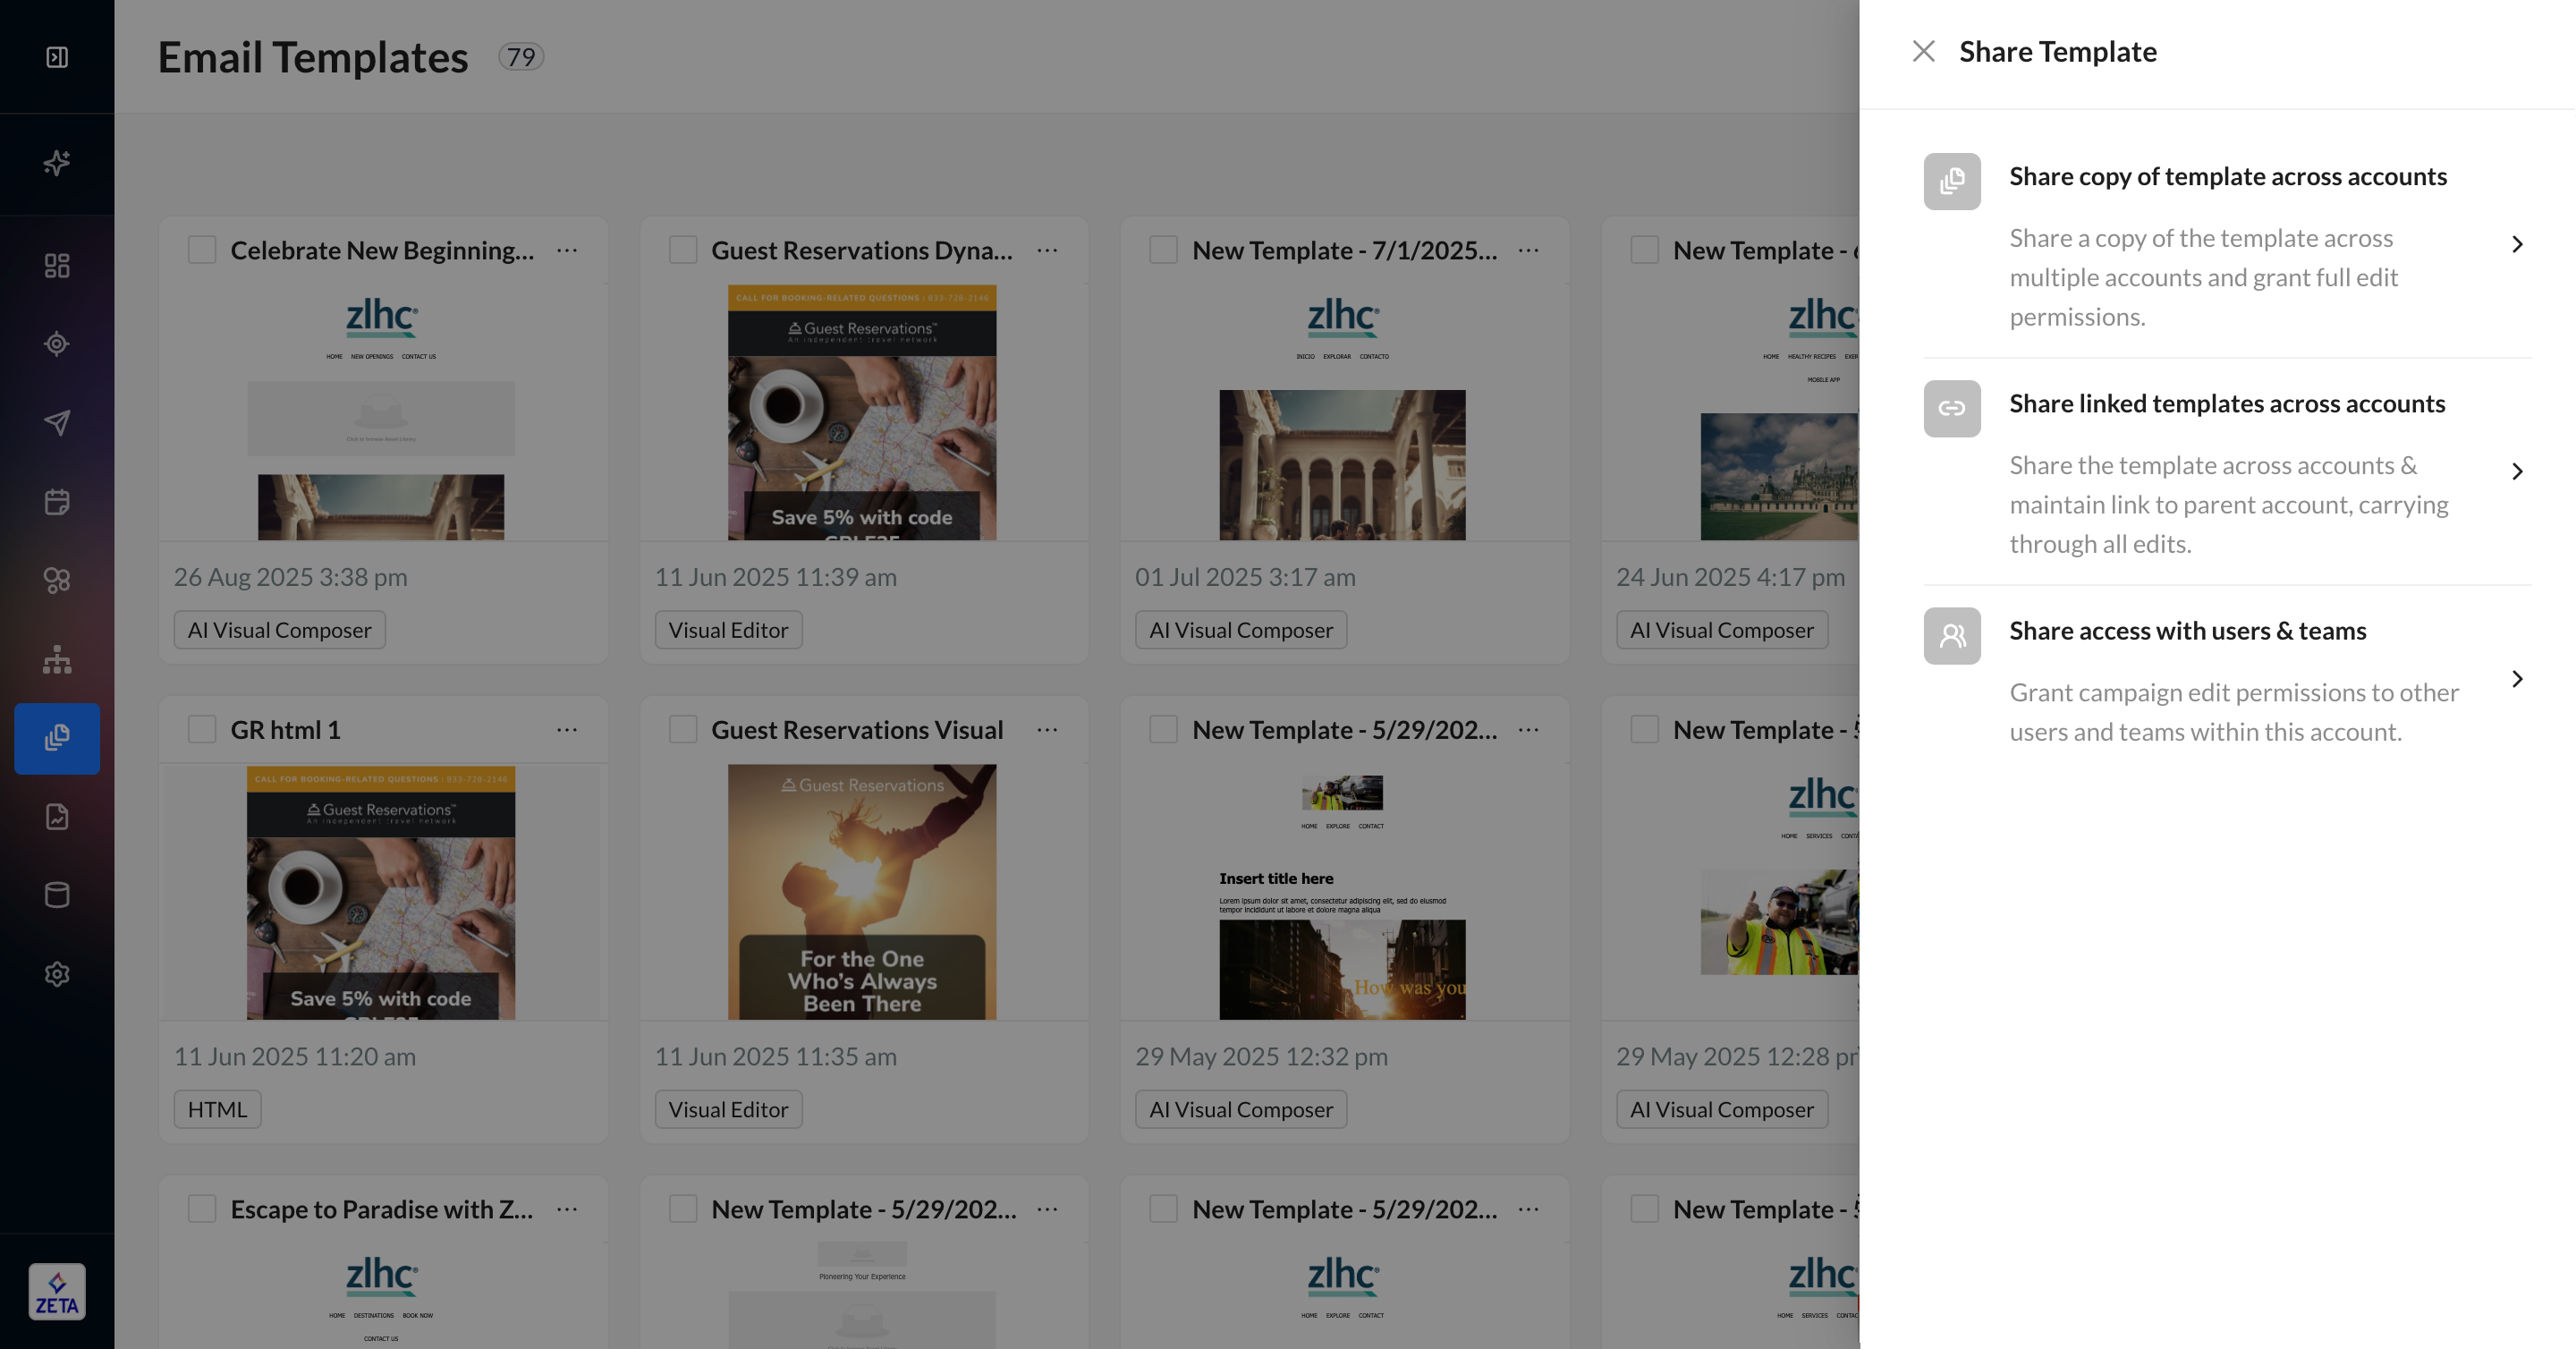
Share Template Copy: Create a duplicate of the template across accounts, with no link back to the original template.
Share Linked Template: Make the template available to be used in multiple accounts, where all content is controlled by the original template. You cannot make changes to a linked template in the accounts that are linked.
Share access with users & teams is a separate feature from template sharing. Learn more about Selective Access.
Shared snippets cannot be previewed or opened within the receiving account. However, they remain fully usable for content creation in that account. To view or edit a snippet, you must access it from the account where it was originally created.
Share Template Copy
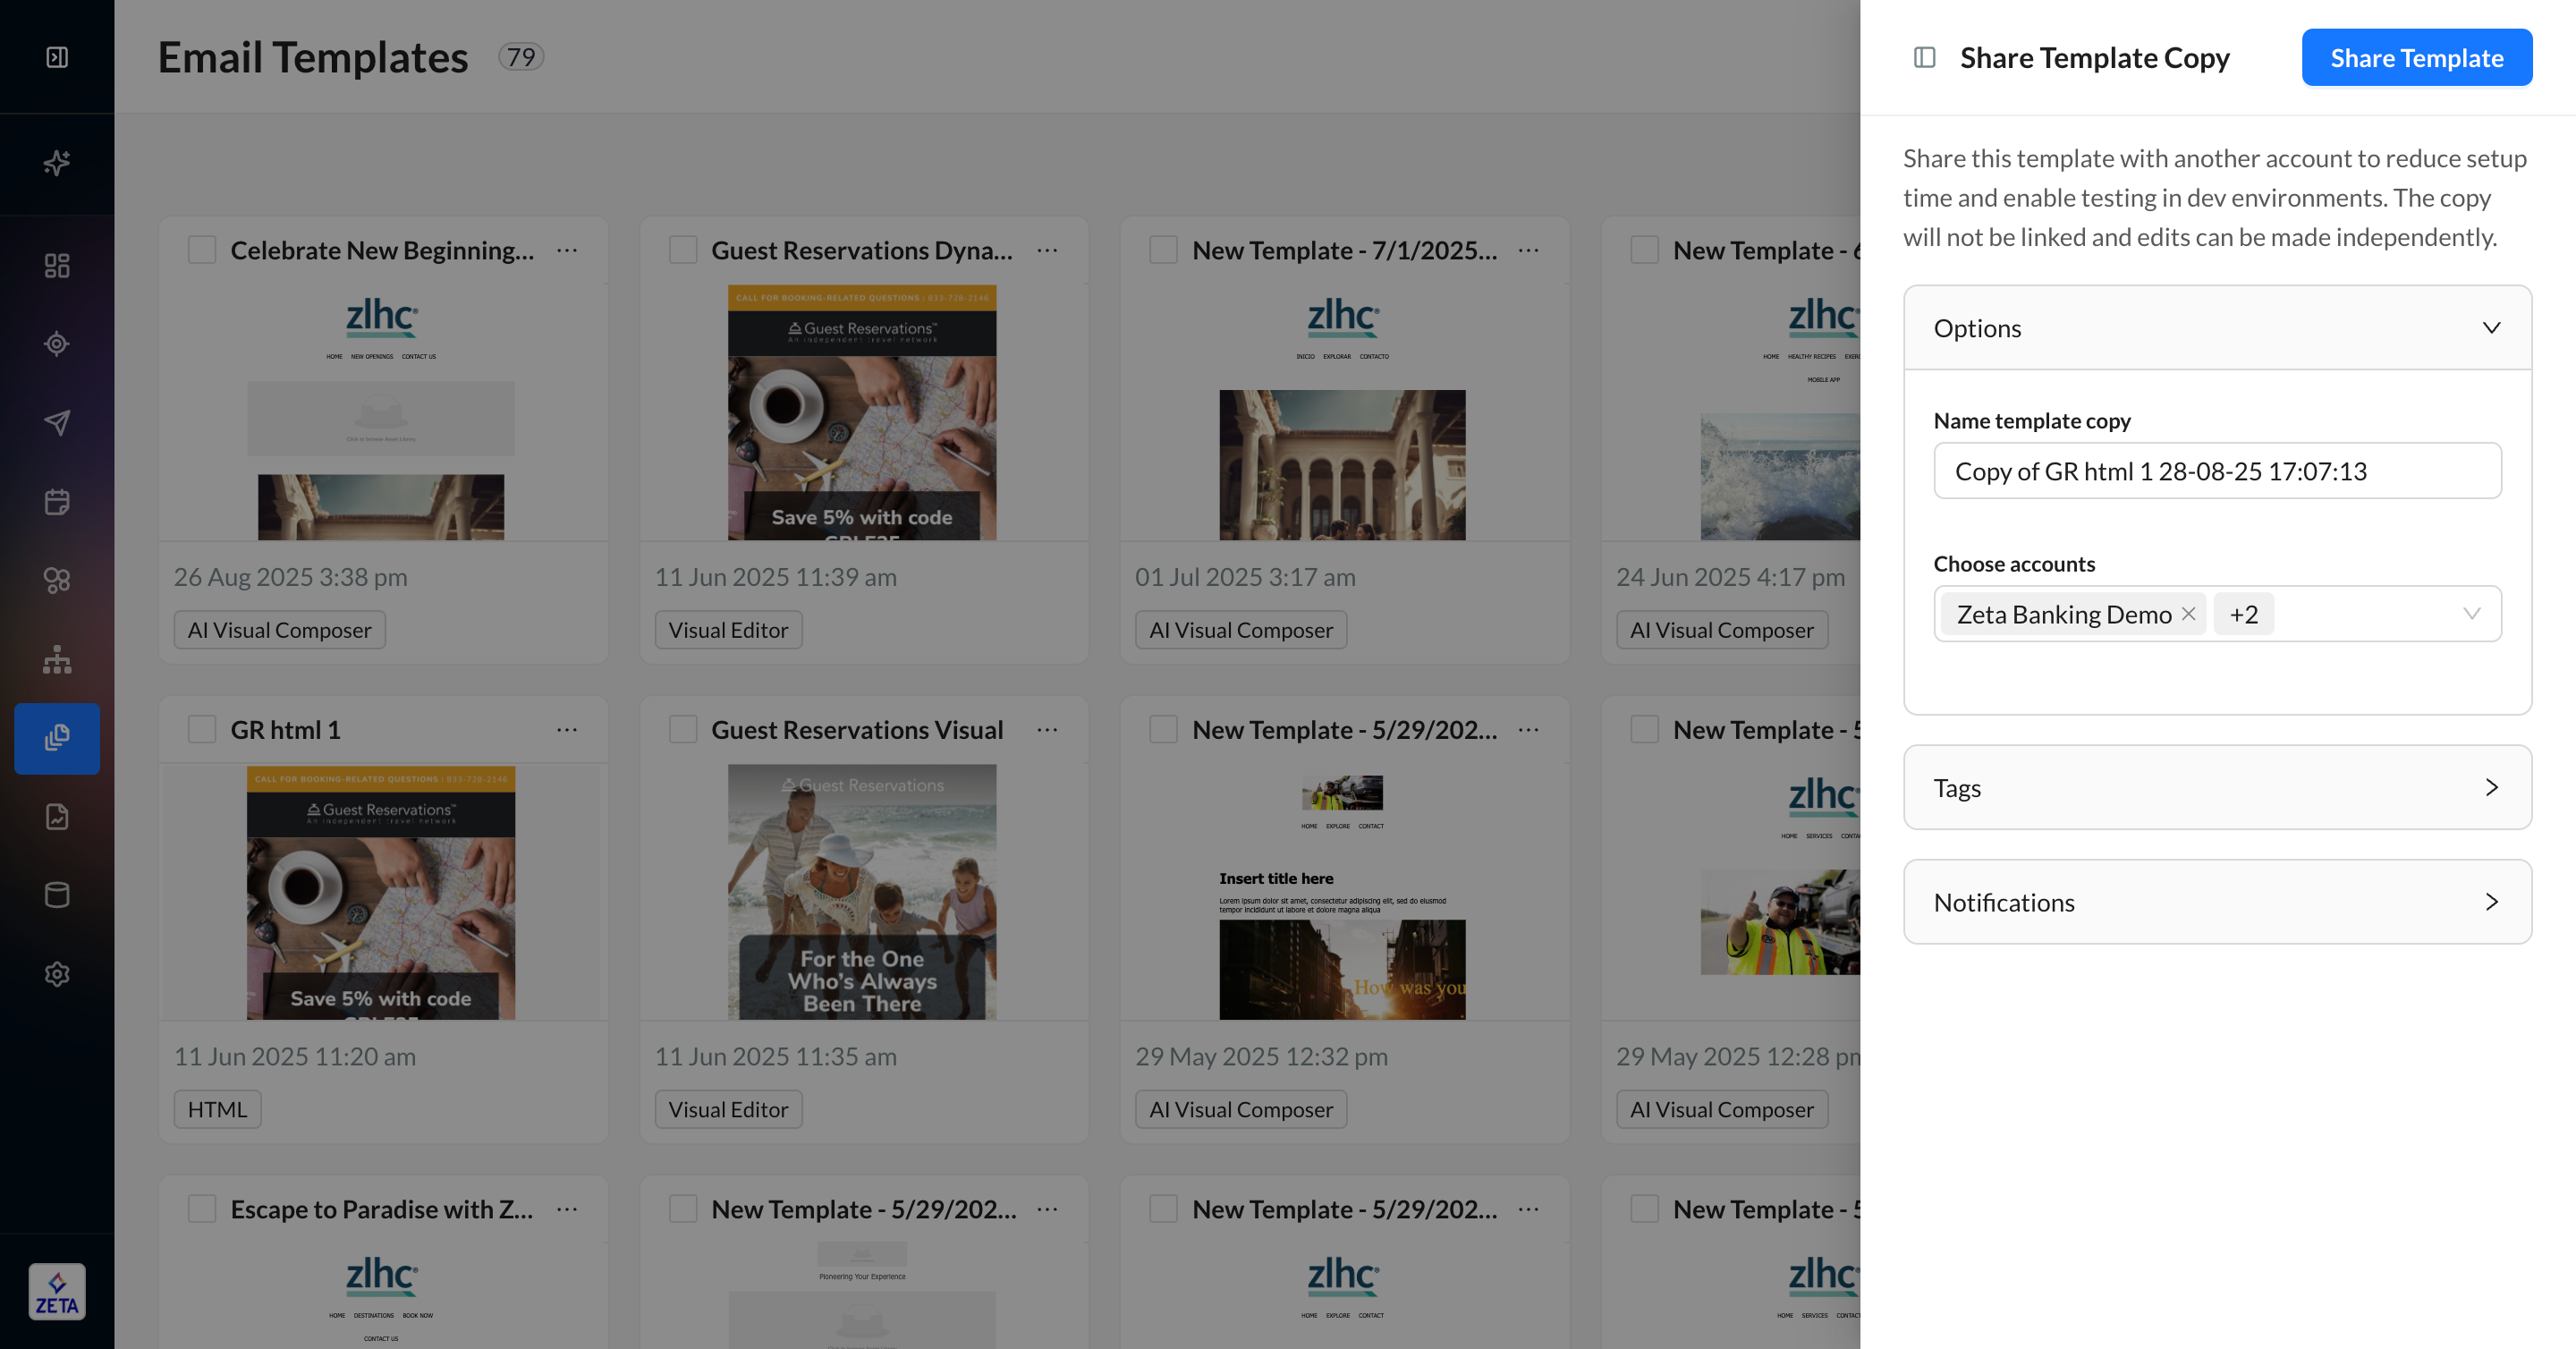
1. Clicking Share copy of template across accounts will allow you to configure a new template name and select the accounts you want to share this new template with. You can optionally add tags or a notification to your teammates.
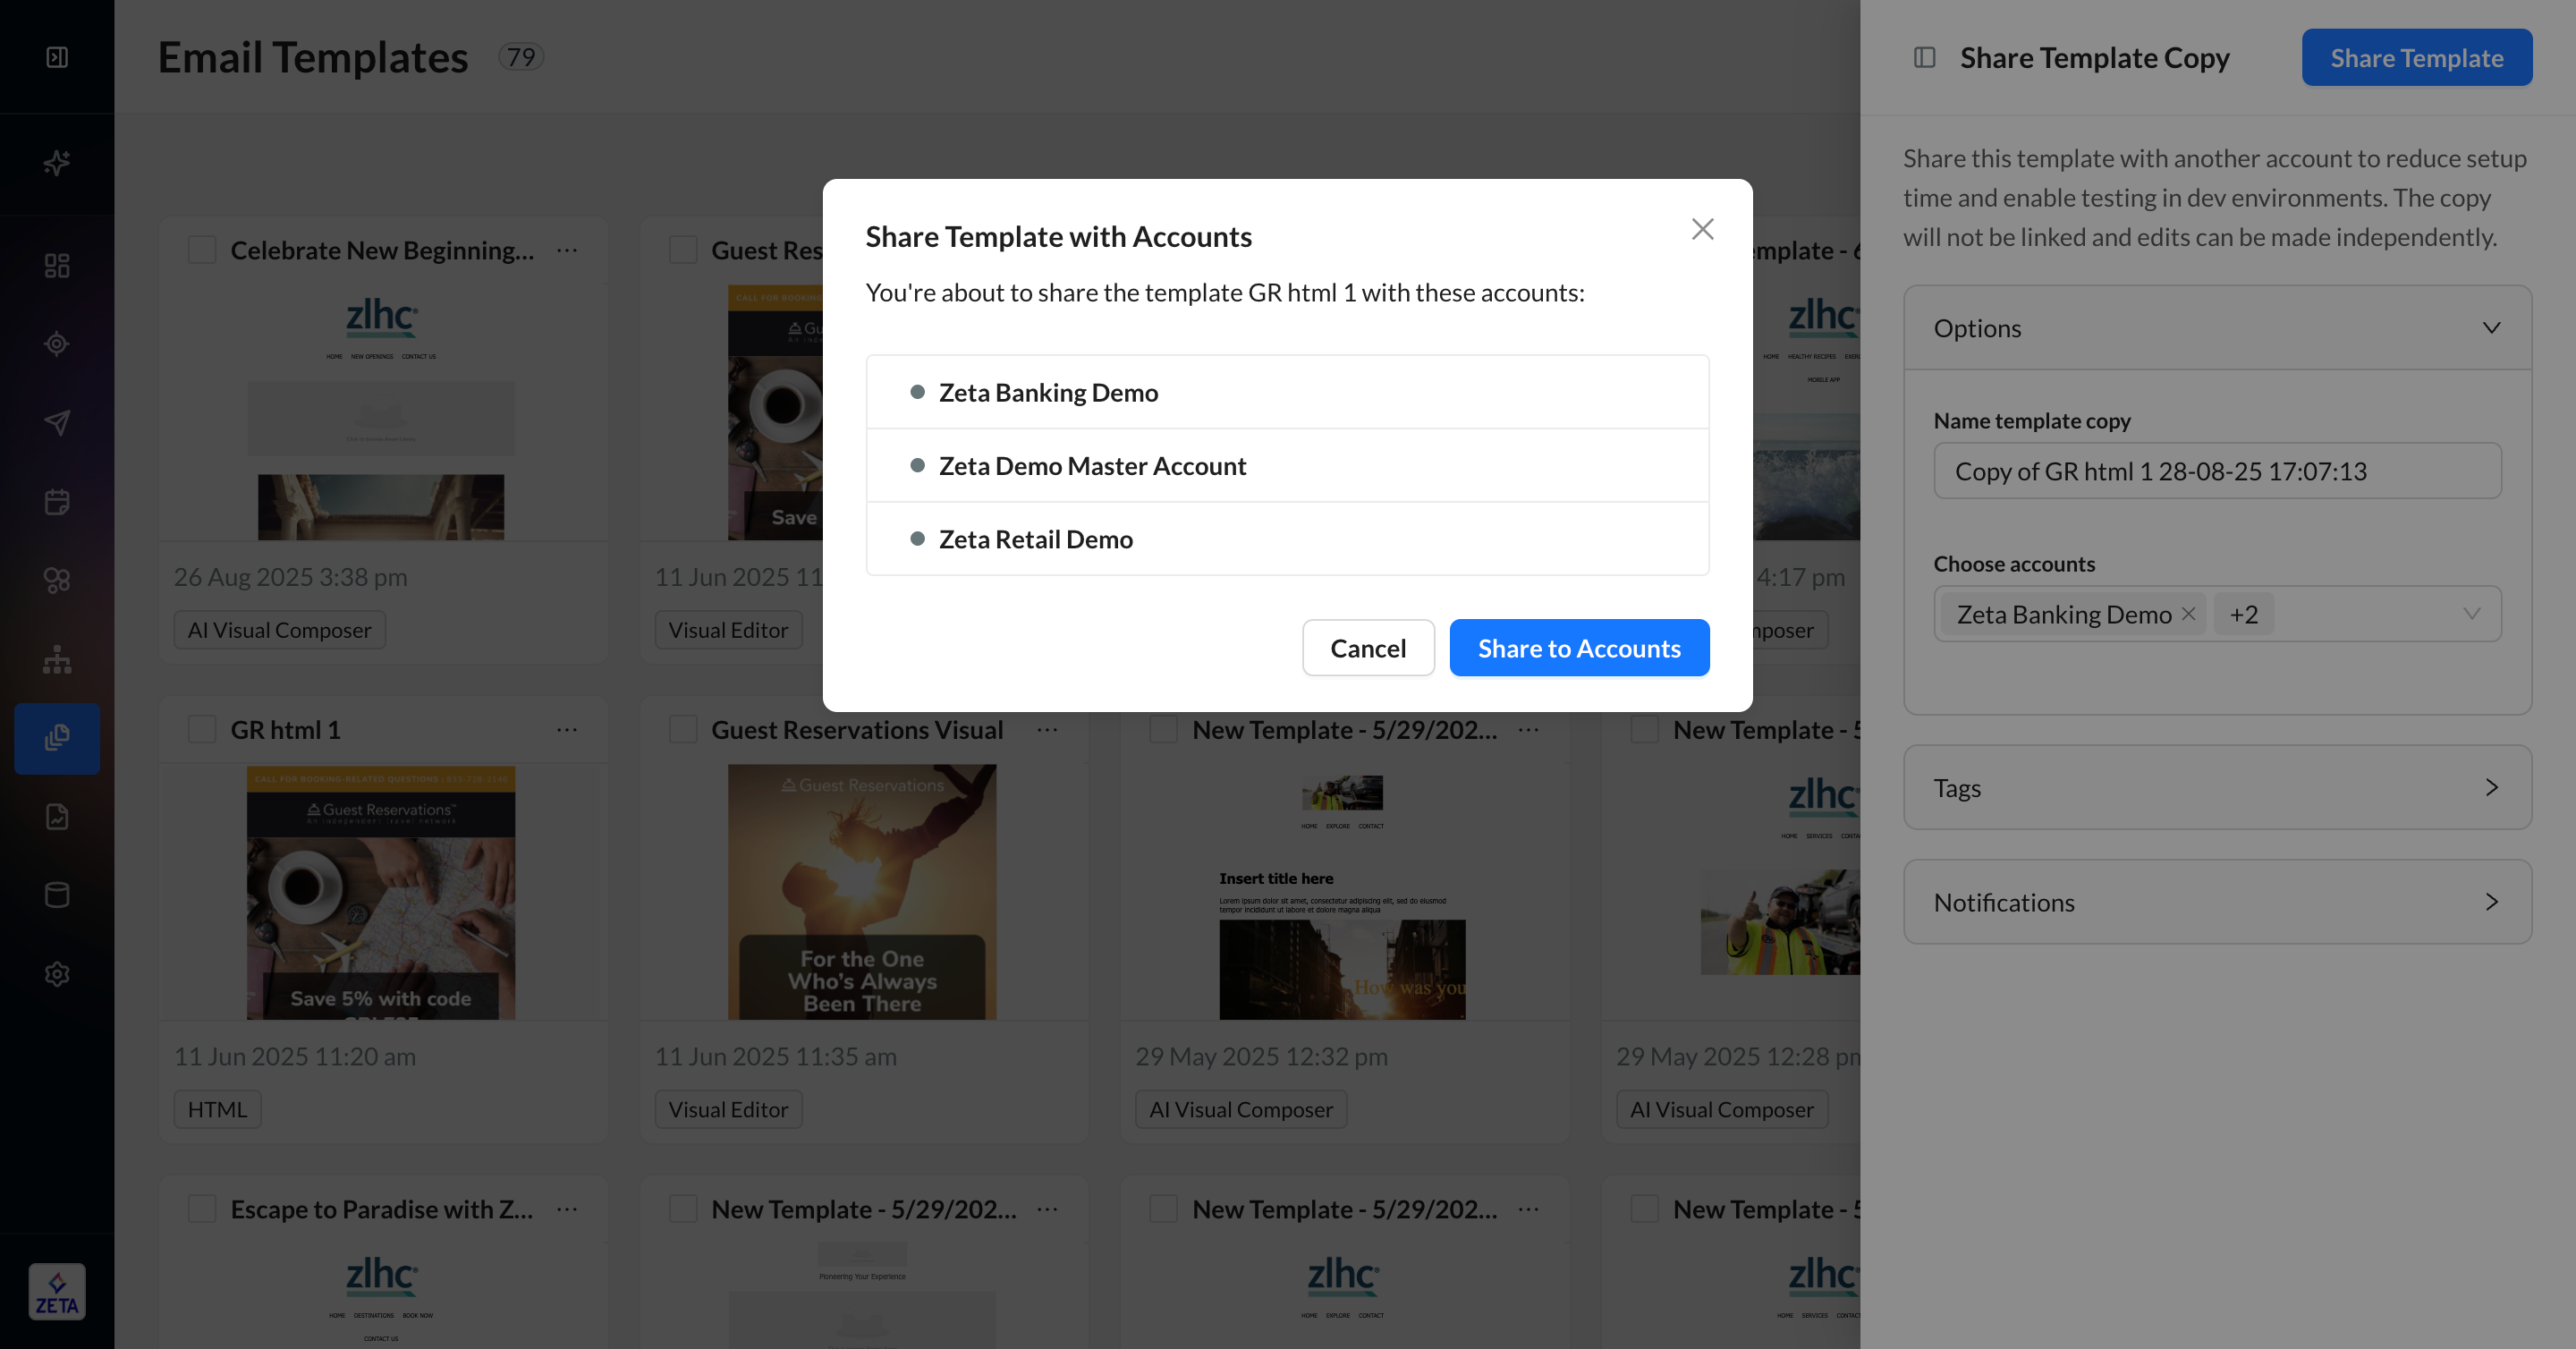
2. Confirm your selected accounts.
3. Once shared, go to one of the accounts you just selected. Since there is no link between this template and its duplicates—and there’s no limit to the number of times you can share a copy of a template—there is no list of accounts for you to reference.
4. For a template created in the HTML Editor, the code is evaluated and will identify certain links and properties that can be updated to match the destination account. For those created in the Visual Editor, you’ll be given a list you need to manually check and update. All relevant items will be listed on the right-hand panel and can be revisited with the yellow warning icon in the top nav.
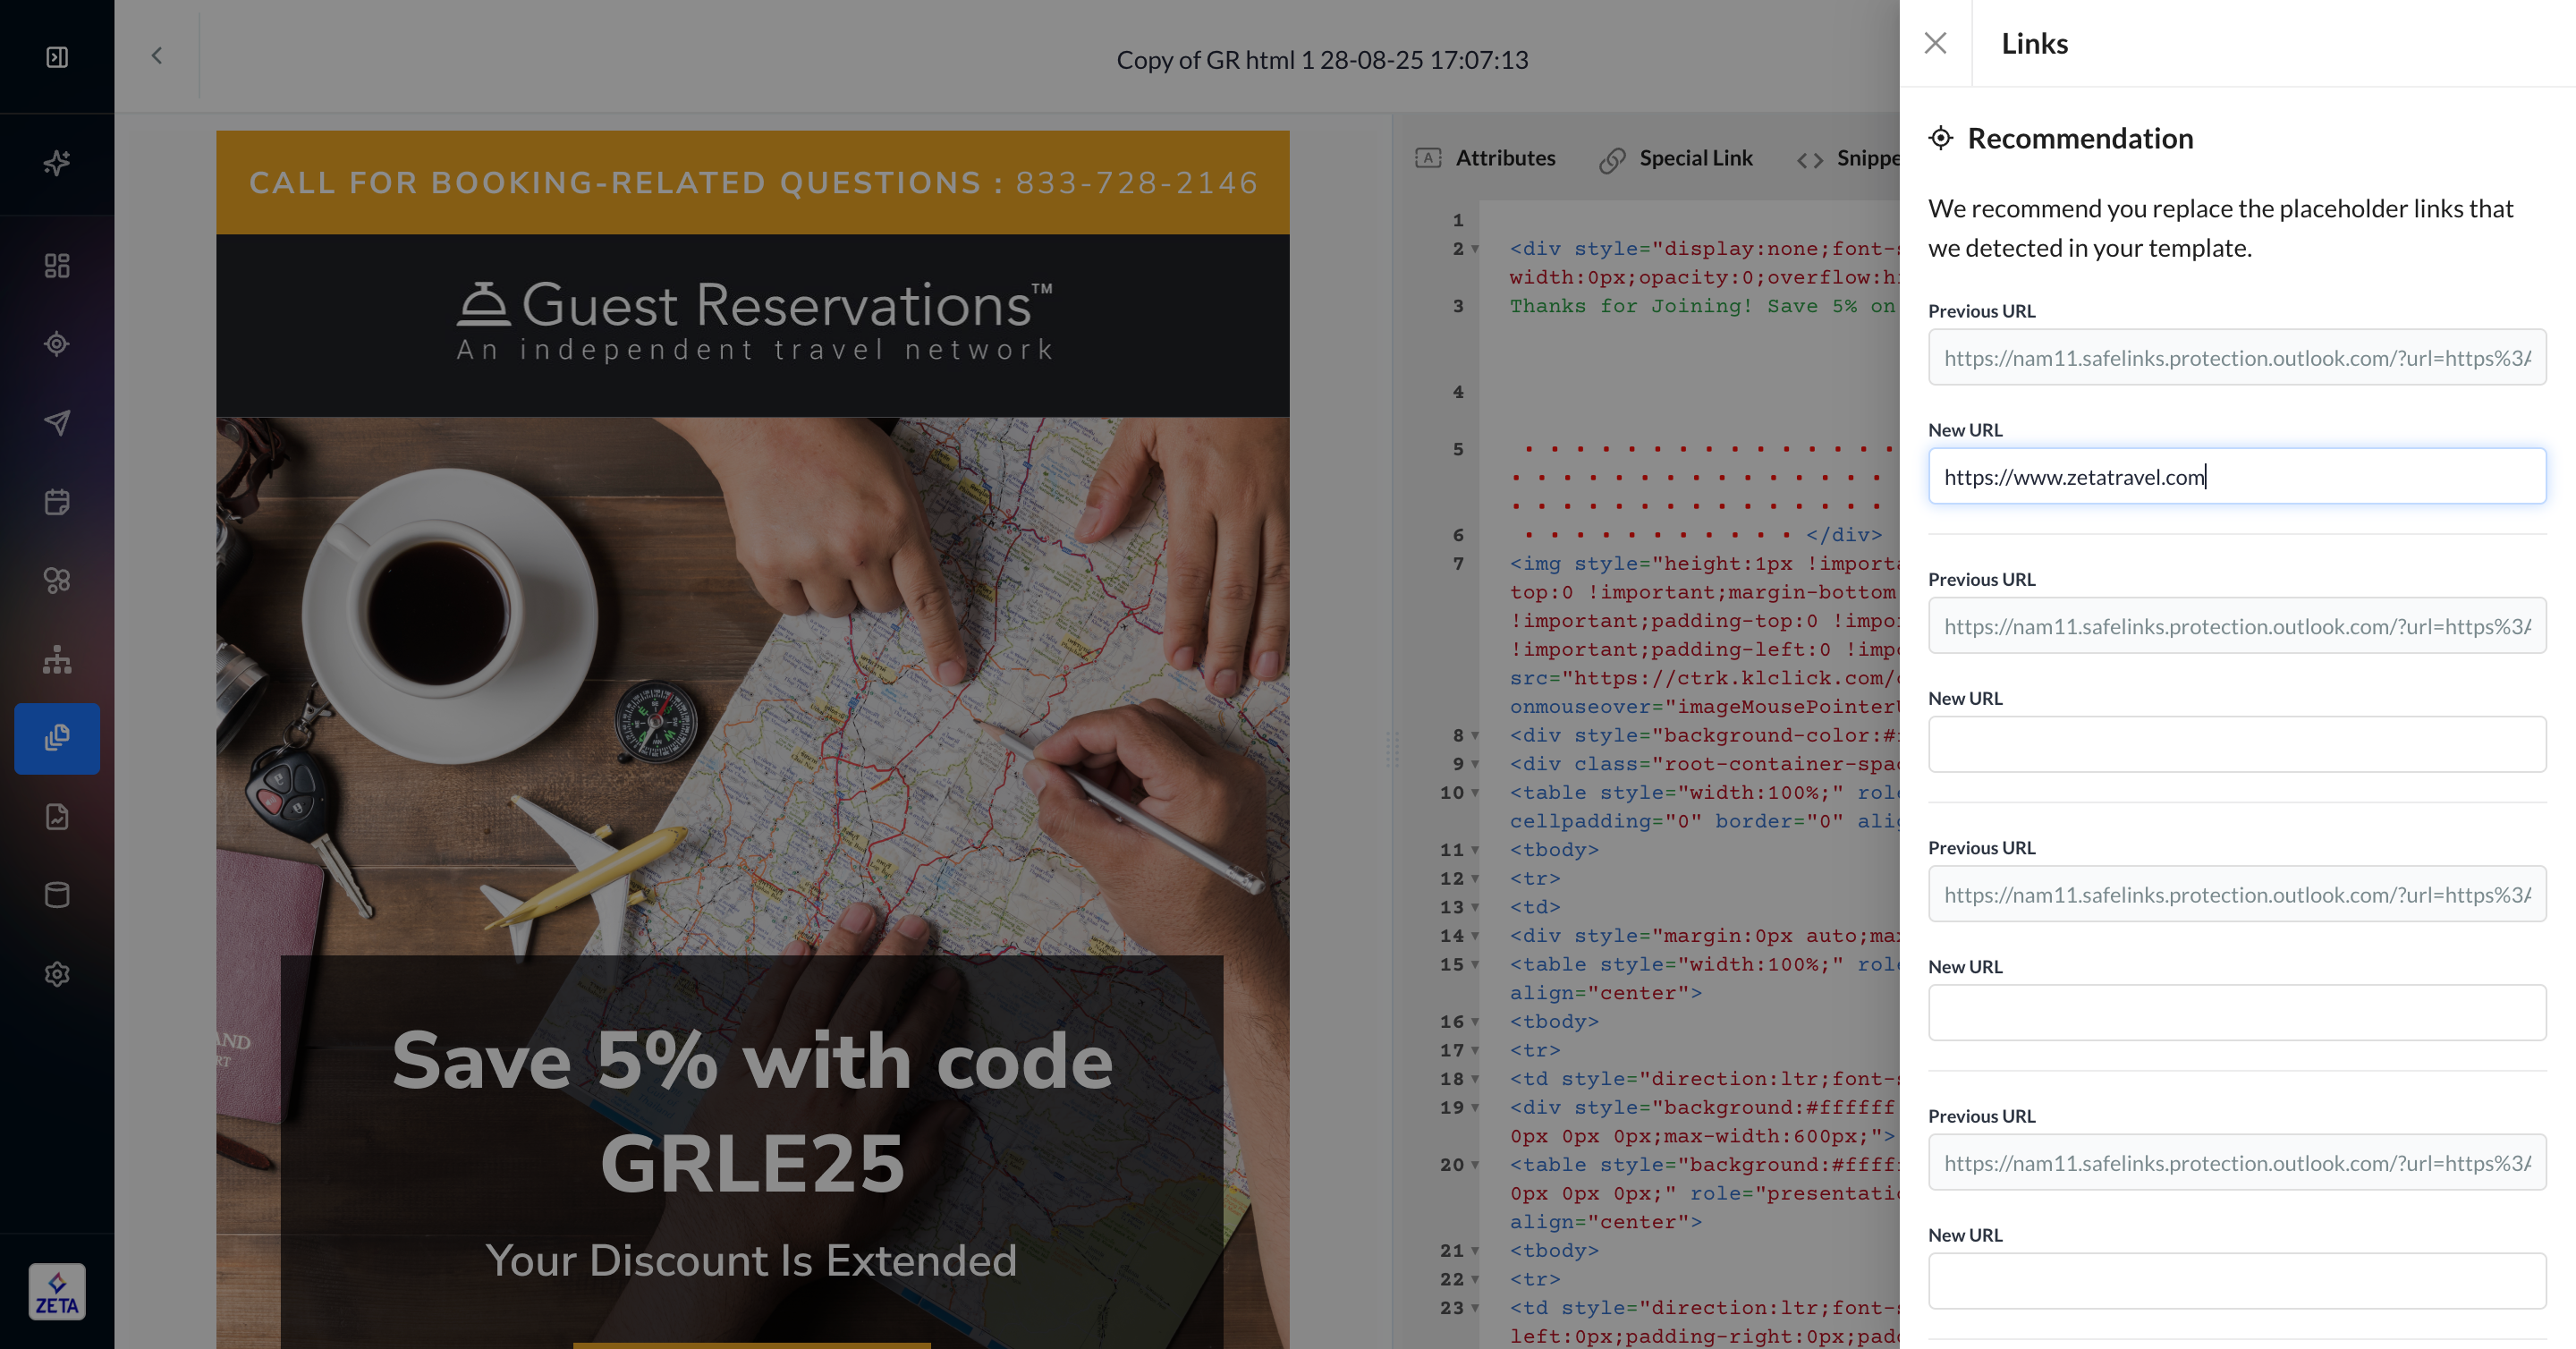
If a template is shared as a copy, any associated snippets and assets are automatically created in the destination account, regardless of which editor is used.
Share Linked Template
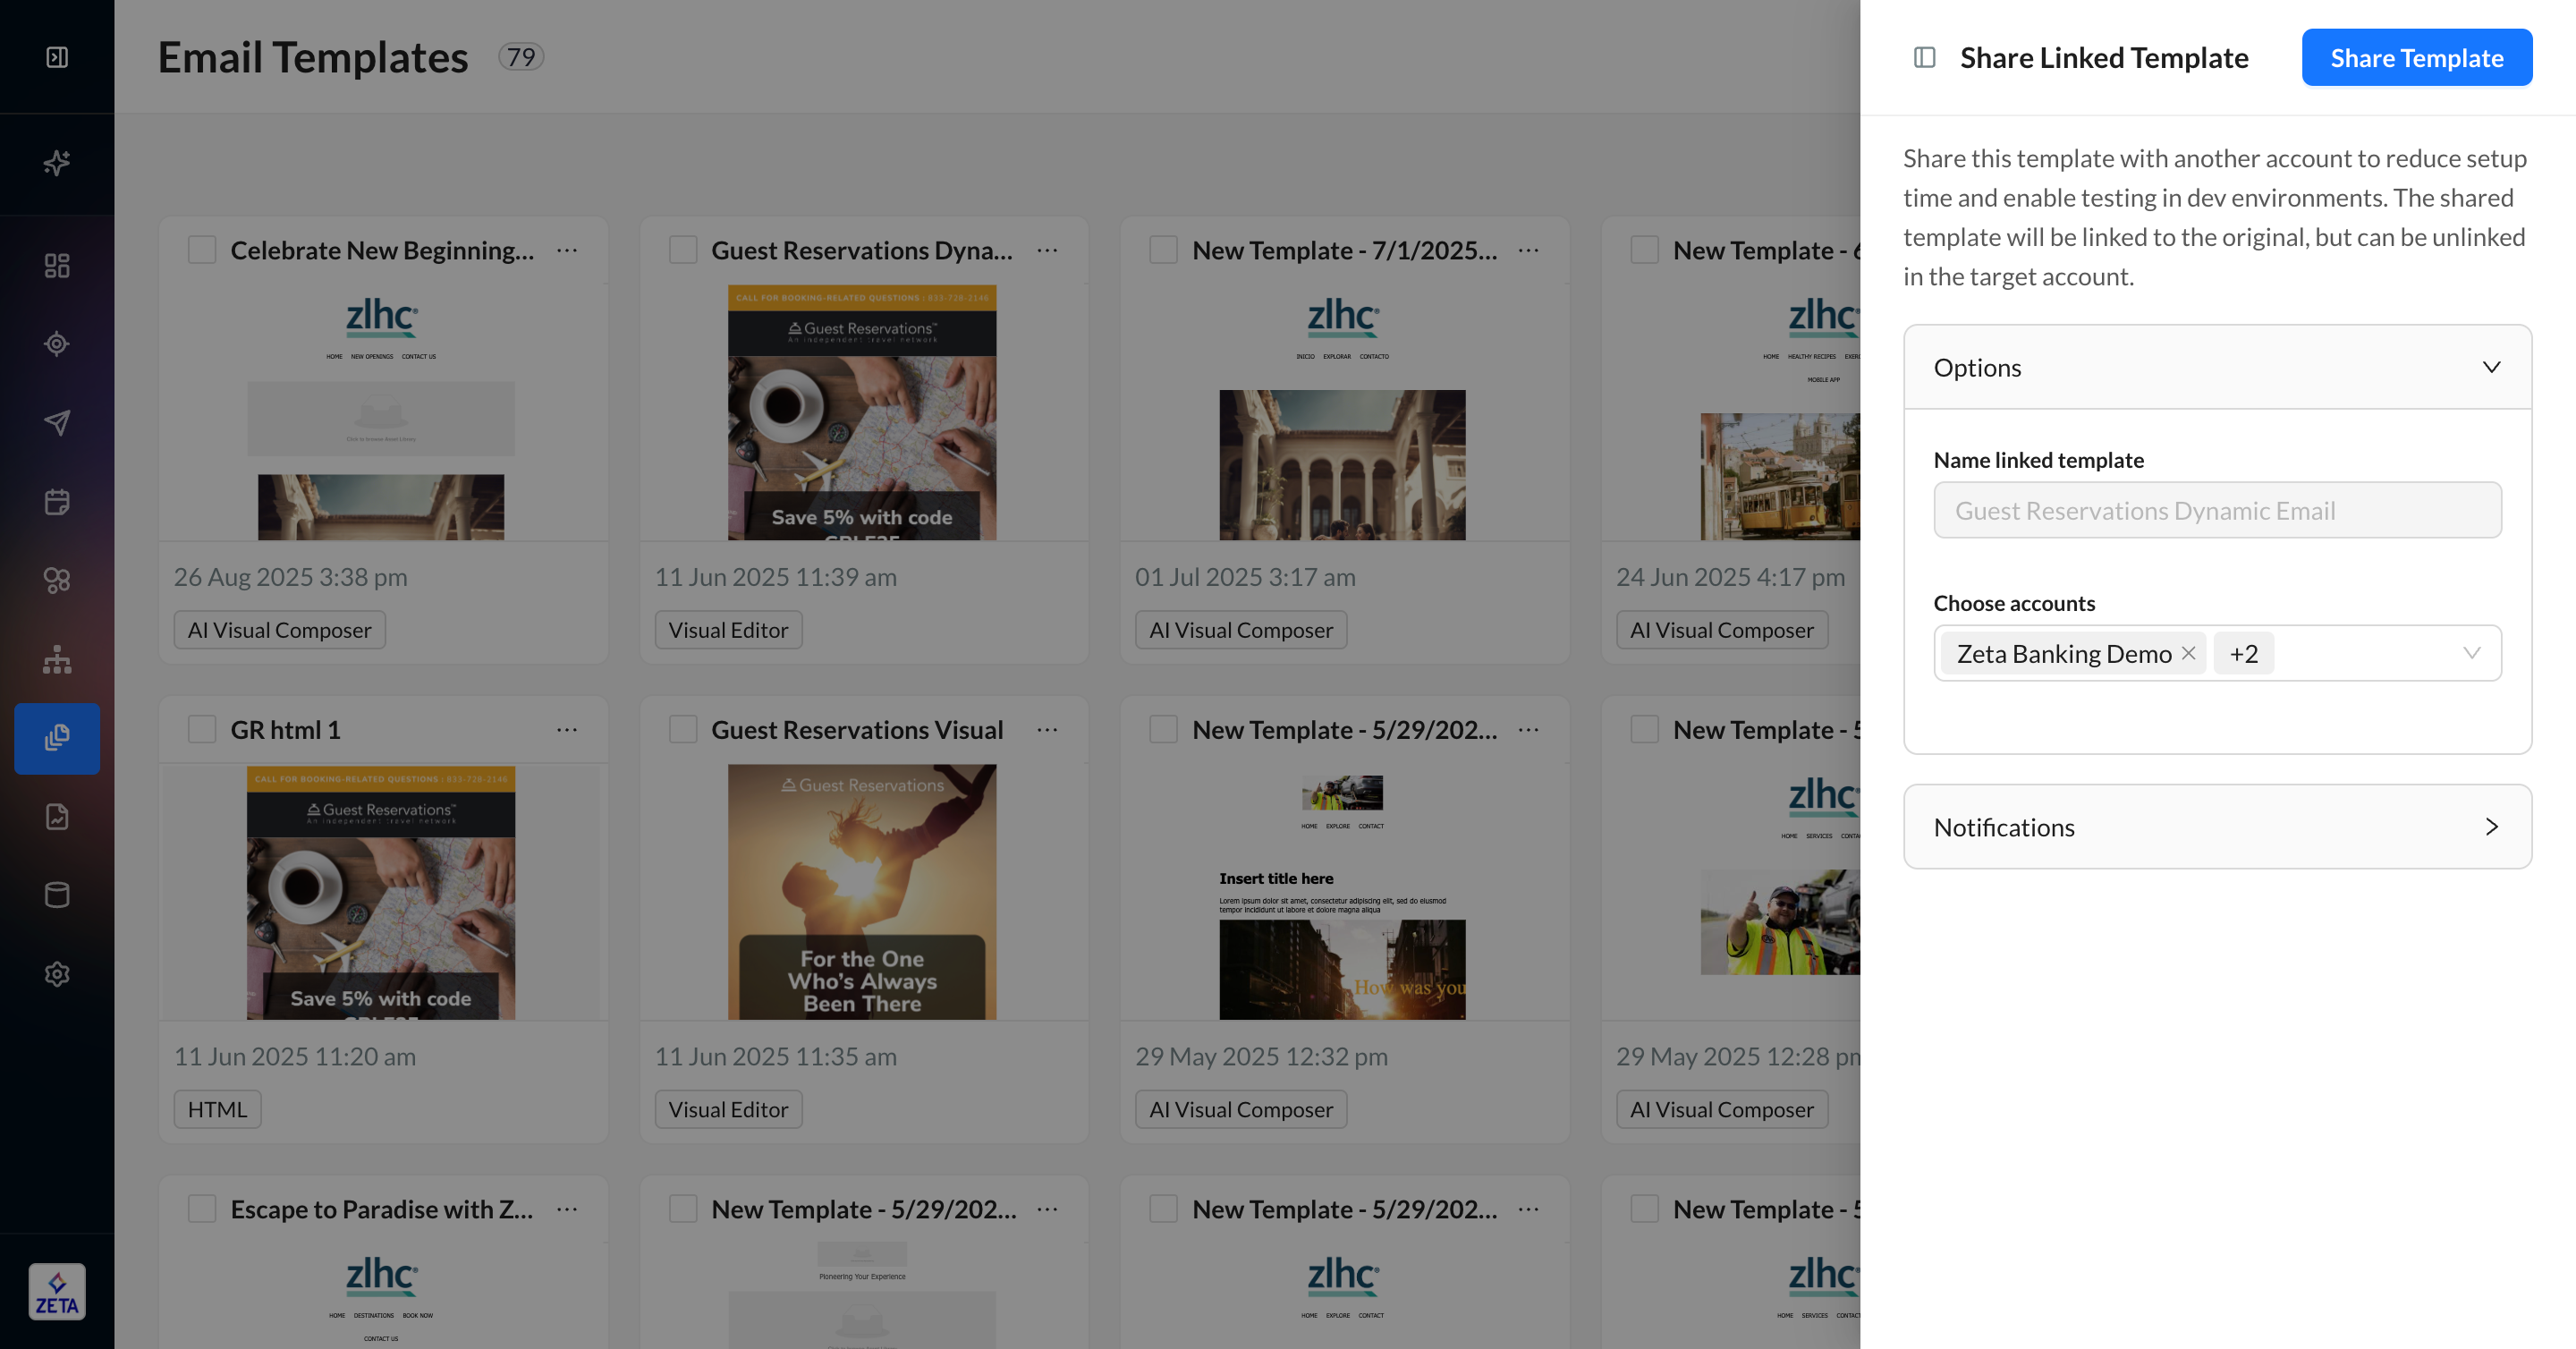
1. Clicking Share linked templates across accounts will allow you to give permission to certain accounts to use the template linked from the original account. Since you’re sharing a single entity, you cannot edit the name of the linked template.
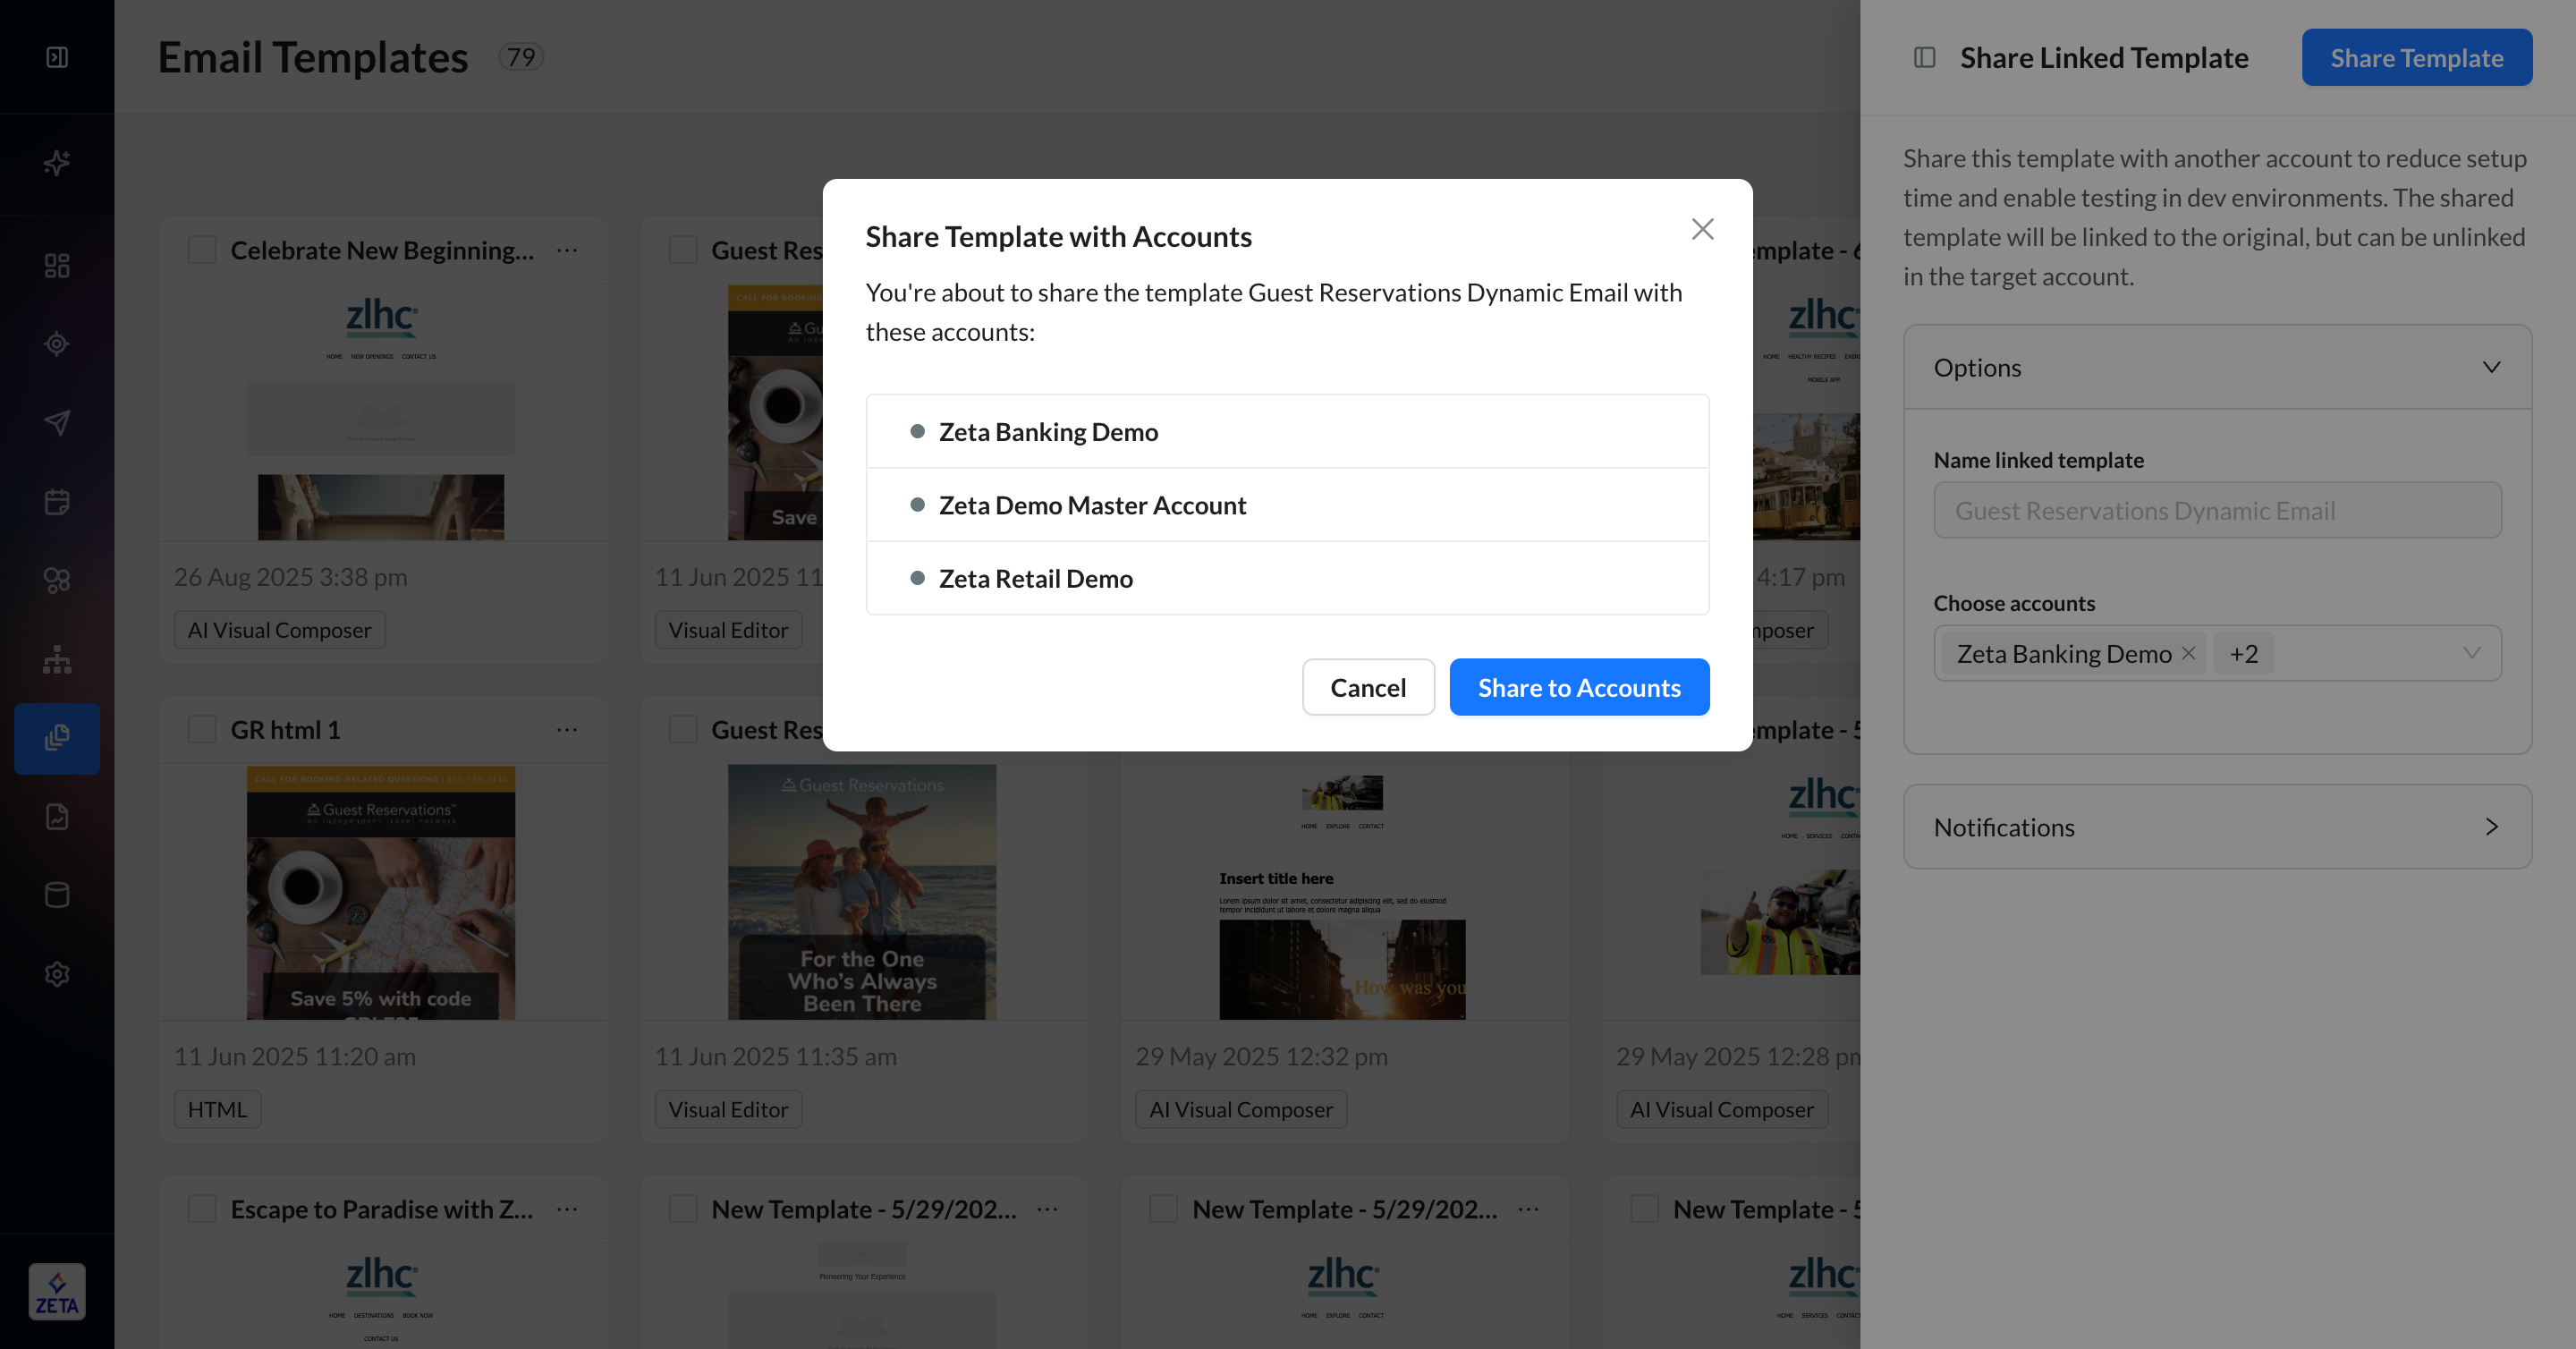
2. Confirm your selected account(s).
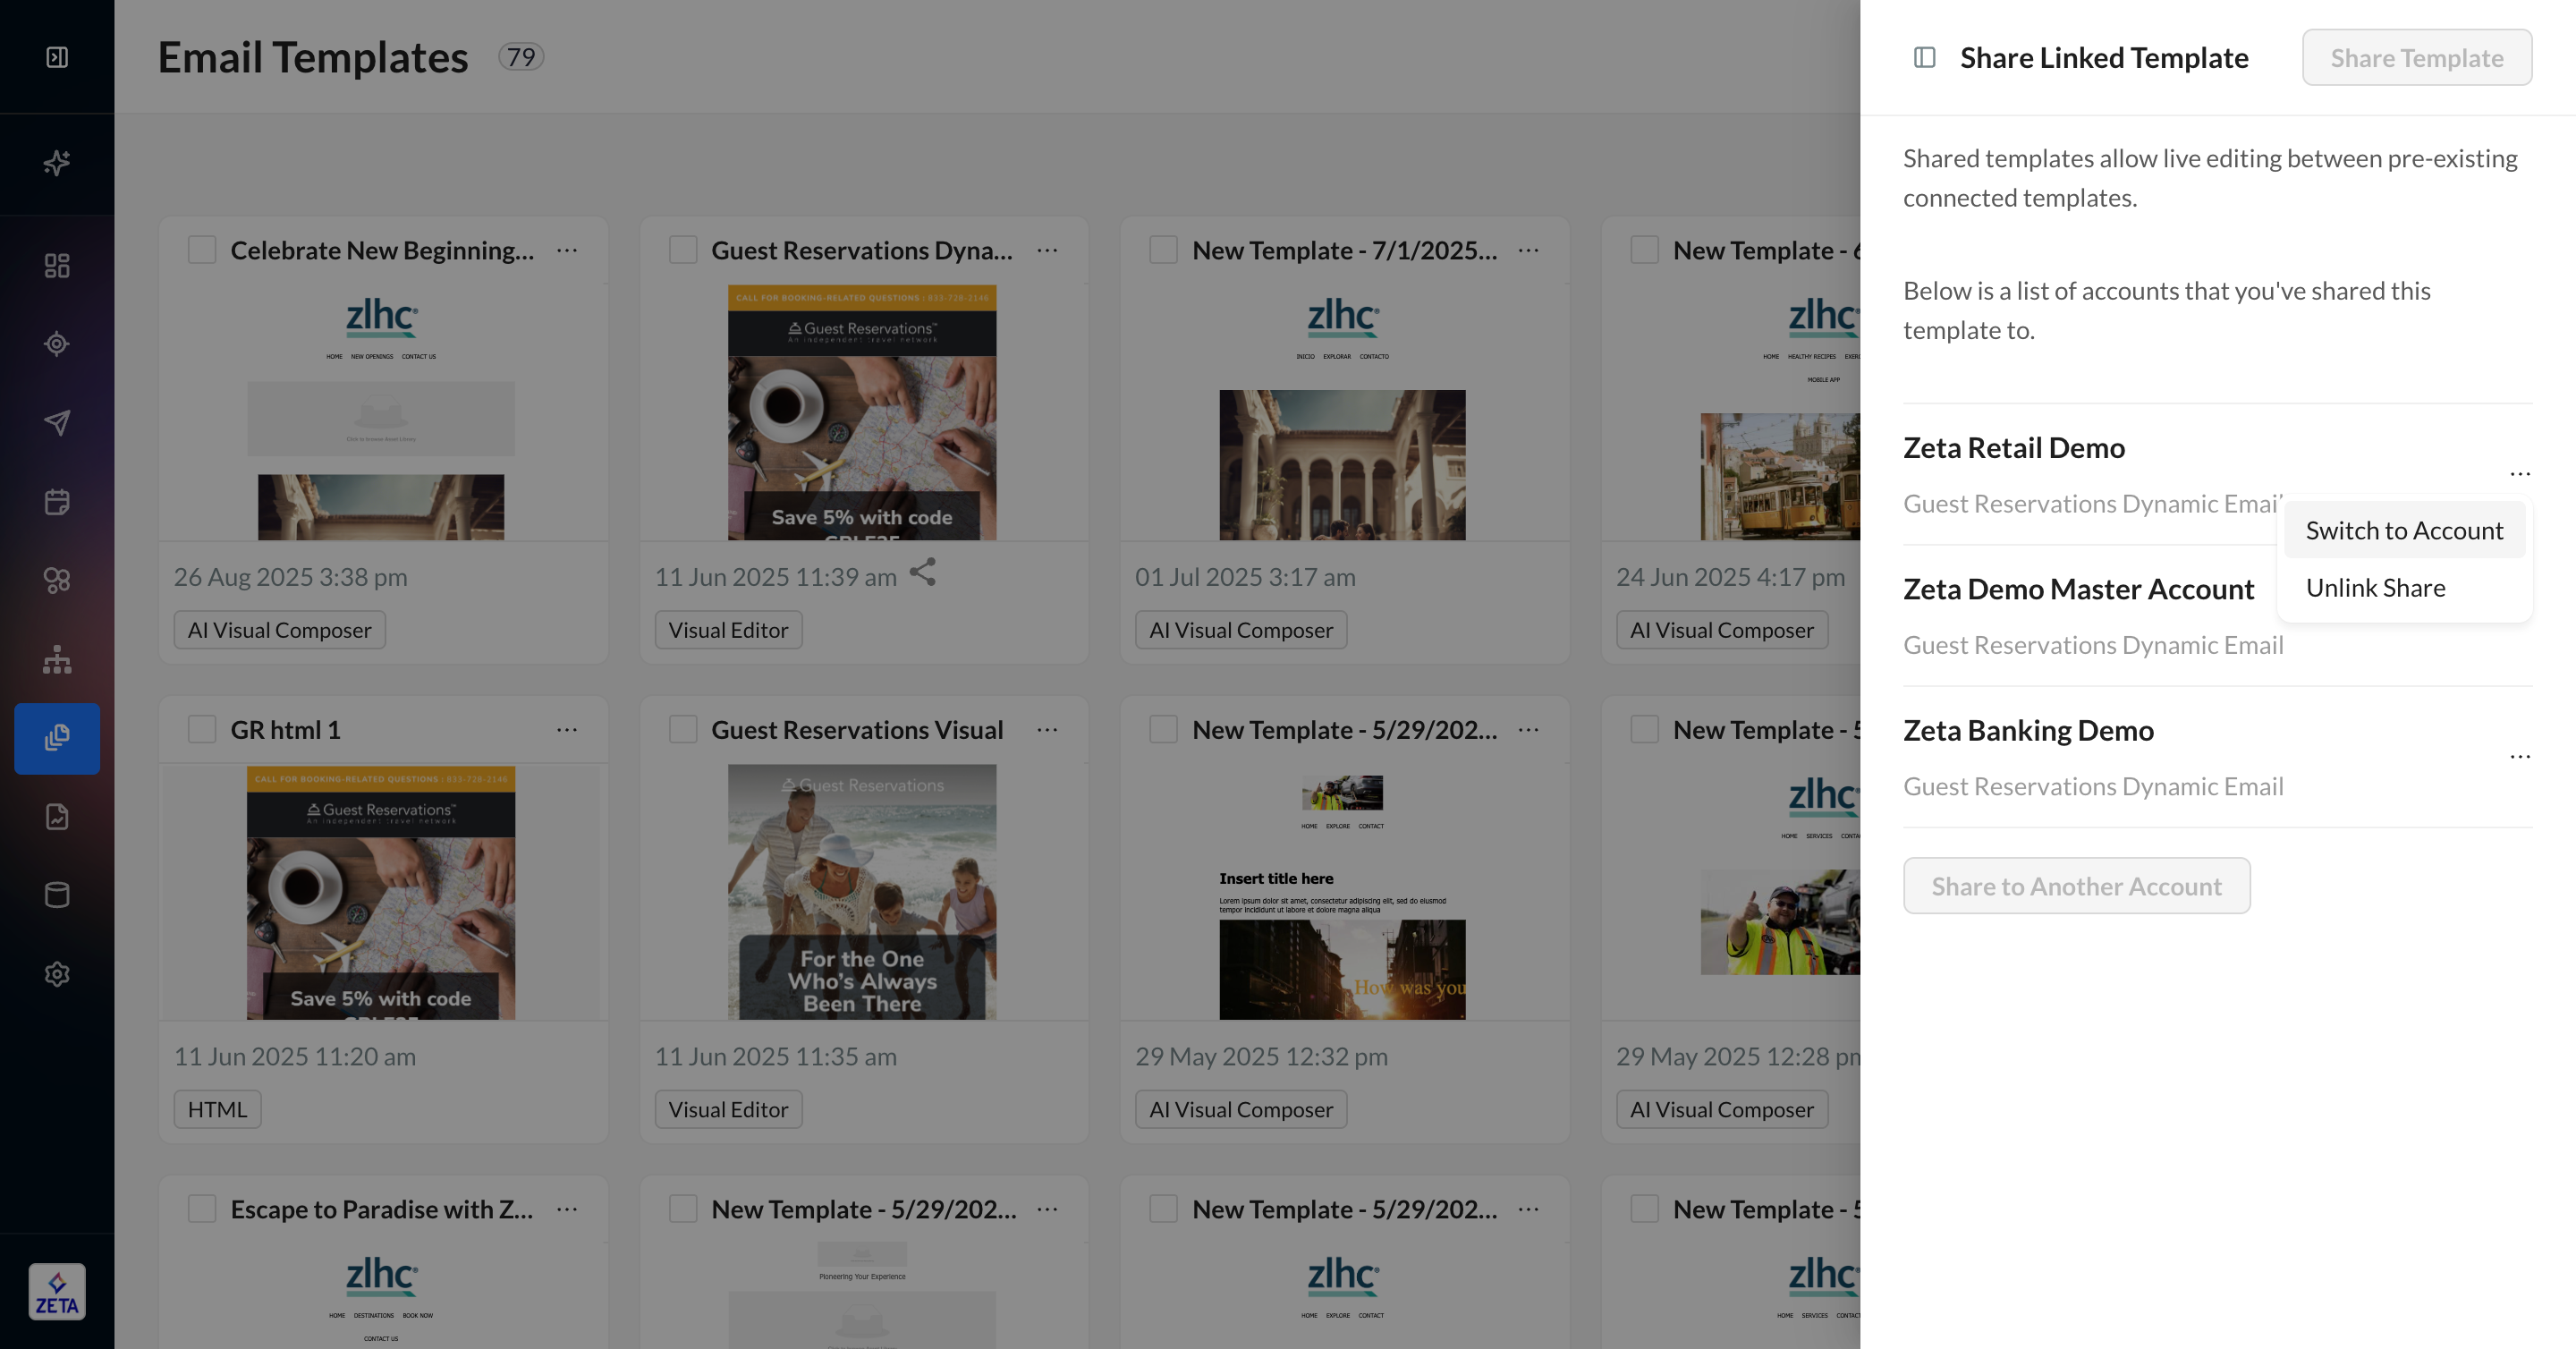
3. Once shared, you’ll see an active list of accounts that have access to this linked template. You can edit this list by unlinking or sharing with another account at any time; it will be automatically shown if you click Share linked template across accounts for this template again.
4. When you go to an account with a linked template, you’ll see an icon indicating that it’s linked in the template tile. Since you can’t edit it, it cannot be opened in the linked account, and the template tile will have fewer options in its menu. However, you are able to insert the template into a campaign and make edits for that campaign’s version of the template only. To make edits to the reusable template, return to the original account and update the original template. Once saved, its edits will be reflected across all accounts that are linked to the template.
