

Templates make it easy to build consistent, reusable emails that match your brand and scale with your needs. With the Zeta Marketing Platform (ZMP), you can design flexible templates that support personalization, modular content, and multiple campaign types.
This guide walks you through how to create a custom email template—perfect for recurring sends like newsletters, promotions, or lifecycle journeys.
Prerequisite: Before you begin, make sure you have your branding elements (logos, colors, fonts) and layout requirements ready. If you plan to use dynamic content or personalization tokens, have those specs on hand as well.
Learn more about content creation and management in the ZMP.
Creating Templates
1. From the menu on the left, select Content > Email Templates.
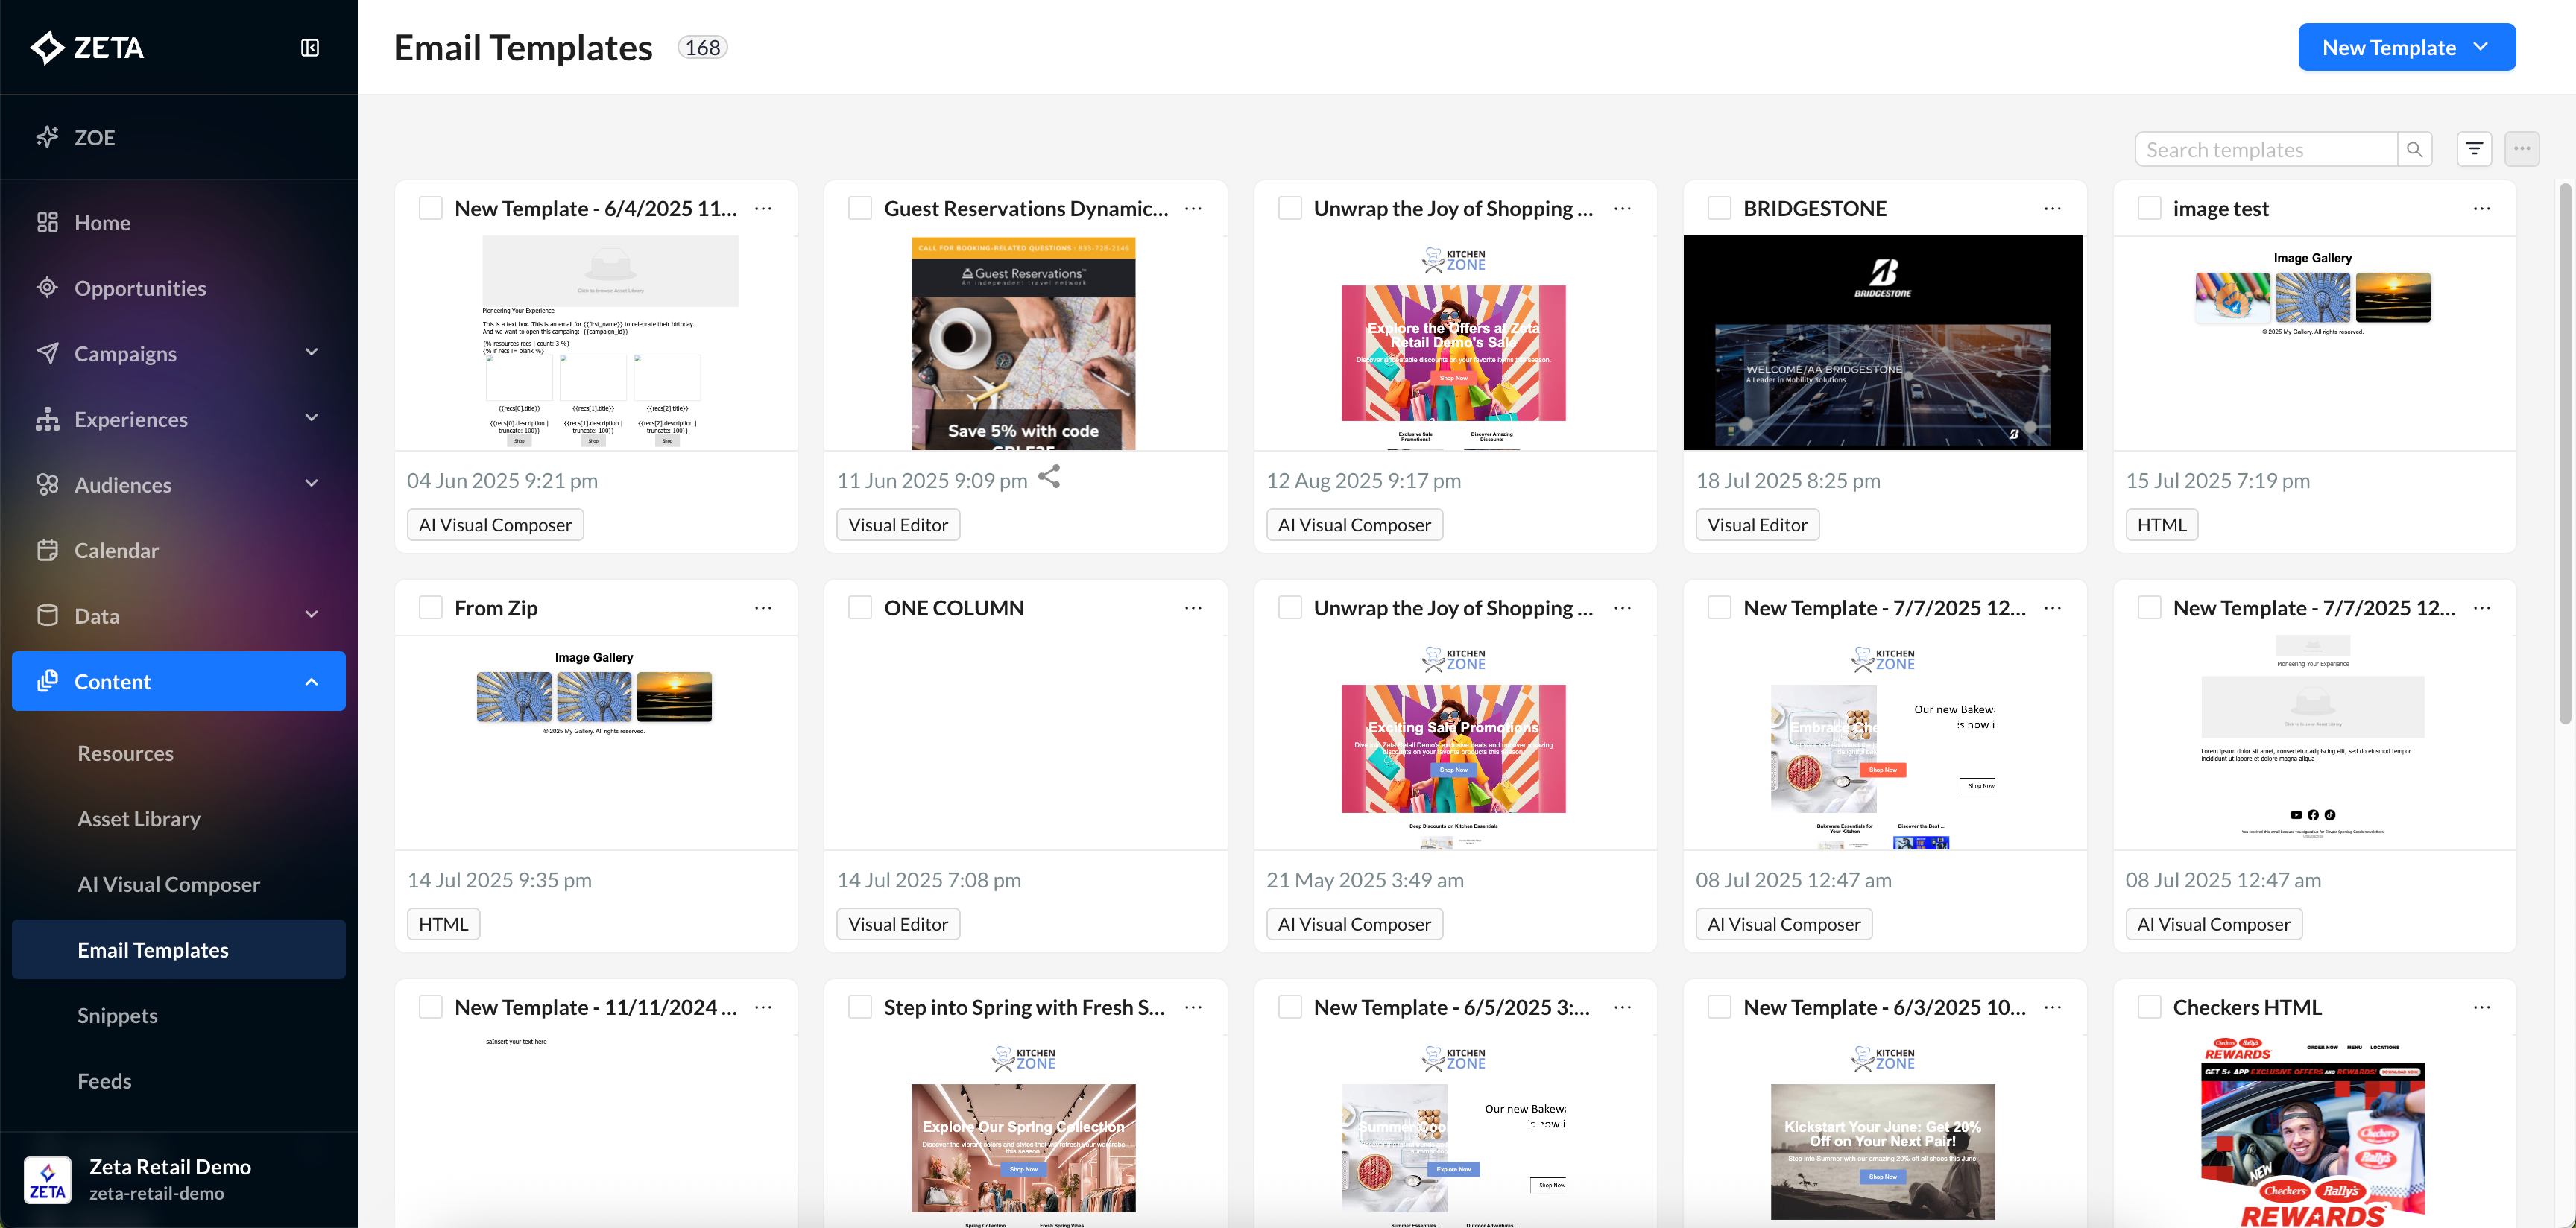
-
Browse through the list of previously created templates; feel free to use one that suits your needs.
2. Click on New Template > Visual Editor.
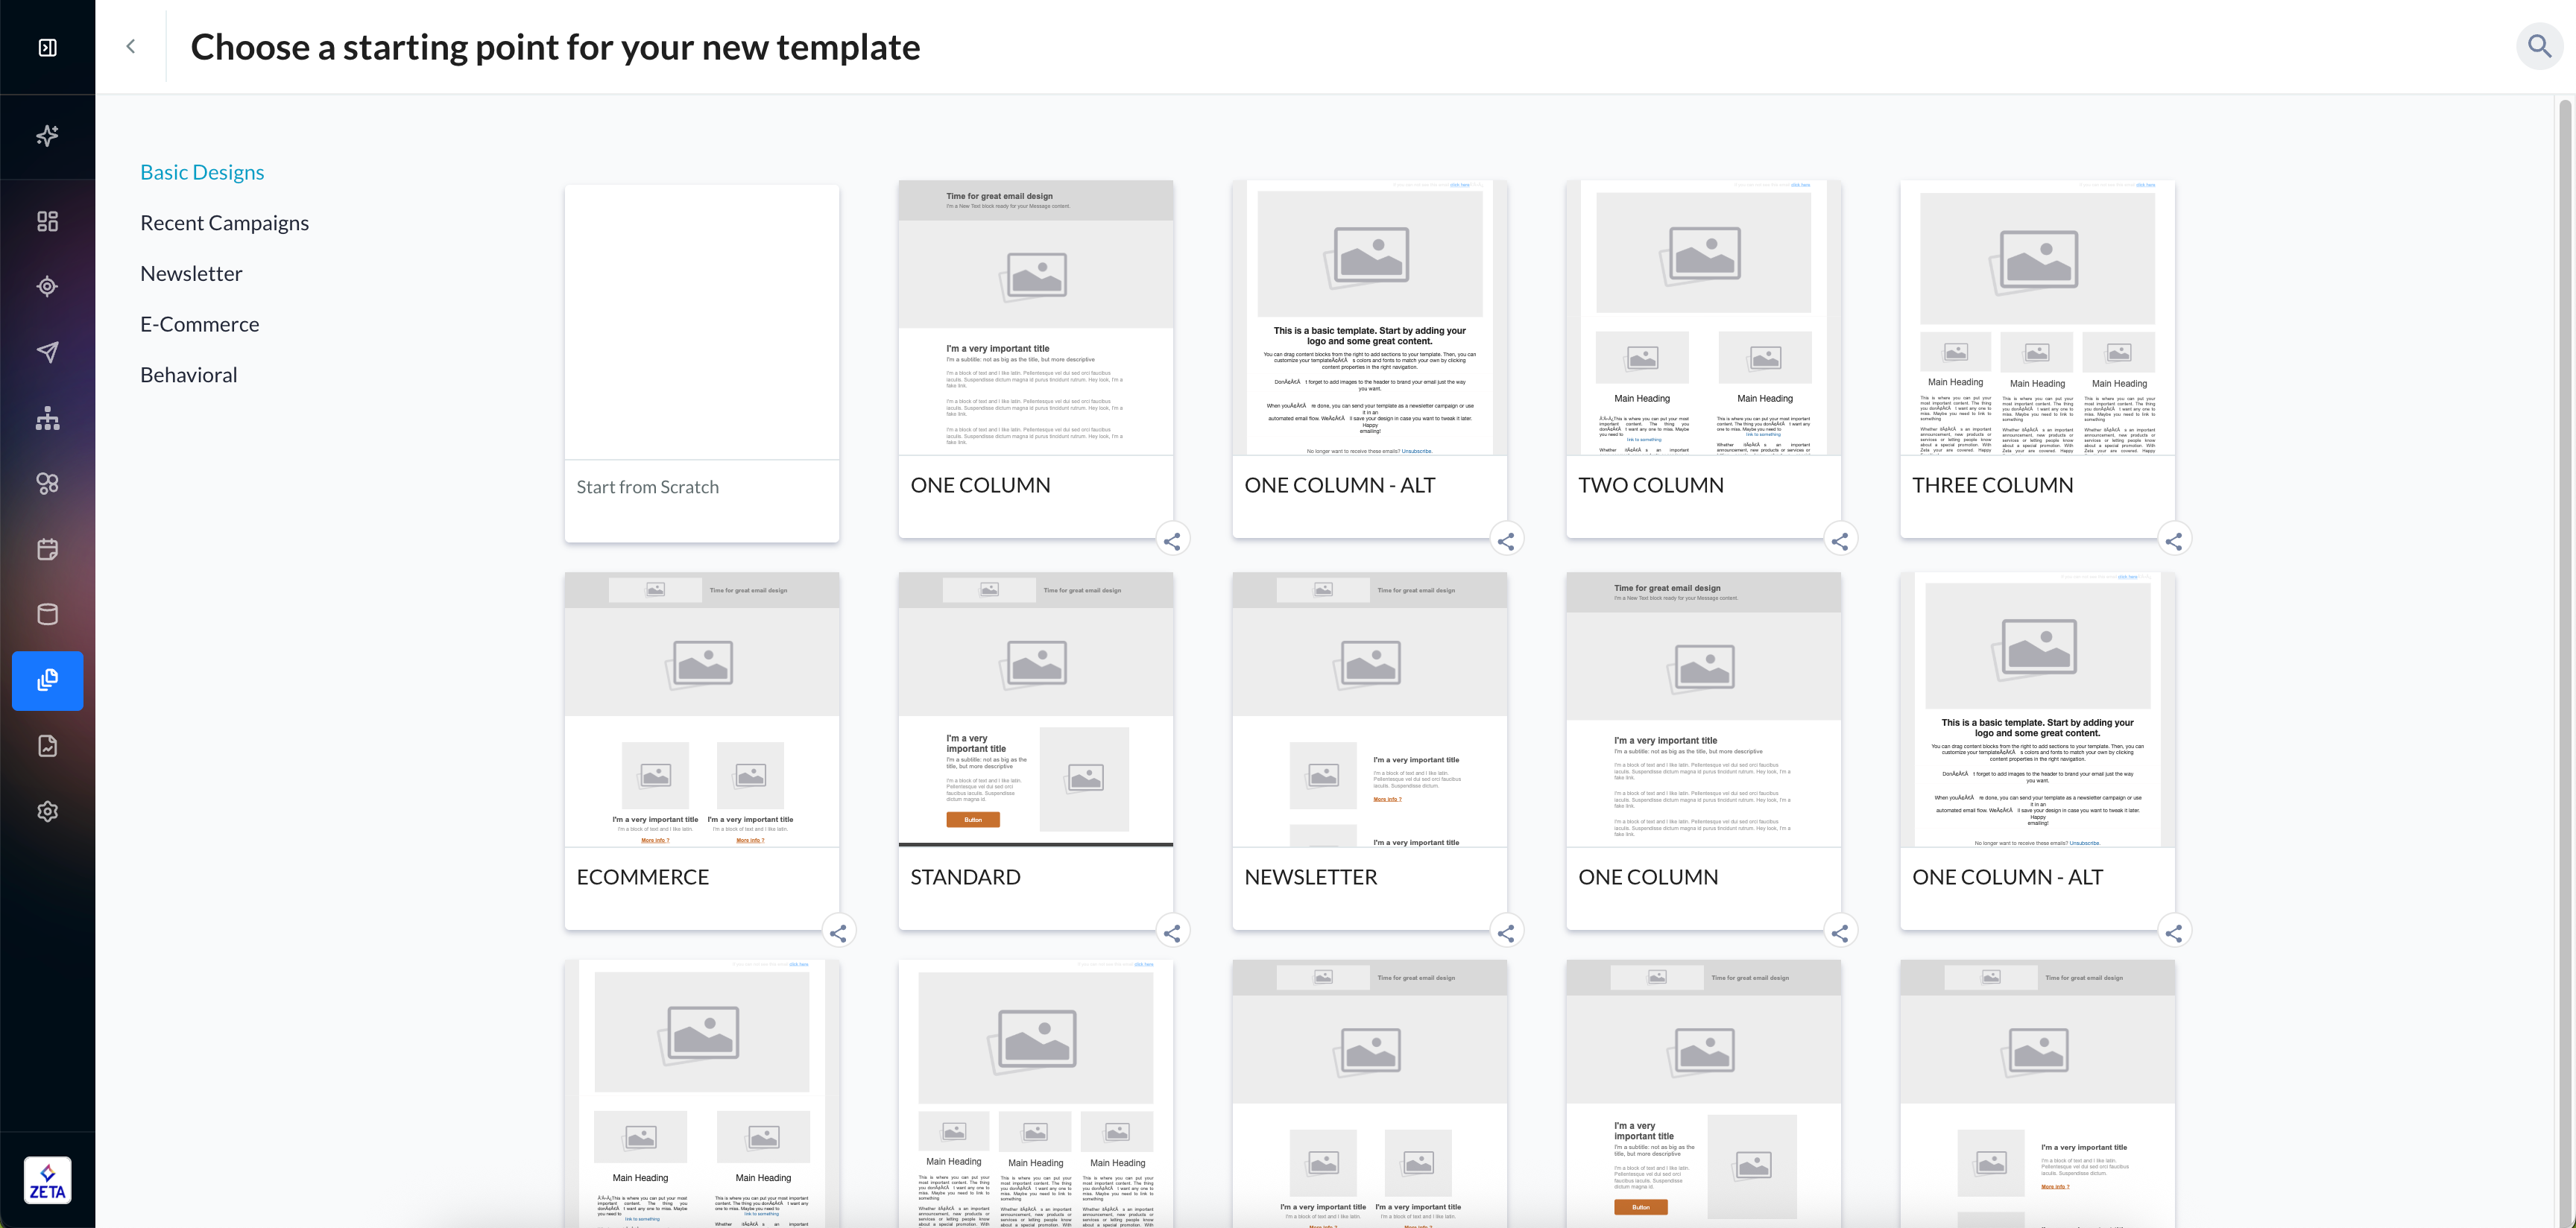
-
You’ll see a gallery of pre-configured, basic design templates. If you select one, then jump directly to Step 8 of this Quick Start Guide to continue.
-
If you want to build your content from scratch, follow the next steps.
2. Click on Start from Scratch and enter a title for your template.
-20250909-070552.gif)
-
As you can see from the right region, templates are made up of Content, Rows, and Settings.
3. Go to the Rows tab on the right to define the structure of your template (i.e., number and alignment of columns).
-
Drag and drop your preferred row layout (e.g., single column, two columns, etc.) into the canvas area.
-
Clicking on the row tab after you have a row selected allows you to bring its settings into the right-hand panel, where you can tweak background colors (row and content area separately), borders (solid, dashed, or no border), rounded corners, padding/margins, and enable/disable stacking on mobile (very handy for responsive design)
4. Next, navigate to the Content tab to select various content elements, including text blocks, images, buttons, social icons, dividers, HTML blocks, and more.
-
Drag your desired content block into the rows layout you just added.
5. Lastly, the Settings tab lets you set global template settings, define default font, link colors and background colors, toggle mobile responsiveness settings, and add custom CSS.
6. Click inside a text block, open the Special links dropdown, and insert the link you want (View Online, Unsubscribe, or Read More).
-20250909-072150.gif?cb=17489f63a0331120a9f1eb404f5445c5)
7. As you continue to flesh out the rest of your content for the template (created or chosen), don’t forget to click on Save.
-20250909-073028.gif?cb=0eb7e9794c10842e68c4f053191726fc)
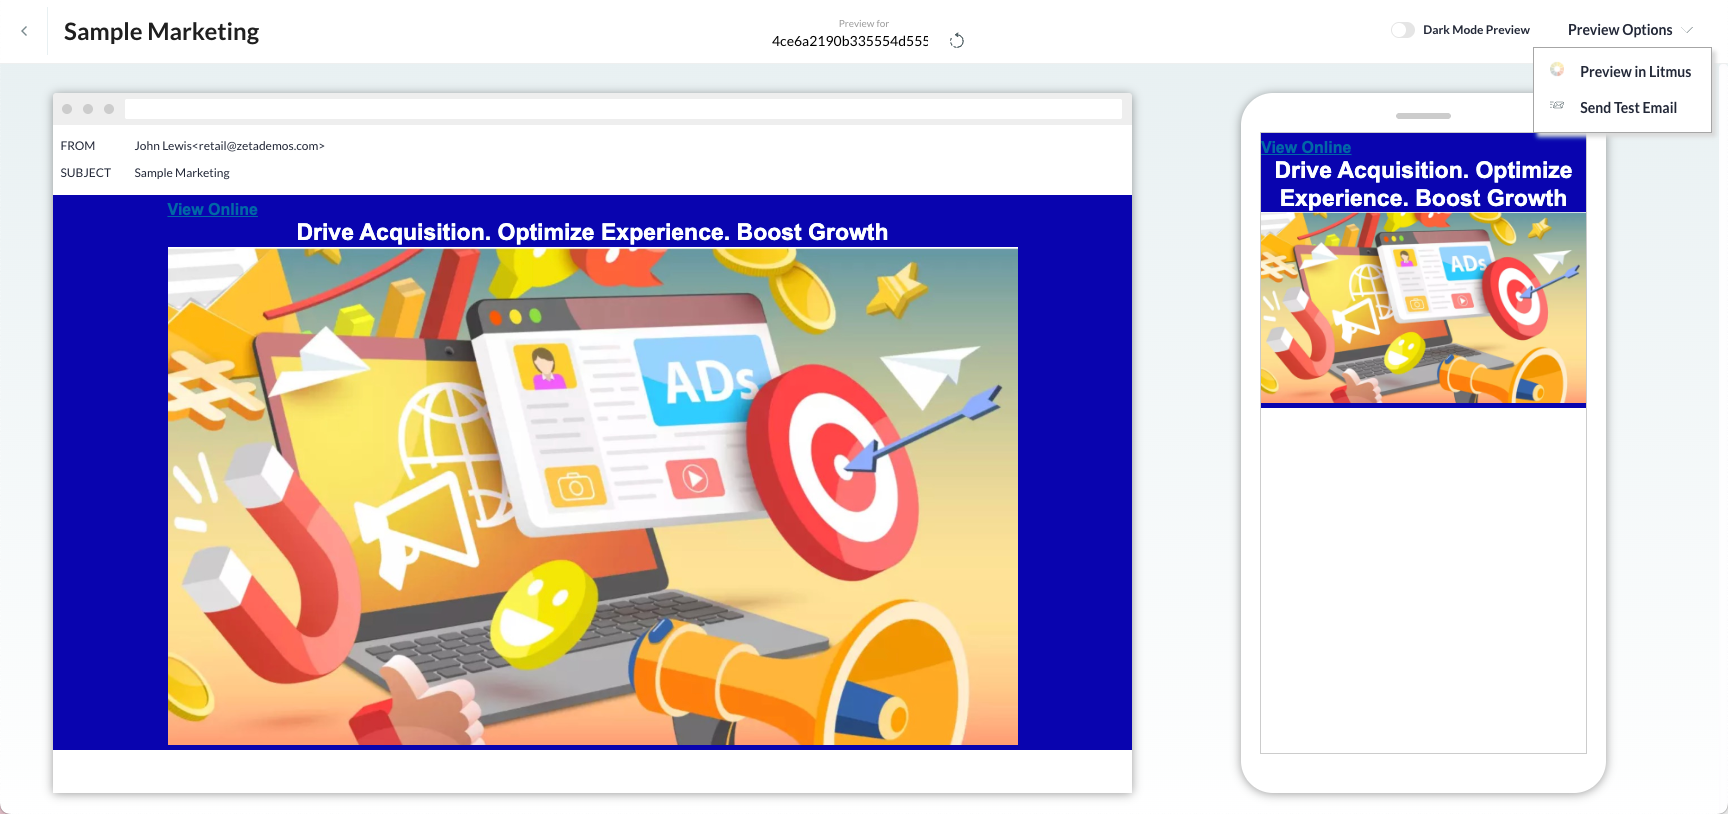
8. Once you’ve saved the template, click on Preview to take a final look at the email template, in both its desktop and mobile versions.
-20250909-073143.gif?cb=e881f44872c0edae729c7d5eee874d0a)
-
From the drop-down of preview options, you can further preview your template’s Litmus view or send yourself a test email using the template.
10. Once you’re done previewing and are happy with your content, close the preview and then close the edit template window to see your template ready in the master templates library.
