“A great push notification is three things: timely, personal, and actionable.” - Noah Weiss
While getting users to engage and re-engage with mobile apps had been a perturbing challenge for marketers across all spheres, push notifications have made a way to help them reach customers and leads in the fastest and most efficient manner. Besides helping communicate with your audience, push notifications can also help you to attract more customers at certain touchpoints by allowing you to send real-time updates and reminders that get your audience to regularly engage with your brand, even if they’re not aware of it. Being a non-intrusive way of providing timely messages and relevant information, push notifications are the way ahead for most of us. With Zeta, you now have a multitude of options for push notification solutions to choose from:
-
Deliver and report on mobile push messages
-
Send push notifications to Android or iOS through the familiar interface of building Broadcast Campaigns or Experience Builder
-
Retrieve push notification events and track your campaign’s performance through Report Builder
Create Push Notifications
1. Within the Content & Audience tab for the new campaign being created, add in all the details and select Mobile Push from the Channel dropdown.
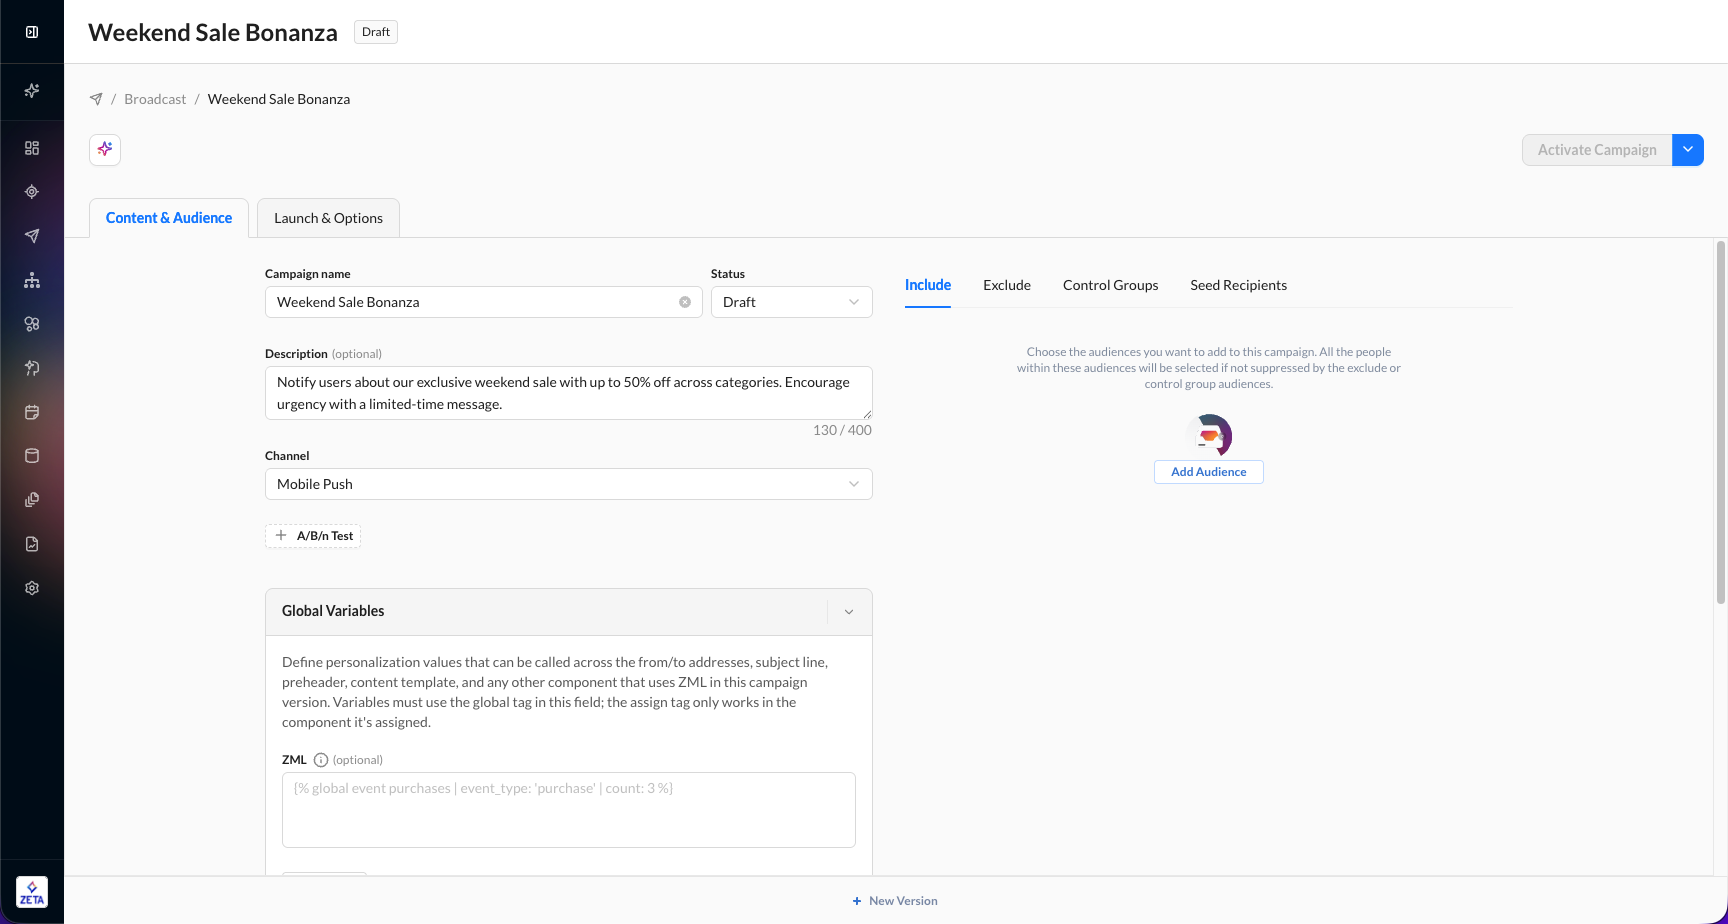
2. After entering the campaign name, description, and A/B/n test settings, click on the Content section within Mobile Push Setup to begin composing your push message.
-20260714-061152.gif?cb=111618c4e5965e96ec61b4da4400a6be)
-20260714-061515.gif?cb=4f445f98a53166f4924184c8922e018d)
-
Compose your message by adding a title, message copy, and selecting an on-click action (e.g., web link, deep link, or dismiss).
-
Based on your selection, relevant fields will appear to input the URL and choose how the link opens (in-app webview or external browser).
-
Add visual assets by uploading portrait images in JPG or PNG format (up to 2 MB).
-
You can select images directly from the asset library. Android supports Images only, while iOS supports Images, GIFs, and Videos.
-
3. After selecting the appropriate media for each platform and editing the content, you can preview the notification on the right side of the screen.
-20260714-061741.gif?cb=9f6f5a0271a73c9e6b02c83bd9c02d2f)
Preview Personalized Push Notifications
If your push notification contains Liquid Script, you can preview how the notification will appear for a specific user before activating your campaign. Click Preview on the push notification card to open the preview window. From there, select a user profile and target device to generate a real-time preview. ZMP resolves the Liquid Script using the selected user's profile attributes, event history, and metadata, allowing you to verify the final notification before sending it. .gif)
Use the preview to validate:
Tip: Use the preview to verify your personalization logic before activating the campaign, eliminating the need for test sends or manually created test users. |
|---|
4. Click on iOS/Android options to set platform-specific settings.
-20260714-061914.gif?cb=63e9f53f58fe24be4bd4308d9bbefb21)
iOS Notification Options
|
|
|---|---|
|
Option |
Description |
|
Group |
Set a thread ID to group similar messages into a single notification thread. |
|
Update Badge |
Set or update the badge number on your app’s icon. |
|
Custom Sound |
Specify a custom notification sound file to play when the message is delivered. |
|
Interruption Level |
Set the iOS interruption level (e.g., passive, active, time-sensitive, critical). |
|
Relevance Score |
Assign a score (0.0–1.0) to indicate the priority for notification delivery. |
|
Button Category |
Define the category to enable actionable notification buttons (e.g., "Shop Now"). |
|
Deep Link |
Specify a link or path to execute when the user taps the message. |
Android Notification Options
|
|
|
Option |
Description |
|
Collapse Key |
Specify a collapse key to group and replace similar messages. |
|
Icon |
Use a custom app icon for the push notification. |
|
Color |
Set a custom color for the notification icon. |
|
Notification Priority |
Set the priority of the notification (e.g., High, Default, Low). |
|
Sticky |
Enable the message to persist until the user interacts with it. |
|
Visibility |
Define lock screen visibility (Public, Private, or Secret). |
|
Notification Count |
Set or update the app’s badge count on the launcher icon. |
|
Action Buttons |
Add actionable buttons to the notification (e.g., "View", "Dismiss"). |
|
Deep Link |
Define the action or URL to be executed when the message is clicked. |
5. Choose your target audience. You can either build a segment as usual in the Audience Explorer, or go to My Customers → Push Contacts to create a segment using push contact data (device tokens).
-20260714-062112.gif?cb=0cb4bf0052ddb8eeadd166429d5b499d)
This works alongside existing user identifiers (BSIN/UID), allowing you to more precisely target users who are enabled for push notifications across your campaigns.
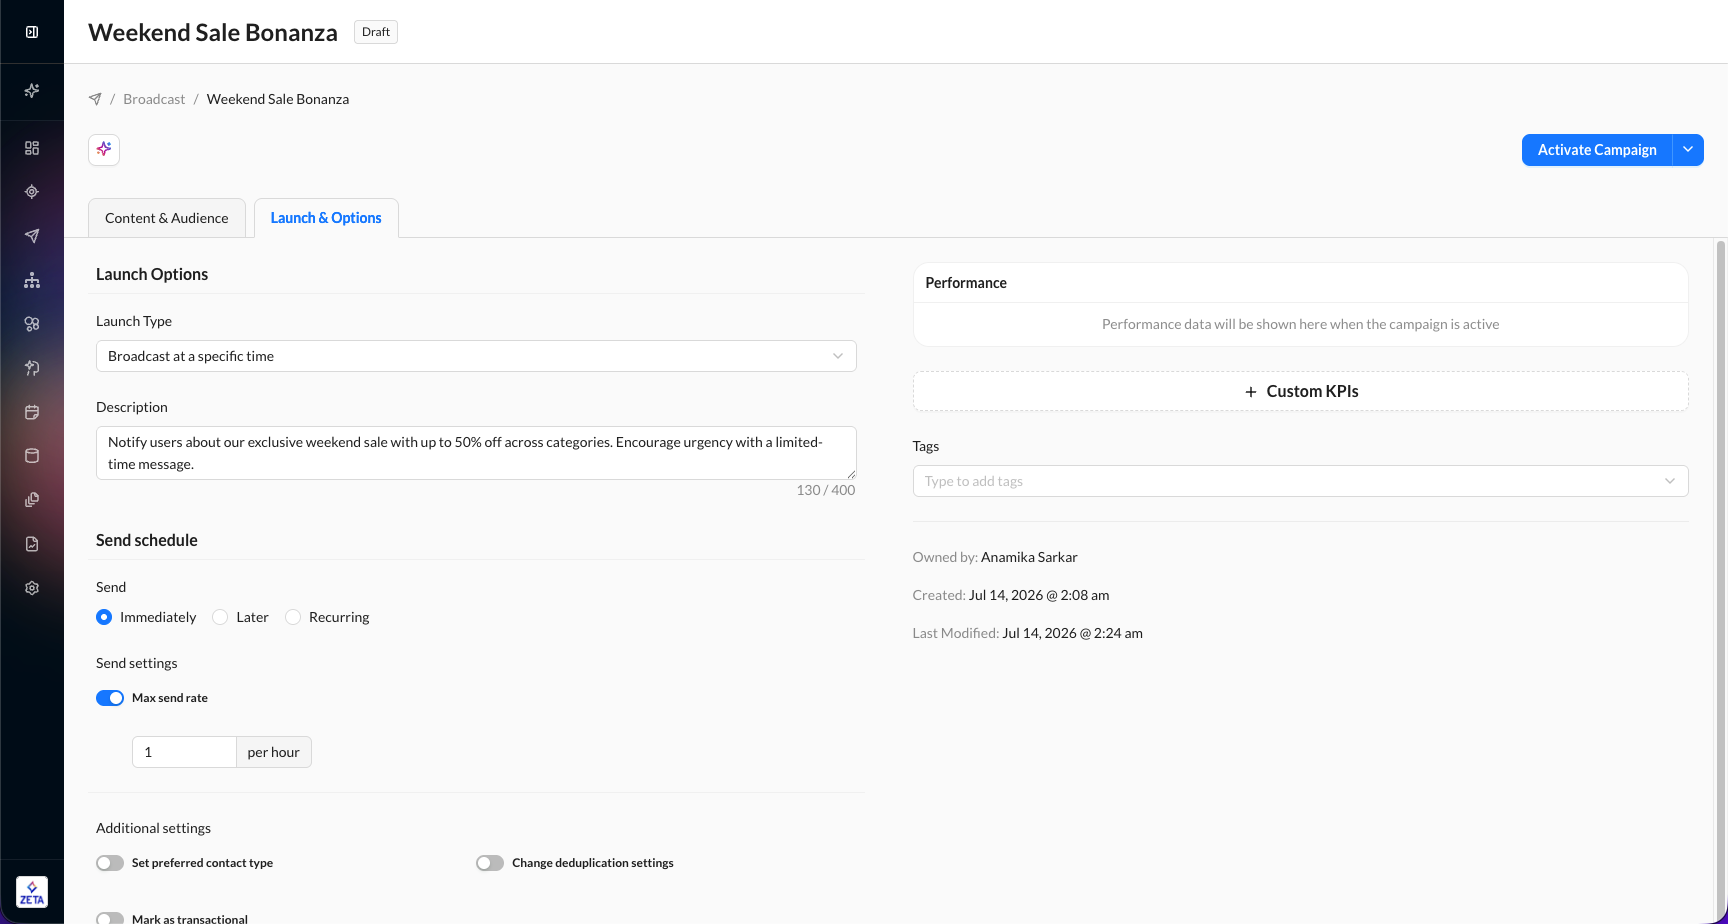
6. Configure your launch settings and preferences, and activate your campaign.