Data Flow | Action Nodes

Action Nodes are snippets of ETL configuration that can be applied to Standard Data Flows to help transform the data. They are the backbone of how Standard Data Flows work.
To enable an Action Node in your account, reach out to Support.
Here’s the list of Action Nodes available in your account:
Action Node | Description | Inputs | Outputs |
|---|---|---|---|
Append Unique Id Property | Appends an UUID as an additional property 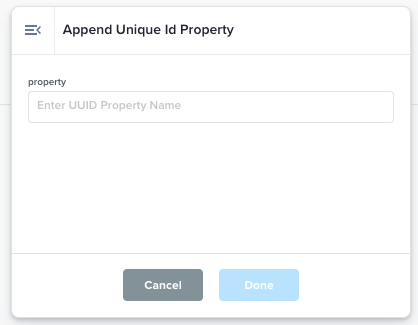 |
Input: 
| For example, an input file with
CODE
will have an extra last column added in the output file:
CODE
Output: 
|
Current Timestamp Property | Append current timestamp attribute in a column in the format YYYY-mm-dd HH:MM:SS 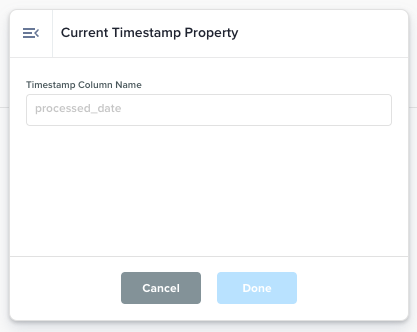 |
Input: 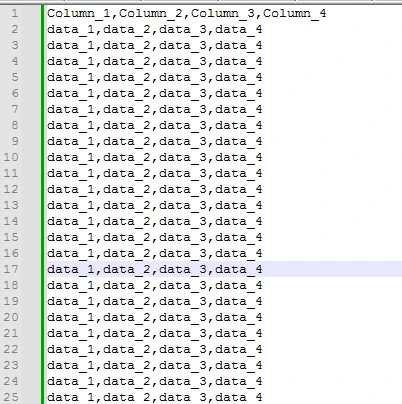 | The current timestamp will be added as an extra column into the output file with the column name entered in the action node. Output: 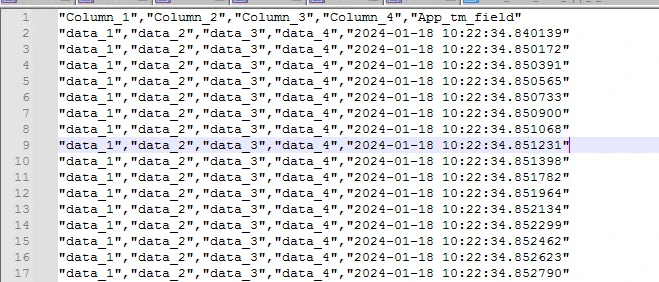
|
Source File Name Pattern | Define or alter the source file name pattern to manage which input files are chosen by the data flow. 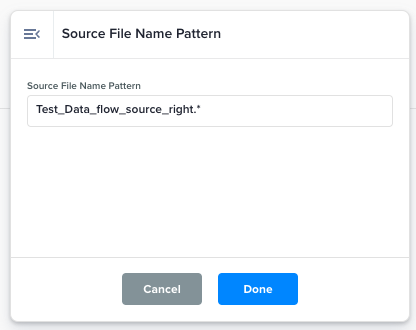 |
Input: 
| In the below screenshot, only those files in the source folder that match the pattern are copied to the destination. Output: 
|
Rehash Column | Replace column with its rehashed values using the rehash algorithm dropdown value. 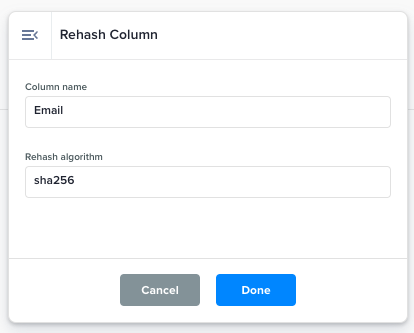
|
Input: 
| The output file will have its Output: 
|
Trim Spaces | This function trims spaces from the property values. 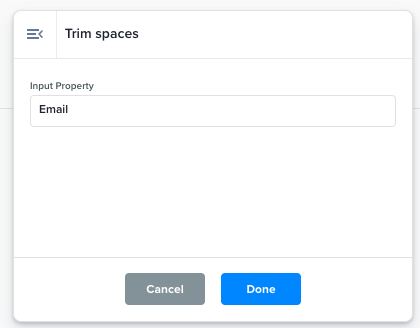 |
Input: 
| Removes spaces before and after the values of a specific column from a file. Output: 
|
Input Filename Pattern | Regular expression to match the input file names that need to be picked up by the Data Flow. 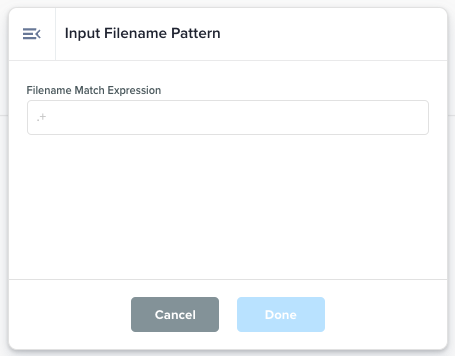 |
| The matched files are picked by Data Flow. |
Output File Extension | Changes the extension of an output file without changing the actual file contents. 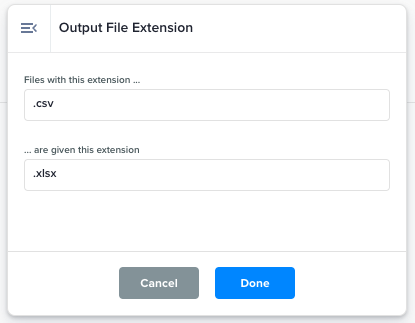 |
Input: 
| File such as filename.json will be renamed to filename.jsonl when the input provided are .json and .jsonl for Output: 
|
Output File Format (advanced) | 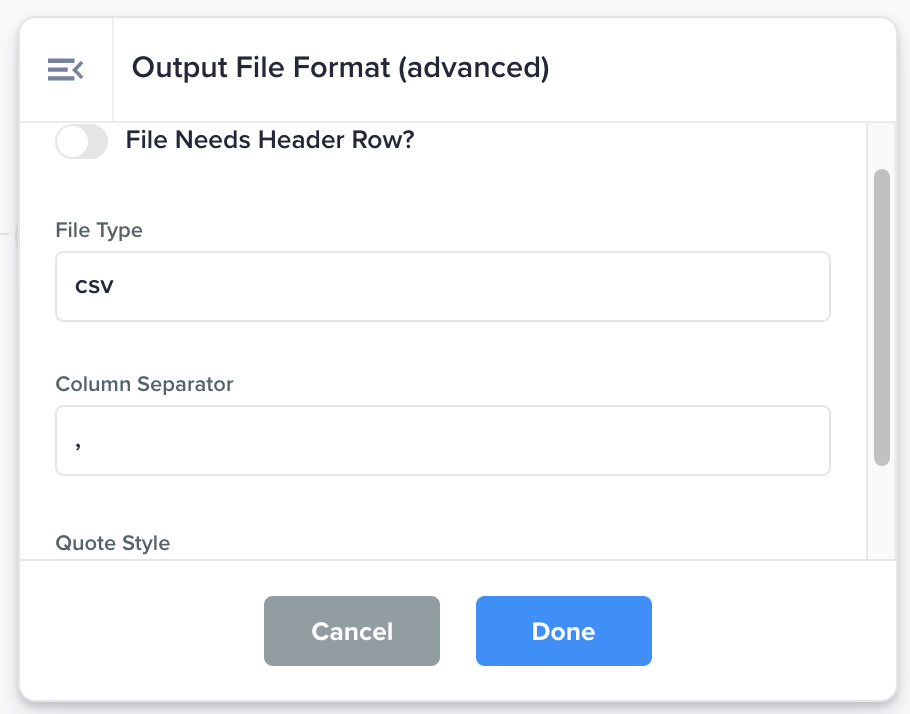 |
| |
Concatenate a Fixed String With Property | Select a property to append a fixed string to and define the new property name 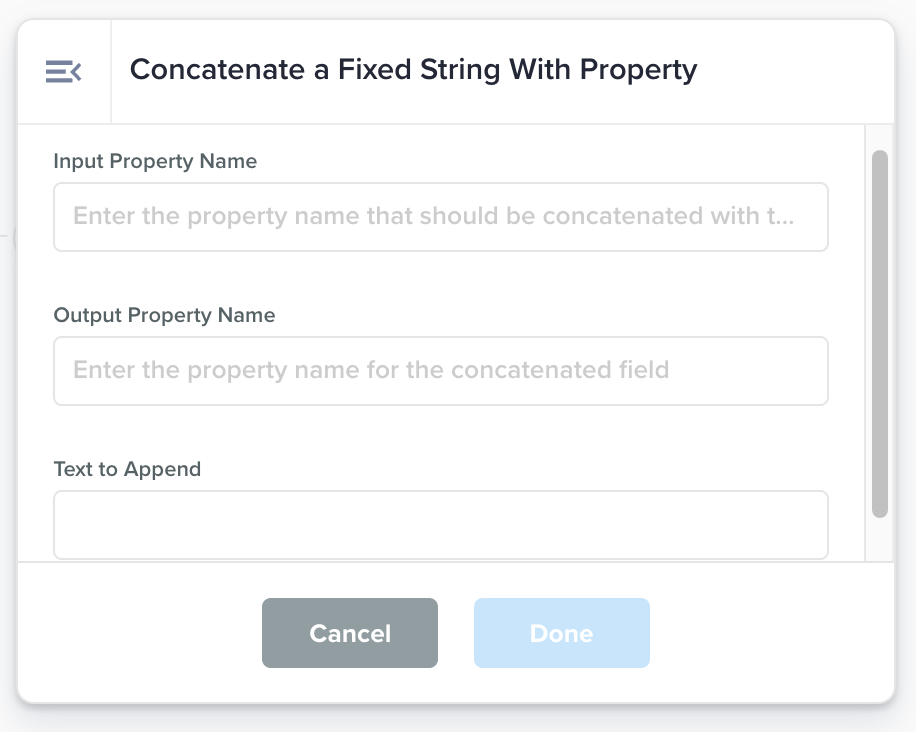 |
| |
Remove JSON Attributes | Removes JSON attributes from your JSON or JSONL file. 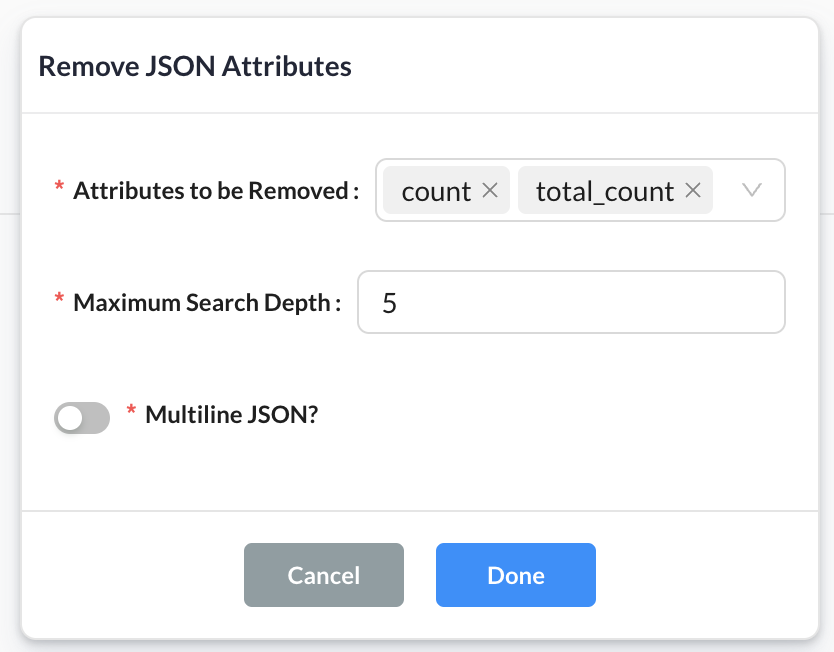 |
| All key-value pairs matching the specified key name in the entered attributes field will be excluded from the output file. |
Optional Global Property | Adds a new column with the same static value for each row 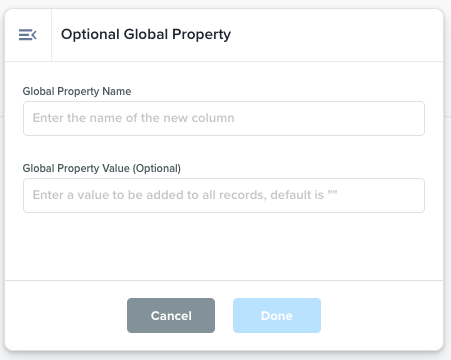 |
| Adds a new column with the name from Input 1, where each row's value is populated from the Input 2 field. |
Recursive Source Search | If 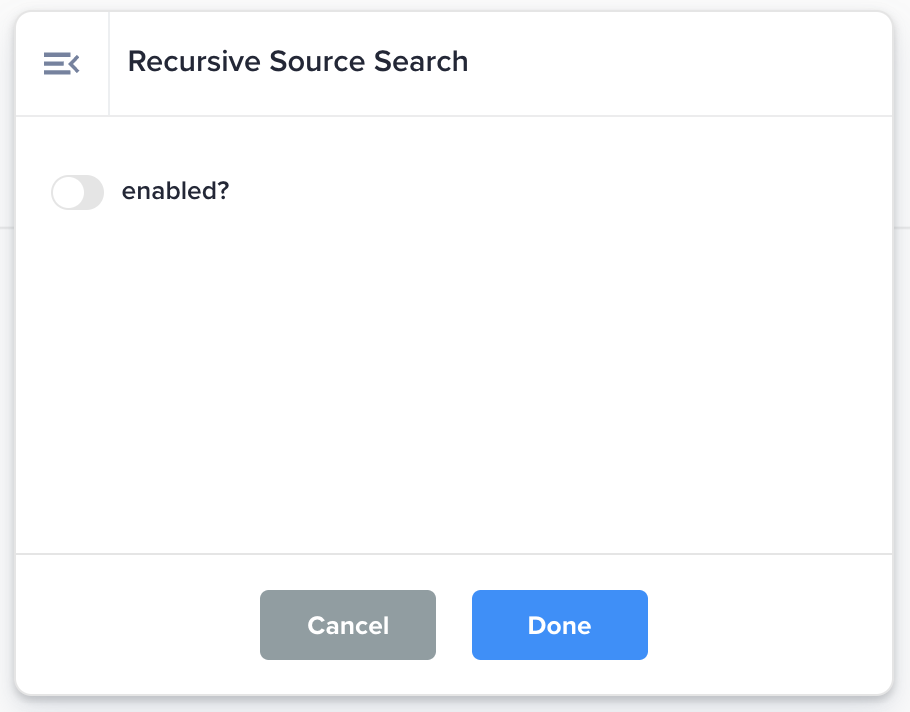 |
| Enable data flows to recursively search in the source folder selected within the Source card. |
Define/Rename/Omit/Copy Columns | Define, rename, omit, and copy columns in the output file. This action works for both CSV and JSONL files. 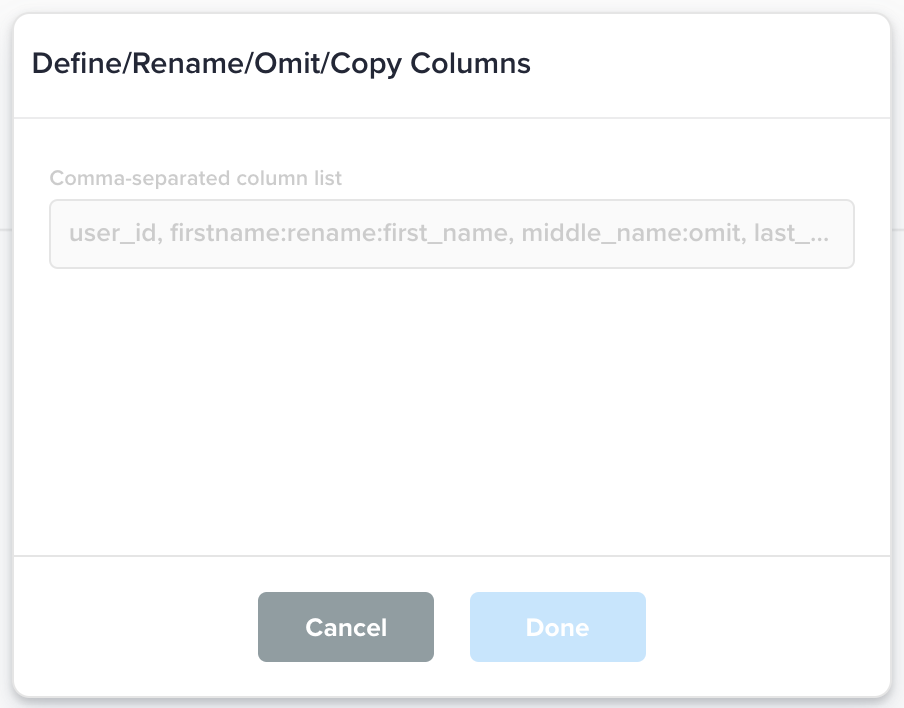 | Define all columns with one comma delimited string:  Example String: | Output file will contains the columns as determined by the input string.  |
Define 2 File Columns, Define 3 File Columns, …, Define 26 File Columns | Use for CVS files that contain exactly x columns. Columns must be defined in the correct order. Here is how that column definition node works:
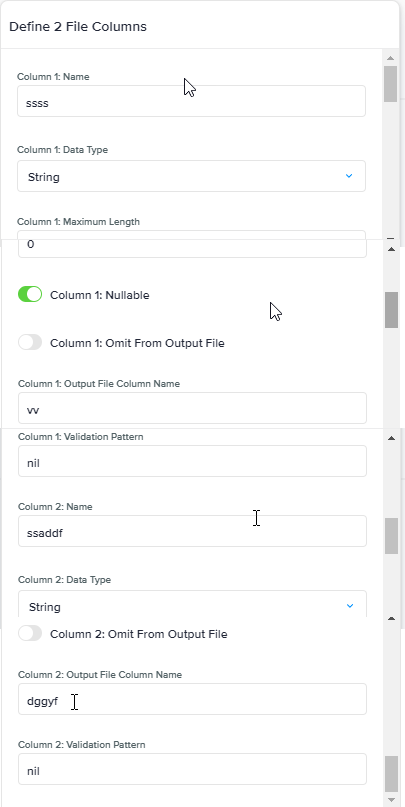 |
| Output file will be based on the inputs entered by you for each column. |
Multi-file Snowflake Export | Additional Snowflake Properties. 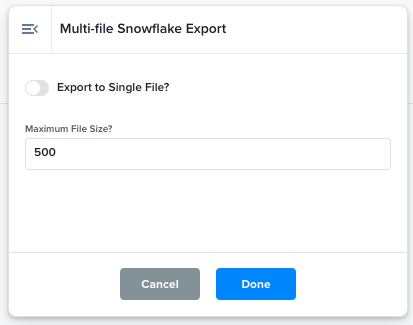 |
Input: 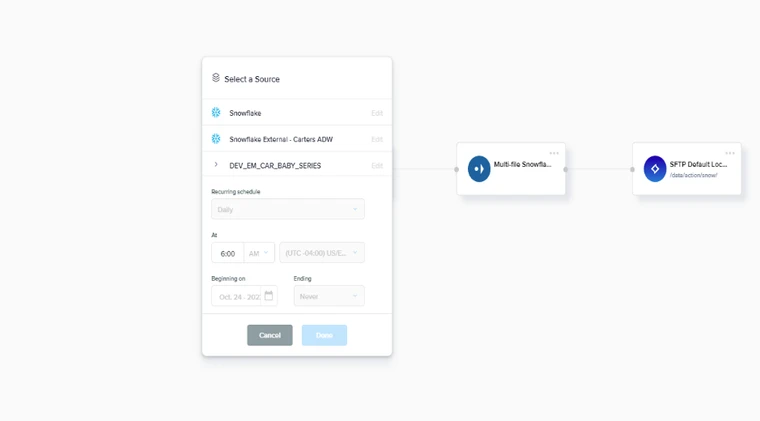
| This action node splits the export data from a snowflake connection into multiple files. This action only works with snowflake direct export Output: 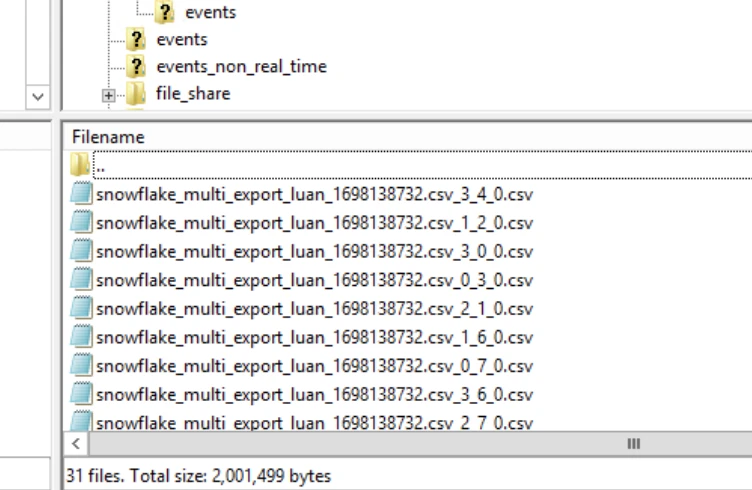
|
GPG Encrypt | GPG Encryption. Key Password is required. Please reach out to Support to set this action node. |
| Once you have the input path to the Key, the Key Password and the Recipients list, the output file will be encrypted. Output file type will be GPG. |
GPG Encrypt (passwordless) | GPG Encryption. Key Password is not required. Please reach out to Support to set this action node. 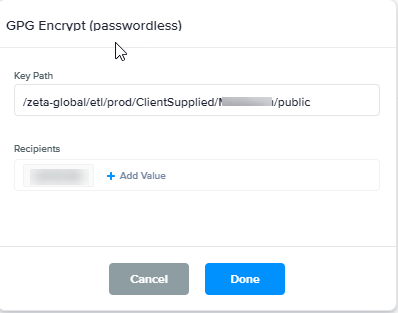 |
| Once you have the input path to the Key, the Key Password and the Recipients list, the output file will be encrypted. Output file type will be GPG. |
GPG Decrypt | GPG Decryption. Key Password is required. Please reach out to Support to set this action node. 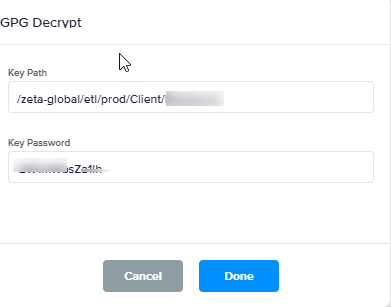 |
| Once you have the path to input in the Key Path field and Key password, the output file will be decrypted |
GPG Decrypt (passwordless) | GPG Decryption. Key Password is not required. Please reach out to Support to set this action node. |
| Once you have the path to input in the Key Path field, the output file will be decrypted
|
Input Compression Type | Select the compression type of your input file so that the Data Flow can correctly uncompress it and read the file contents. 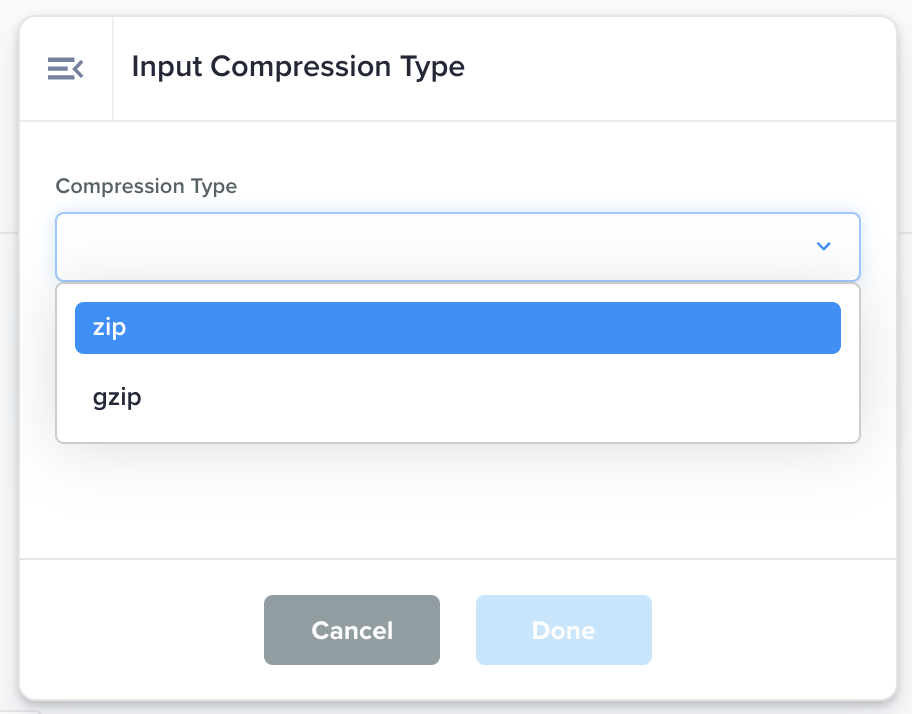 | Compression Type: zip or gzip | Uncompressed file |
Concatenate Timestamp With Property | Select a property to append a unique timestamp to and define the new property name. 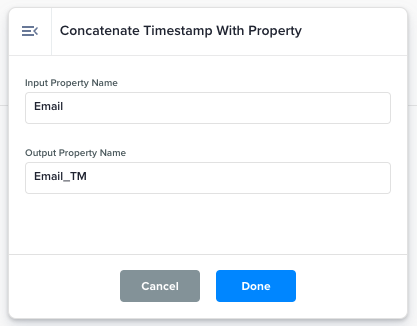 |
Input: 
| Output file will have a new column added with the new property name Output: 
|
Input File Format | Sets input file type, quote character, row separator and column separator values to ensure the data flow correctly reads the input files. 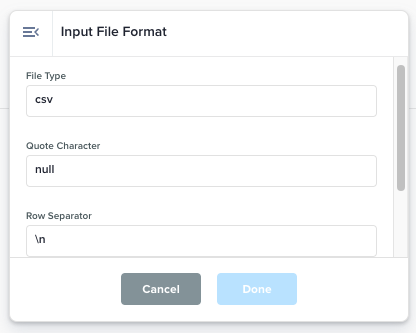 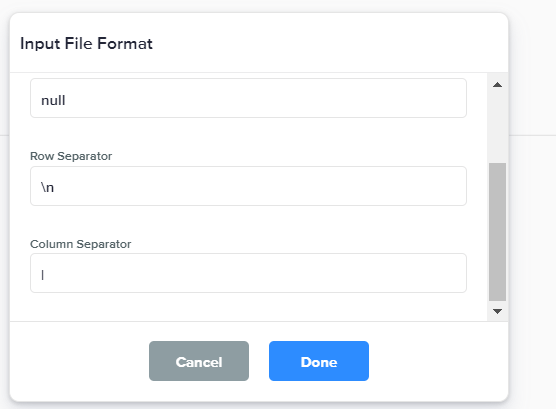 |
Input: 
| For any input file with values pipe-delimited will retain the pipe delimiter in the output file with an addition of double-quote field frames. Output: 
|
Input File Format (advanced) | Advanced version of the Input File Format node to inform the the Data Flow the content of the input file. 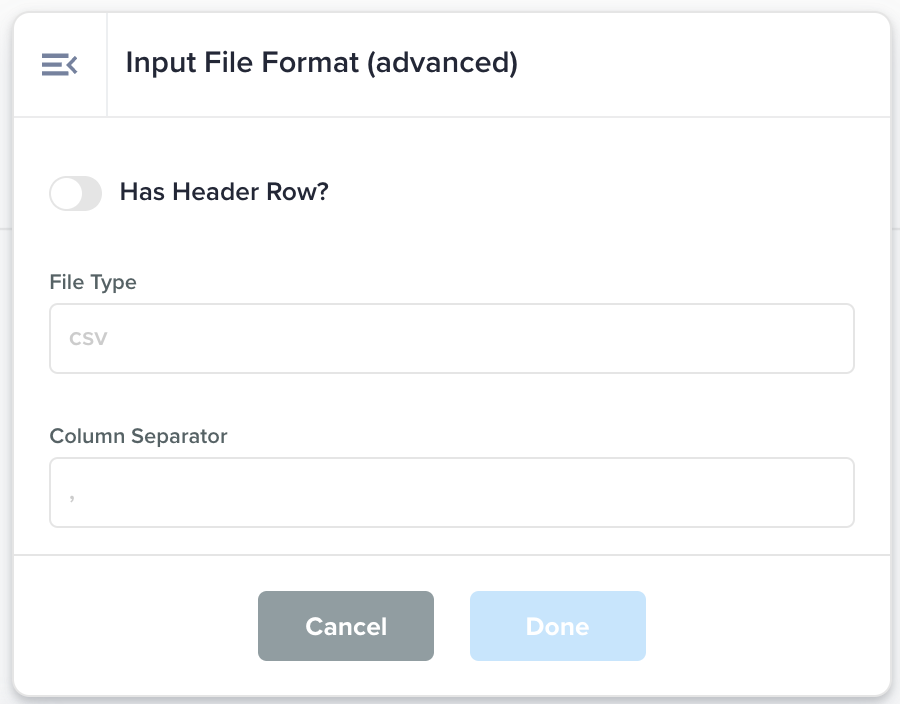 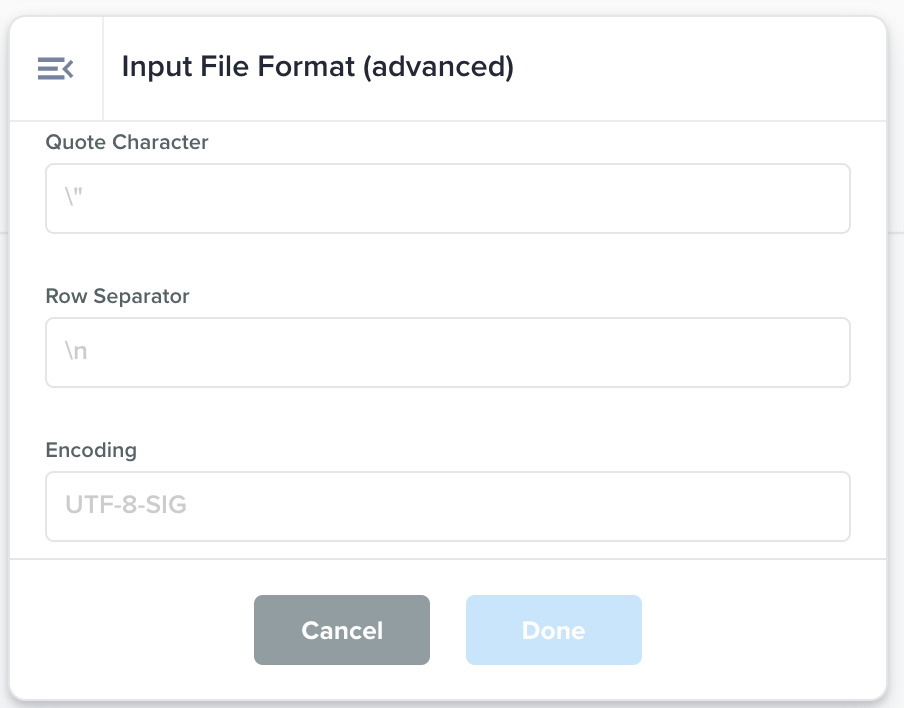 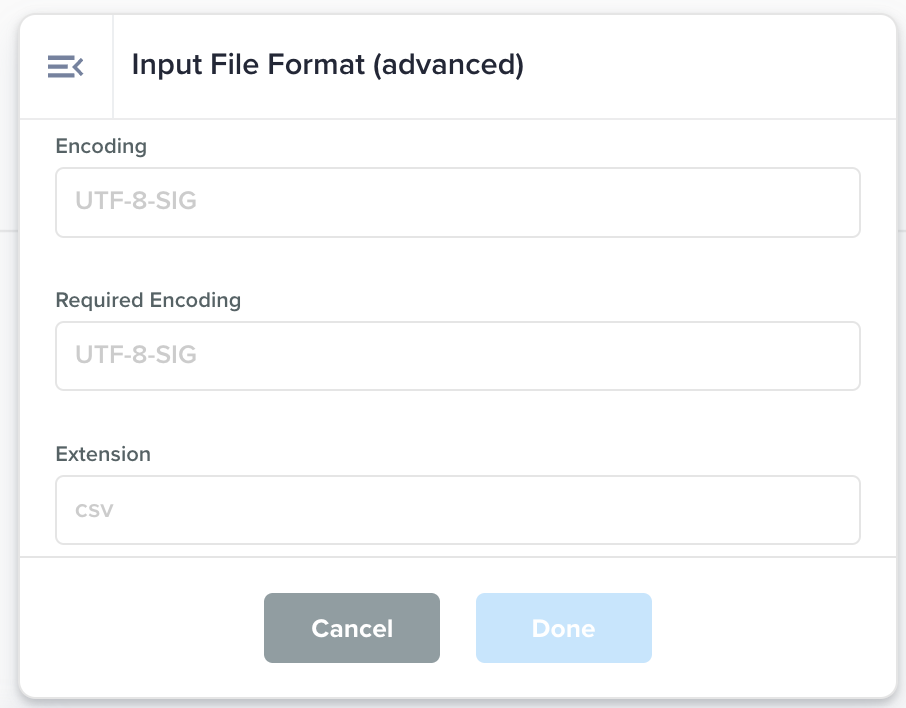 | Has Header Row: whether the first row is a header row. File Type: the type of file such as csv, jsonl Column Separator: the column separator character such as pipe (|) or comma (,) Quote Character: the character to represent quotes. Eg: double-quote (“) or single quote (') Row Separator: character that separates the rows. Eg: newline (“\n”) Encoding: the encoding of file. Eg: UTF-8-SIG Required Encoding: the encoding this file should comply with. Eg: UTF-8-SIG Extension: The extension of the file, that appears after the dot after the file name. Eg: csv, jsonl | |
Source Archive Path | Source files will be moved to this path once they have been retrieved. 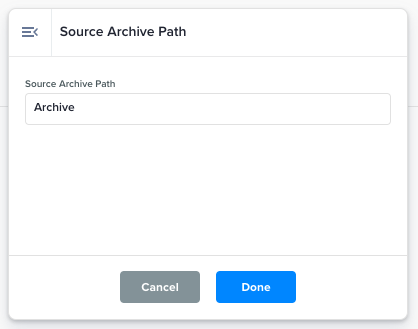 |
| This node allows you to move the source file into an archive folder. Please note that the folder should be located inside the source folder selected in the Source card. Output: 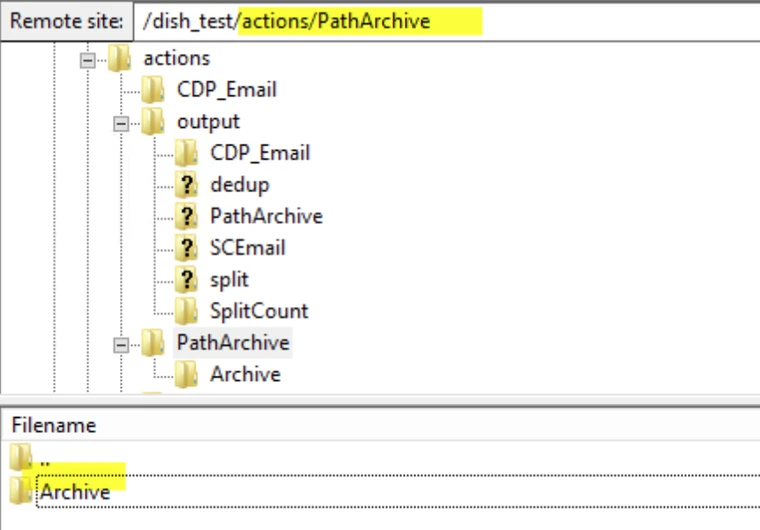 |
Custom Input File Type | A text field to inform the data flow the input file content type. By default, all files are considered of type CSV by the data flow. 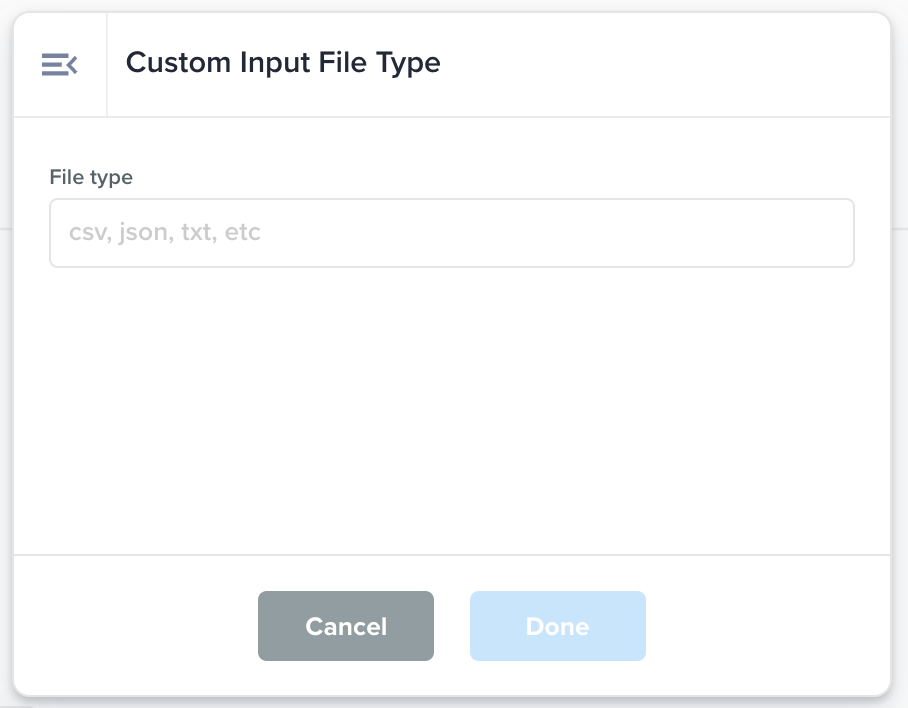 | File type: The input file type such as csv, json, jsonl, txt, pdf, etc. | Input file is passed as is to the next node in the flow. |
Input File Type | A dropdown to inform the data flow whether the input file content are CSV or JSON. By default, all files are considered of type CSV by the data flow. 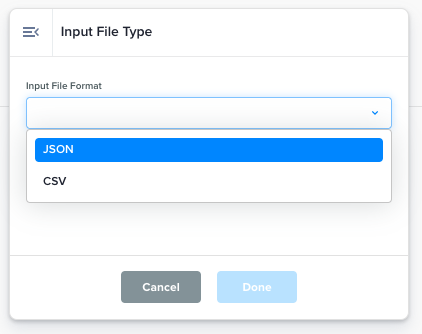 |
| Input file is passed as is to the next node in the flow. |
Output File Type | JSONL support only (CSV is default) 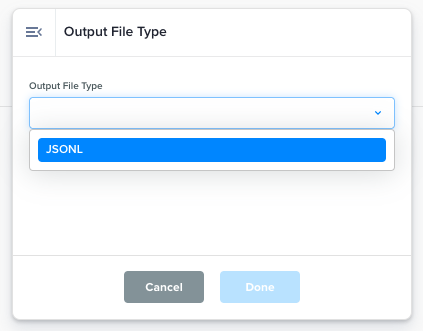 |
Input: 
| The output file type will be based on the value chosen in the dropdown of Output: 
|
Split by Line Count | Split into multiple output files by line count. 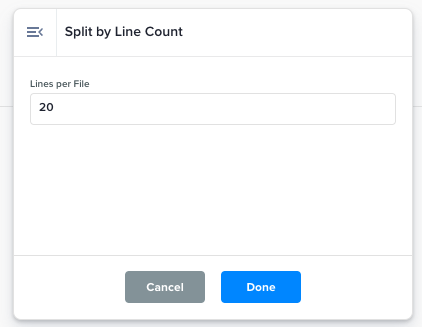 |
Input: 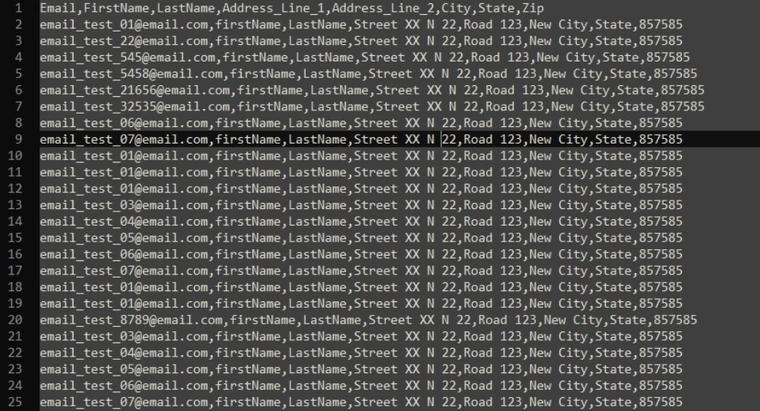
| Multiple output files in which all files will contain at most Output: 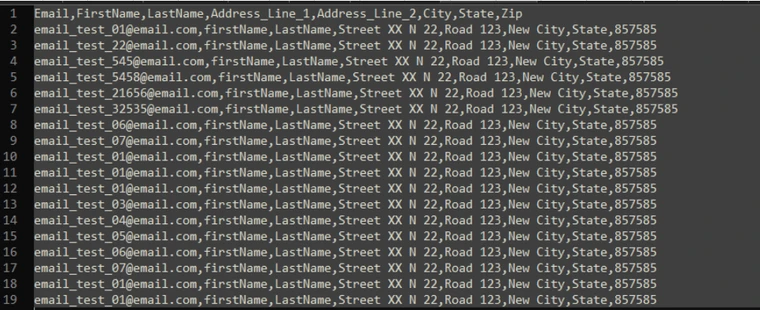  |
Split File By Column Value | A file is created for each distinct value in the column. 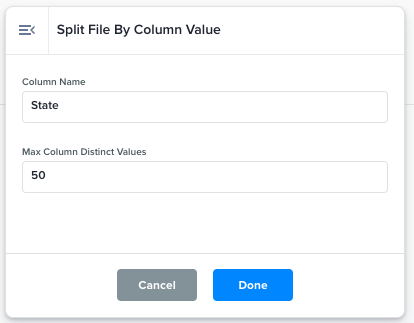 |
Input: clean_test_records_out.csv 
| For each unique value in Output: clean_test_records_out.csv_NY_14638922748329.csv clean_test_records_out.csv_NY_14638922748330.csv clean_test_records_out.csv_MN_14638922748335.csv clean_test_records_out.csv_GA_14638922748346.csv clean_test_records_out.csv_OK_14638922748351.csv |
De-dupe File | De-duplicate records by unique values of selected properties. 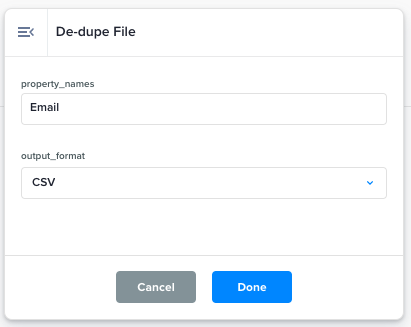 |
Input: 
| The output file will have no duplicate rows Output: 
|
Single Output File | Merge multi-file output to a single file. 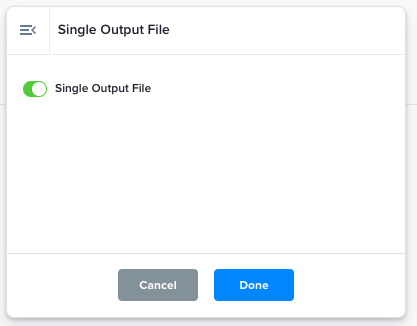 |
Input: 
| When the Output: 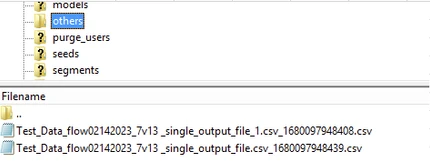
|
Non-Standard UTF-8 File Encoding | Uses UTF-8-SIG encoding to reduce likelihood of parsing errors in the input files. 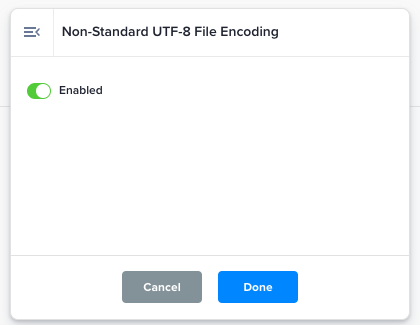 |
Input: 
| File such as Output: 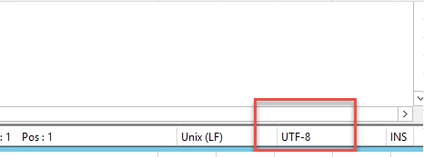 |
JSON Columns Re-serializer | Only relevant for BQ->JSONL exports with JSON column values (multiple columns) 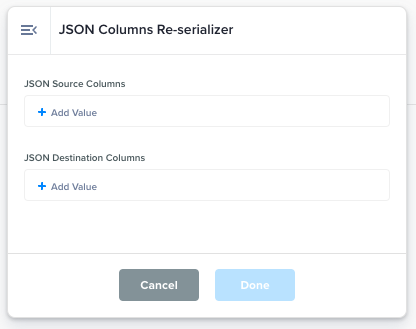 | Big Query refers to querying Snowflake or another external database using SQL to obtain the data used in an audience or data flow. If your desired data flow that you're trying to test is not using such a query, there is no impact to your testing for that message. | |
Add Single Column Header | Set first column header name. 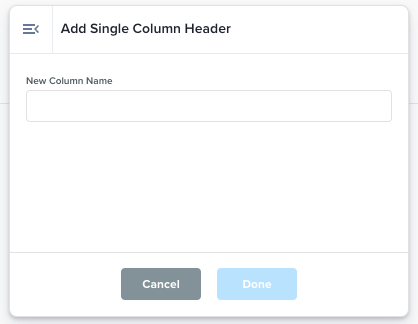
|
Input: 
| Every unique value in Output: 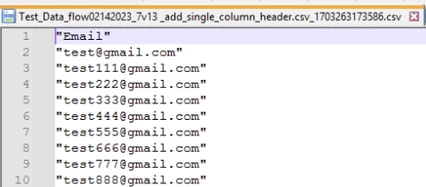
|
Use CSV Implicit Header | 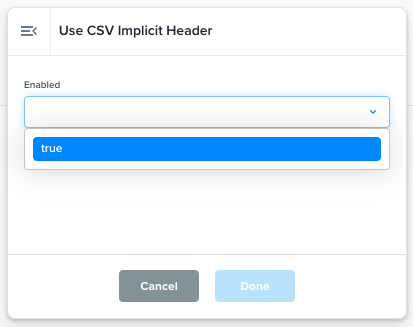 |
Input: 
| This action node adds 'double quote comma' to the output file. The same action takes place to both the input files with and without headers. Output: 
|
Enable/disable header validation | Header validation should only be enabled if required. 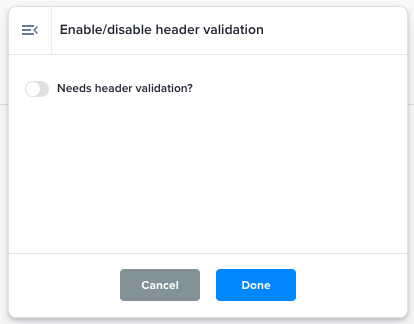 |
Input: 
| In both cases of the Output(when enabled):  Output(when disabled): 
|
Override Start Date | Can be used to override a flow's start date, particularly for file-based data flows such as those using sources like SFTP, Amazon S3, etc. Note that this node is not necessary for Snowflake and BigQuery, as they already support this feature. 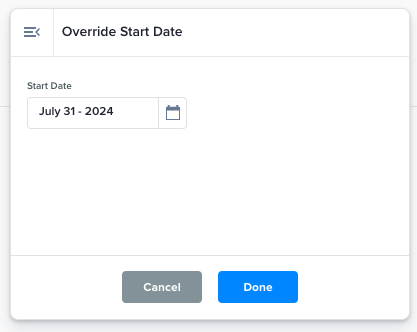 |
| You can use the |
Run Frequency/Schedule | Sets the Flow's run frequency to either Daily or Hourly 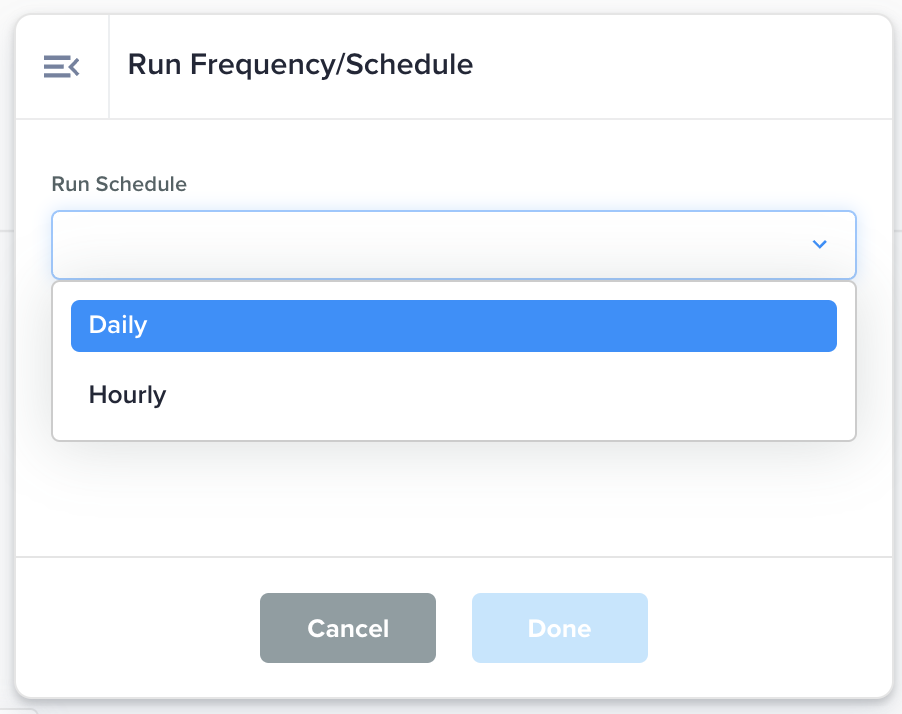 | Run Schedule: Choose the schedule between Daily or Hourly. | The Flow will be executed at the chosen frequency. |
Cron-based Run Frequency/Schedule | Sets the Flow's run frequency with cron string. 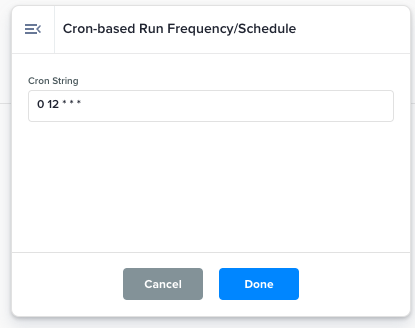 |
| For example,
|
Success Email Notifications | Receive Success Notification Emails when the Data Flow execution has succeeded. 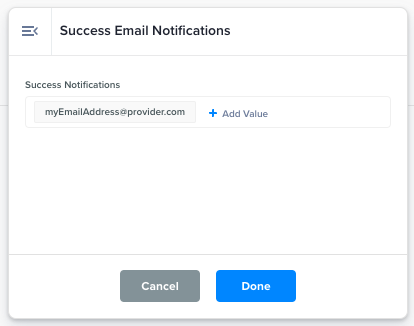 |
| Success email notification to the email addresses entered in the 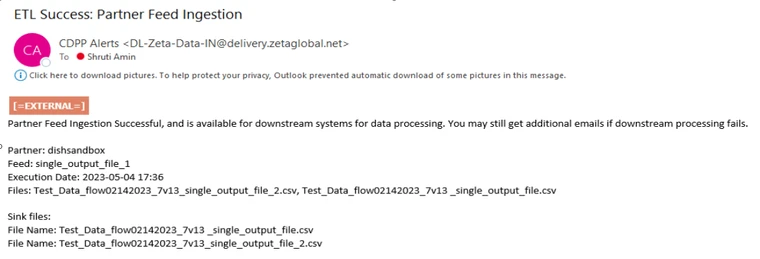
|
Failure Email Notifications | Receive Failure Notification Emails when the Data Flow errors. 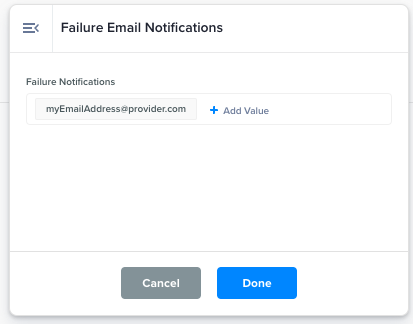 |
| Failure email notification to the email addresses entered in the Output: 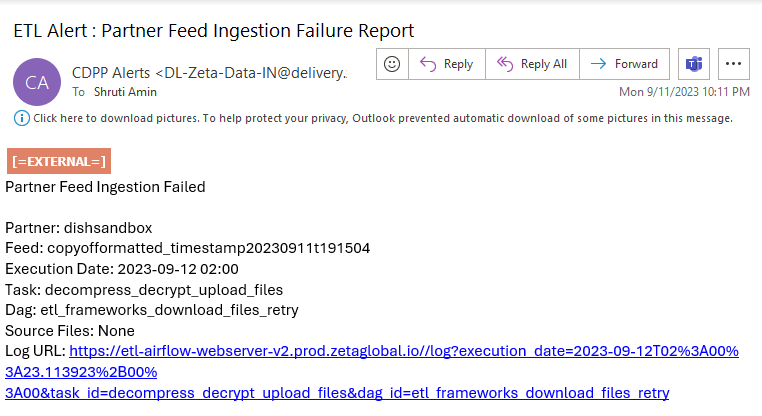 |
Add Global Property to file | Define a new property with a static value that is the same for all records in the file. 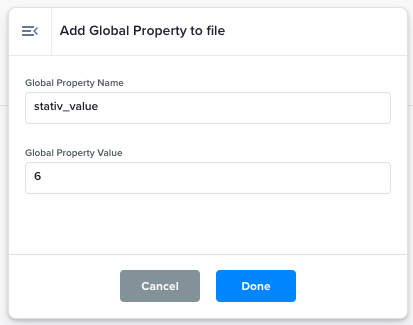 |
Input: 
| A file will be generated with an additional column whose name will be same as the value entered for Output: 
|
Rename Output File | Set final file name based on regular expression pattern. 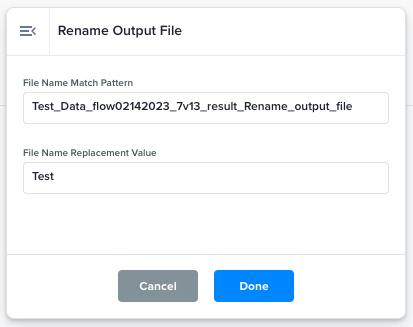 |
Input: 
| File with match pattern Output: 
|
Validate Source Row Count (jsonl) | This function validates whether the number of rows match with the count value mentioned within the same JSONL file. 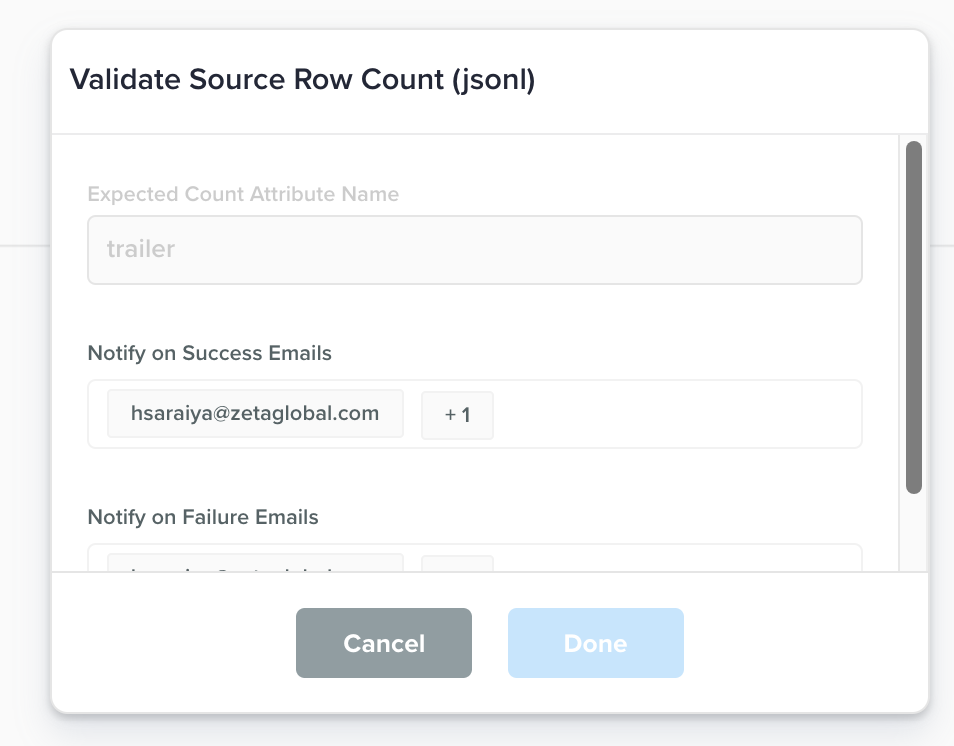 |
Input: 
| The output file generated will be named validated_<inputFileName> where <inputFileName> is the input file that validation was performed upon, if the validation succeeds. If the validation fails, output file will NOT be generated. In either case emails that were entered in input fields 2 and 3 will get emails. Output: 
|
Validate Source Row Count (csv) | This function validates whether the number of rows match with the count value mentioned within the same CSV file. 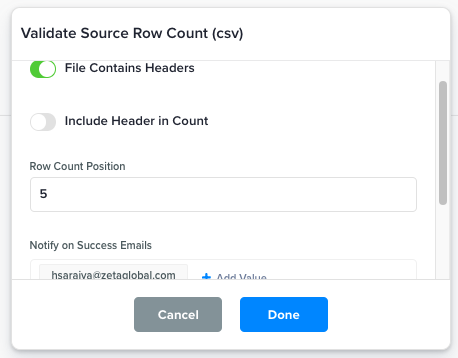 |
Input: 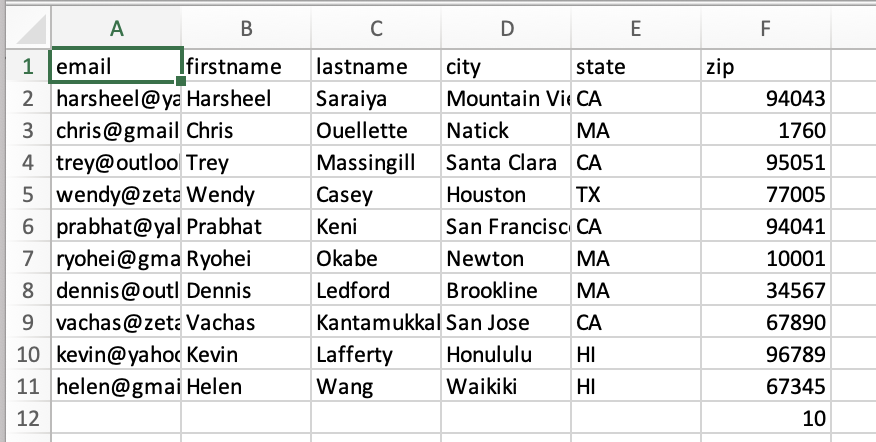
| The output file generated will be named validated_<inputFileName> where <inputFileName> is the input file that validation was performed upon, if the validation succeeds. If the validation fails, output file will NOT be generated. In either case emails that were entered in input fields 4 and 5 will get emails. Output:  |
Add Row Count Metadata (jsonl) | This function adds a new entry as a last row to represent the number of rows in the file. 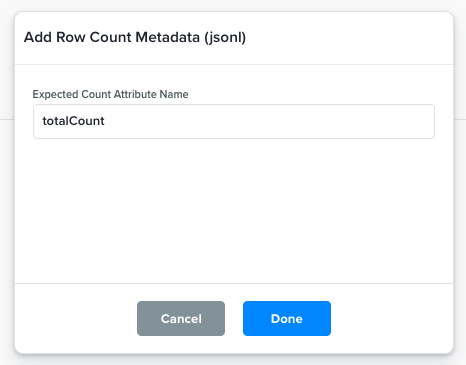 |
Input:  | The output file generated will be of same name as the input file. Of course, the output file will have a new row representing the count value. Output:  |
Add Row Count Metadata (csv) | This function adds a new entry as a last row to represent the number of rows in the file. 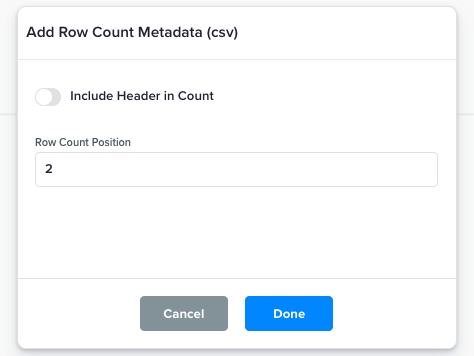 |
Input: 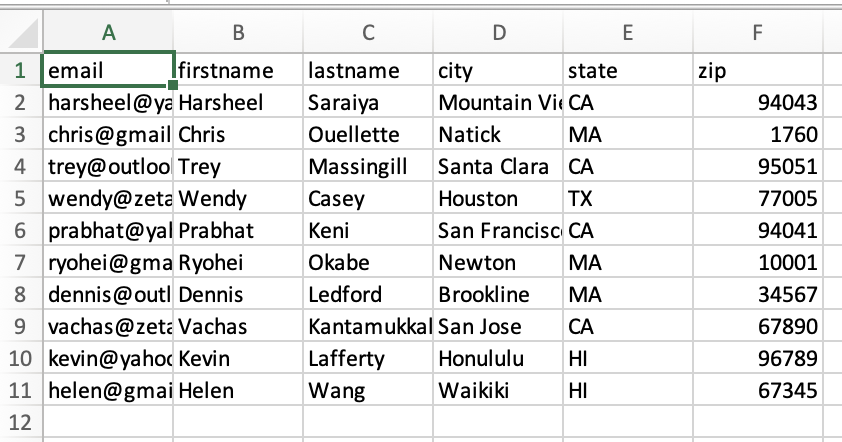 | The output file generated will be of same name as the input file. Of course, the output file will have a new row representing the count value. Output: 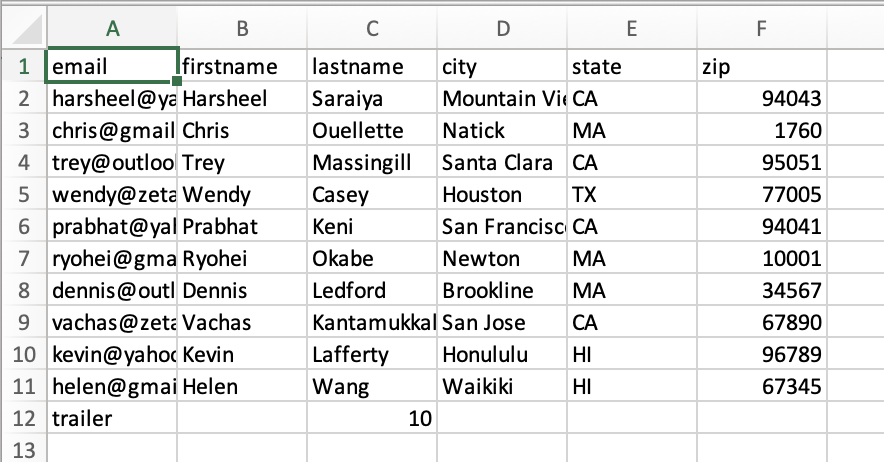
|
Custom Python Transformation (UDF) More information available in the section below | Create your own transformations in Python 3.11 (row-based or DataFrame-based). Powerful editor with validation, preview, and 200+ approved libraries. See “Custom Python Transformations (UDF)” section for examples & agent tools. 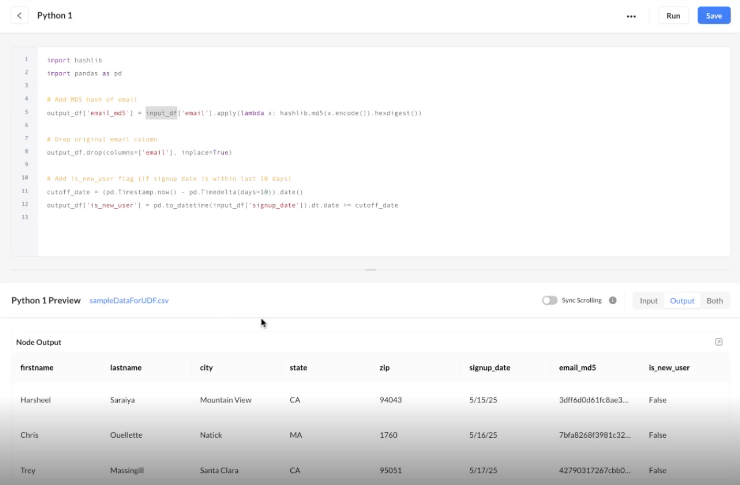 | Mode (Row/DataFrame); Python code; optional failure threshold; continue-on-failure toggle. | Transformed output file(s); optional error file with failure reasons; job logs. |
Custom Python Transformations (User-Defined Functions)
Let advanced users write and run Python 3.11 inside Data Flows to perform custom row- or DataFrame-level transforms, beyond the prebuilt nodes. Editor includes syntax highlighting, linting/validation, sample-input preview, and side-by-side input/output. 200+ vetted libraries are available (e.g., pandas, numpy, hashlib, datetime, requests, cryptography).
Processing models
Row-based – simple, per-record logic.
DataFrame-based – column or aggregate operations (faster on large sets).
Failure handling
Threshold (e.g., fail if >50% rows fail) or continue and skip failed rows.
Error file produced with reasons (UI surfacing planned).
Examples
DataFrame-based |
PY
|
Row-based |
PY
|
Best Practices
Use DataFrame mode for transformations that affect multiple columns or require aggregations — it provides full-table context and better performance on large datasets.
Use Row-based mode for lightweight, record-level operations such as combining or cleaning individual fields — it’s simpler to read and easier to debug.
For small datasets or quick adjustments, Row-based mode remains the most efficient choice.
Code-editor Agent (validation & suggestions)
FOLLOW-ON CAPABILITY
This follow-on functionality allows you to invoke an AI agent from the editor console to improve code quality and speed.
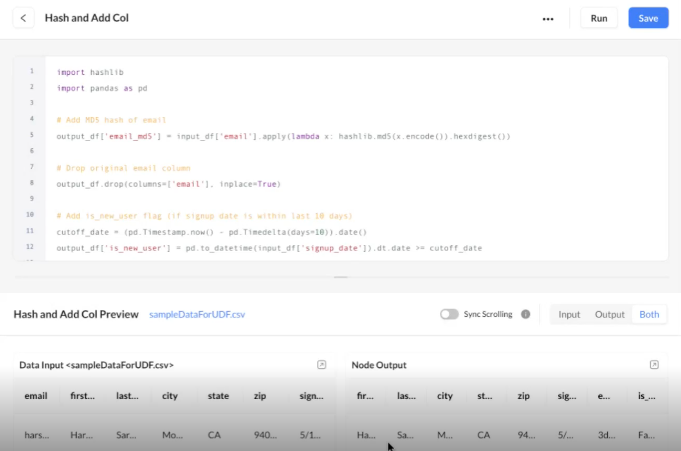
Capabilities
Validate code: highlight edge cases, unsafe ops, and library misuse.
Suggest edits: refactor to DataFrame ops, vectorize, or add guards.
Generate test data: create synthetic samples or pull sample inputs from source folders to preview outputs.
NL → Python: draft a first pass from a natural-language description.
How to use (editor console)
1. Click on Agent > Validate code to run checks and receive inline comments.
2. Click Agent > Suggest improvements to get a patch-style diff.
3. Click Agent > Generate test data to attach/preview sample input. (If enabled in your account.)
