
Creating content for compelling experiences is difficult, especially when you’re short on time and resources, and you’ve got a monster of a project on your hands. While the process of creating an experience in itself can take up several hours with testing and fine-tuning; even after it’s ready, the process of applying the step to the ZMP accounts manually can be pretty cumbersome and error-prone.
In light of the same, ZMP provides the opportunity to considerably simplify porting these setups from one account to another to ease onboarding and adoption.
Sharing Experiences
Experiences can be shared as a deep copy across any set of accounts that the user has access to along with the Edit Experience permission. This is typically used in three broad use cases:
|
1 |
Development to Production |
Build an Experience in an isolated development environment, test and deploy to production. |
|
2 |
Production to Development and Back to Production |
Get a copy of the live experience from production to a development environment, modify and propose the changes back to Production for a review and live update. |
|
3 |
Live editing in Production |
A direct update of an Experience in a Production environment without disrupting the in-flight users. This is available to users with Launch Experience permission in production and for changes that do not typically require testing in a development environment. |
Ways to Share and Update Experiences
Experiences can be shared and updated in the following ways:
Share as a copy: Whenever you share an Experience that is not Live, it will be shared as a copy. This is a deep copy of the Experience that includes the entire structure and content defined as part of the Experience.
-
Triggering event definition is created if they do not exist in the target account
-
Definition of all the segments used in the Experience are created if they do not exist in the target account
-
Segments are reused if they exist by the same name in the target account.
-
Definition of all the campaigns used in the Experience are created if they do not exist in the target account
-
Campaigns are duplicated if they exist by the same name in the target account.
Share as a Linked Copy: Whenever you share a Live Experience with another account, it will be shared as a linked copy. This mode of copy is fundamentally the same as sharing as a copy with the following additions:
-
The linked copy ensures that any changes made to it can be shared back to the Live source Experience as a new version, and can be used to edit the live experience without disrupting the in-flight users, thereby allowing for two-way portability. This is helpful for use cases where Live Experience from the Production environment is ported to a development environment, and tested changes are intended to be applied back to the live experience.
-
Modifications on a linked copy can be shared back to the source Experience with one click and more than once if needed. Each share back generates a new “proposed version” for the Live Experience. Users with Launch Experience Permission can merge or reject a proposed version post-review.
-
The linked copy may restrict the editing of certain nodes in order to guarantee two-way portability.
-
A linked copy can be manually disconnected from the source by clicking on the ‘Unlink Share’ option. Once un-linked the Experience becomes independent and cannot be used to update the source Experience.
-
In the event, a Live experience is modified or its status changes from live to inactive, all the linked copies are automatically disconnected. This also clears all the proposed versions if they exist.
Live Edit: Live Editing of an Experience follows the pattern of versioning. ie. When one attempts to edit a live experience, the system auto-generates a linked version, so the modifications can remain independent. The version may restrict the modification of certain nodes to ensure that the flow of in-flight users is not disrupted. Once the changes are made to the version, they can be merged into the live experience.
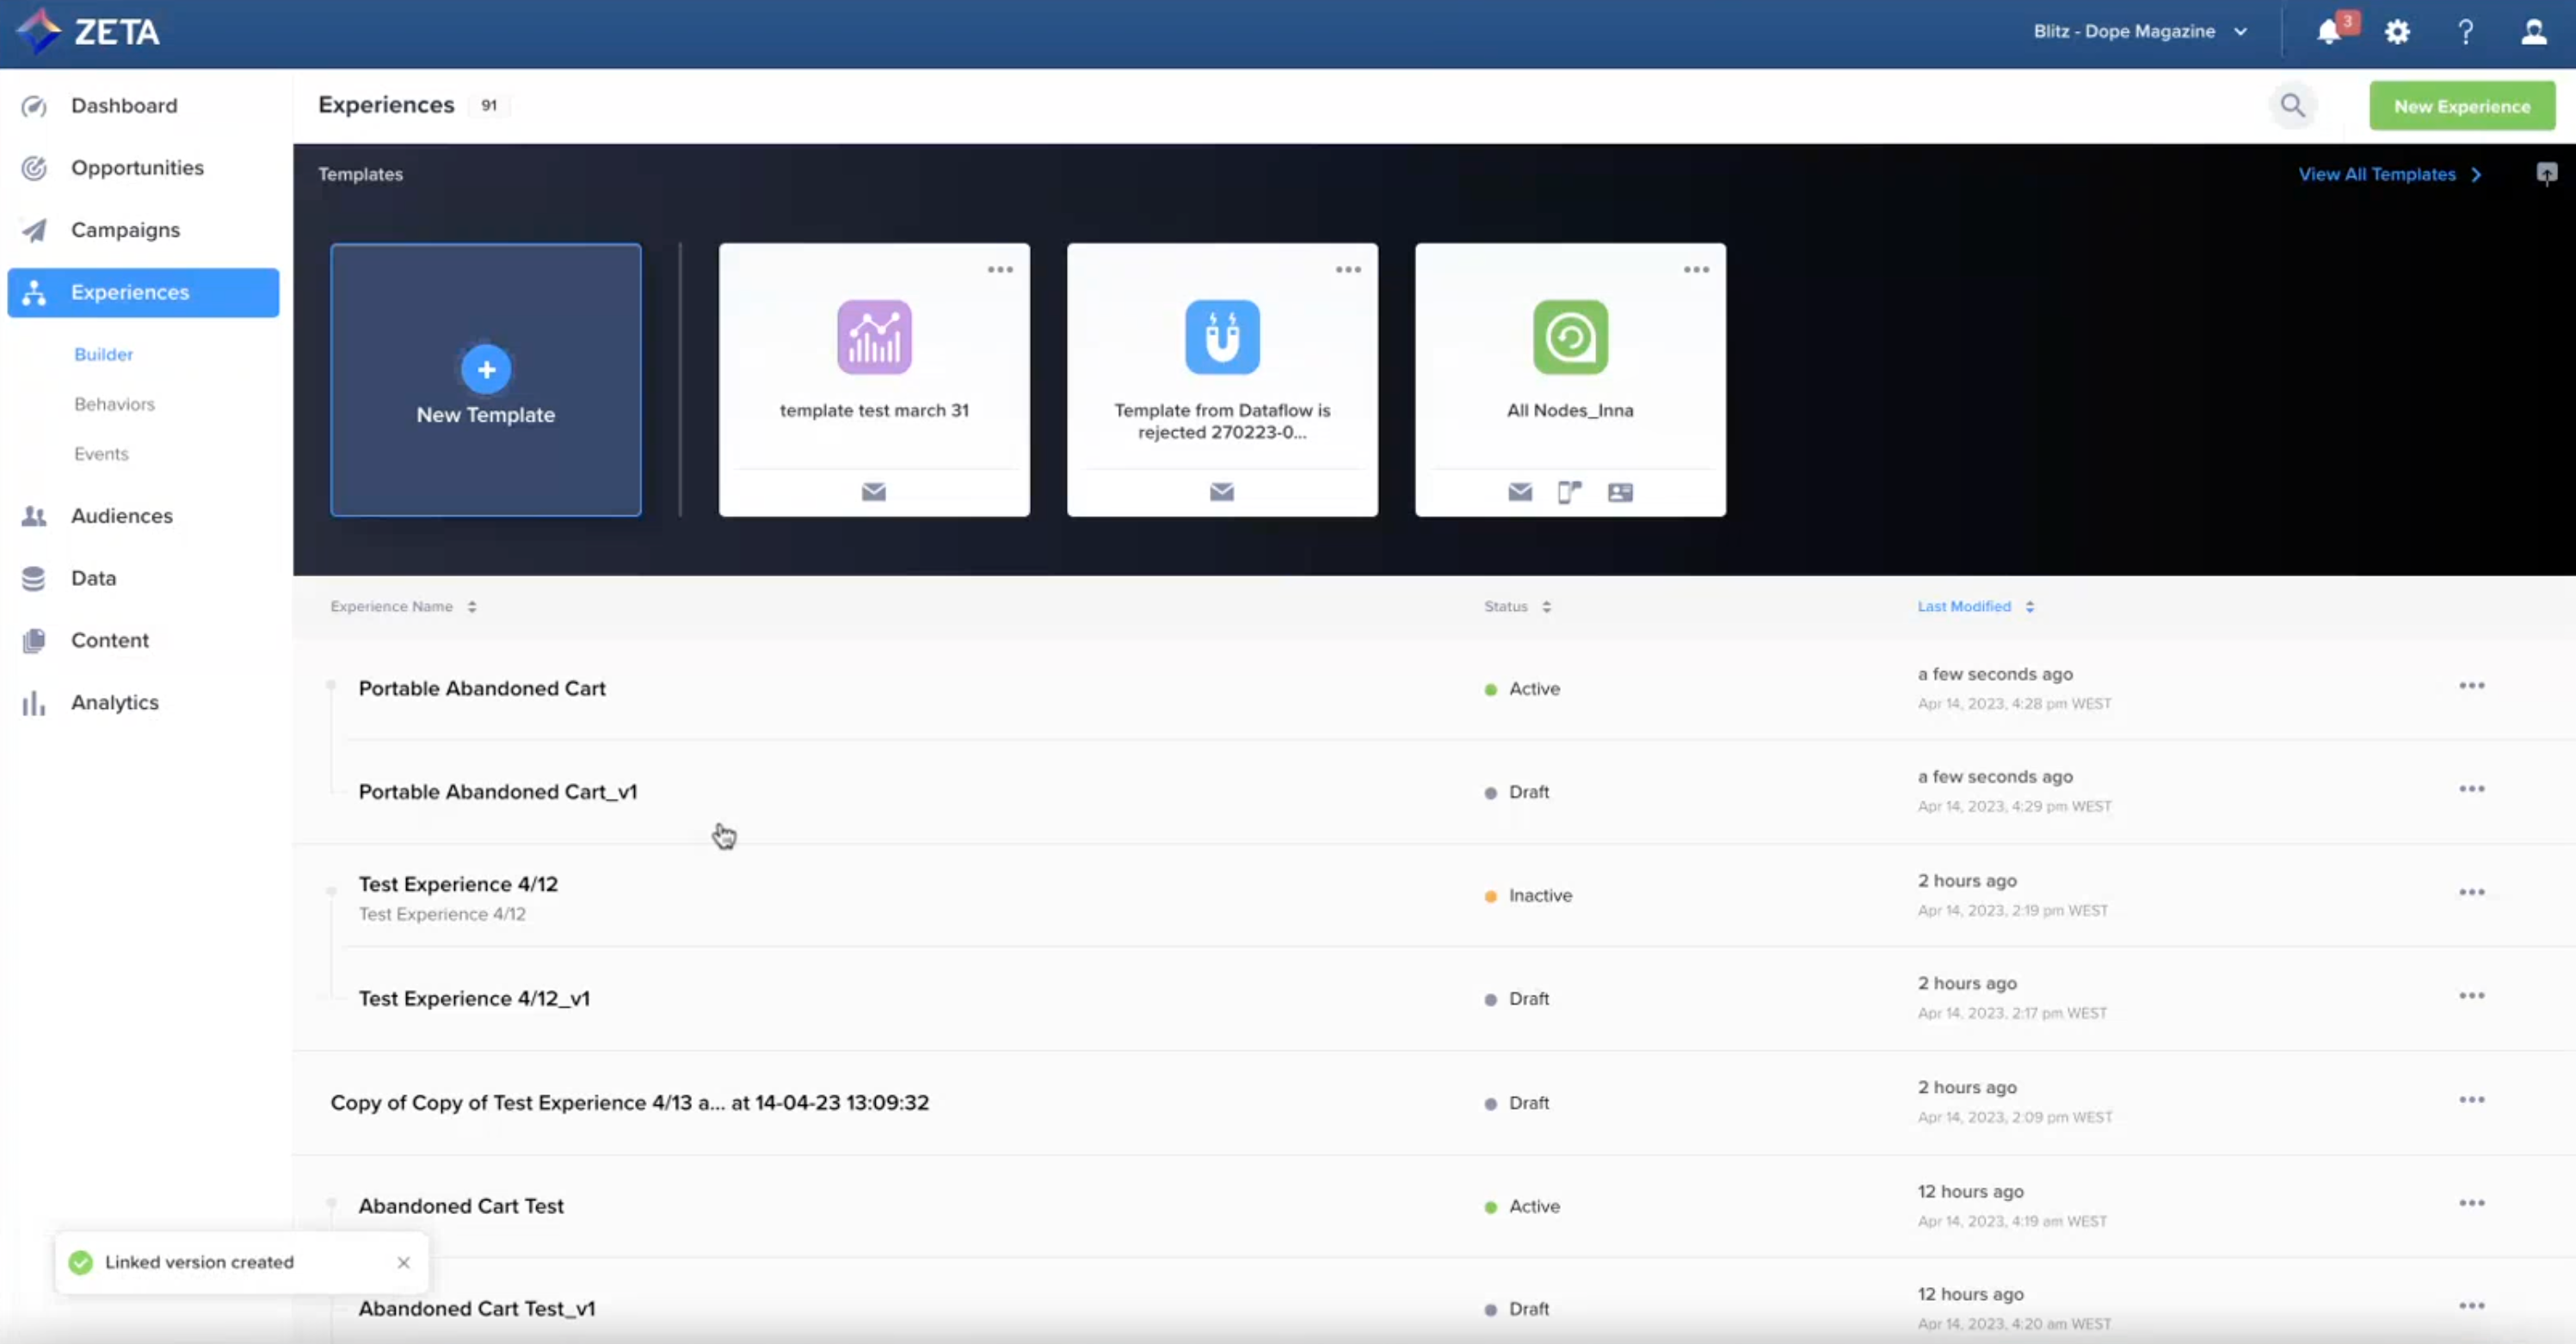
Steps to Share an Experience
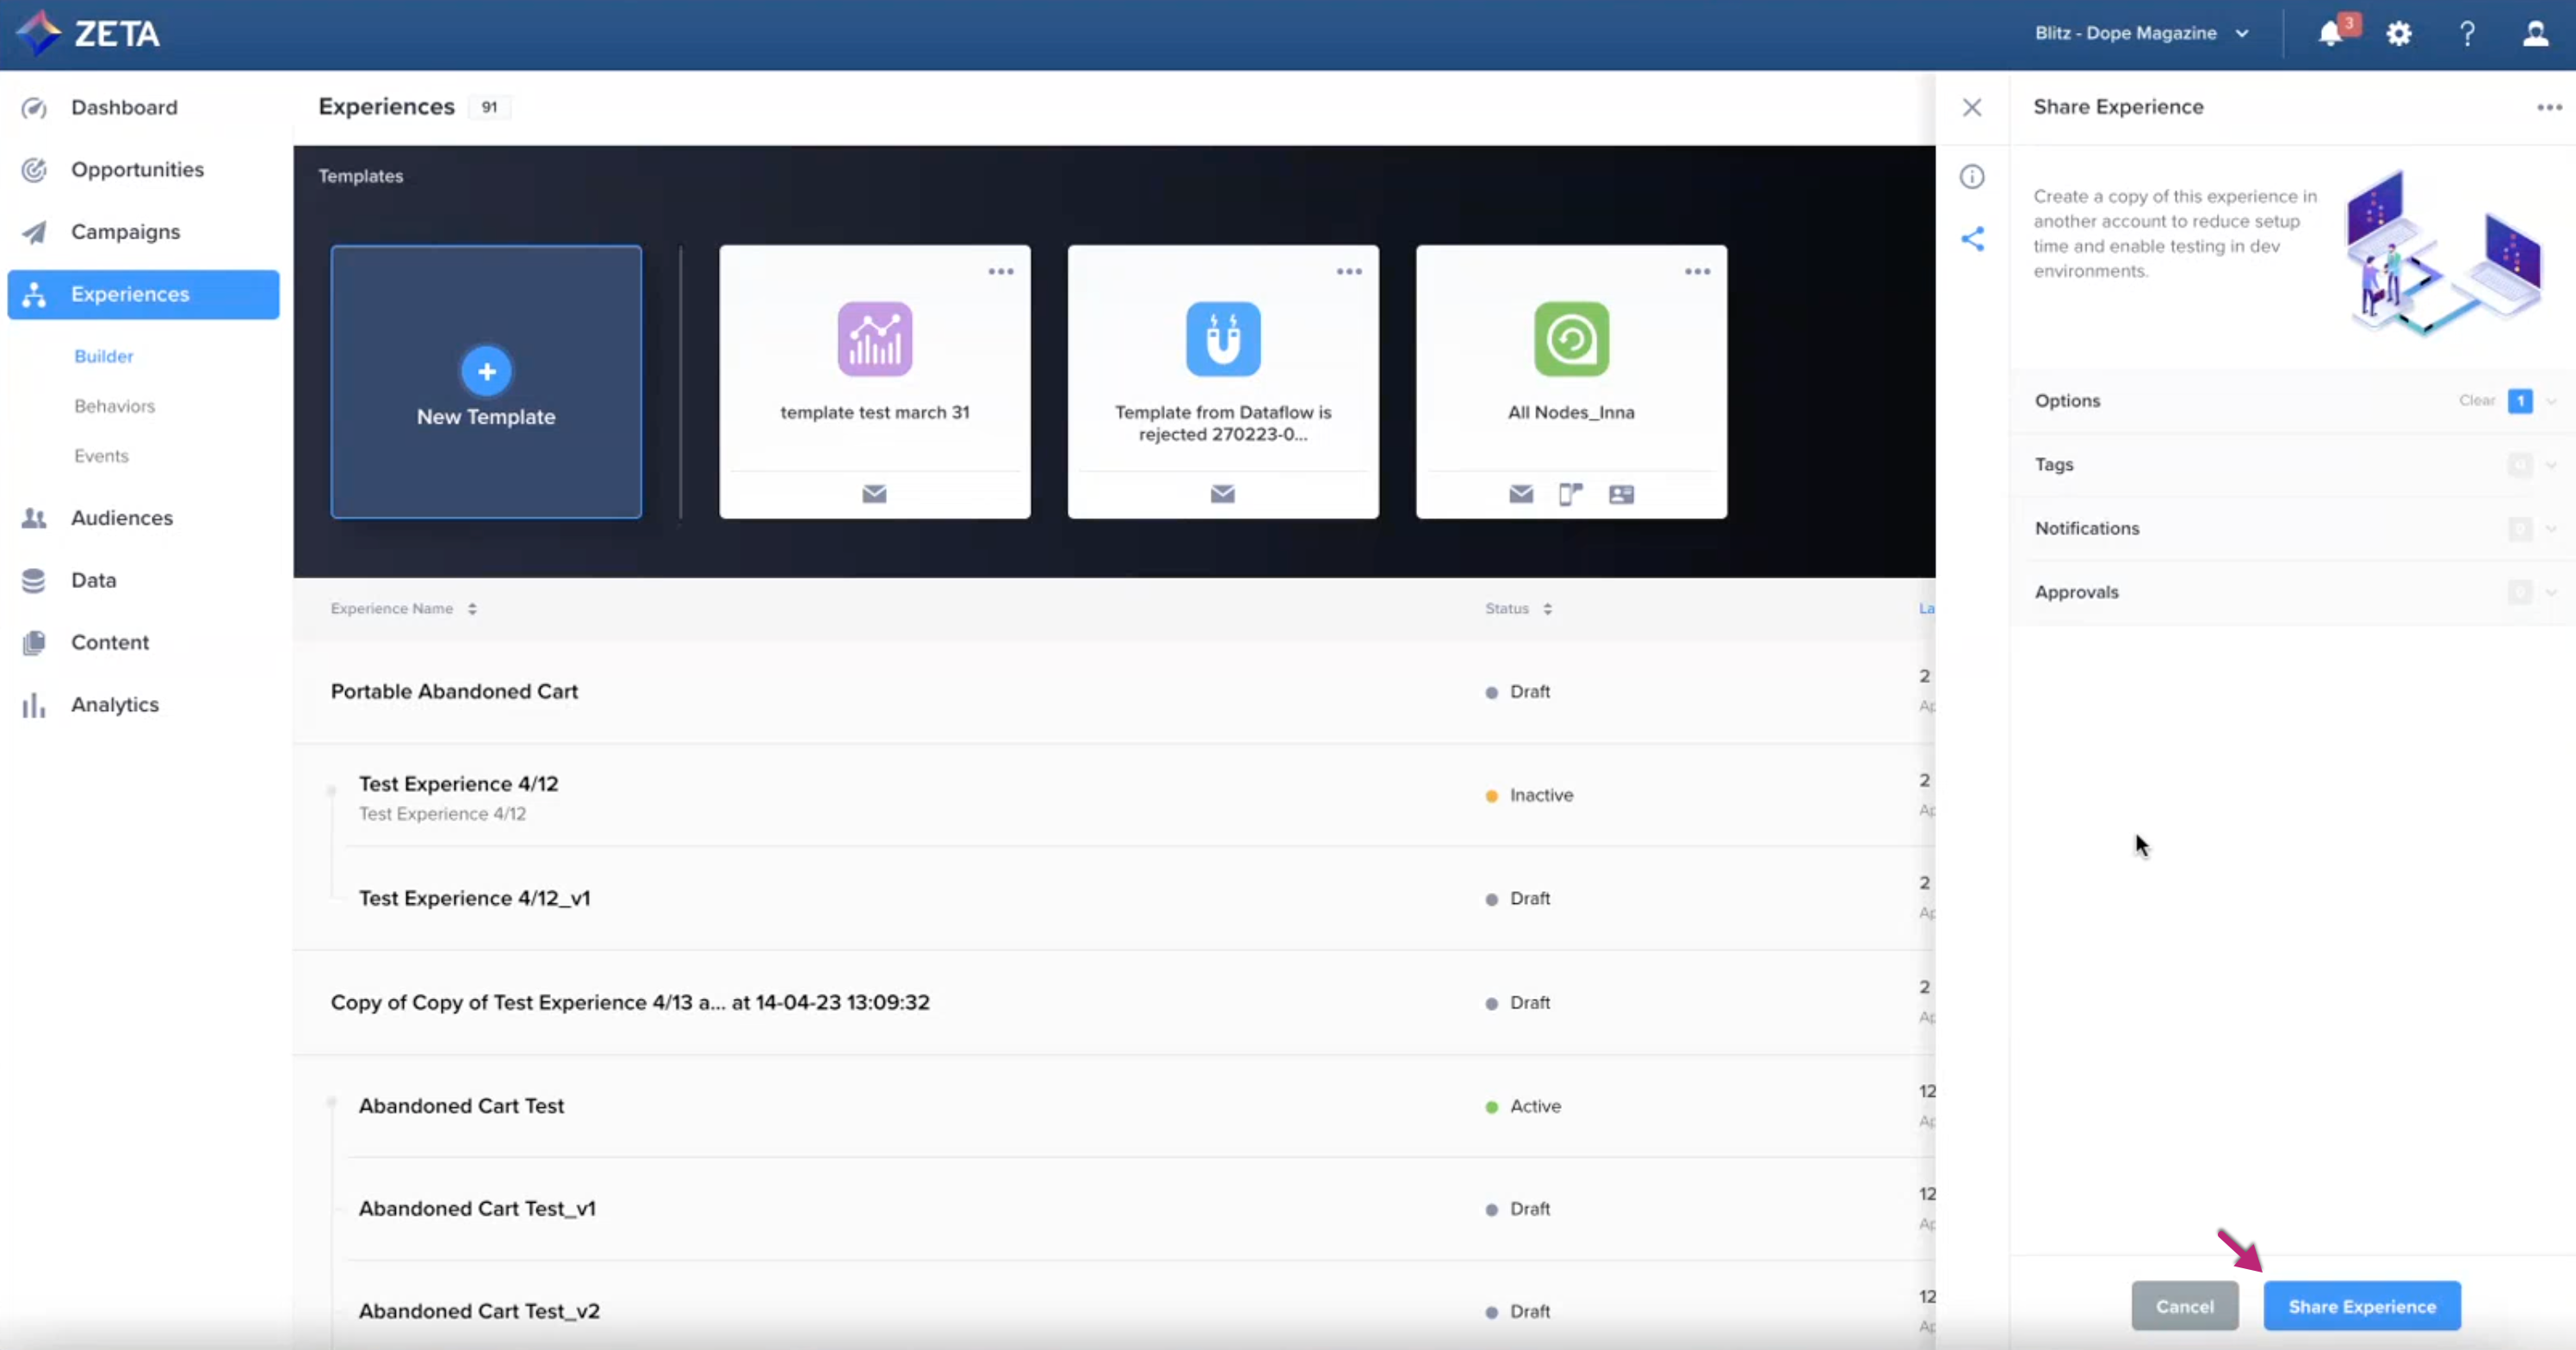
Within the Experiences list, click on the action menu on the right of the desired experience and select Share from the dropdown.
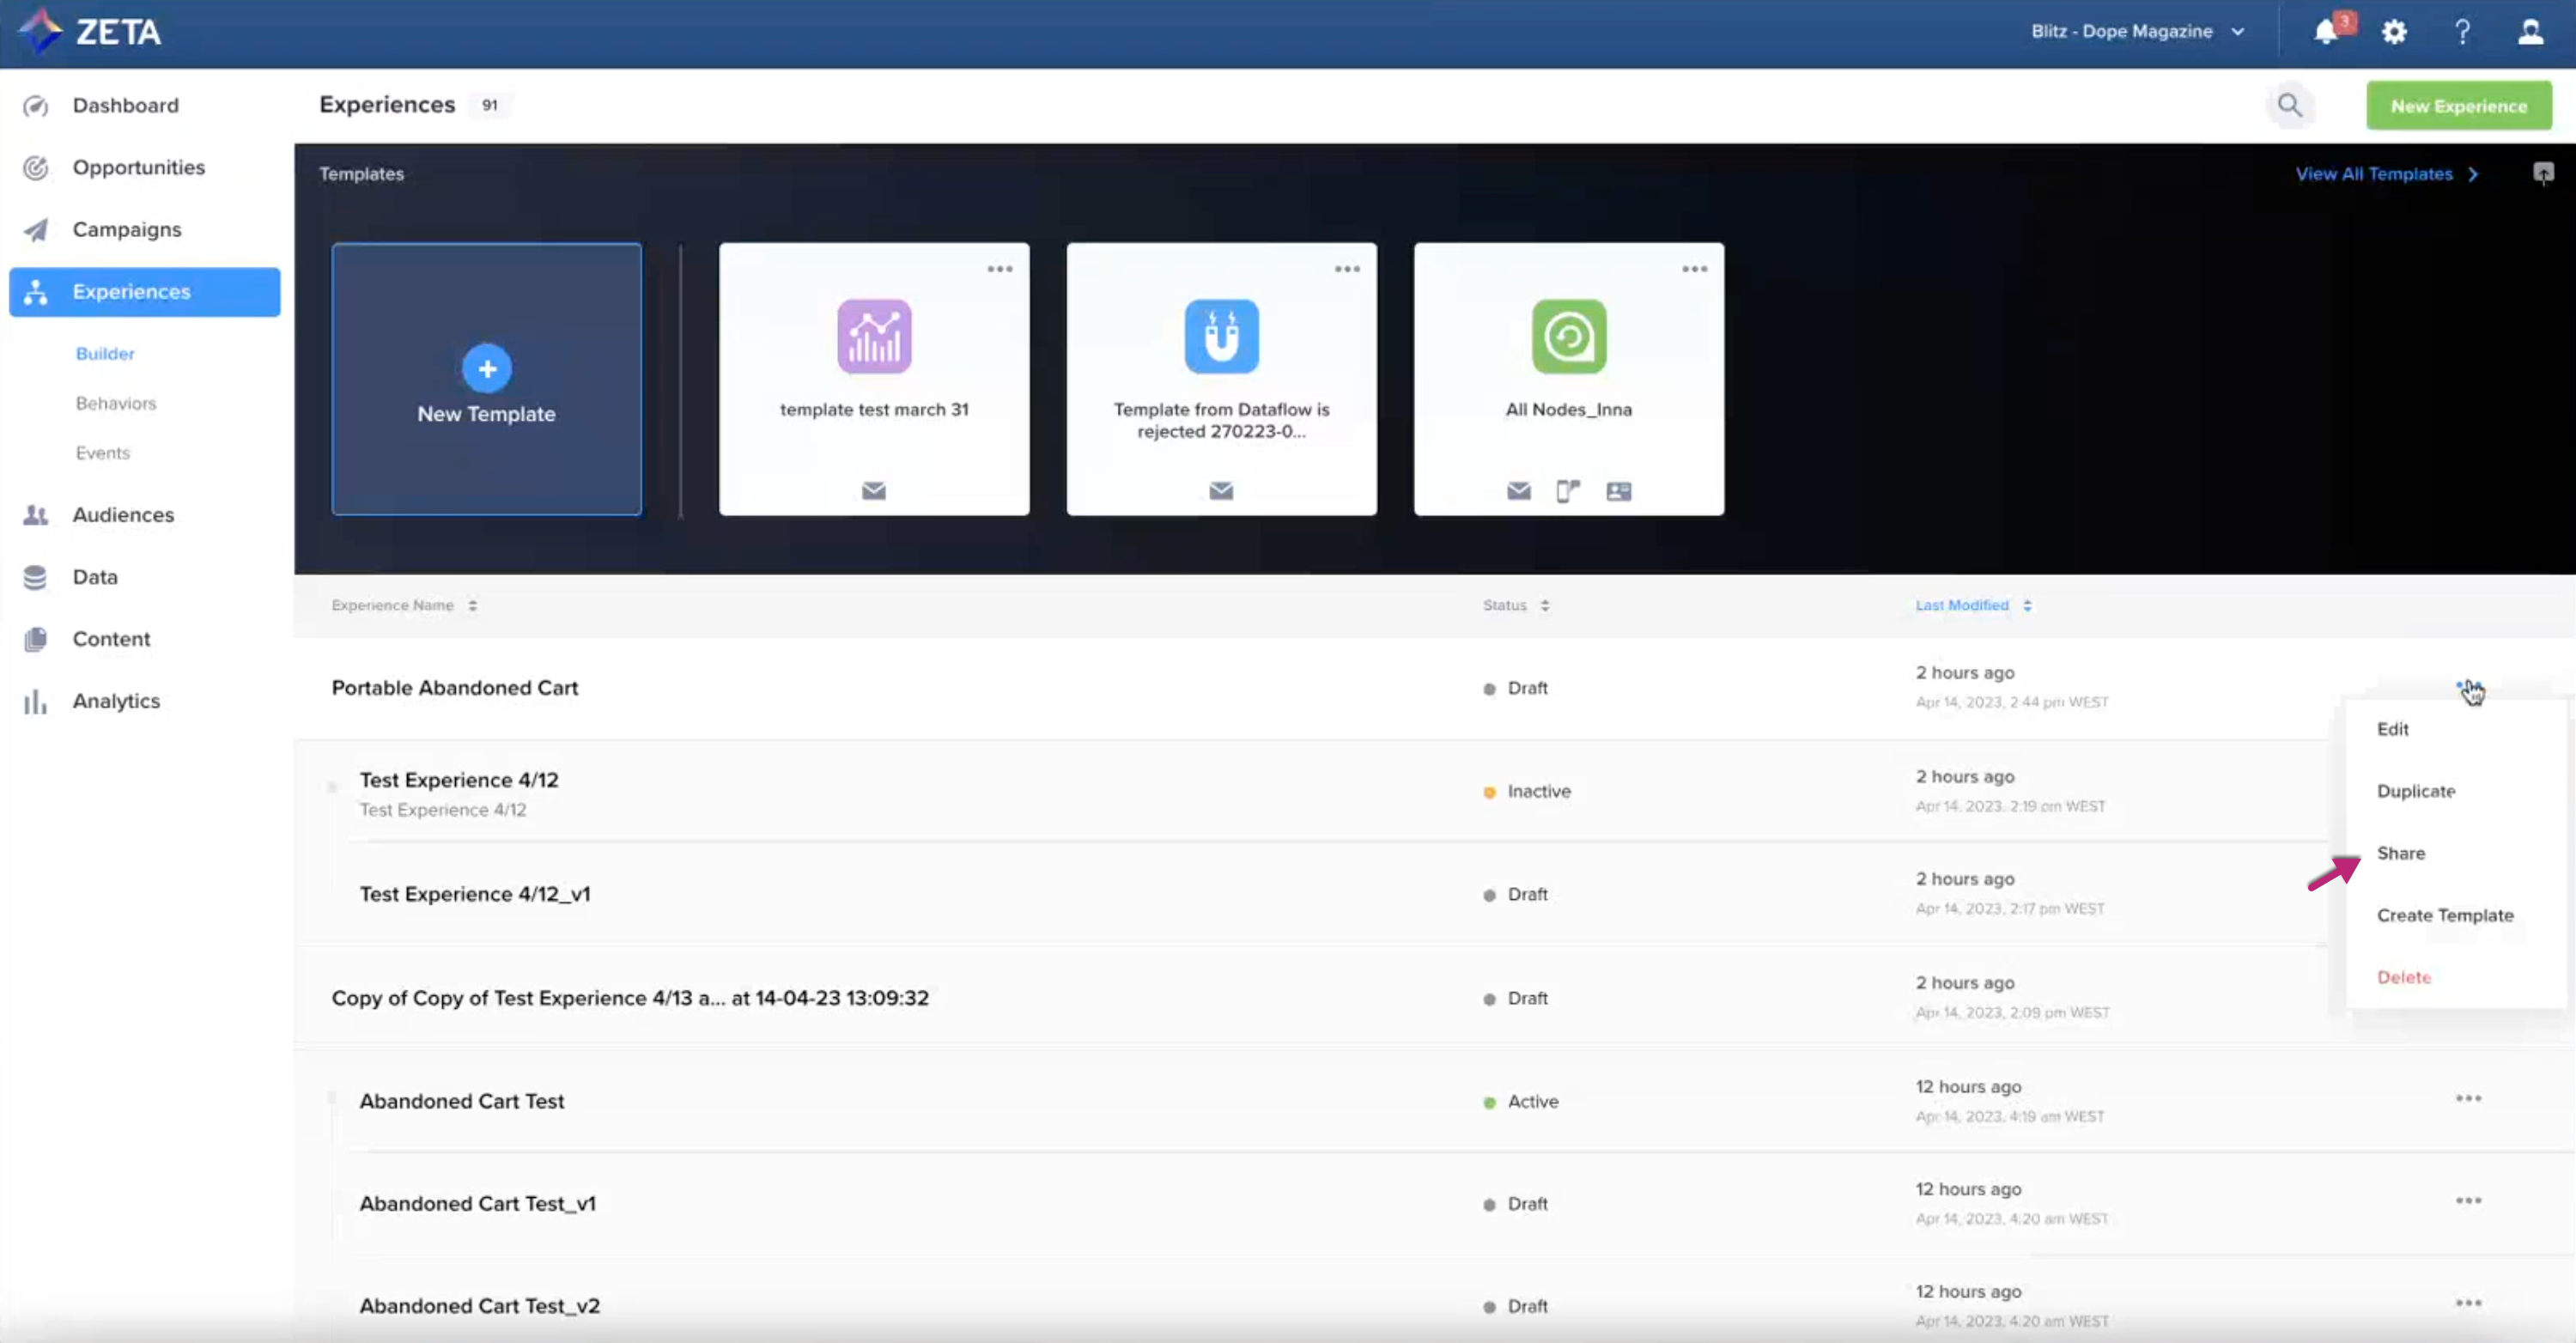
-
The Share Experience panel pops open on the right.
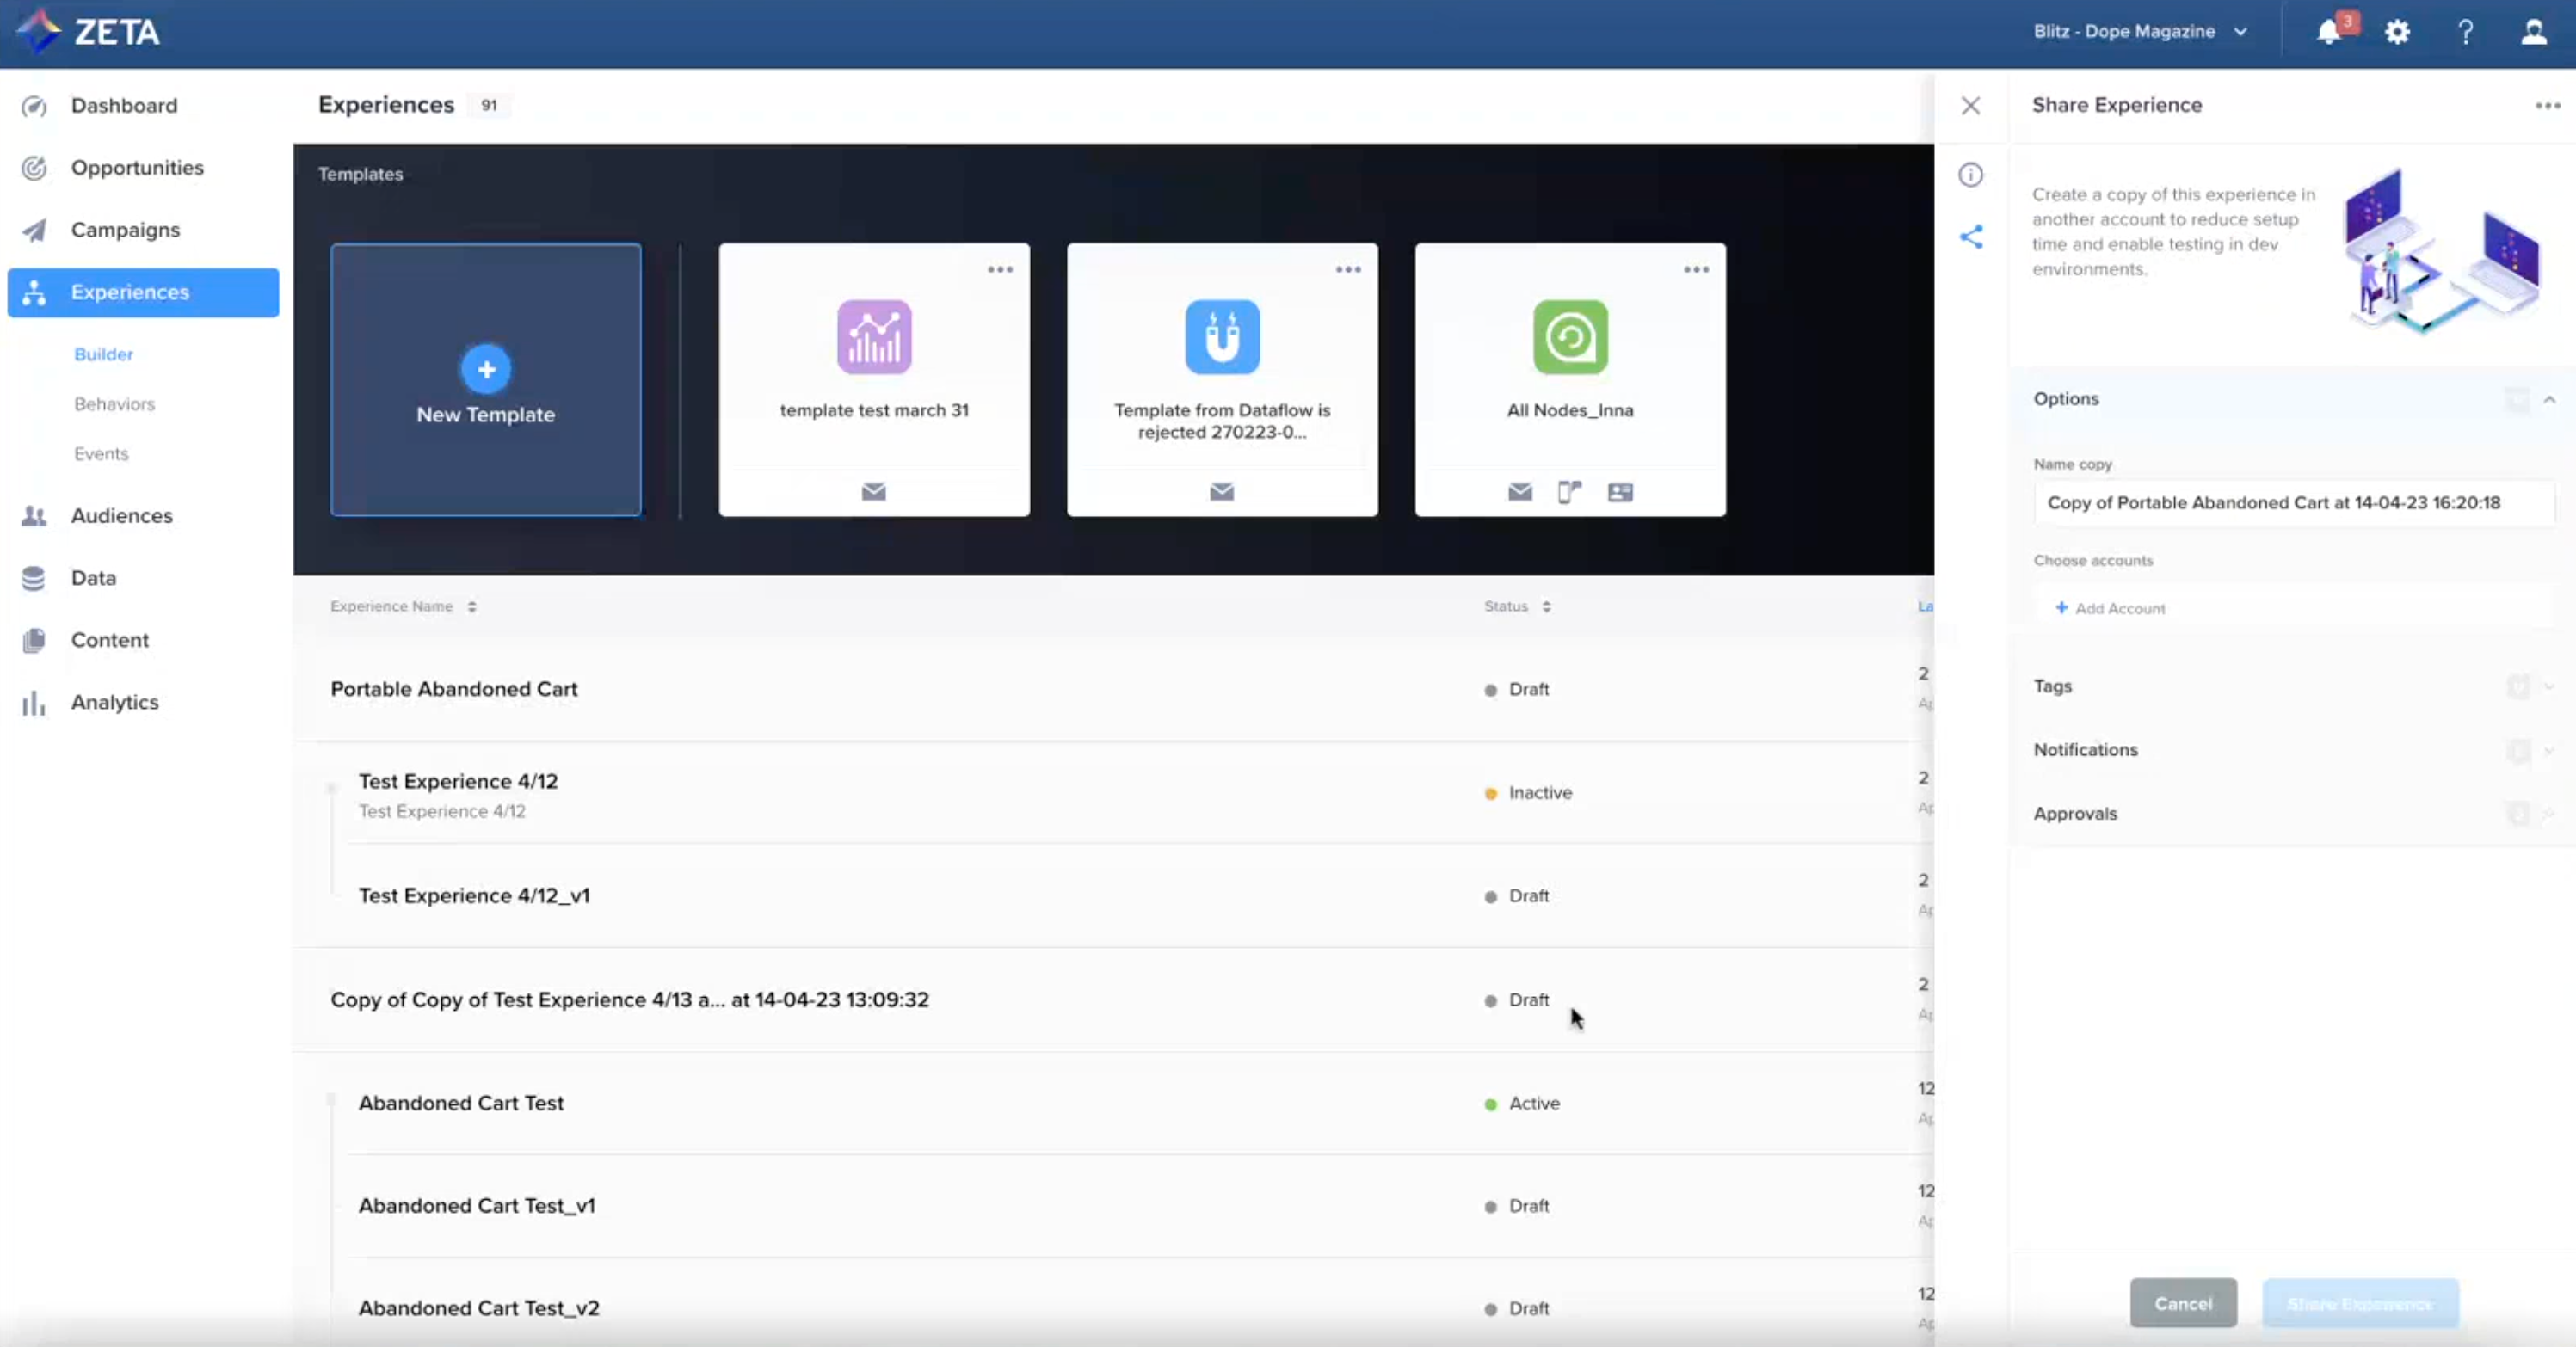
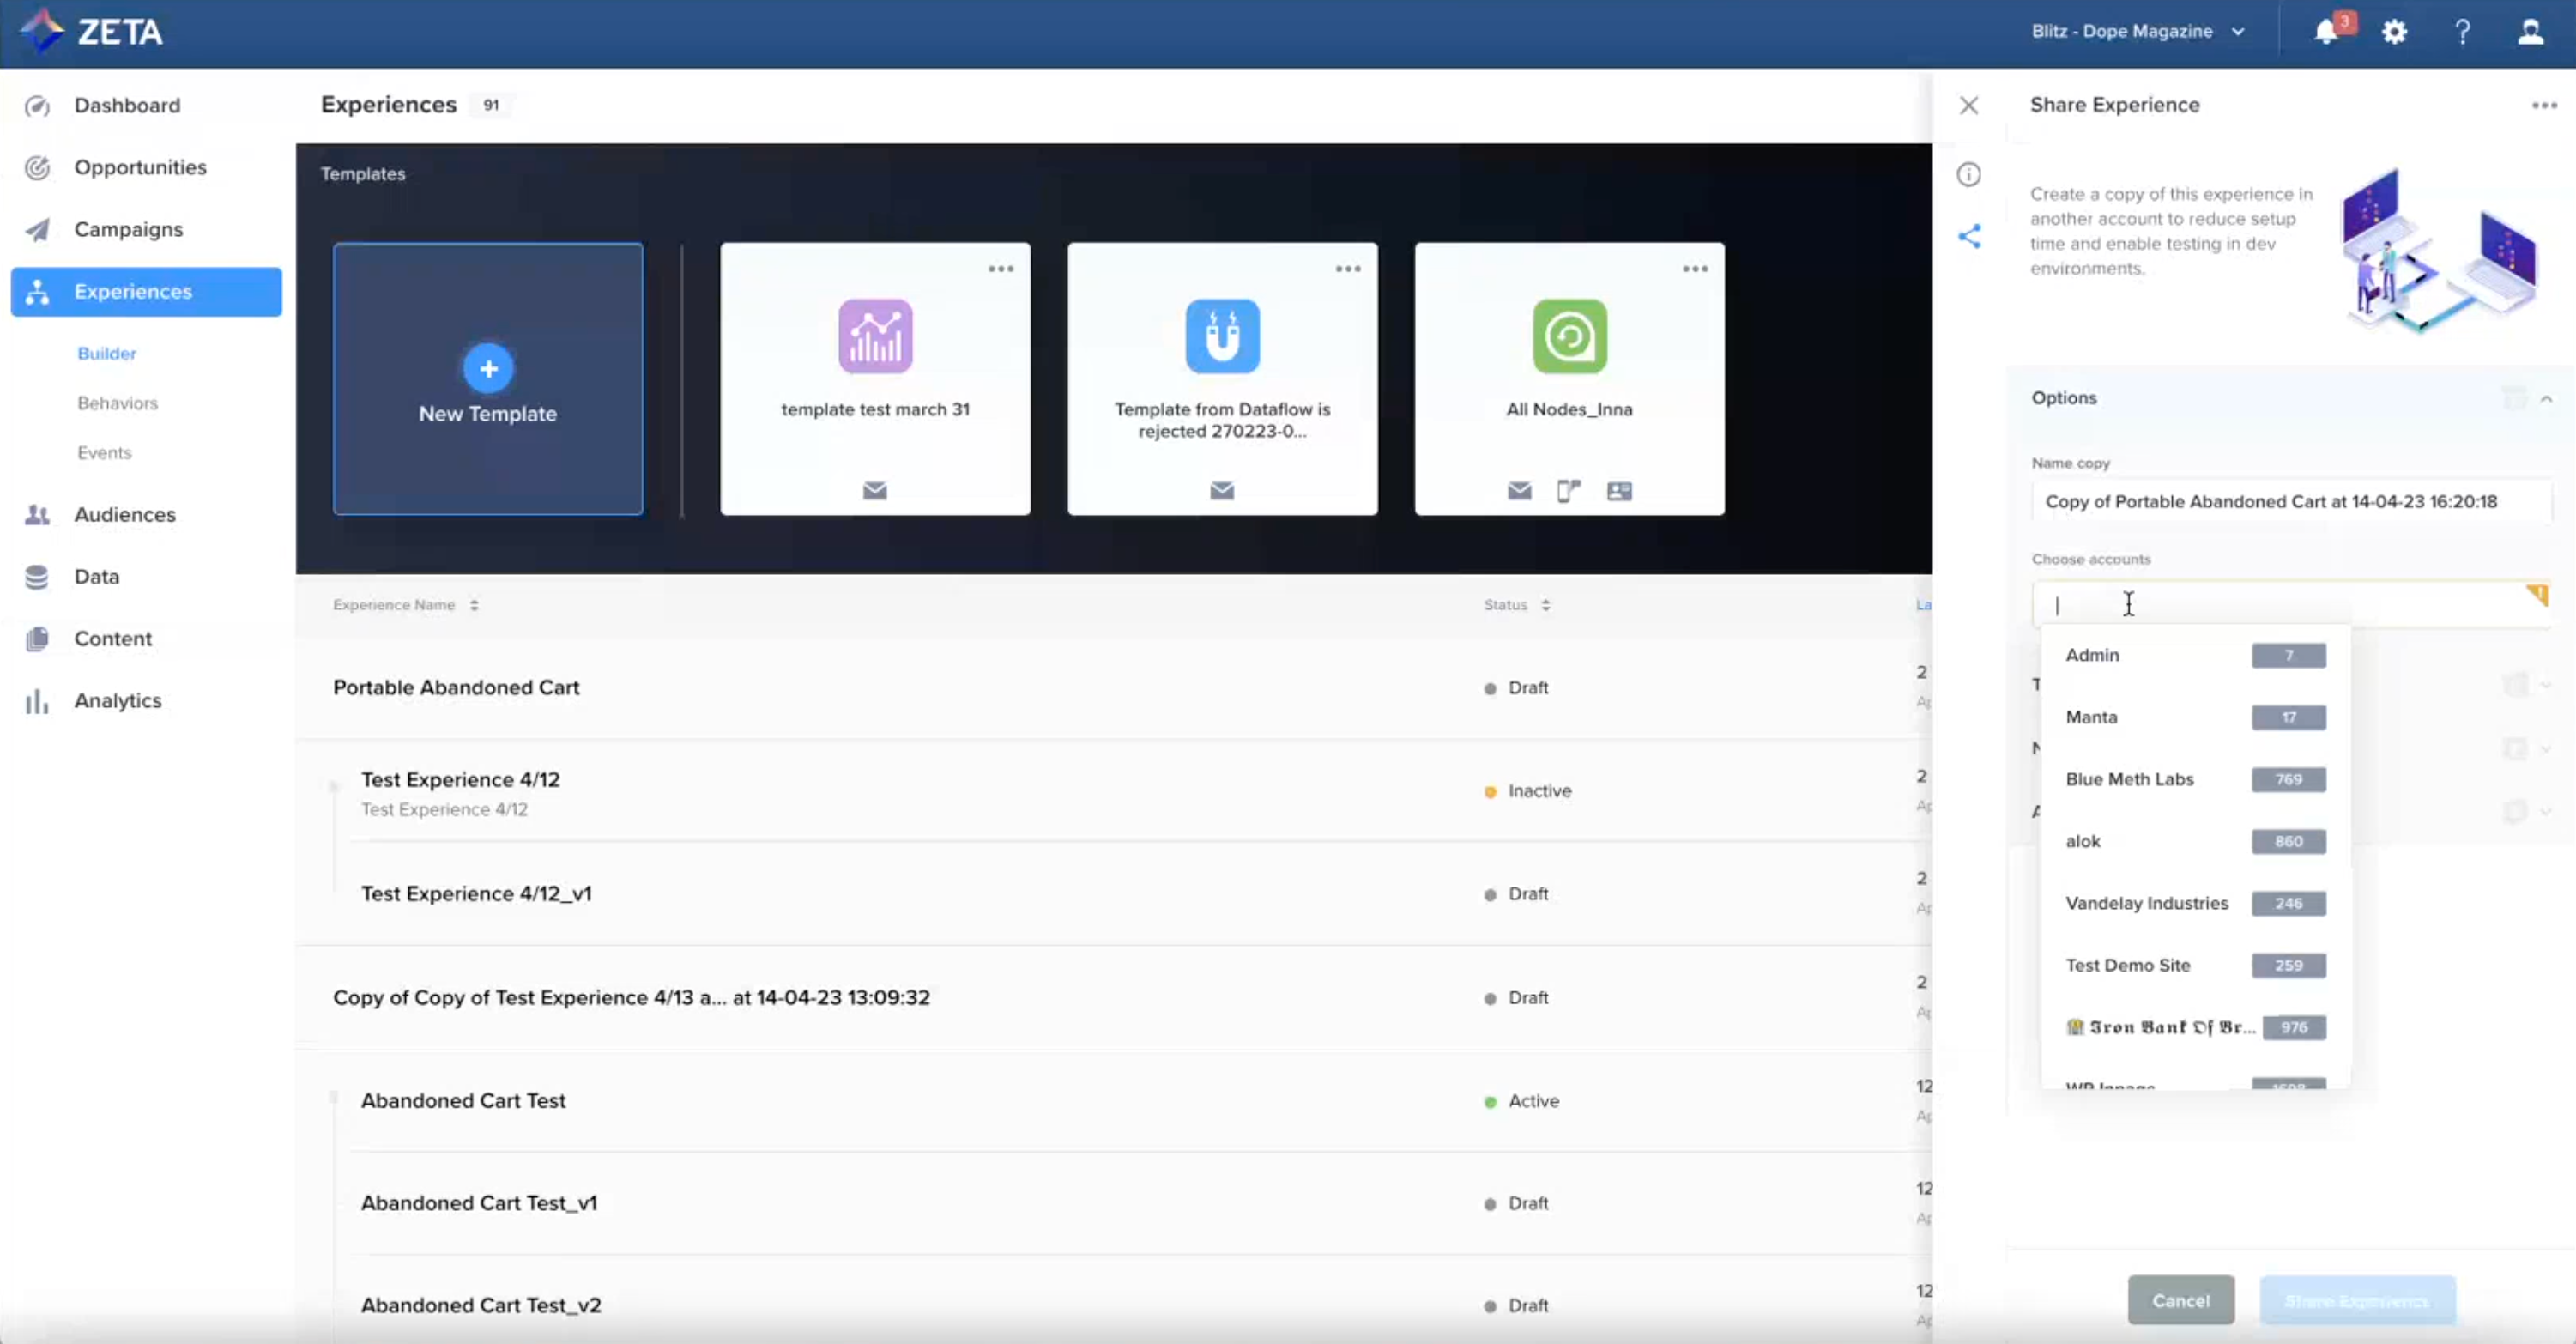
2. Name your copy and select the account(s) the experience has to be shared across.
You need to have an ‘Edit Experience’ permission in the account that you wish to share an experience to. Reach out to your system administrator to get suitable access to the account, if you do not see the expected account in the list.
Optional: You can add tags, include people to notify, and request for approvals.
3. Click on Share Experience.
-
Within the popup that appears, click on Share to Account to confirm the action
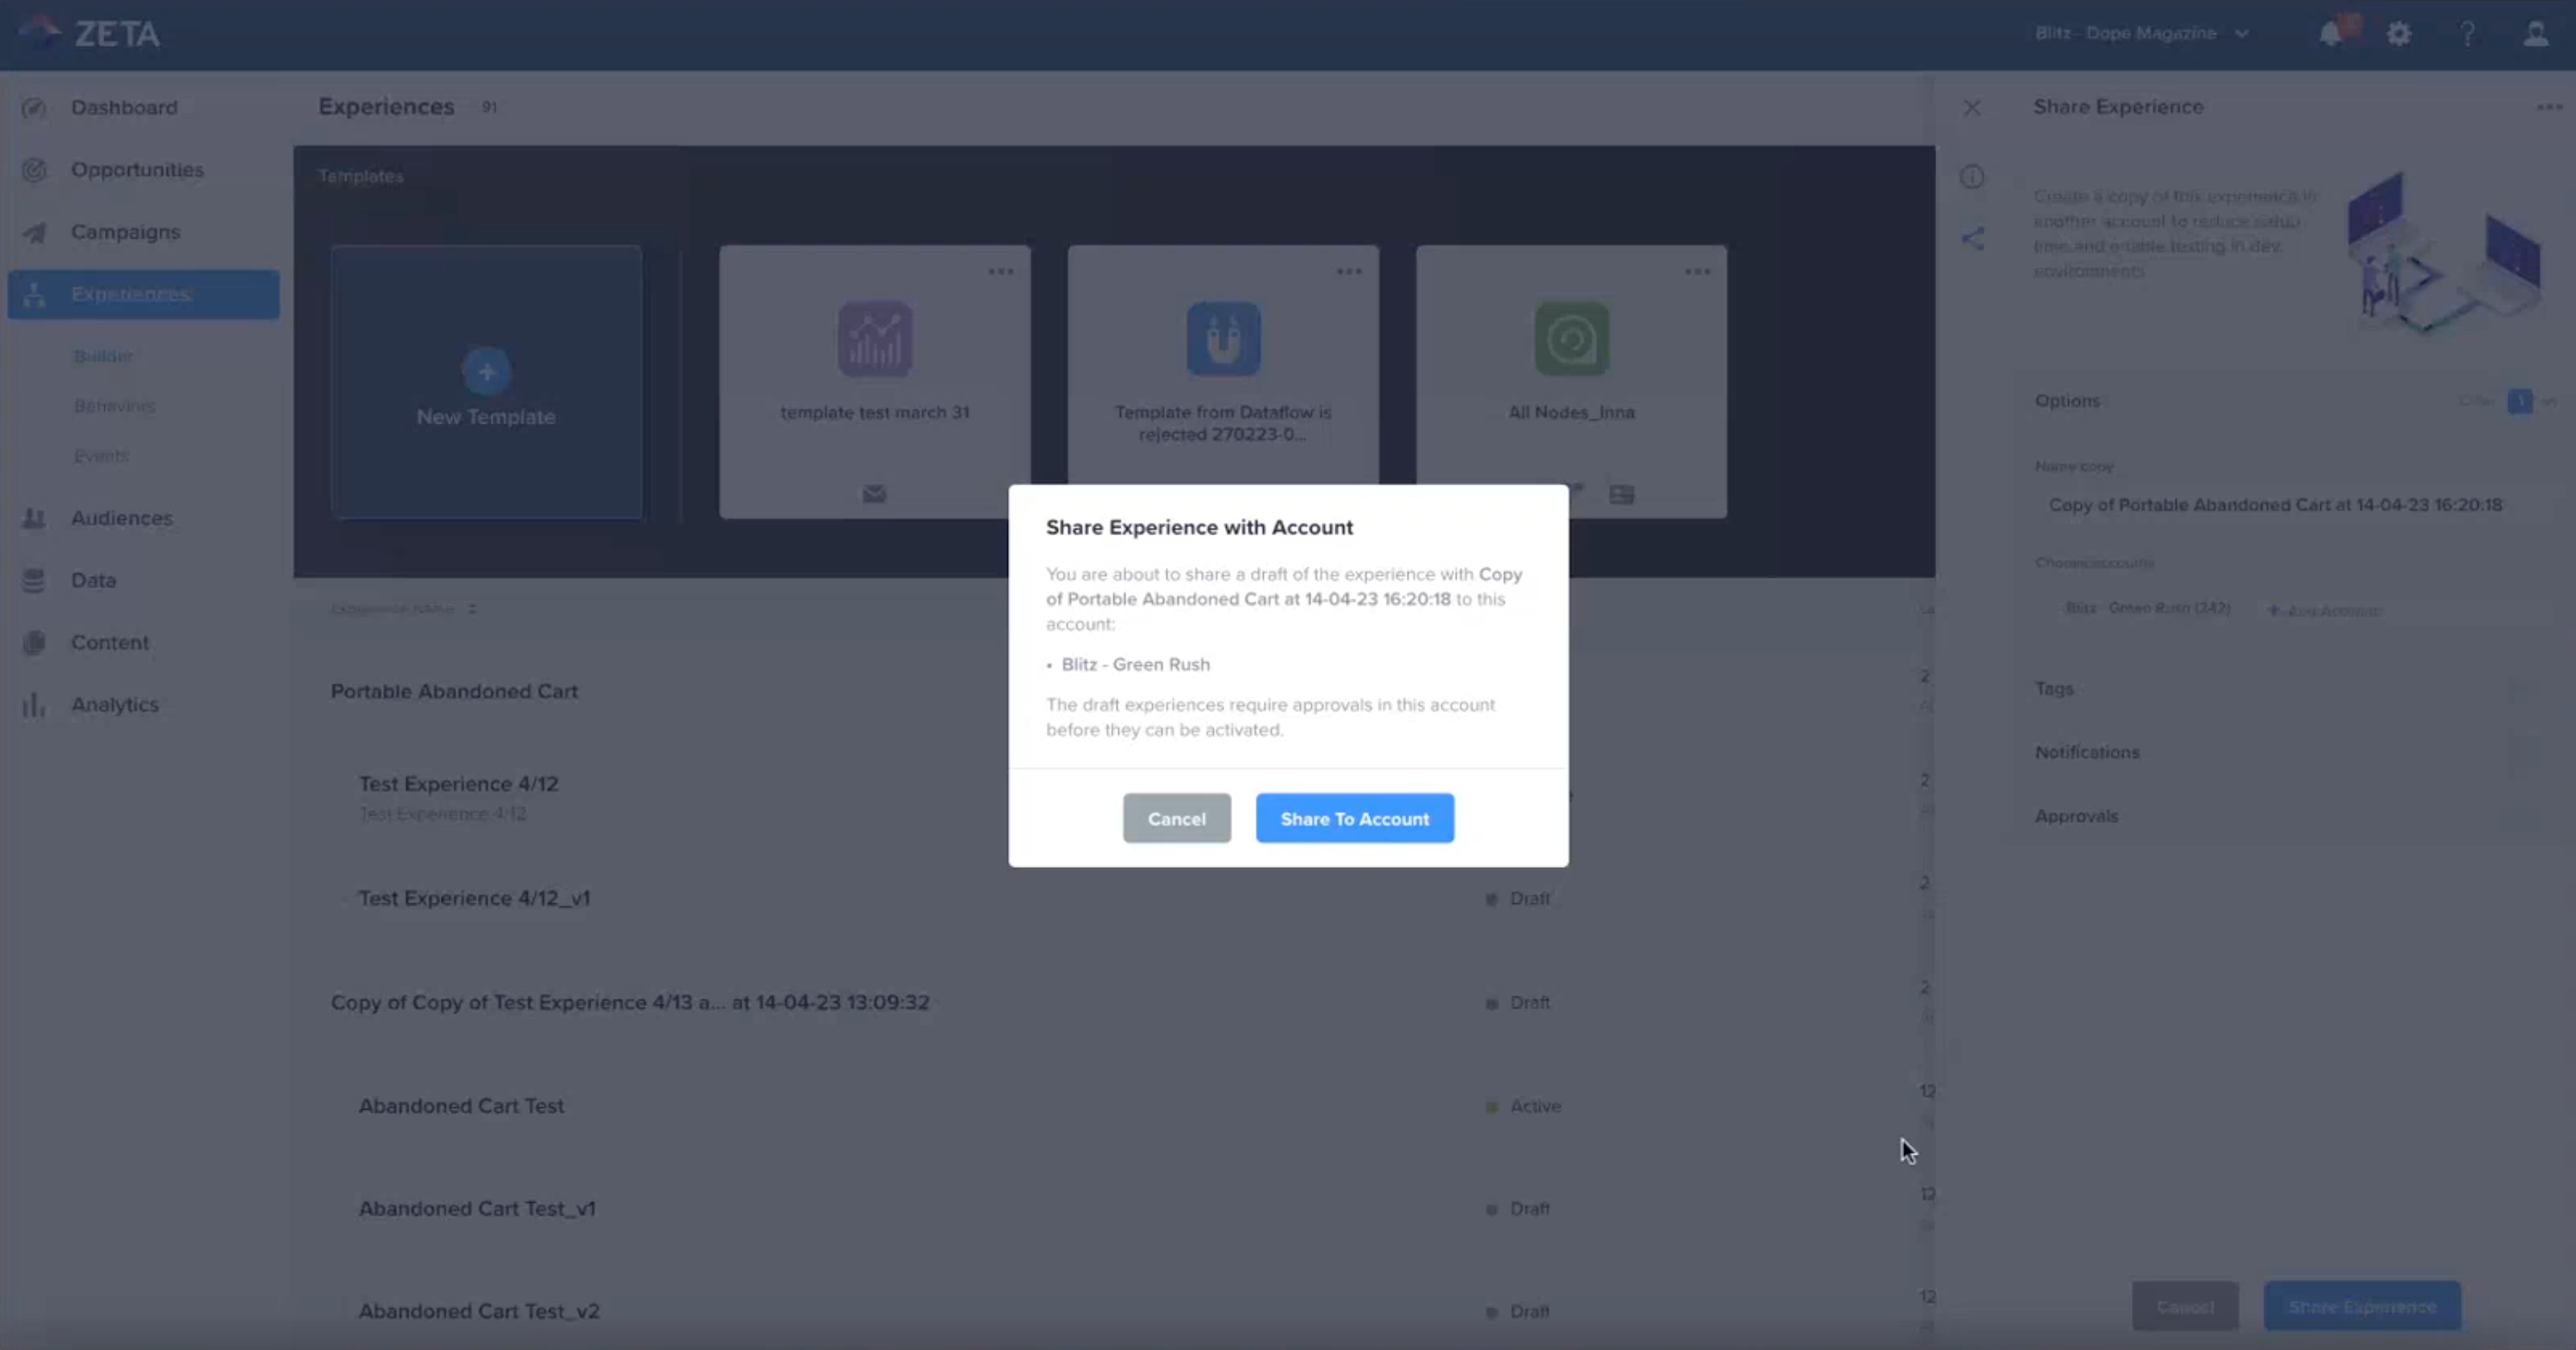

For sharing to be successful, both the source and target accounts must have the same set of relevant Experience features enabled, which means they need to be feature compatible. If the accounts are not feature compatible, sharing may not work and the system will provide guidance to users on how to connect with their account administrator to resolve any missing features.
When a user shares an experience to another account using the "portable sharing" feature, a new campaign and template are created in the target account based on the original campaign. These new entities—campaign, experience, and template—are completely independent of the original, with no direct linkage. Any changes made to one campaign or template will not affect the other, as each has its own unique ID and functions as a separate instance.
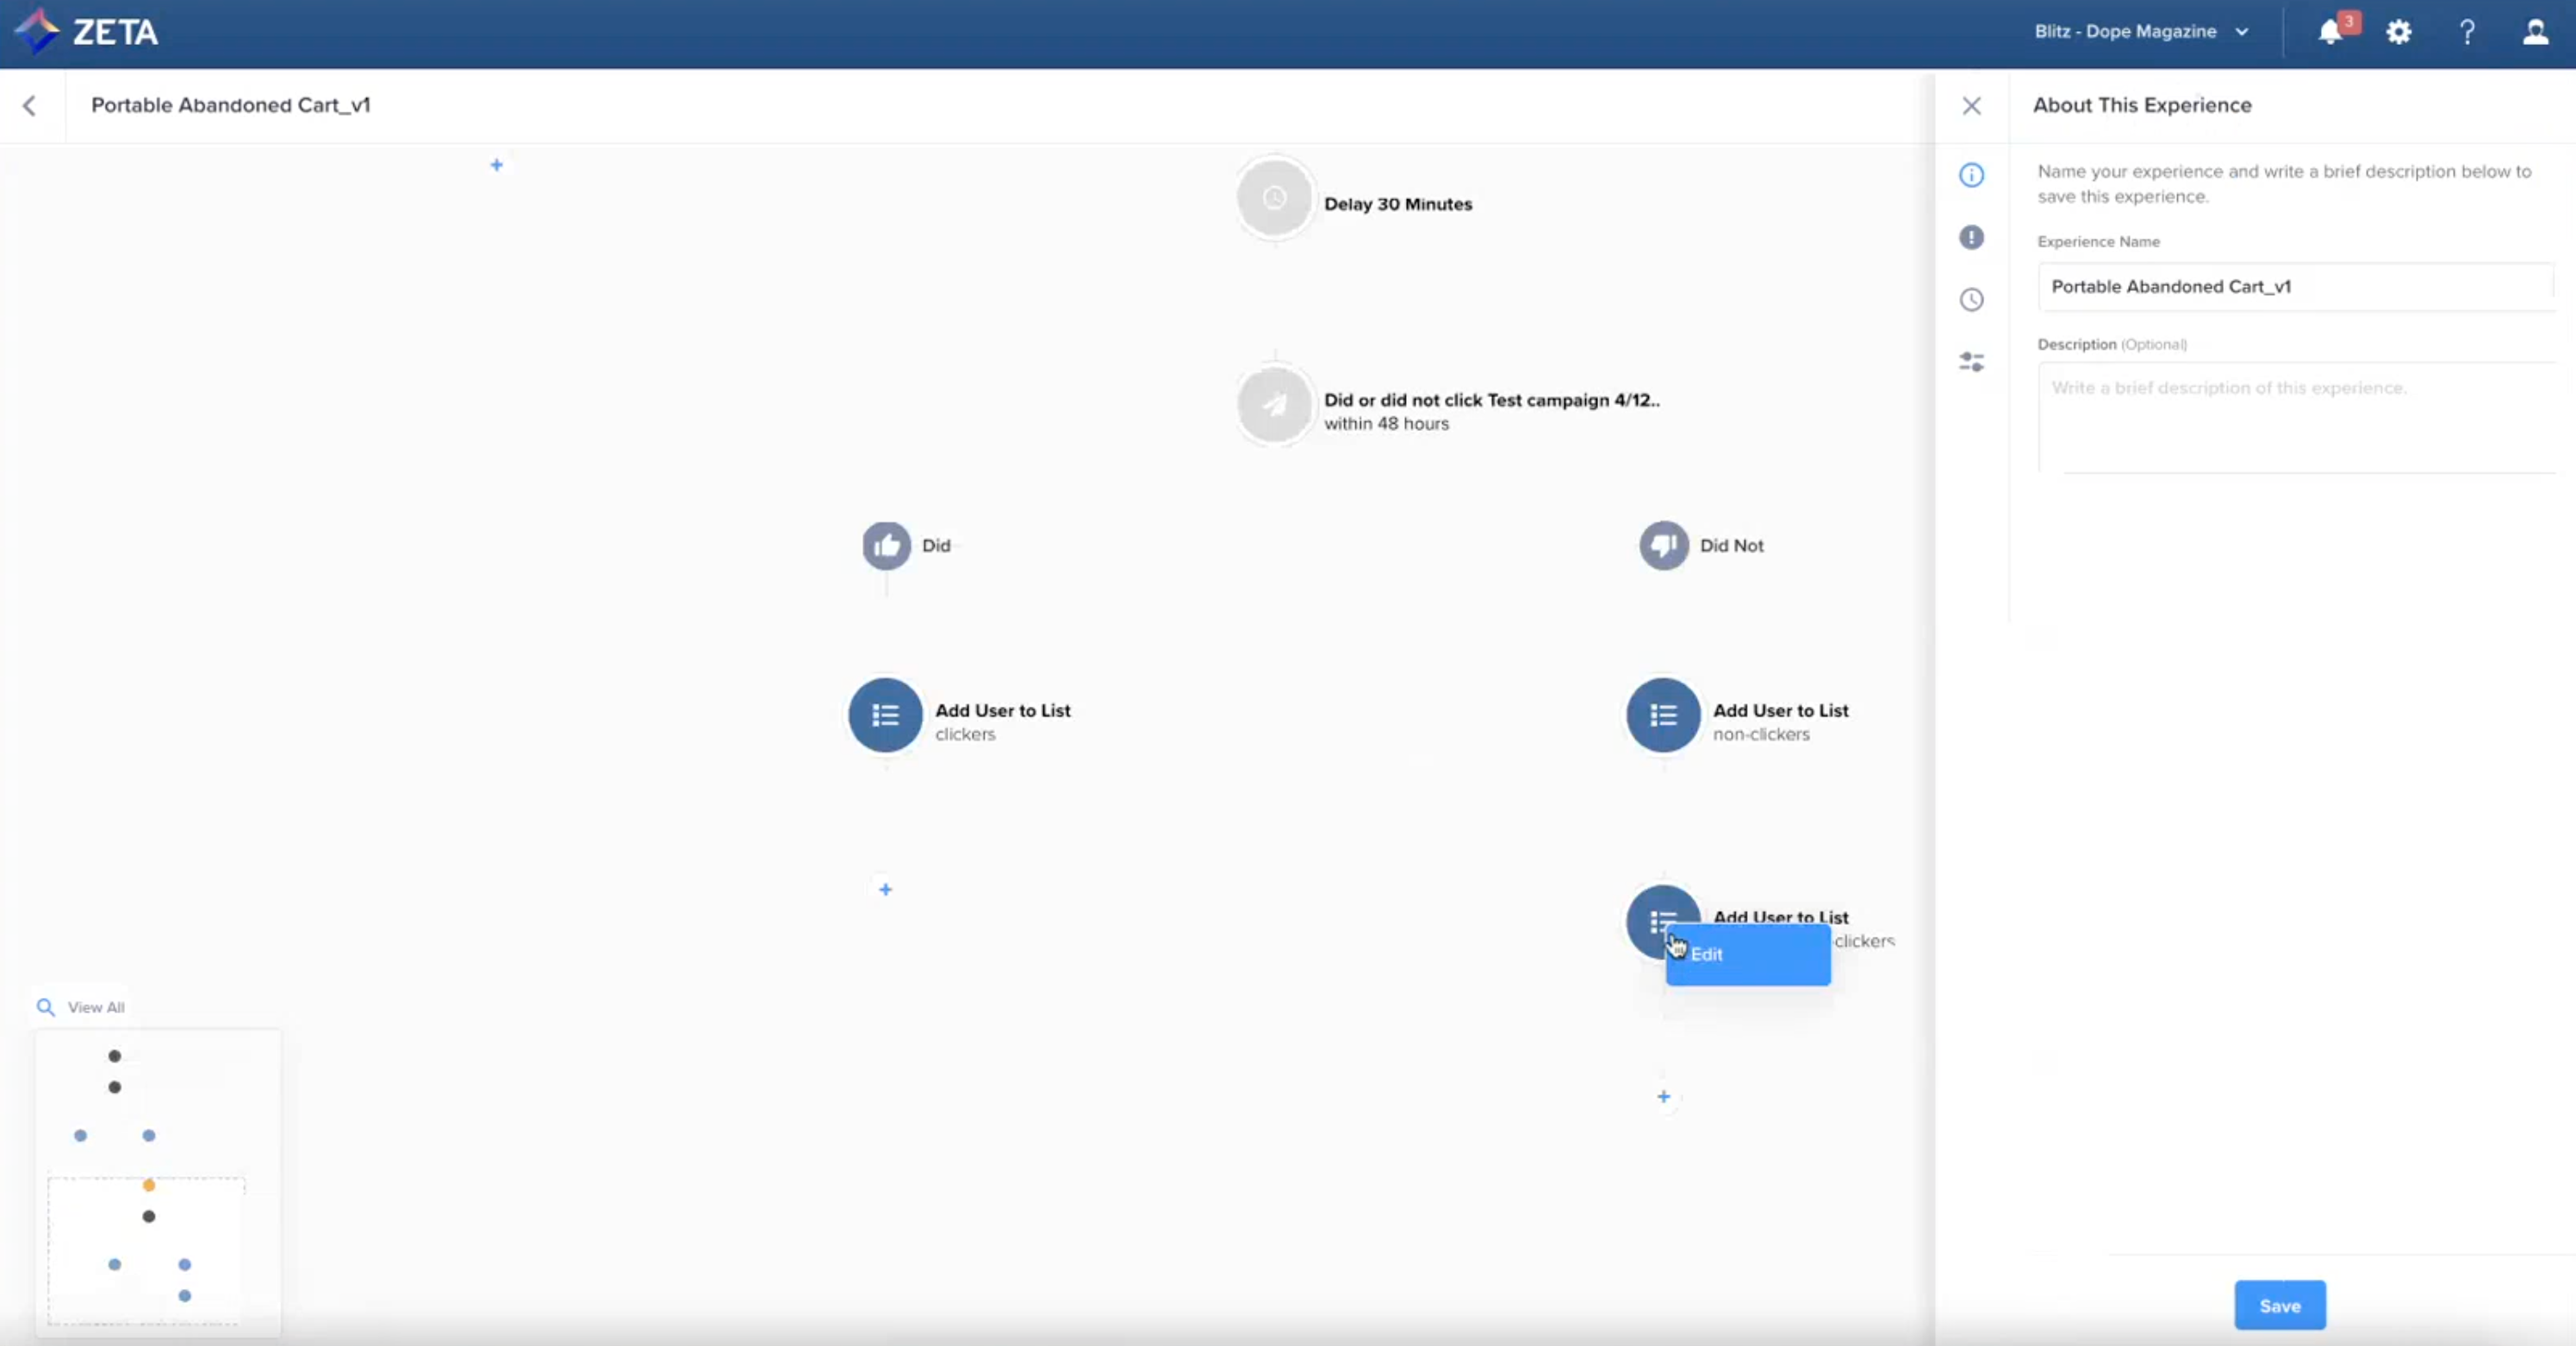
Editing Live Experiences
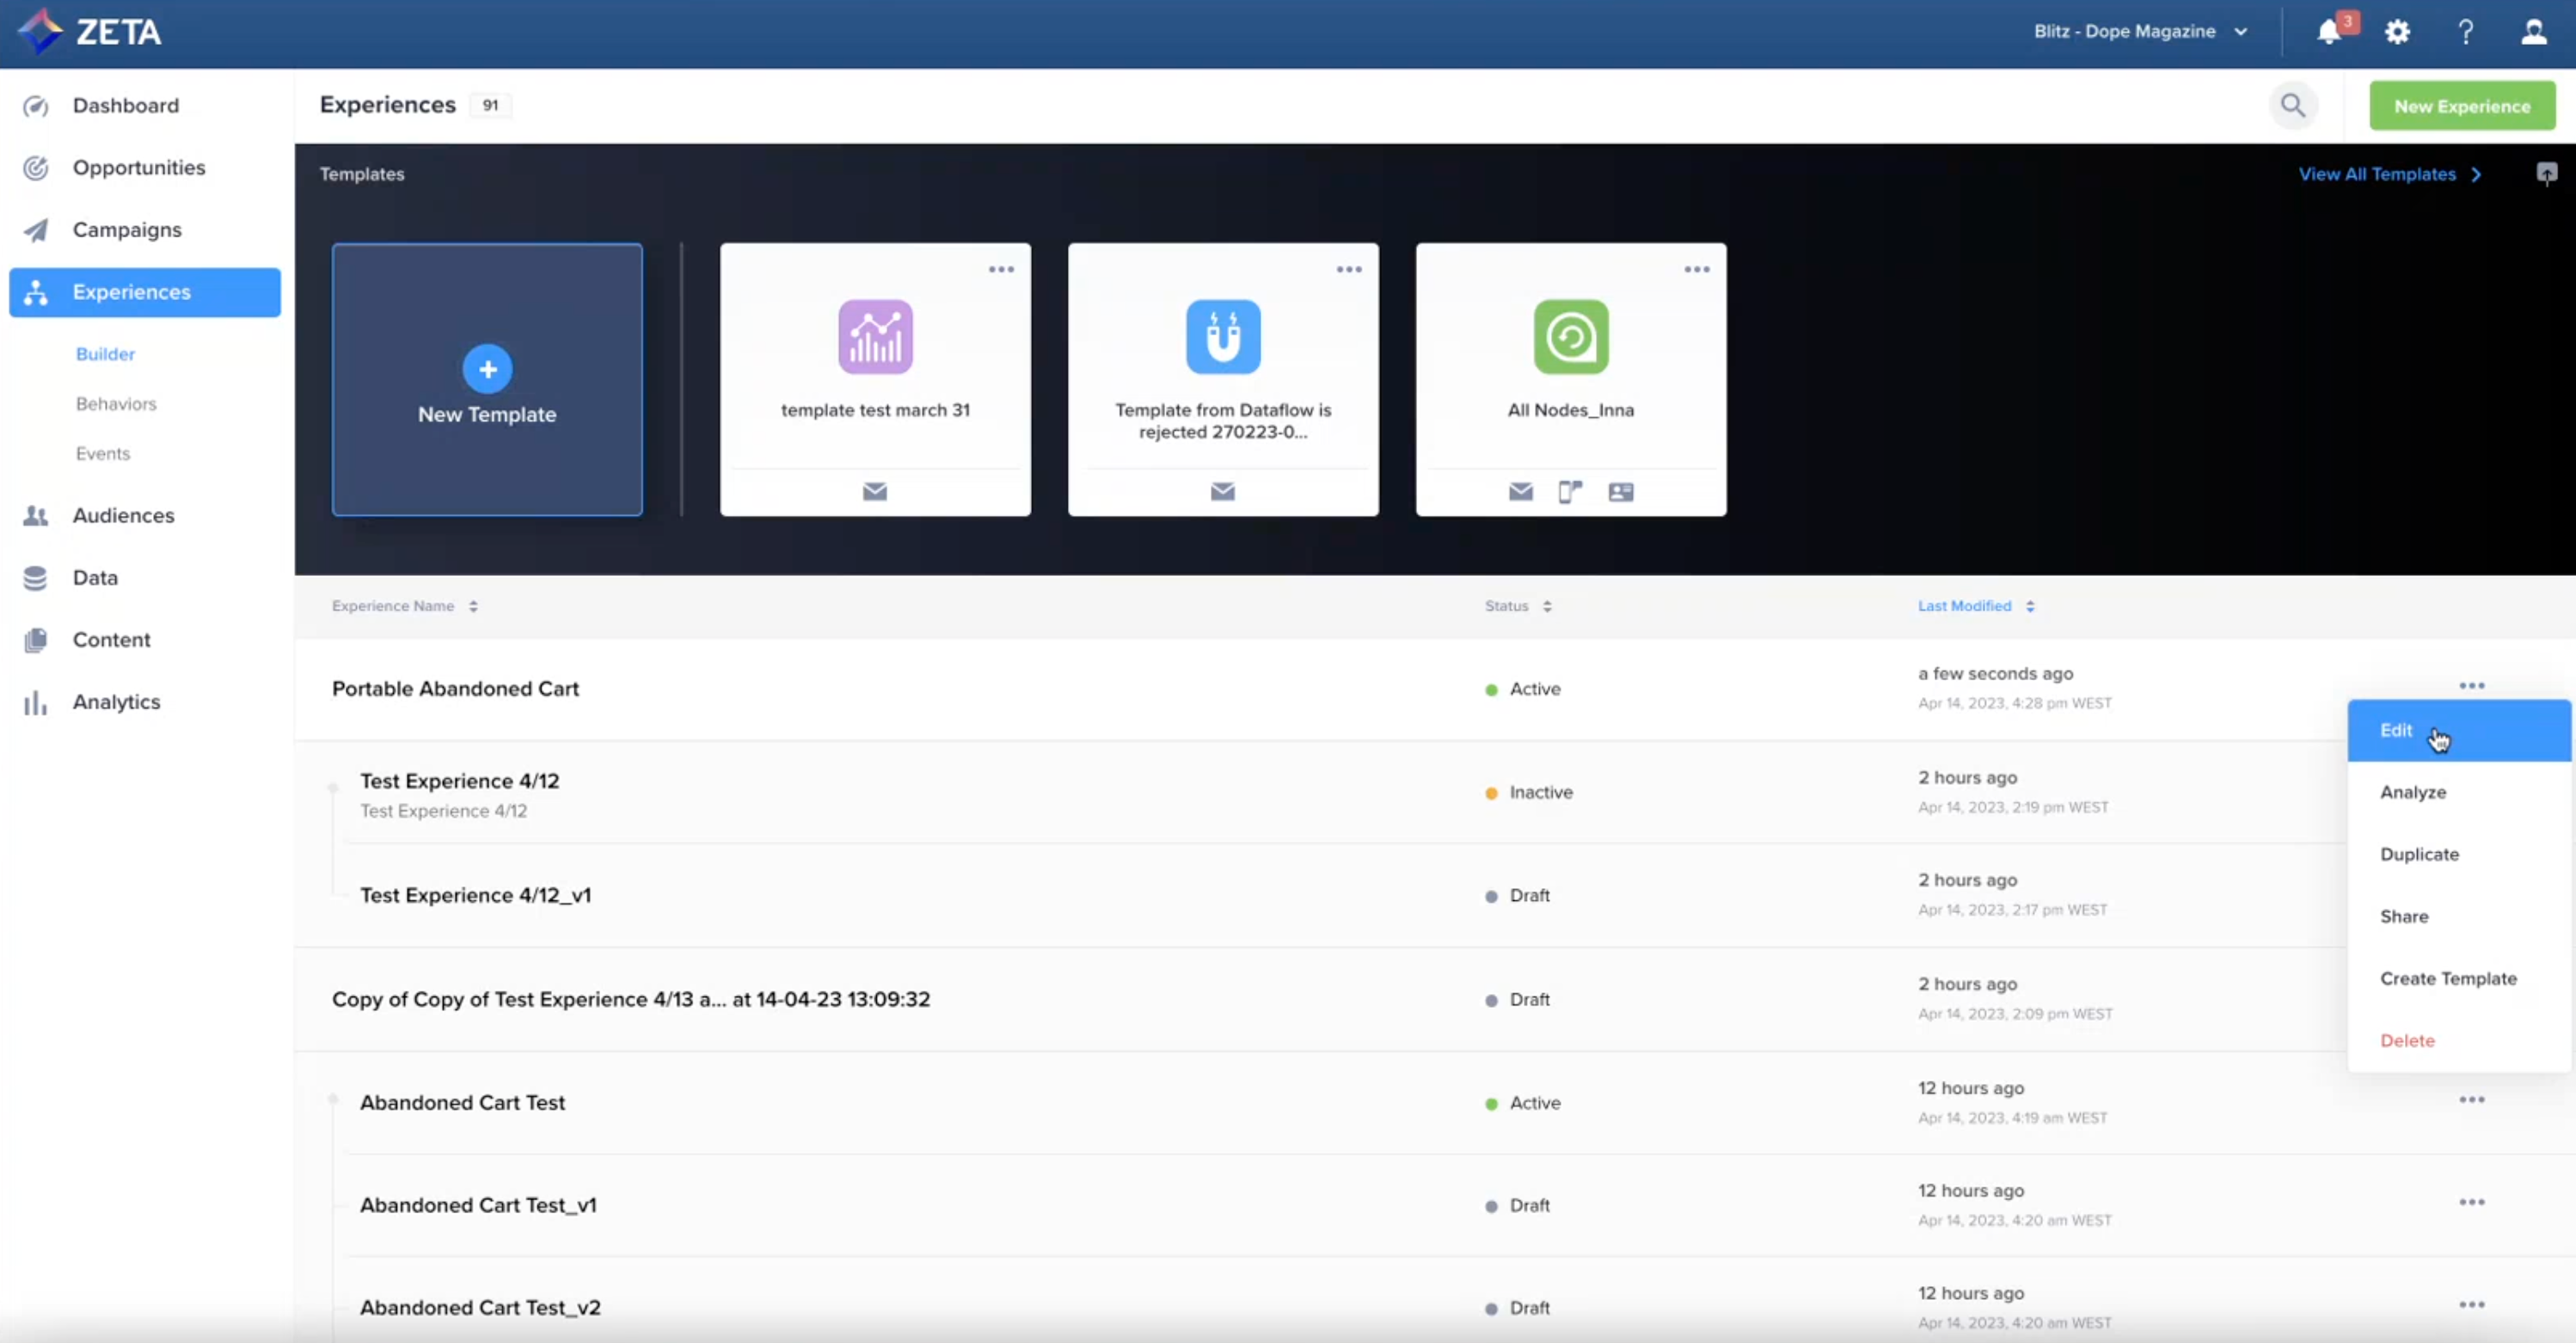
1. Within the Experiences list, click on the action menu on the right of the desired experience and select Edit from the dropdown.
-
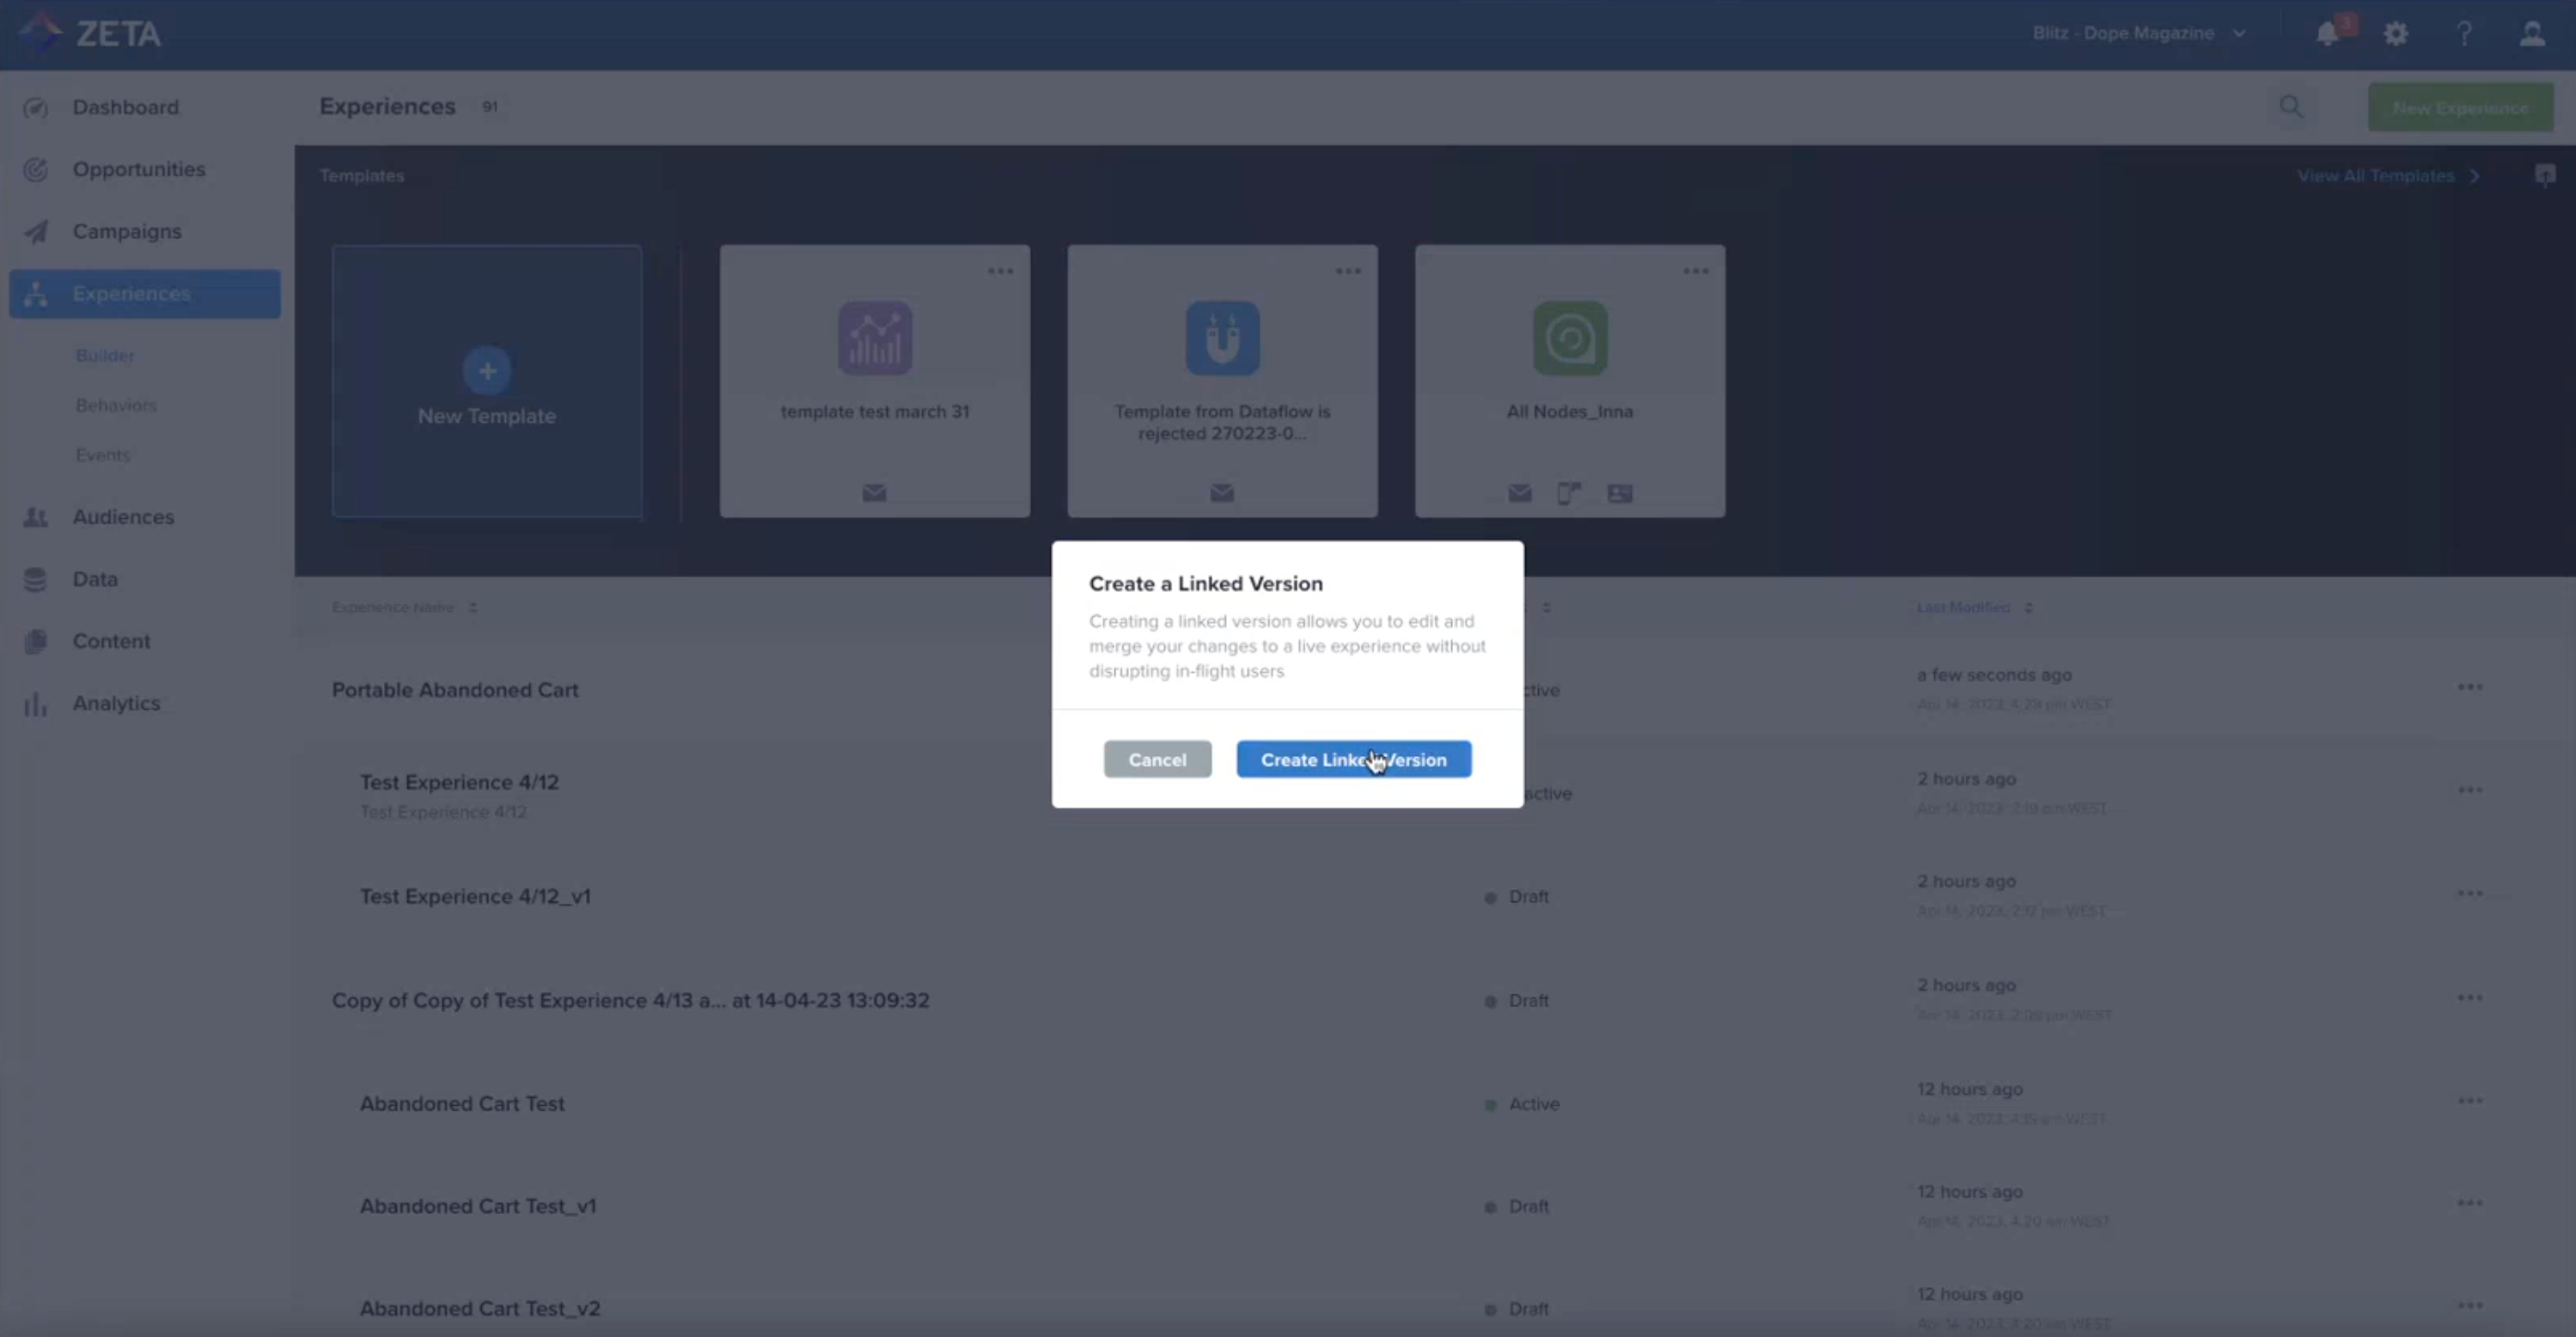
This will create a Linked Version of the experience which you can perform your modifications on.
You can have multiple Linked Versions.
2. Click open the Linked Version and make your desired minor changes within the Experience Builder.
3. As the changes are made, click on Merge & Activate Experience.
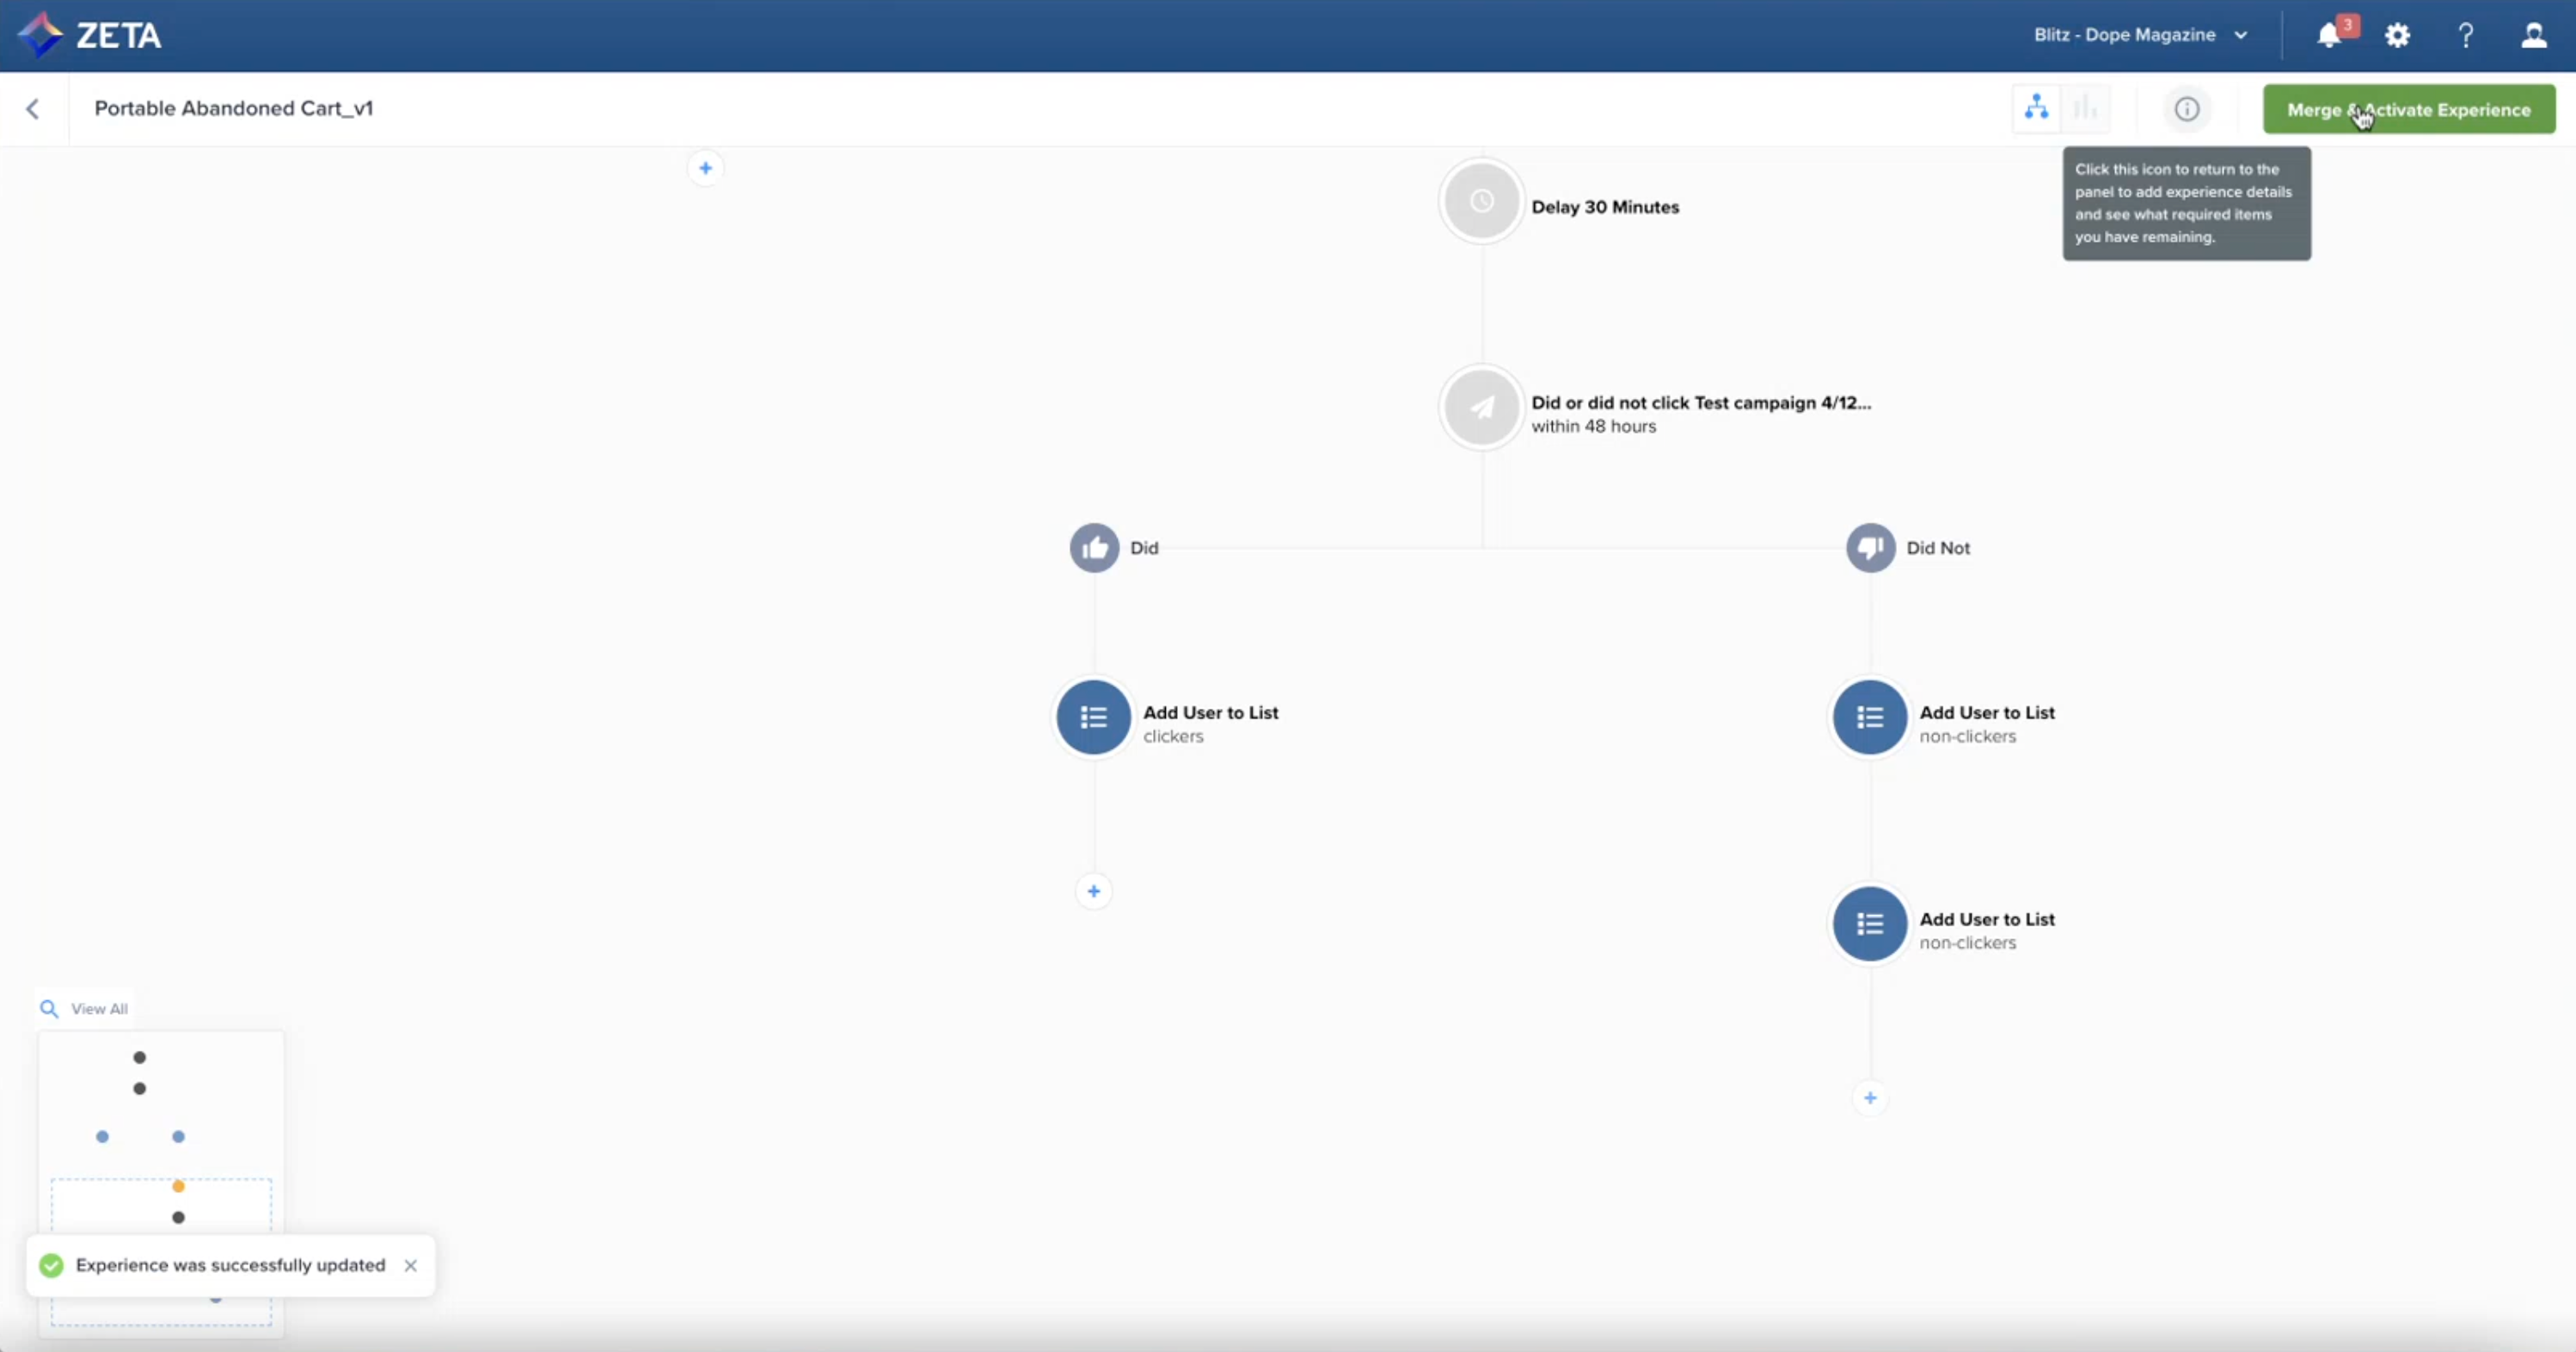
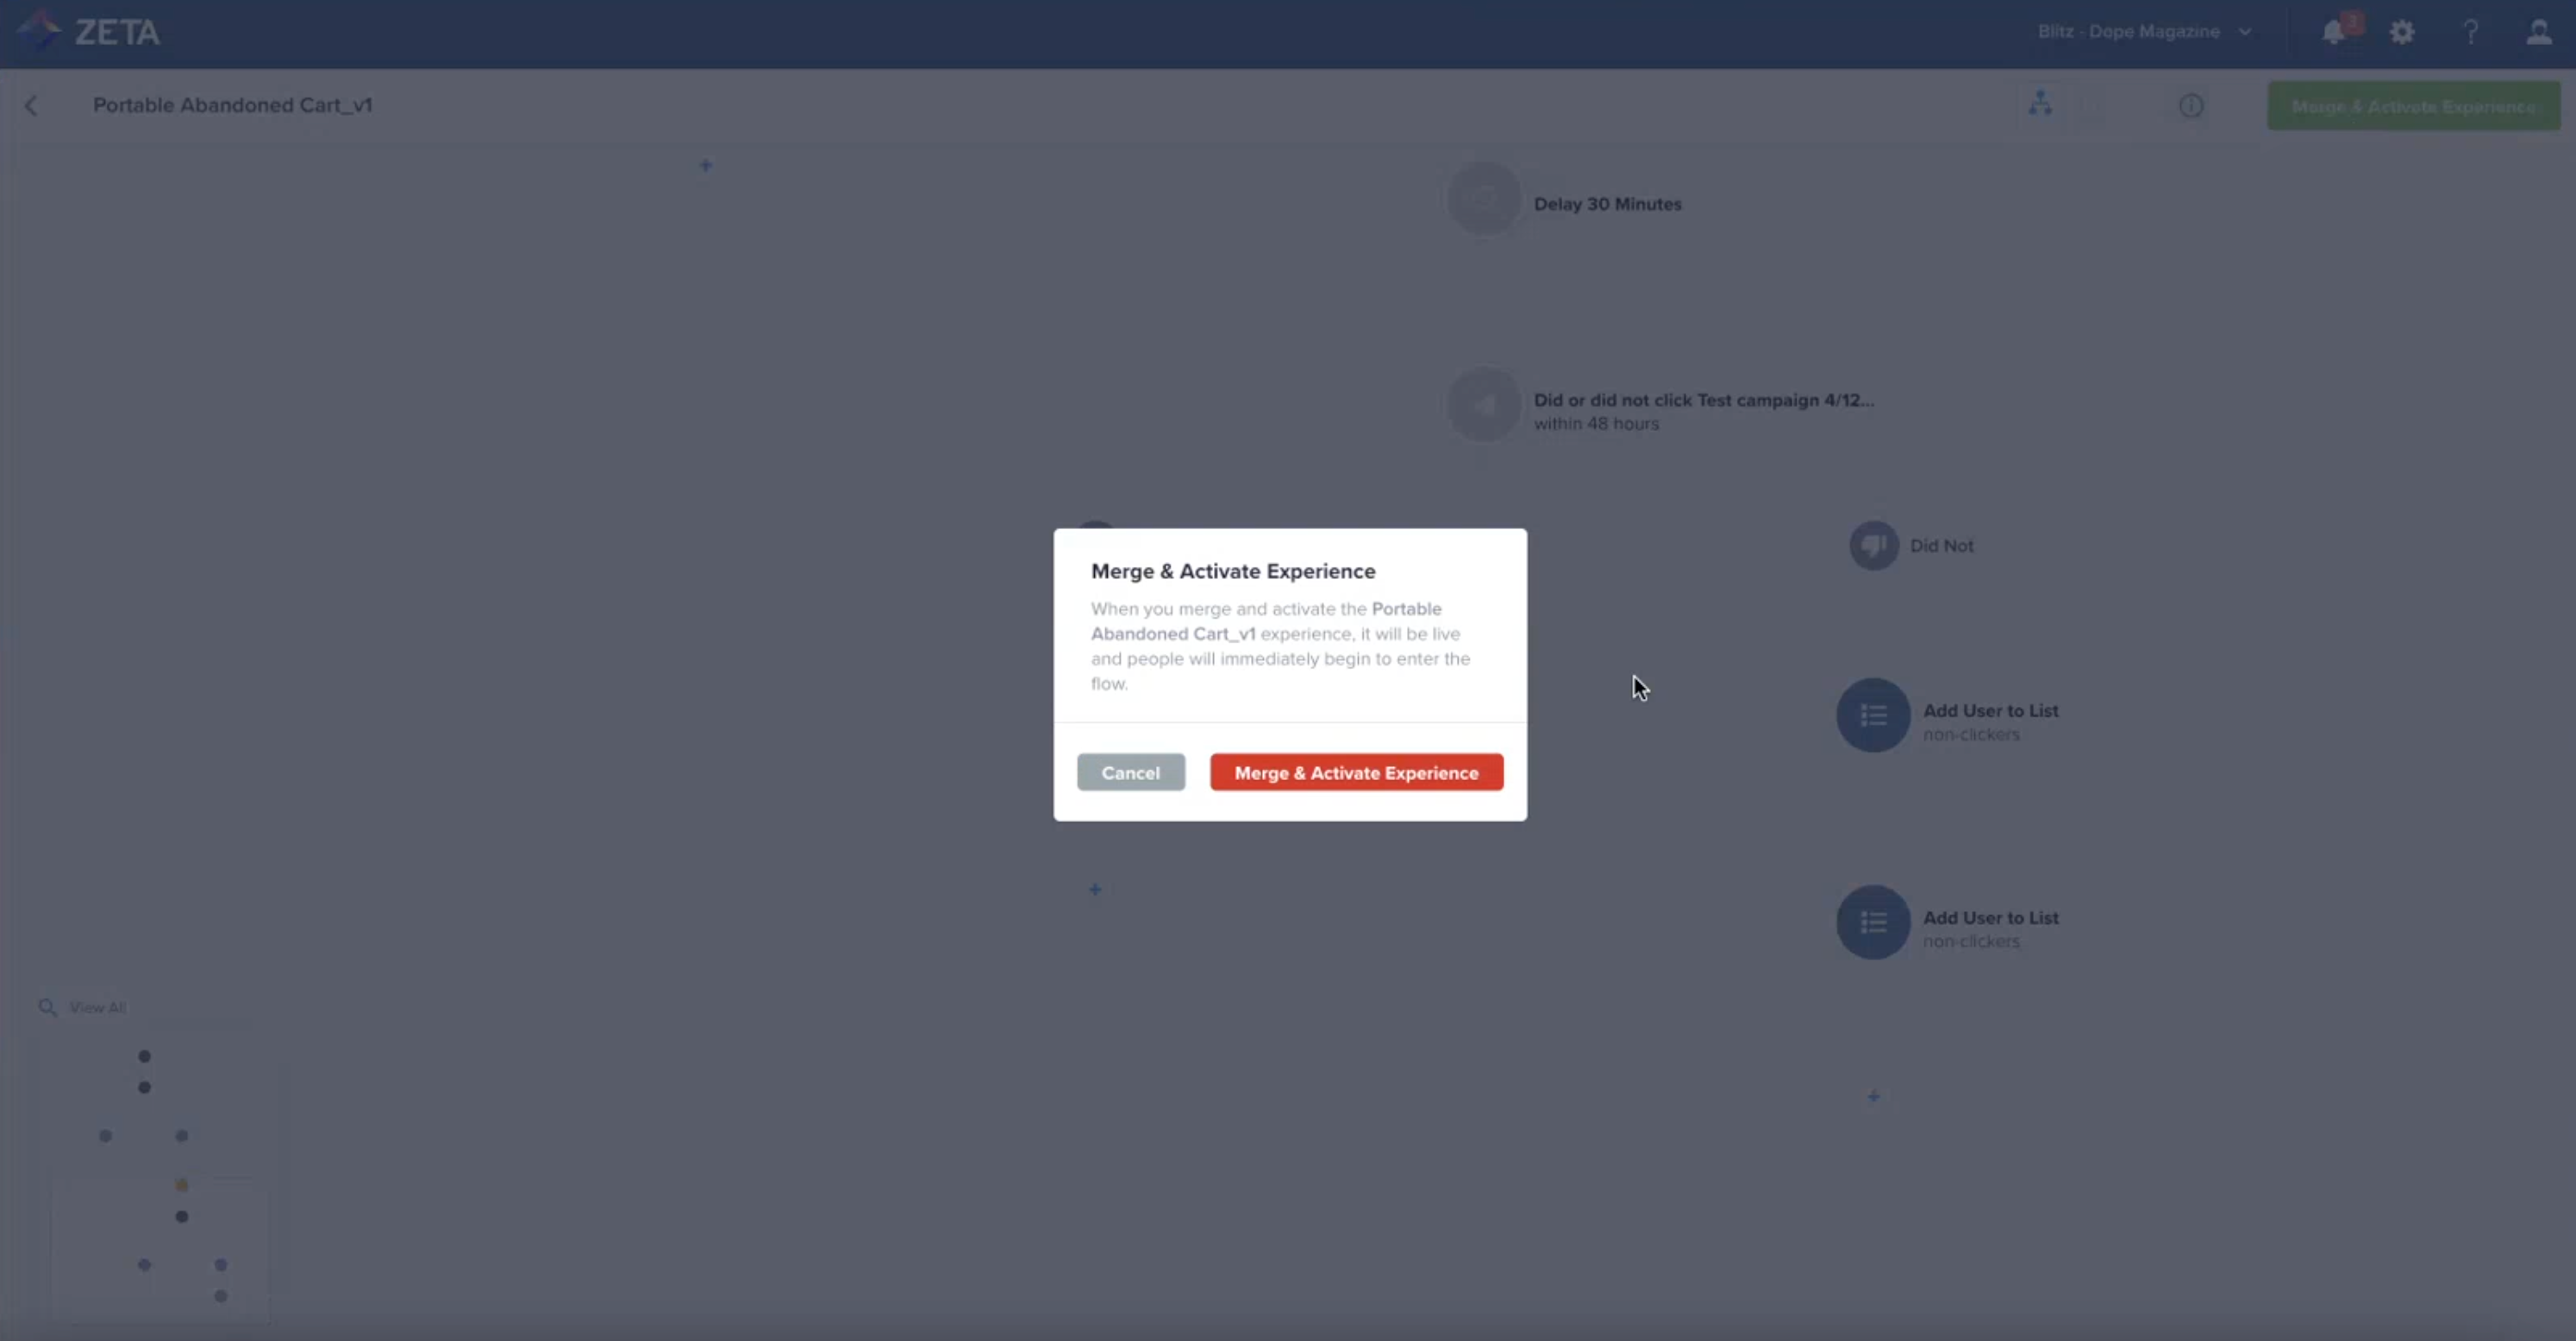
-
The changes to this version will be overridden to the actual live experience.
List of Eligible Nodes
While editing live experiences is a very useful tool, it does not work for every use case. Some nodes can’t be edited without deactivation because we can’t change criteria about things like time filters once a user arrives at a node. These nodes are not eligible for editing:
-
All Event nodes (eg, did, did not, did or did not)
-
All Delay nodes
-
Automated Channel Optimization (NOTE: you can add new channels but not delete or change them in a linked version)
-
Exit Criteria
To edit these restricted nodes, you’ll need to deactivate the experience to make changes, and then reactivate it as a new version of the experience. Upon deactivation, you will choose how to treat in-flight users of the previous version—purge all in-flight users or allow them to continue moving through the previous version of the experience. No users will move from the old version to the new version unless they do the triggering event again in the newly active experience.
You can always add nodes, regardless of the restrictions listed above, to the ends of branches in your experience. You should also be able to delete any node so long as other nodes don’t depend on it.