

A well-defined audience is the foundation of every successful campaign. With the Zeta Marketing Platform (ZMP), you can easily build dynamic segments that ensure your message reaches the right people at the right time.
This guide will walk you through creating a basic audience segment, so you can start targeting smarter, right away.
Prerequisite: Before you begin, make sure you have access to the relevant data sources (e.g., CRM, behavior data, purchase history). Knowing who you want to target, and why, will help you build more focused and effective segments.
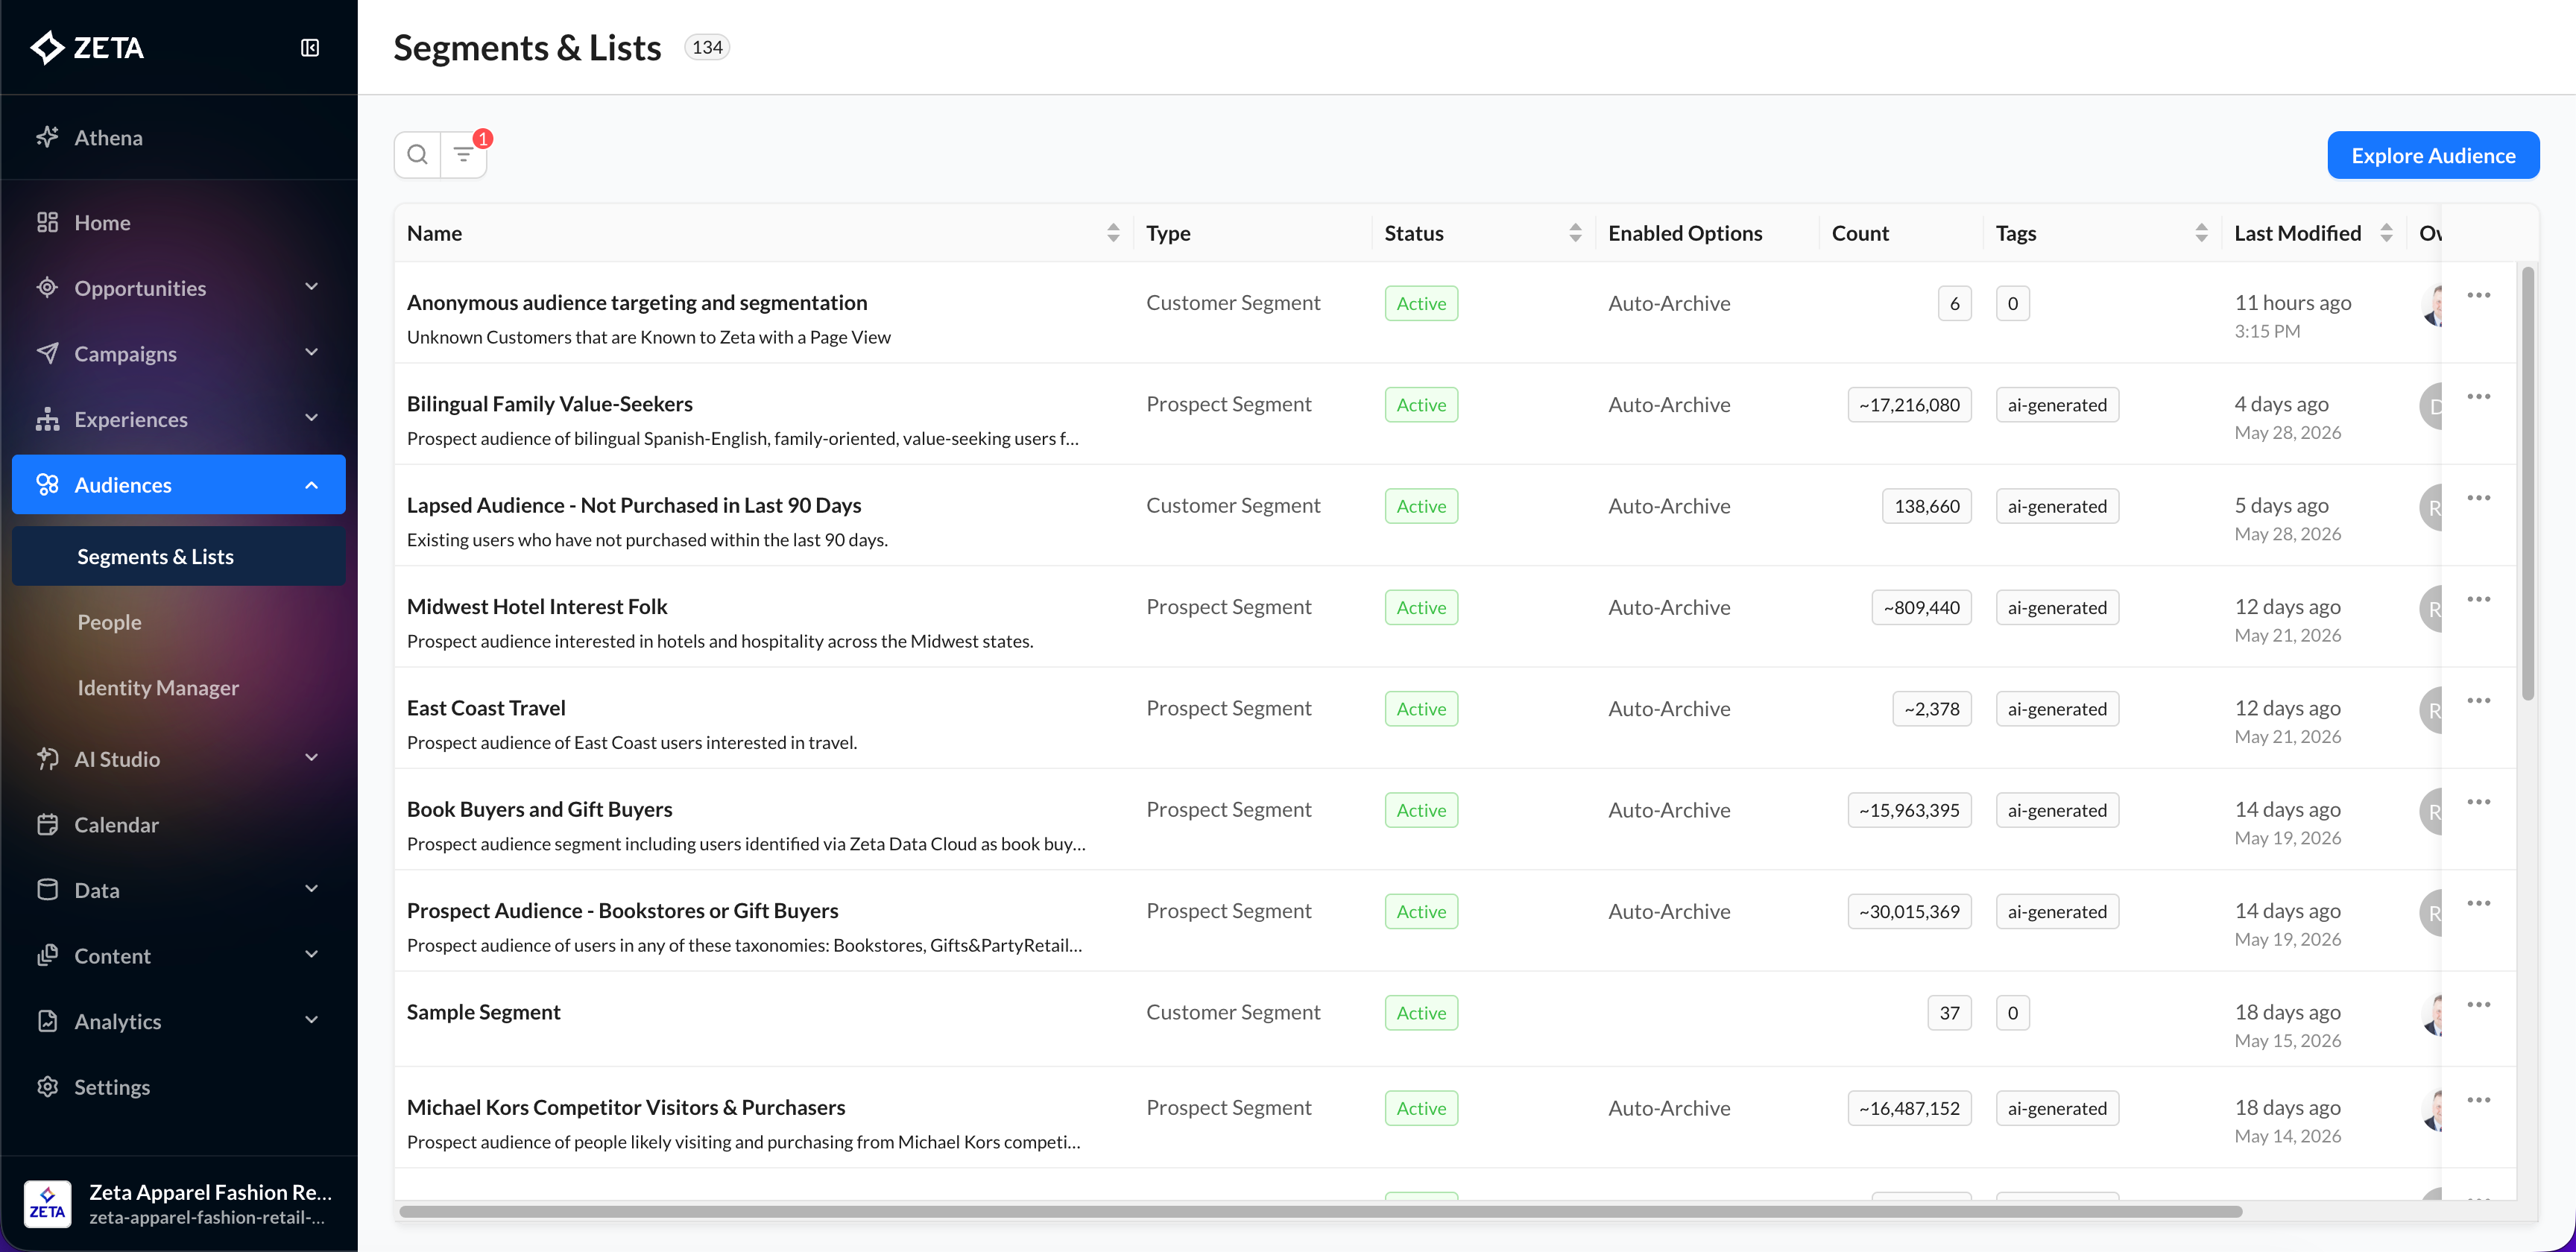
Creating a Segment
1. From the menu on the left, select Audiences > Segments & Lists. Click on Explore Audience at the top right to navigate to the Audience Explorer.
2. Select a Data Source to choose where your audience data will come from:
-20250825-103106.gif)
-
Zeta Retail Demo Data: Use this for testing or learning.
-
Zeta Data: Tap into Zeta’s proprietary data assets.
-
Click Add Audience File if you want to upload your own list.
Tip: If you’re just exploring, start with demo data to learn how filters work before applying them to real customer data.
3. As soon as you select a data source, the Audience Insights panel on the right will populate with real-time stats, including:
-
Approximate reach
-
Channel availability (Email, Phone, Device)
-
Geographic and demographic breakdowns
4. From here, you can begin adding filters and conditions to shape your audience.
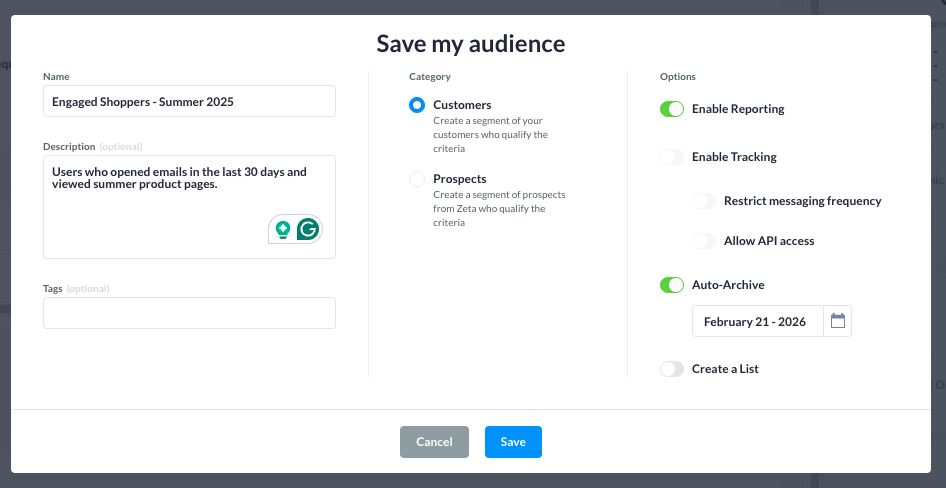
5. Once you're done building your segment, click on the Save Audience button at the top right and enter the following details:
-20250825-104134.gif?cb=ab1de13c3a821a7f7fa058f013b98e90)
-
Name: Enter a clear, recognizable name for the segment.
-
Description (optional): Add a quick note about what this audience includes or how it was built.
-
Tags (optional): Use tags to make it easier to find or group audiences later.
-
Category: Choose the type of audience you’re saving:
-
Customers: Use this for your known users or CRM-based audiences.
-
Prospects: Choose this to save segments using Zeta’s proprietary data to find new potential customers.
-
6. Toggle any of the following based on how you plan to use the audience:
-
Enable Reporting: ON by default. Enables insights and analytics for this audience.
-
Enable Tracking: Track real-time activity (if set up).
-
Restrict Messaging Frequency: Enforce limits to avoid over-messaging.
-
Allow API Access: Enables other tools to fetch this audience via API.
-
Auto-Archive: Set a future date to automatically archive the audience.
-
Create a List: Use this if you need to export or reuse the audience as a static list.
7. Click Save to lock in your audience segment. It’s now available for targeting in campaigns!
To know more about segmentation and look at some of its examples, refer to Segments & Lists.