Configuring Overlay Display Conditions
Display conditions allow you to display a box to users based on device, referral source, geolocation, login status, and more! This guide covers a few commonly-used conditions.

Adding a Condition
You can add conditions from the Dashboard or the Editor.
1. From the Dashboard, click on Add/Edit button in the conditions column for the box you want to edit.
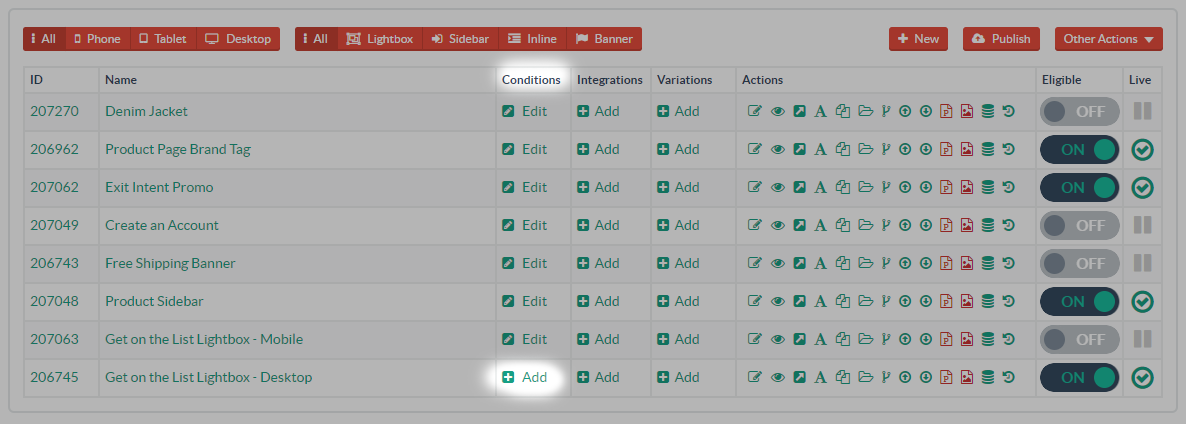
2. From the Editor, select the Conditions section on the left, then click on Edit Conditions.
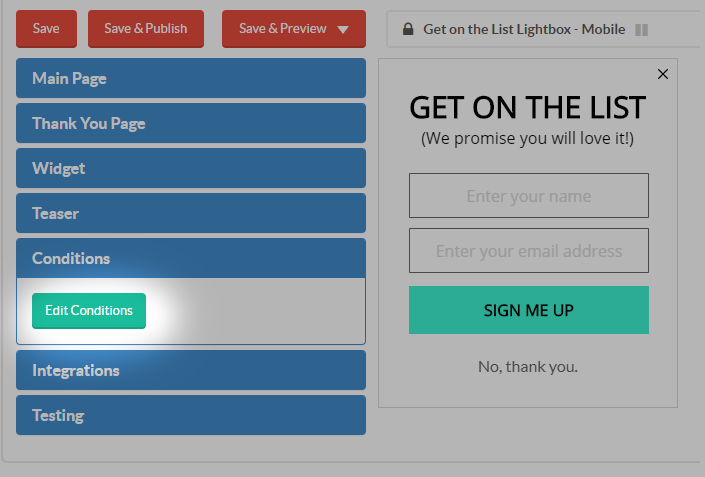
3. Select Add Conditions to start adding rules.

4. Click on Add New Rule.

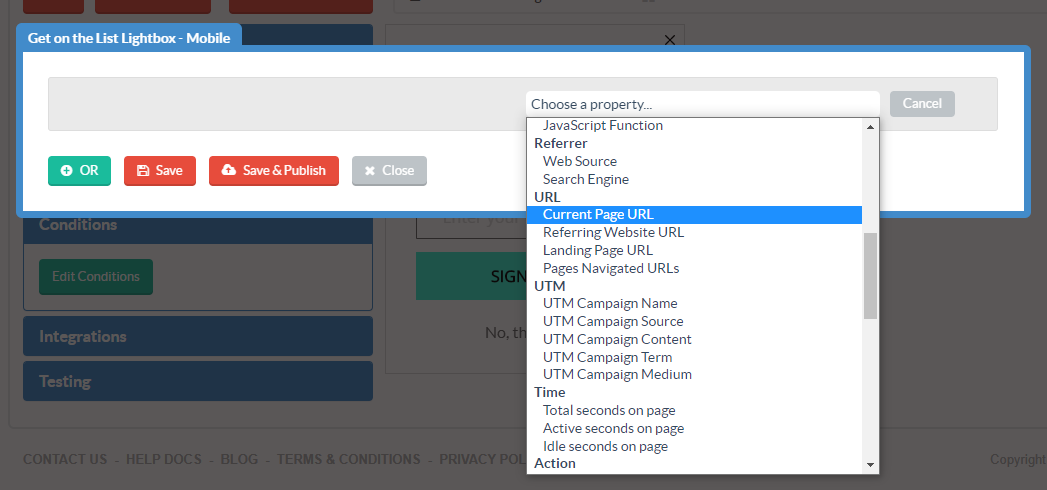
5. Lastly, choose the desired rule from the drop-down.
Testing a Lightbox
First, let’s make a test box. Conditions make it easy to test a box by pushing it to a specific test URL, rather than your entire site.
Current Page URL Rule
The Current Page URL rule lets us show a lightbox on any URL. For testing purposes, let’s set it up like this:
Rule: Current Page URL Contains ?LightboxTestView Demo
If you add ‘?LightboxTest’ to the end of your URL, this box will appear:

Specific URLs:
Using the Current Page URL rule, we can control exactly which URLs to display a box.
URL encoding serves the purpose of ensuring that web browsers and servers correctly interpret image URLs. This encoding process transforms characters into a format suitable for transmission over the Internet. Since URLs frequently incorporate characters beyond the scope of the standard ASCII set, they must be transformed into a valid ASCII format. URLs rely on certain characters for specialized roles in defining their syntax. When these characters aren't fulfilling their designated functions within a URL, encoding becomes necessary. This practice is widely endorsed, and major platforms, including ZMP, adhere to this standard for URL encoding. You can go through the Help and Training Community to see the common characters which are encoded.
Current Page URL Equals
With the Equals modifier, we can display a box on an exact match URL, such as:
https://yoursite.com/product/denim-jacket/?utm_campaign=featured
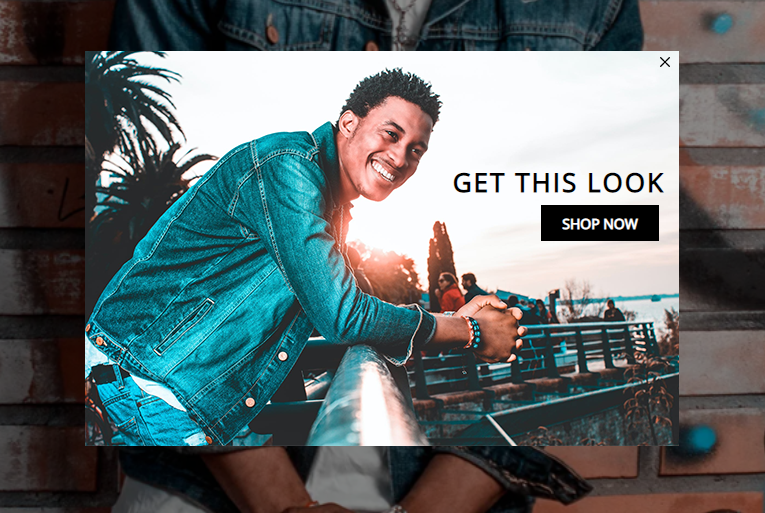
Rule: Current Page URL Equals {your URL}

Without the UTM code at the end, the box won’t display, giving you precise control over which visitors see this box.
Current Page URL Contains Any of These
We can also show boxes on multiple URLs using the Contains any of these modifier.
Rule: Current Page URL Contains any of theseproductcategory

Now, this box will appear on any page with product or category in the URL.
Device Type Rule
Device type lets you display boxes depending on whether your visitor is using a desktop, phone, or tablet.
Rule: Device Type Equals Phone

Time on Site Rule
Sometimes it’s a good idea to let your users browse your site for a bit before hitting them with a lightbox. Control exactly when you want the user to see a box with the Total Seconds on Page, Active Seconds on Page, and Idle Seconds on Page rules.
Total Seconds on Page Rule:
To show a box after a user has been on the site for 3 seconds, create a condition that looks like this:
Rule: Total Seconds on Page Greater Than 3

Targeting New Users
Let’s make sure we don’t ask users who are already on your list to sign up.
Pages Navigated Rule
With the Pages Navigated Rule, we can see which visitors have previously clicked through from one of your emails. If your newsletters use the UTM code utm_medium=email, then this is a breeze.
Rule: Pages Navigated URL Does NOT contain utm_medium=email

Login Status
Another great use for boxes is to ask users to log in or sign up. We can create a condition to detect if a user is logged out to show them this box:
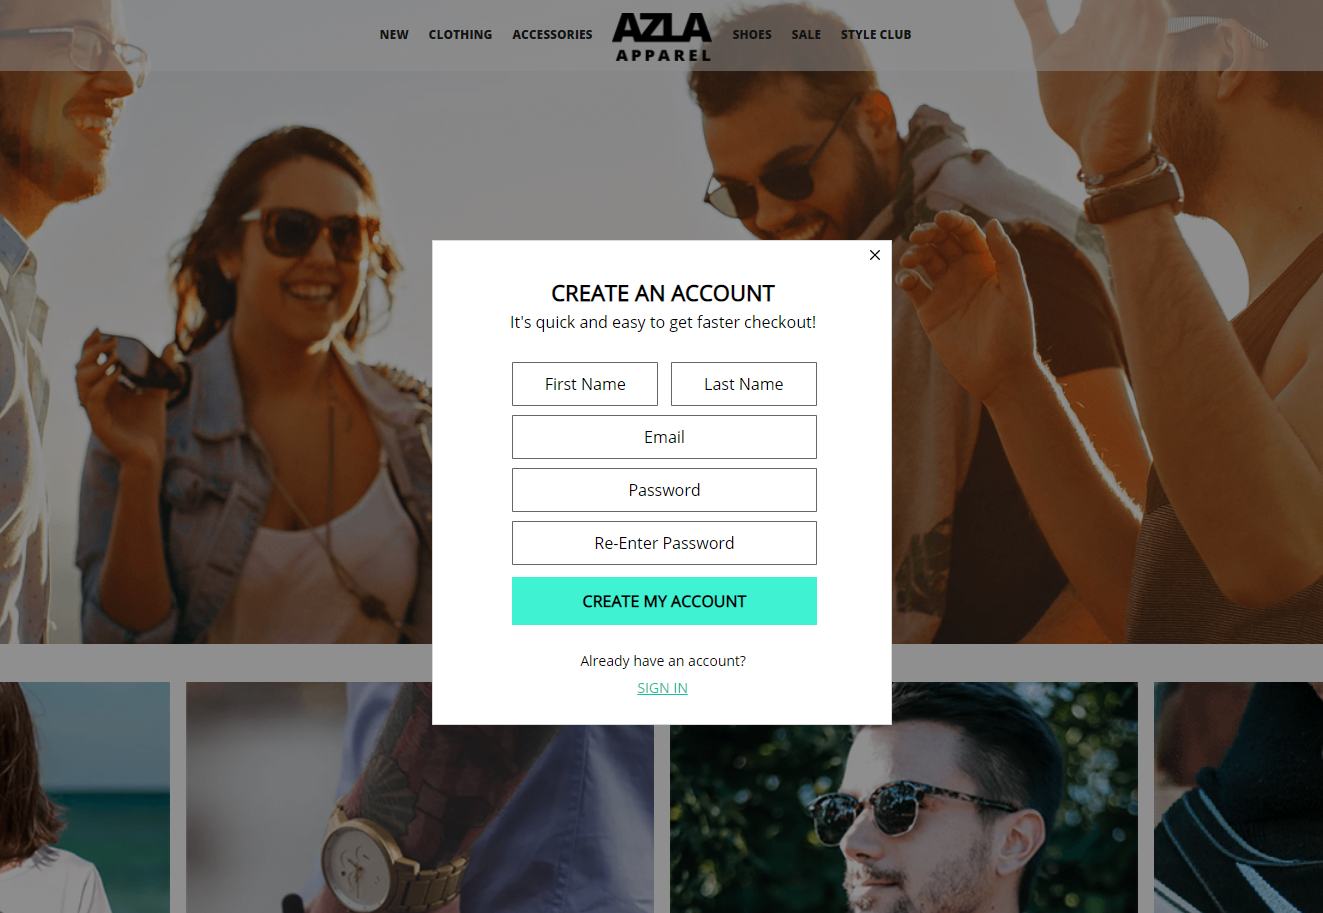
Cookies Rule
To set up a Cookie rule, you need to know how your cookies are set up. In this example, we’ll assume the Cookie Name is loggedin and the Cookie Value is true or false. To target users who are not currently logged in, choose false as the value.
Rule: Cookie Contains loggedin false

User Behavior
With conditions, you can display content based on a user’s behavior. The most popular example is Exit-Intent. Using Exit-Intent, you can offer visitors a deal before they exit your site.
Exit-Intent Rule:
The Exit-Intent rule detects when a user moves their mouse away from your site, allowing you to trigger a box.
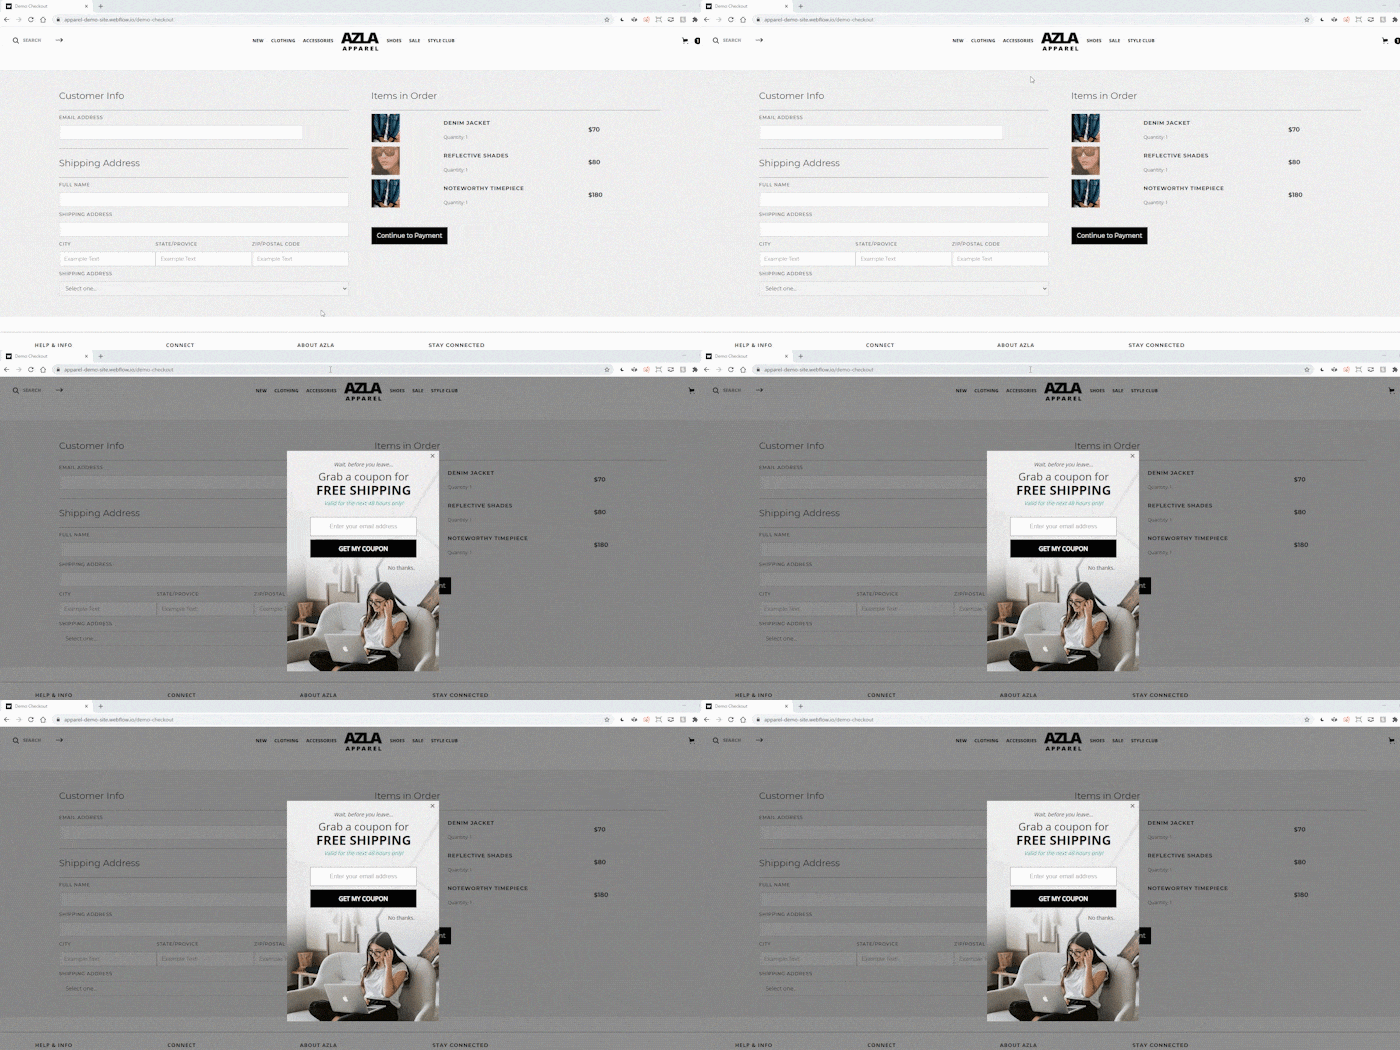
Rule: Exit Intent event occurs Mouse exists window top

Display Based on Tags
Displaying boxes on pages that contain the same tags is a great way to display content on related pages.
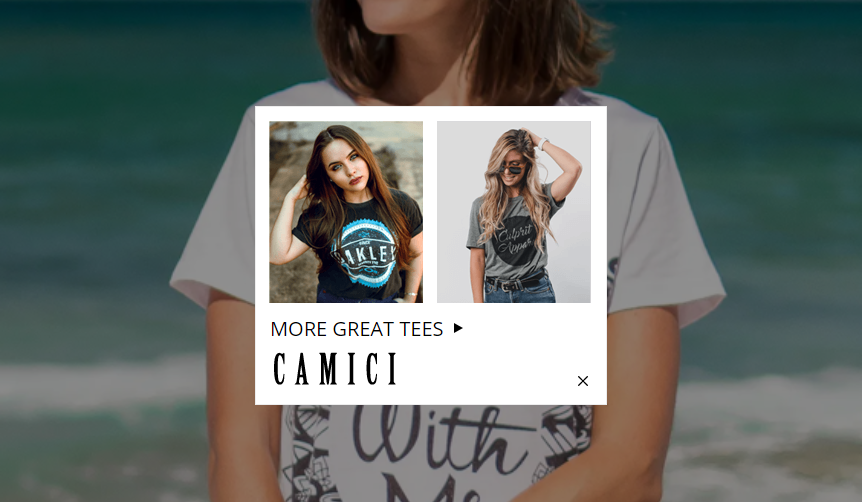
For our example, we’ll create a rule that shows a specific box across multiple products from the same brand. The brand name isn’t in the URL, but each page does contain a brand tag.
HTML Exists jQuery Rule
With the HTML exists jQuery rule, we can choose a tag and display content on any page that contains the same tag.
1. Copy the selector of the tag you want to reference. To do that, right-click on the tag on the page, and click on Inspect to open your dev tools.
2. Right-click on the tag in the HTML code, go to Copy, and choose copy selector.
3. Paste that into the conditions field and test it out.
Rule: HTML Exists jQuery equals {selector}

This rule is more advanced so if you need help, don’t hesitate to contact your account team for assistance.
In fact, for our example, we had to adjust the selector a tiny bit to get it to work.
The selector we copied was: body > div.section.cc-product-detail > div.product-details-wrap > div.w-dyn-list > div > div > a
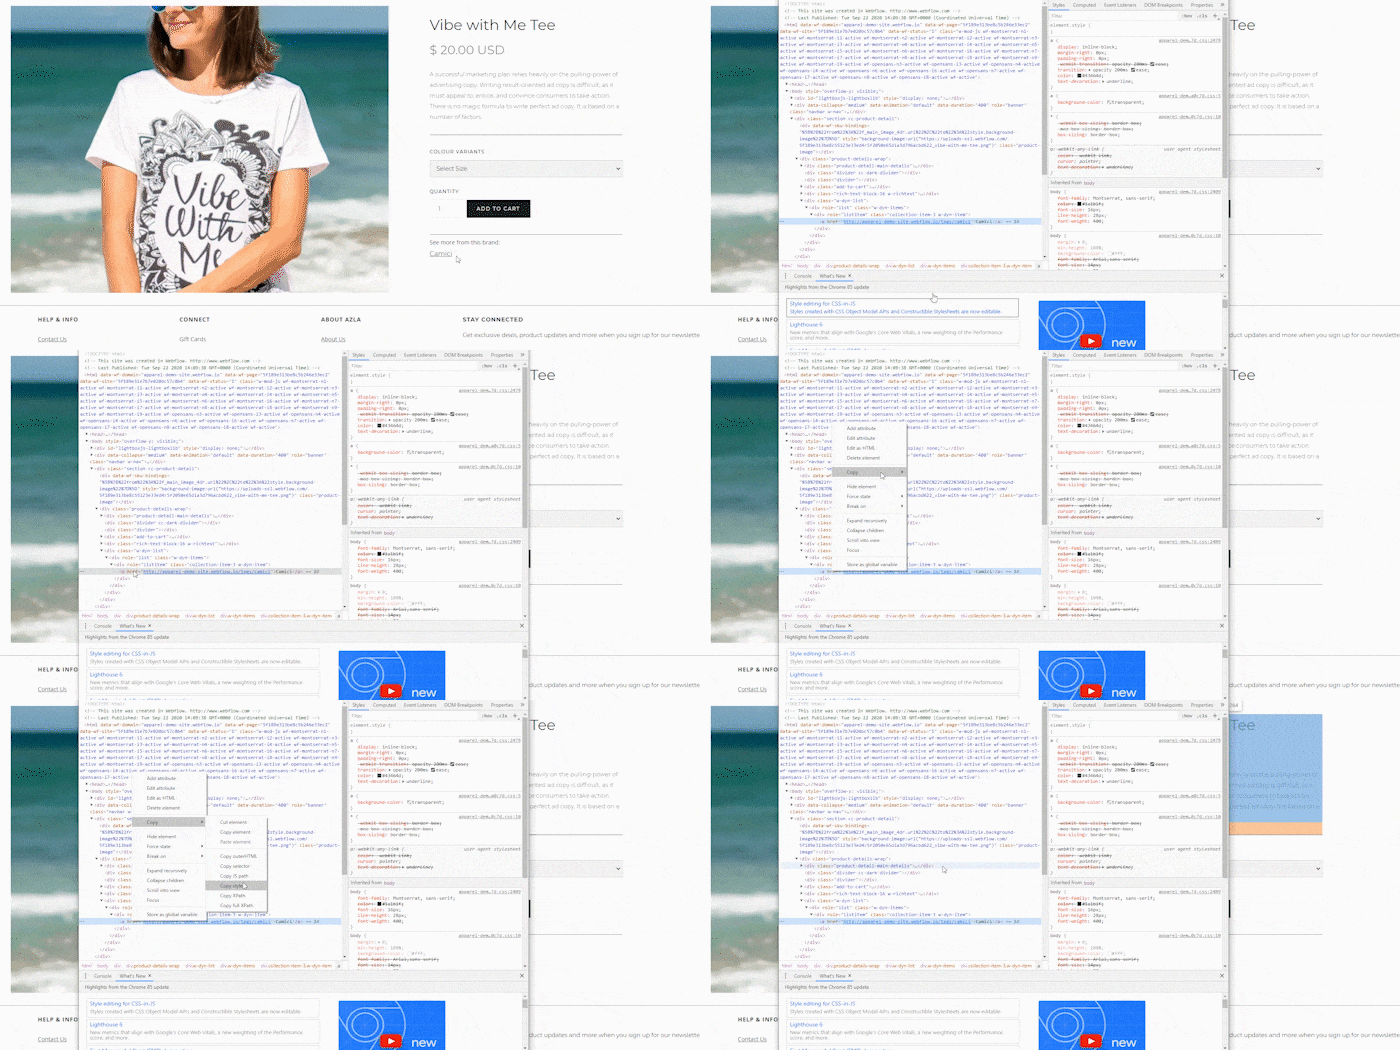
However, to get it to work, we had to be a bit more specific:
body > div.section.cc-product-detail > div.product-details-wrap > div.w-dyn-list > div > div a:contains(‘Camici’)
You can do many other things using conditions, but this is a brief overview of some of the most common uses.
