Navigation

You won’t realize the importance of application navigation until you’re lost on a feature you didn’t intend to open and the window sliding out is obstructing the content you were there to visit. While navigation is an integral part of any platform, Zeta believes it doesn’t have to be flashy or complex to win the users over. When it comes to finding your way around a platform, simplicity is best; and that’s what ZMP is built upon.
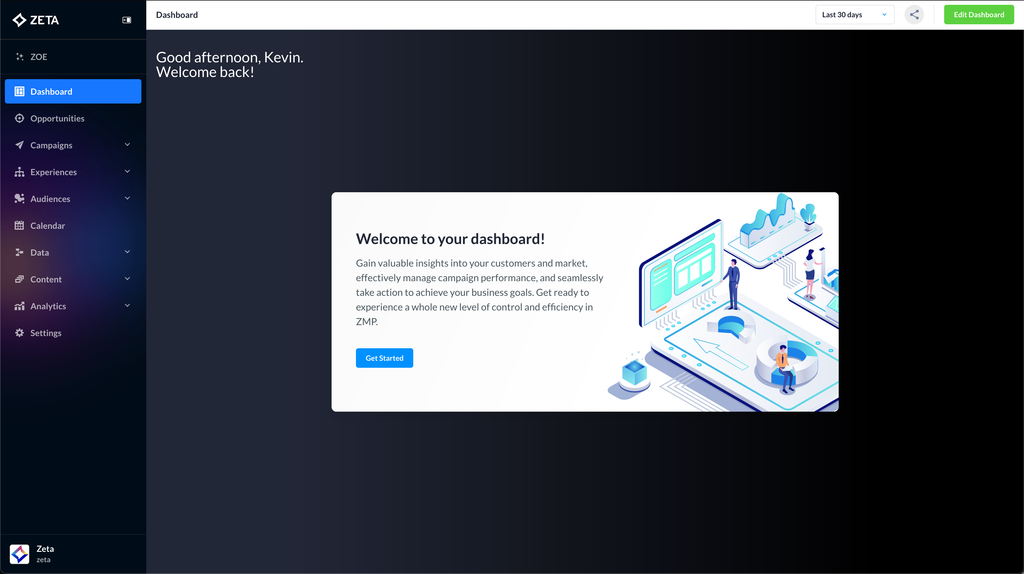
ZMP Navigation
Your Navigation may look different based on features enabled for your role and/or account, you may also see elements in a different order
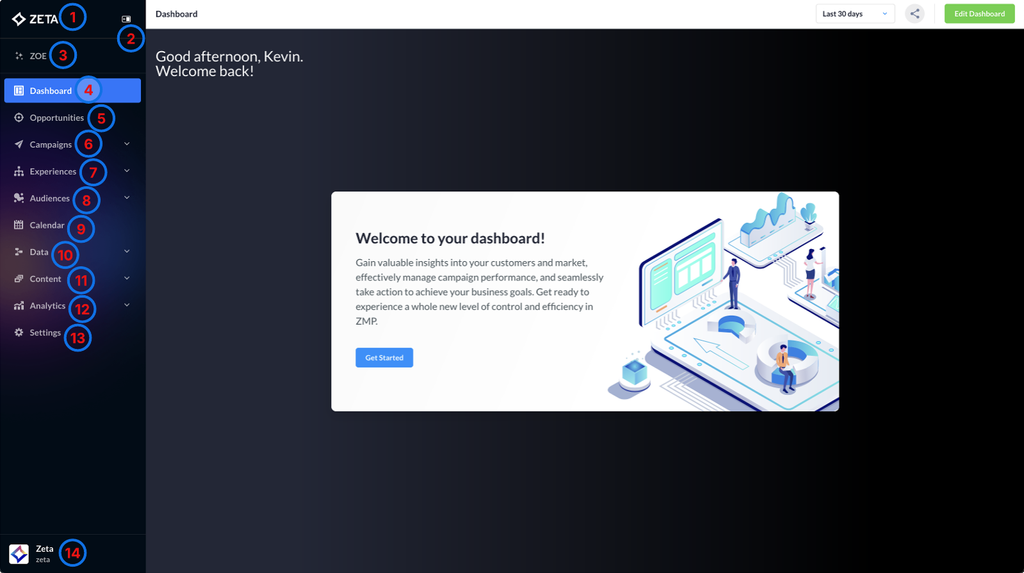
From the sliding menu on the left,
Annotation | Function | Visual |
|---|---|---|
1 | Clicking on the Zeta logo will return you to your homepage from anywhere in the platform. |  |
2 | Click this button to collapse the navigation to expand your usable area. | 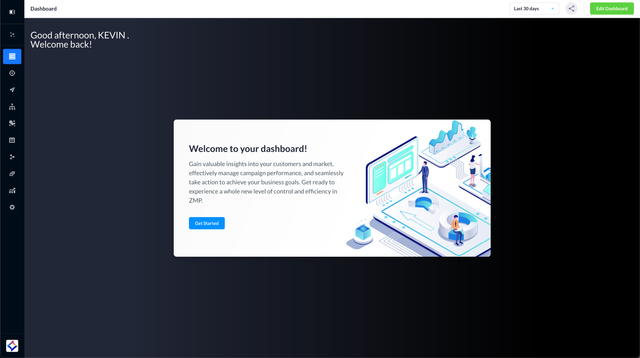 |
3 | Click on ZOE to access the Zeta Opportunity Engine (ZOE). | 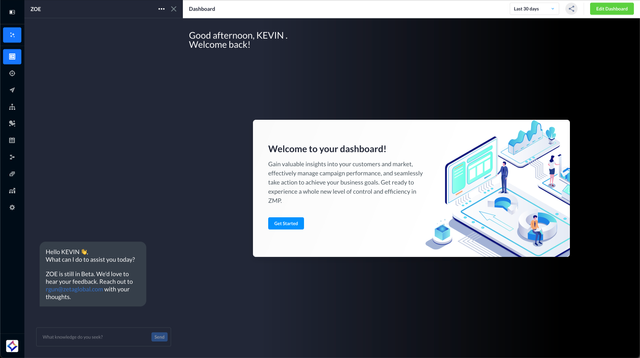 |
4 | Click on Dashboard to open the ZMP Dashboard, which is also the default landing page when you click on Zeta (refer to the table on top). | 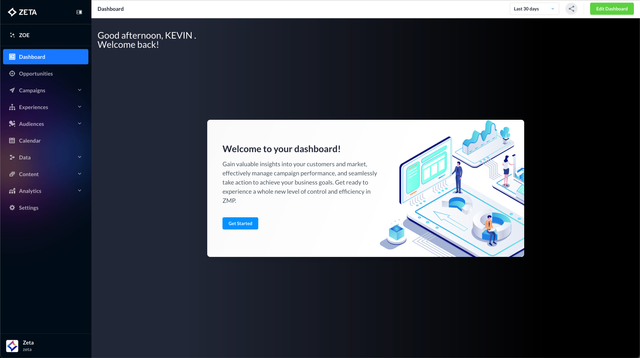 |
5 | Click on Opportunities to access the Opportunity Explorer. | 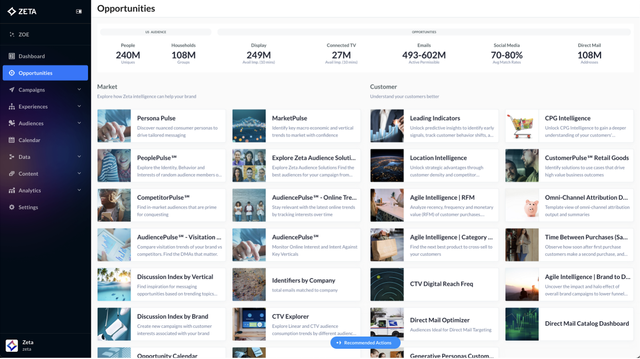 |
6 | Click on Campaigns to access the Campaign Builder and create/launch your campaign. | 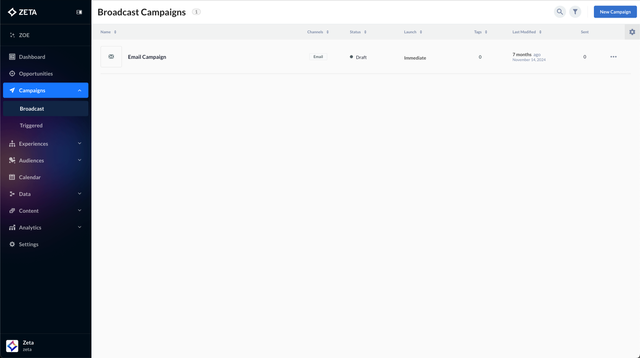 |
7 | Click on Experiences to access the Experience Builder. | 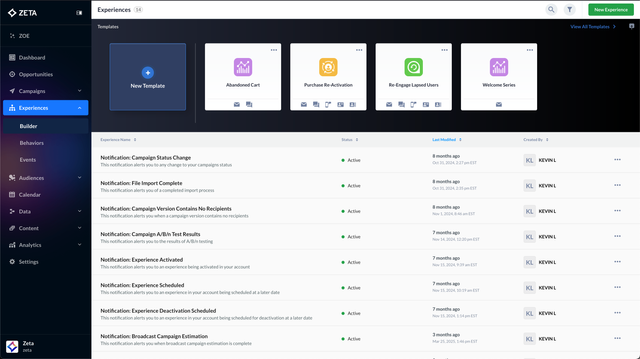 |
8 | Click on Audiences to access the Segments & Lists and Audience Explorer. | 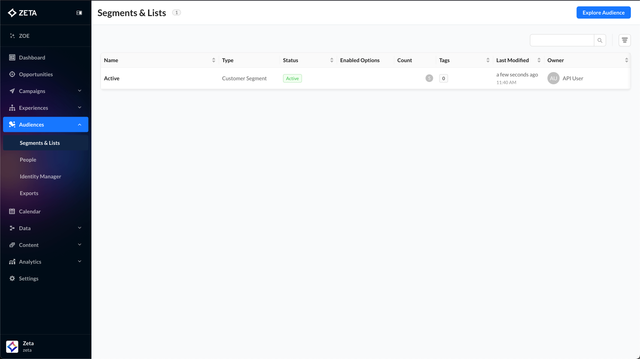 |
9 | Click on Calendar to explore your ZMP campaigns within the Forecasted Calendar. | 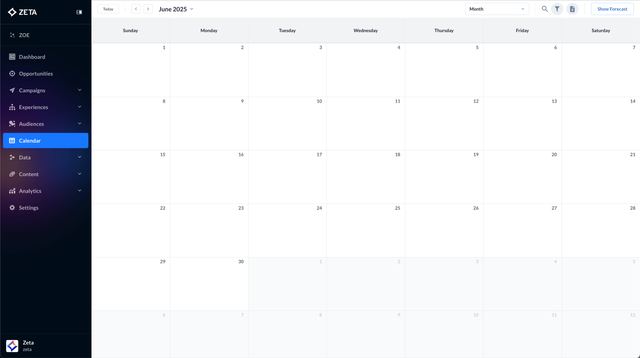 |
10 | Click on Data to access the Data Flows and Files. | 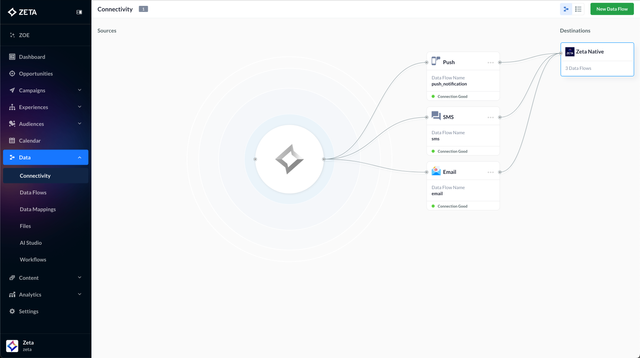 |
11 | Click on Content to view the Resources, Snippets, and Feeds, and access the Visual Editor. | 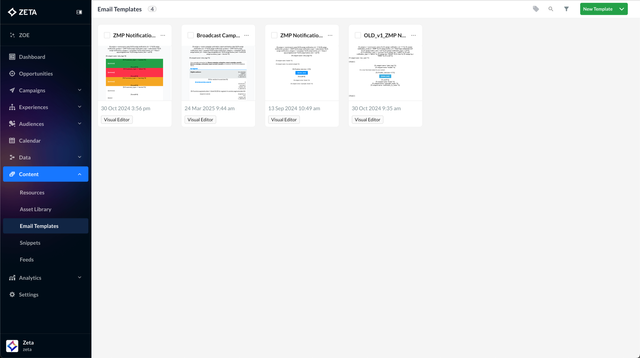 |
12 | Click on Analytics to access the Report Builder and Opportunity Window. | 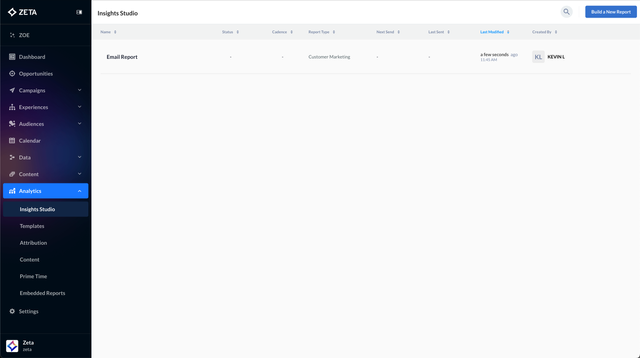 |
13 | Click on Settings to manage your account permissions, set up connections, and add/remove channels. From the Profile page, you can also re-order your main navigation | 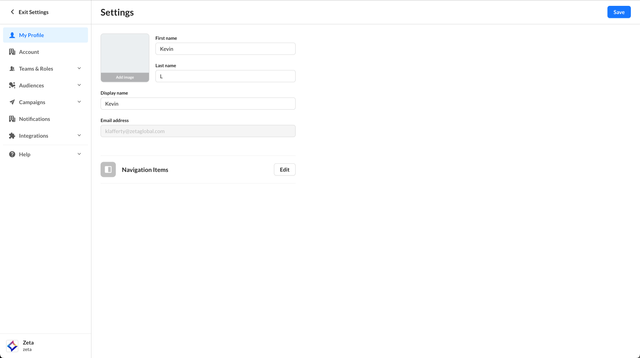 |
14 | Click on the Account Name at the bottom to change accounts or access your profile | 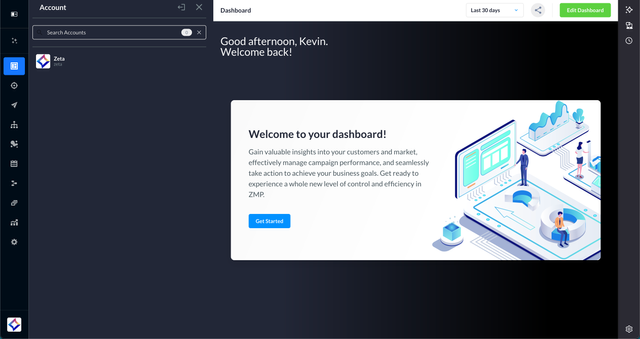 |
