

Bringing new users into your system is the first step to activating personalized marketing, analytics, and engagement. With the Zeta Marketing Platform (ZMP), you can quickly import users from trusted sources and start using that data right away.
This guide walks you through the process of importing a new user list and preparing it for segmentation, targeting, or reporting.
Prerequisite: Before you begin, make sure your user file is clean and formatted correctly (e.g., with fields like email, phone number, or customer ID). You’ll also want to know which list or segment these users belong to.
Adding People
1. From the menu on the left, select Audiences > People. Click on New People.
-20250826-121358.gif?cb=e6d75efc5f8c630a78c1a0790d36a553)
2. Choose the option of your preference from the two that appear.
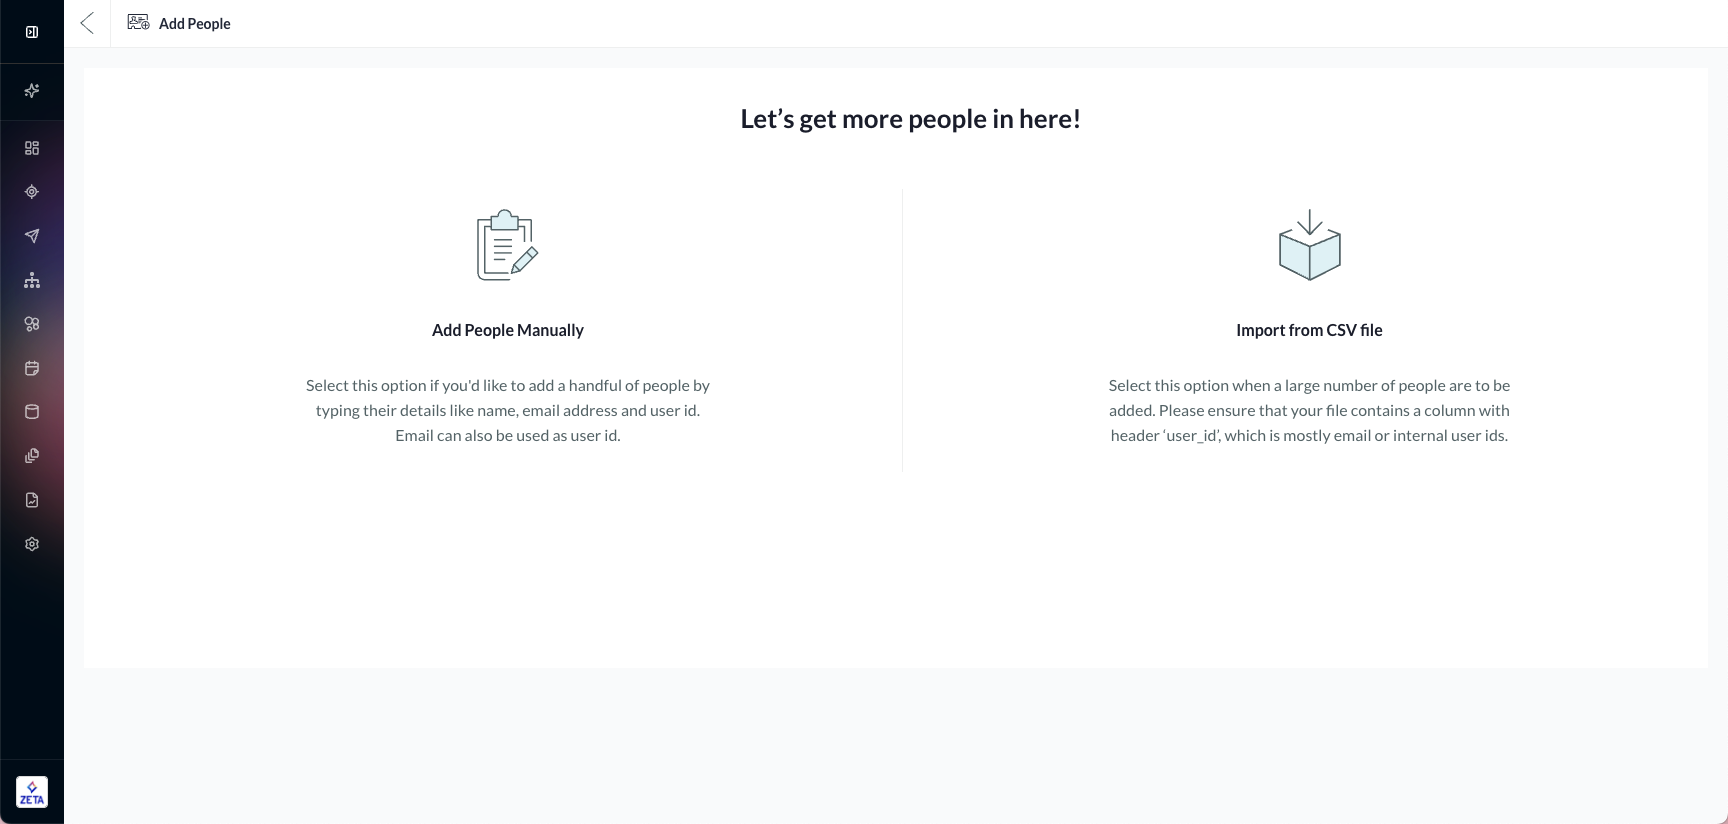
Option One: Add Users Manually
1. Hover over the Add Users Manually option and click on Continue.
-20250826-121629.gif?cb=c76f3e22335184068811d2daed9b62ae)
-
Fill in the details for the users being added in the respective text boxes for First Name, Last Name, and Email Address.
-
User ID is the key or the unique identifier for each user in the audiences library. (User ID is generally the email address, but can vary depending on user-specific business requirements)
2. Once you’ve filled in the details for the user(s), click on Add People.
As you have imported the user(s), you can further add more user properties and move on to How to Create a Segment
This method of importing users is not recommended for production use, owing to its manual nature. This is a good process for users to get familiar with the platform.
Option Two: Import From CSV File
This option is useful for adding users in bulk and setting up your initial audience or practicing further segmentation with fake data.
1. Hover over the Import from CSV File option and click on Continue. Browse the desired CSV file from your computer library.
-20250826-121840.gif?cb=fdaf2e8749b32b1782272228f7b63cf6)
Recommended: The CSV file you upload must have the following list of fields:
File names should not have special characters other than underscores “_”, hyphens “-”, and periods “.” to ensure broad usability. Note that while much of the ZMP supports the use of spaces in file names, we also recommend reducing the use of spaces, as upstream and downstream systems may not all handle spaces in the same way.
|
💡 Recommended: The CSV file you upload must have the following list of fields: |
|
|---|---|
|
Field |
Description |
|
user_id (required) |
This is a unique value used to identify individual users and is usually an email address. If another value is provided as the user_id, the email field must be filled up. |
|
email (recommended if user_id is not an email) |
Must be included in order for the user to receive emails from the ZMP. Will serve as user_id if user_id is not provided. |
|
first_name |
This is treated as the first name of the user record and can be used to personalize messages. |
|
last_name |
This is treated as the last name of the user record and can be used to personalize messages. |
|
city |
This field shows the city of the user, for instance, New York. |
|
signed_up_at |
This is treated as the date when the user signed up with your business. We recommend YYYY-MM-DD hh:mm:ss format. |
The user_id column is the only mandatory column. However, it is a good practice to add as much user data/properties as possible.
2. Once you import the CSV file, ZetaHub will verify the user data by mapping the respective columns into the system. You can do it manually or let the system take care of it.
-
All new properties (columns in the CSV) will be added to the user profile.
-
Any property that already exists will be updated with the new values.
3. All the users whose details are provided in the CSV file will be imported to the platform.
Once you’ve imported the users, you will return to the user library page with options available to update existing users and optionally create a segment from the import. Let's move on to see how!