

“The world of marketing moves at the speed of light.” - Every marketer ever.
Owing to the constantly changing landscapes during the COVID-19 pandemic, the marketing sphere has witnessed slumps in the virtual engagement and online traffic they were recently starting to rely on. While a multi-channel approach came to the rescue of marketers at almost every experience level, it also brought along struggles tough to ignore.
Tailoring the content for the audience in hand while at the same time, maintaining consistency in the overarching message and its quality across all the channels is one heck of a task! Often more than not, there isn’t a job specifically designed for this multichannel management, and this is exactly what Zeta is here to change. The ZMP Channel Manager enables marketers to incorporate additional channels, services, and/or vendors into their marketing ecosystem.
Adding Channels
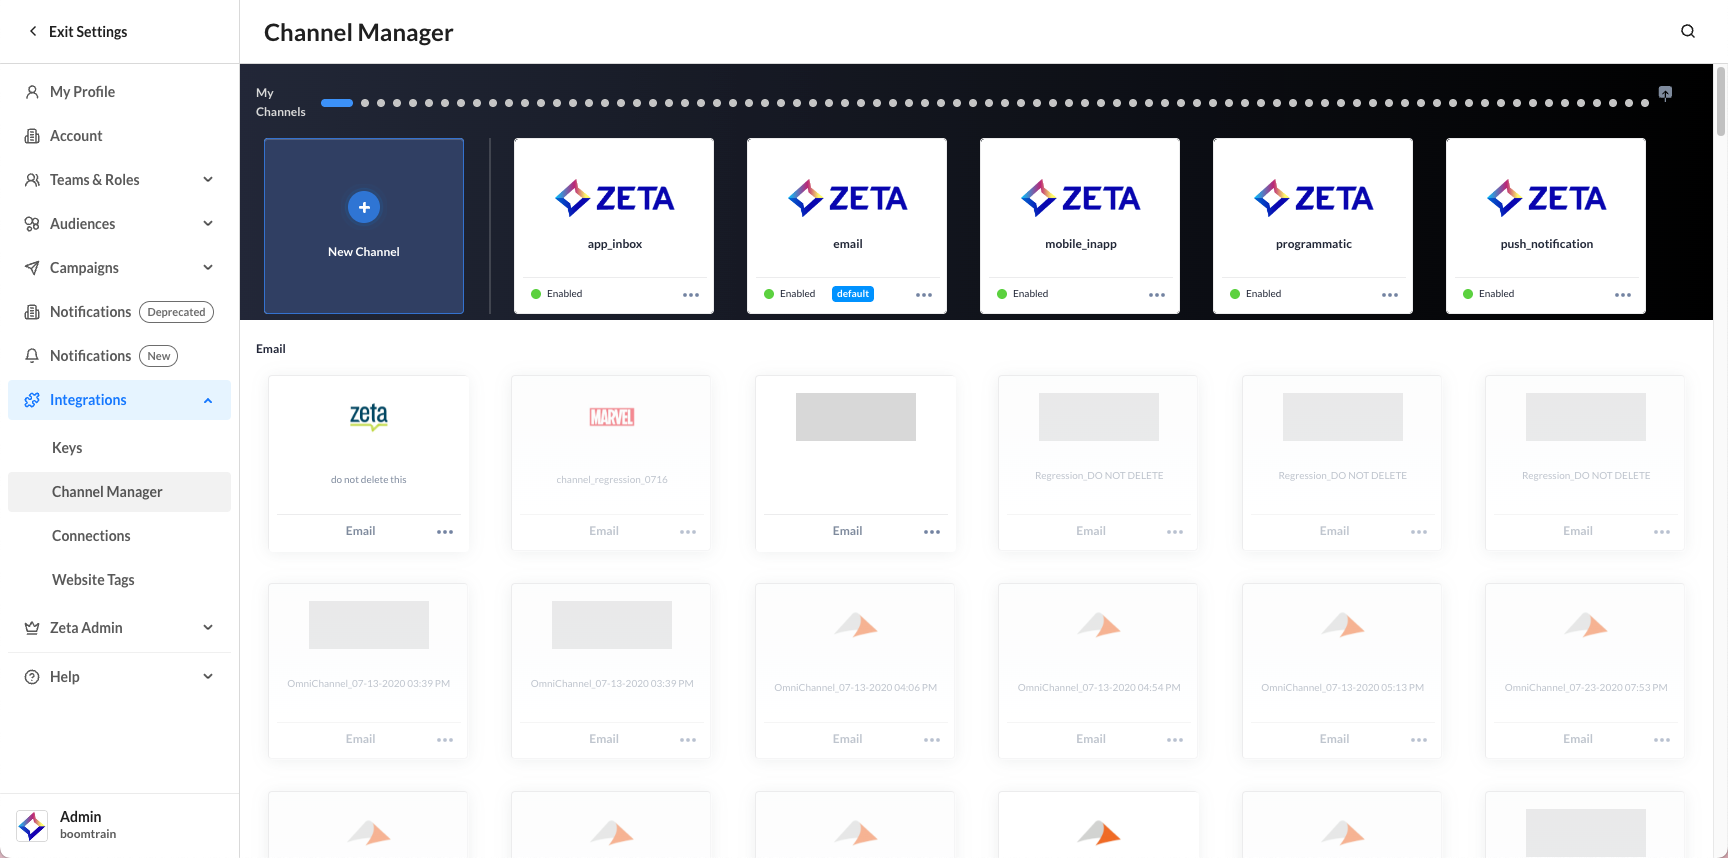
1. To add channels, navigate to Settings > Integrations > Channel Manager.
2. Click on New Channel.
-20250807-112234.gif?cb=e2839a85371edcf40c3744e24c41a210)
3. As another option, many starting points for the channels are already set up on the Channel Manager launch page. Hover over the desired option, and click on + Add.
-20250807-114920.gif?cb=45e03cebed0f1dfdba29af0523602dea)
4. You can alter the added Form fields by clicking on the specific field’s action menu and selecting Edit. These fields are ones that will need certain values that are unique between campaigns.

Form fields can be optional in nature. When optional, the user on the campaigns side can choose to skip providing value for those form fields.
5. Additional fields can be added by simply dragging and dropping the desired field from the bottom into the appropriate row in the form.
-20250807-115502.gif?cb=cdbc15863fb250cad7b7405eb91d0be2)
Webhook
We retry sending requests 3 times for any errors that occur during communication with the server. For instance, a message_skipped event will be generated in the platform under such scenarios.
You can use Webhook for adding channels in case of real-time use cases to trigger responses individually.
5. Each form field has a corresponding object code that can be added to the Form code (API message) on the right. To retrieve this code, select Copy code from the field’s action menu and paste the code in the right location within the form code.
-20250807-115646.gif?cb=d382f4b947f04d10f6c059233d2e08d5)
-
The Webhook and Form code should be configured and written against the third party’s API documentation.
-
The Form code (API message) can also contain Zeta Markup Language objects and tags, as well as static values that do not exist in the form.
Supported request methods are limited to Post and Put requests. Supported authentication methods are limited to Basic and Header-based methods.
Batch Webhook
We retry sending requests 3 times for any errors that occur during communication with the server.
You can use batch webhook in case of near-real-time use cases to trigger responses in micro-batches. The batch webhook can be used in both Experiences and Broadcast campaigns.
In the Webhook interface, toggle on the switch for Send batch requests. This will split the API Payload into two structures: JSON List and JSON Object.
-20250807-120116.gif?cb=582e204633ffce7f47763d3d17cca7c0)
-
The “[ListObjects]” in the upper box represents an array of elements in which each element has a form that is authored in the bottom box. In the upper box, only system objects are supported, which are: current_date, current_timestamp, campaign.id, campaign.name, campaign.campaign_token, campaign.campaign_type, campaign.channel, campaign.recurrence_index, campaign.touch_type
-
The JSON structure in the upper box is what will be sent to the URL. In the lower box, in addition to system objects, you can reference the form fields that you author on the left-hand side.
In Experience Builder, the batch sending frequency can be overwritten by the author.
The batch webhook only works when the server supports batch input requests as well. ZMP throws an error at runtime if the server does not support batch.
File Export
6. Click on File Export.
-20250807-120832.gif?cb=d545eca3367ca1adc7584742da9eb864)
-
The File Name can either be a static name or have a liquid tag.
-
If a static name is chosen, then the file will be overwritten every time the campaign is activated.
-
The liquid tags supported in File Name are current_date, current_timestamp, campaign.id, campaign.name, campaign.campaign_token, campaign.campaign_type, campaign.channel, campaign.recurrence_index, campaign.touch_type
-
The File Extension can be any of .csv, .txt, and .jsonl
-
The File Destination needs to be file-based destinations (as configured through Self-Serve Connections) such as SFTP, FTP, FTPS, FTPES, Amazon S3 buckets, and Google buckets.
-
Select a File Type to choose the punctuations (commas, pipes, or tabs) for delimiting multiple values in a row.
-
You can switch on the toggles for Text Qualifiers with Quotes and Compress File depending on your requirement.
-
The file channel will also be available in Experience Builder. Clicking on Edit against “In Experiences, files will be batch processed every 500,000 records or 6 hours” will allow you to determine when you want to create a file. This setting is also overridable by the Experiences author when they are using the File Channel in Experience Builder.
-
Whichever criterion (records or time) satisfies first will be chosen during the file transfer. First, a file containing the records will be created, and then it will be sent to the destination.
-
In the Properties field, add the Name for the column headers and the Values for each row under those columns.
-
The order of columns in the file from left to right will match the order of properties from top to bottom on this screen
-
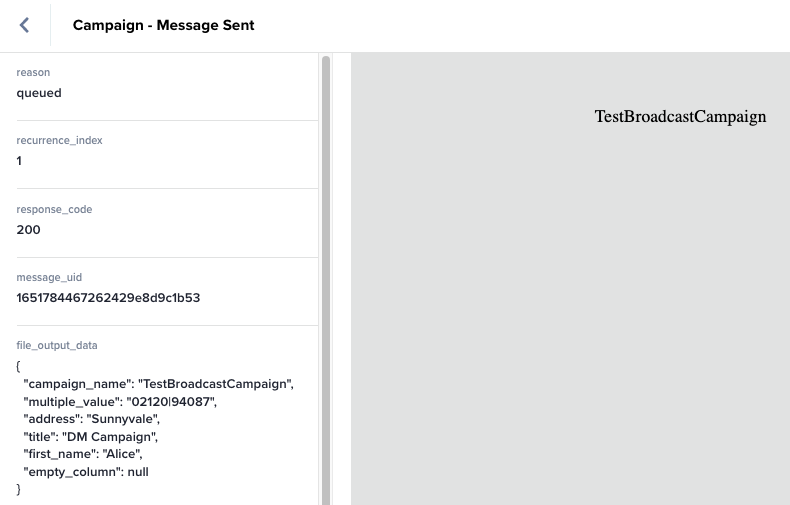
The row in a file corresponding to a user can be viewed in the campaign event >
file_output_datakey. The column name will be lowercase and spaces converted to underscores.
-

We recommend that you not use a liquid script or a form field in the Name field of Properties to ensure that a column's name is unique
Saving Channels
7. When you're ready to finalize your channel, click the Save button in the top-right corner of the screen.
-20250807-121148.gif?cb=0355c33fdb3e615112c0322b6a891503)
-
Enter the Channel Name, which is a unique identifier for your channel
-
Provide context or notes in the Channel Description field
-
From the Company Name dropdown, select the company that owns or manages this channel.
-
From the Category dropdown, choose how the email address is pulled into your exports
-
Toggle ON Enable on Save to activate the channel immediately after saving.
-
Toggle ON Share Channel to All Accounts if this channel should be visible and usable by all accounts.
8. Right after a channel is set up, it will be made available as a channel selection during broadcast campaign setup and in the experience builder.
When creating a channel and getting a warning or error message “Name already exists,” it means that the channel name was utilized previously and subsequently removed or archived from the account. Try using a different, distinct name.
Using Channels
1. From the menu on the left, navigate to Campaigns > Broadcast. Click on New Campaign.
-20250807-114554.gif)
2. Give a Name to your campaign and click on Next.
3. Under the Content & Audience tab, select your created channel from the Channel dropdown or click on Add a new channel to add a channel through Webhook or File Export, as detailed above.