Advanced Location Targeting

Advanced Location Targeting is currently available exclusively in the U.S., but we’re just getting started. Stay tuned for updates as we bring Advanced Location Targeting to more regions soon!
Here are the requirements for applying advanced location targeting to your campaigns within the Audience Explorer:
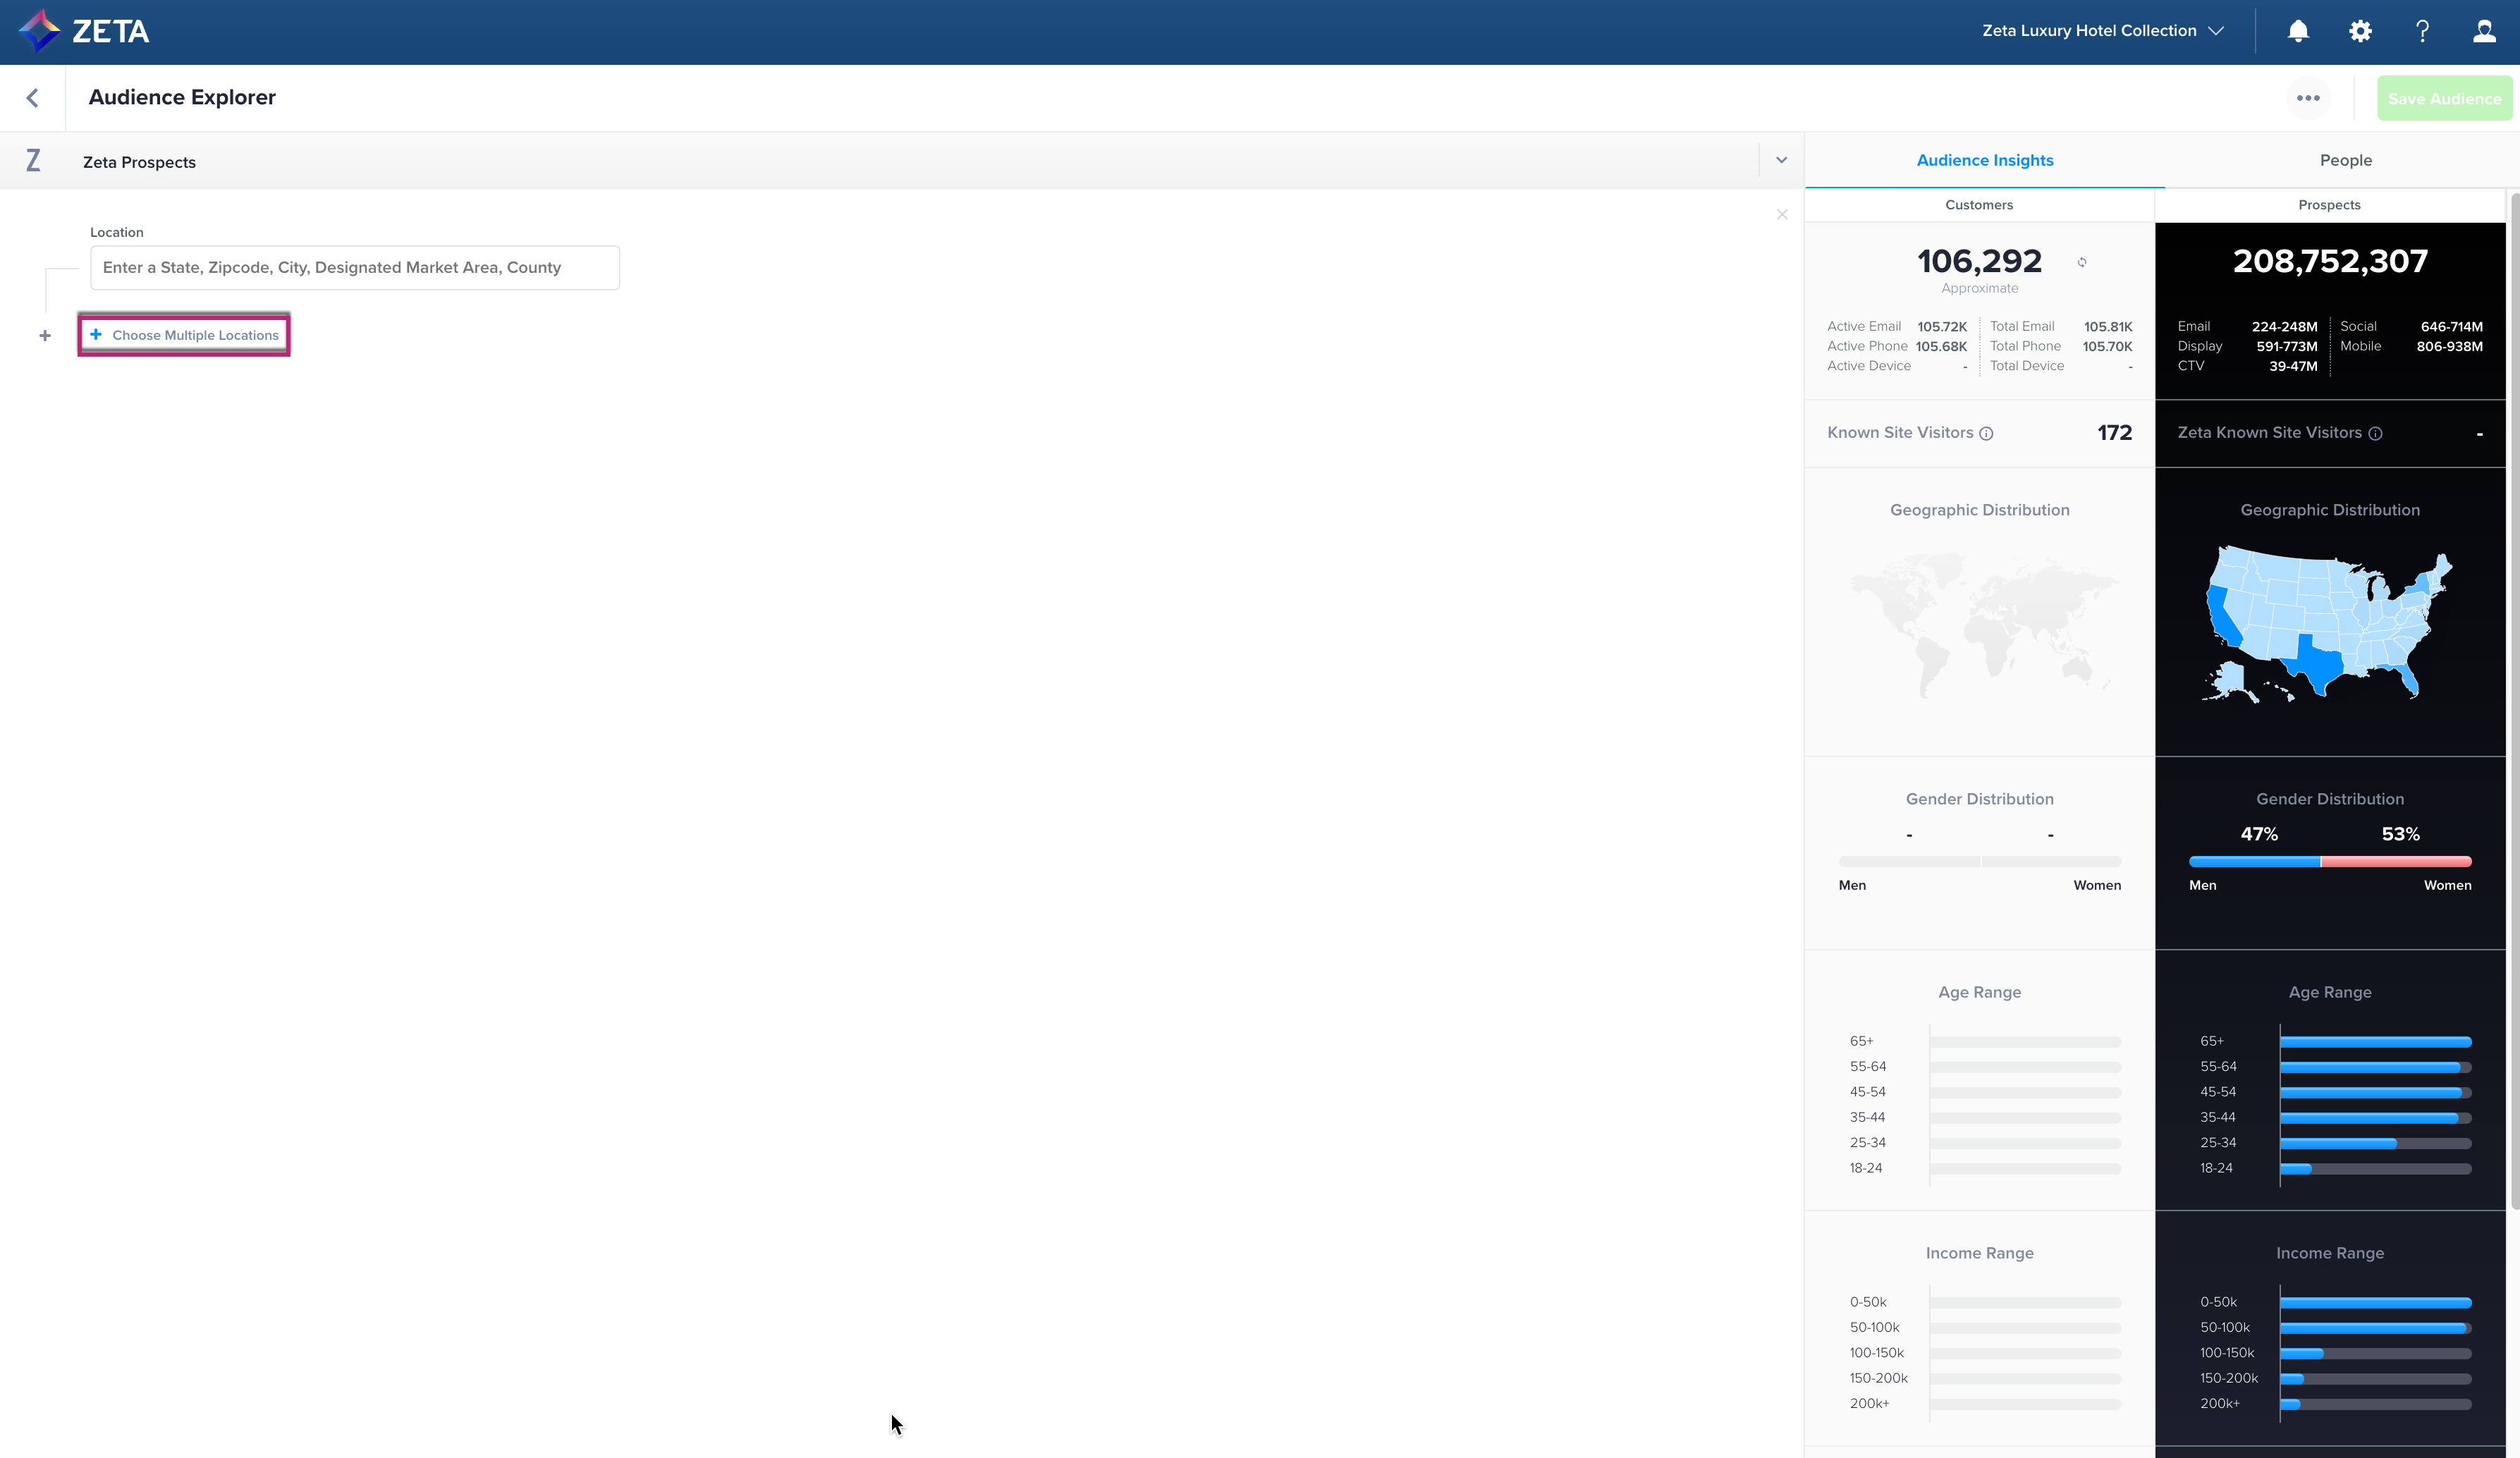
1. From the menu on the left, select Audiences > Segments & Lists. Click on Explore Audience.
2. Select Zeta Prospects > Locations and choose the property(s) of your preference.
.gif?inst-v=268a9387-48fb-4bc7-b288-e5006def4796)
3. Click on Choose Multiple Locations.

 |
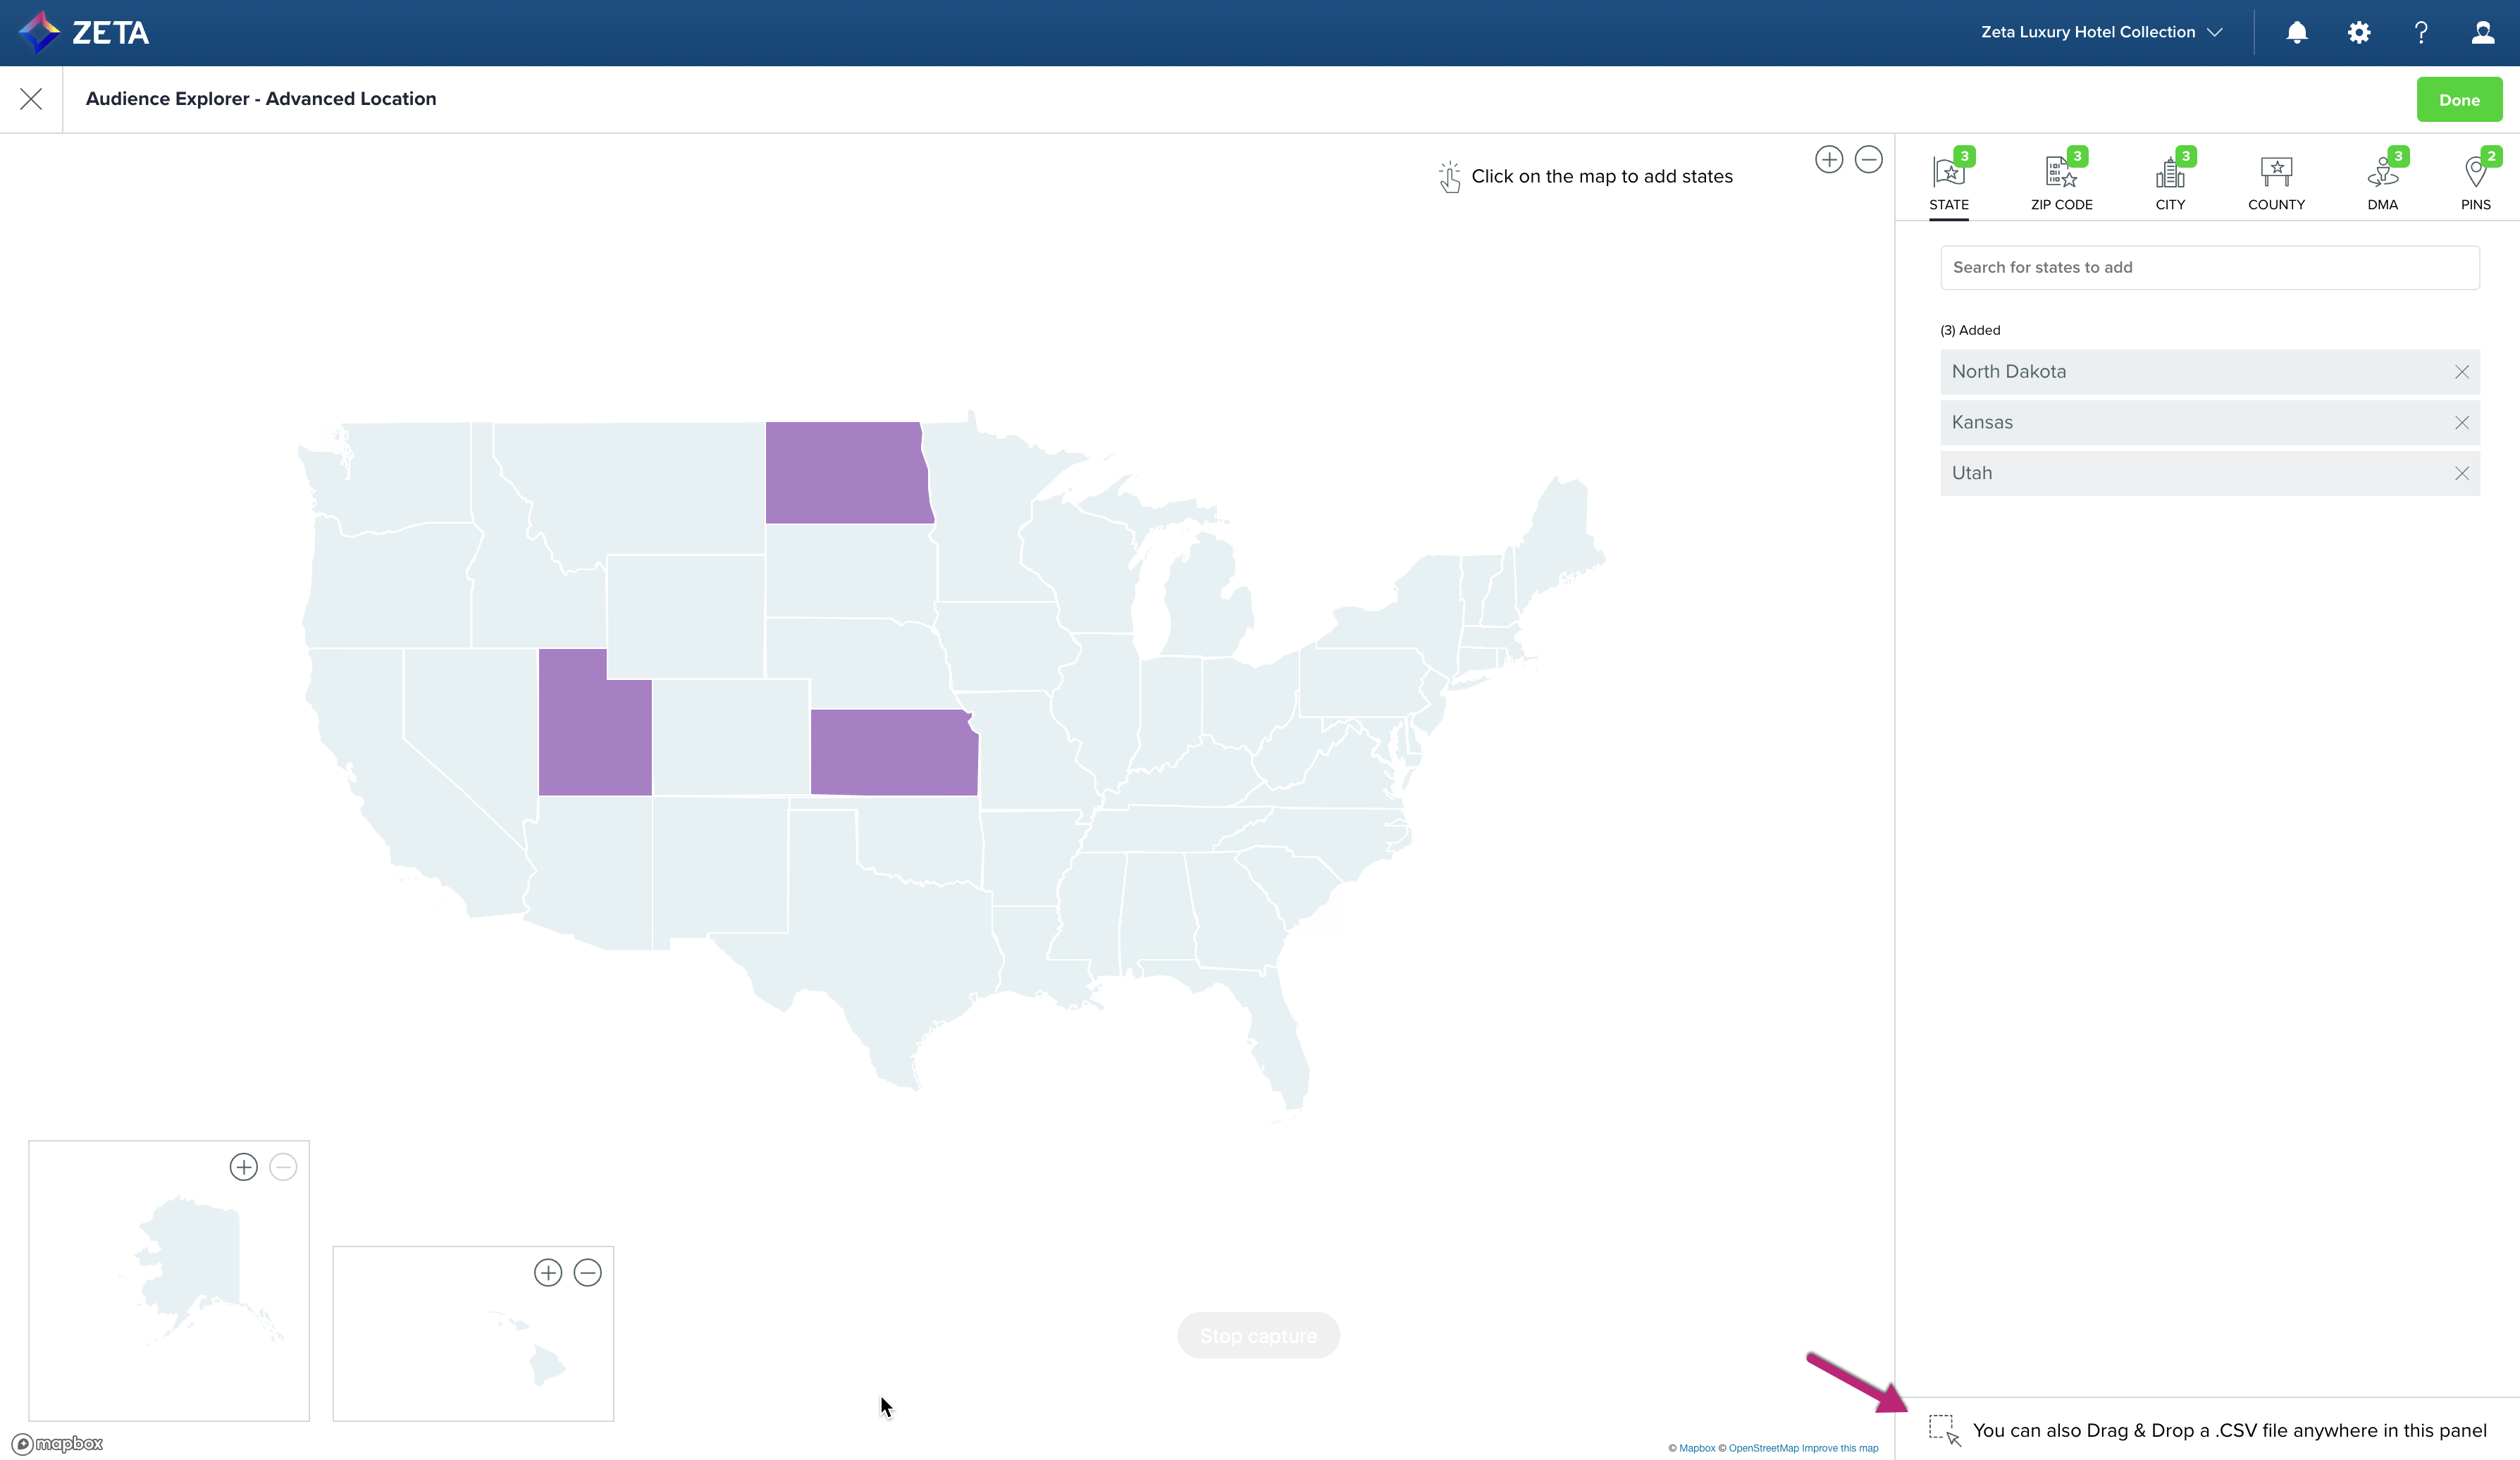
4. Within the screen that appears, you can:
Select locations on the map
.gif?inst-v=268a9387-48fb-4bc7-b288-e5006def4796)
Select 5-digit zip codes
.gif?inst-v=268a9387-48fb-4bc7-b288-e5006def4796)
Select cities from the pins on the map
.gif?inst-v=268a9387-48fb-4bc7-b288-e5006def4796)
Select counties
Select DMAs
.gif?inst-v=268a9387-48fb-4bc7-b288-e5006def4796)
Select pins
.gif?inst-v=268a9387-48fb-4bc7-b288-e5006def4796)
5. Once all of the targeting is set, click on Done.
.gif?inst-v=268a9387-48fb-4bc7-b288-e5006def4796)
Based on the Targeting that you apply, you will see the Audience Insights on the right.
Target in Bulk
1. On the Audience Explorer - Advanced Location screen, click on Drag & Drop a .CSV file anywhere in this panel at the bottom right.

2. You can upload a number of different geographic markers (zip, DMA, county, and more)
Once the File passes validation, you will be able to see how many Match Locations were added based on the locations listed within the CSV file.
CSV File Format/ Requirements |
|---|
Files should be CSV files with one or more columns that specify the location. |
CSV Column requirements differ depending on the location type - (Note that there are no restrictions on filename, other than the extension. The following other requirements will be in place for CSVs:
|

