

Customer experience is no longer a nice-to-have; it’s the heartbeat of every successful business. With the Zeta Marketing Platform (ZMP), you can design moments that feel personal, seamless, and memorable for your audience.
This guide walks you through the essentials of setting up impactful experiences across channels with just a few clicks, helping you delight customers while driving measurable results.
Prerequisite: Before you get started, make sure your audience data and content blocks are ready. Preparing reusable components ahead of time ensures smoother launches and saves effort down the road.
Creating an Experience
1. From the menu on the left, select Experiences > Builder. Click on New Experience in the top-right corner.
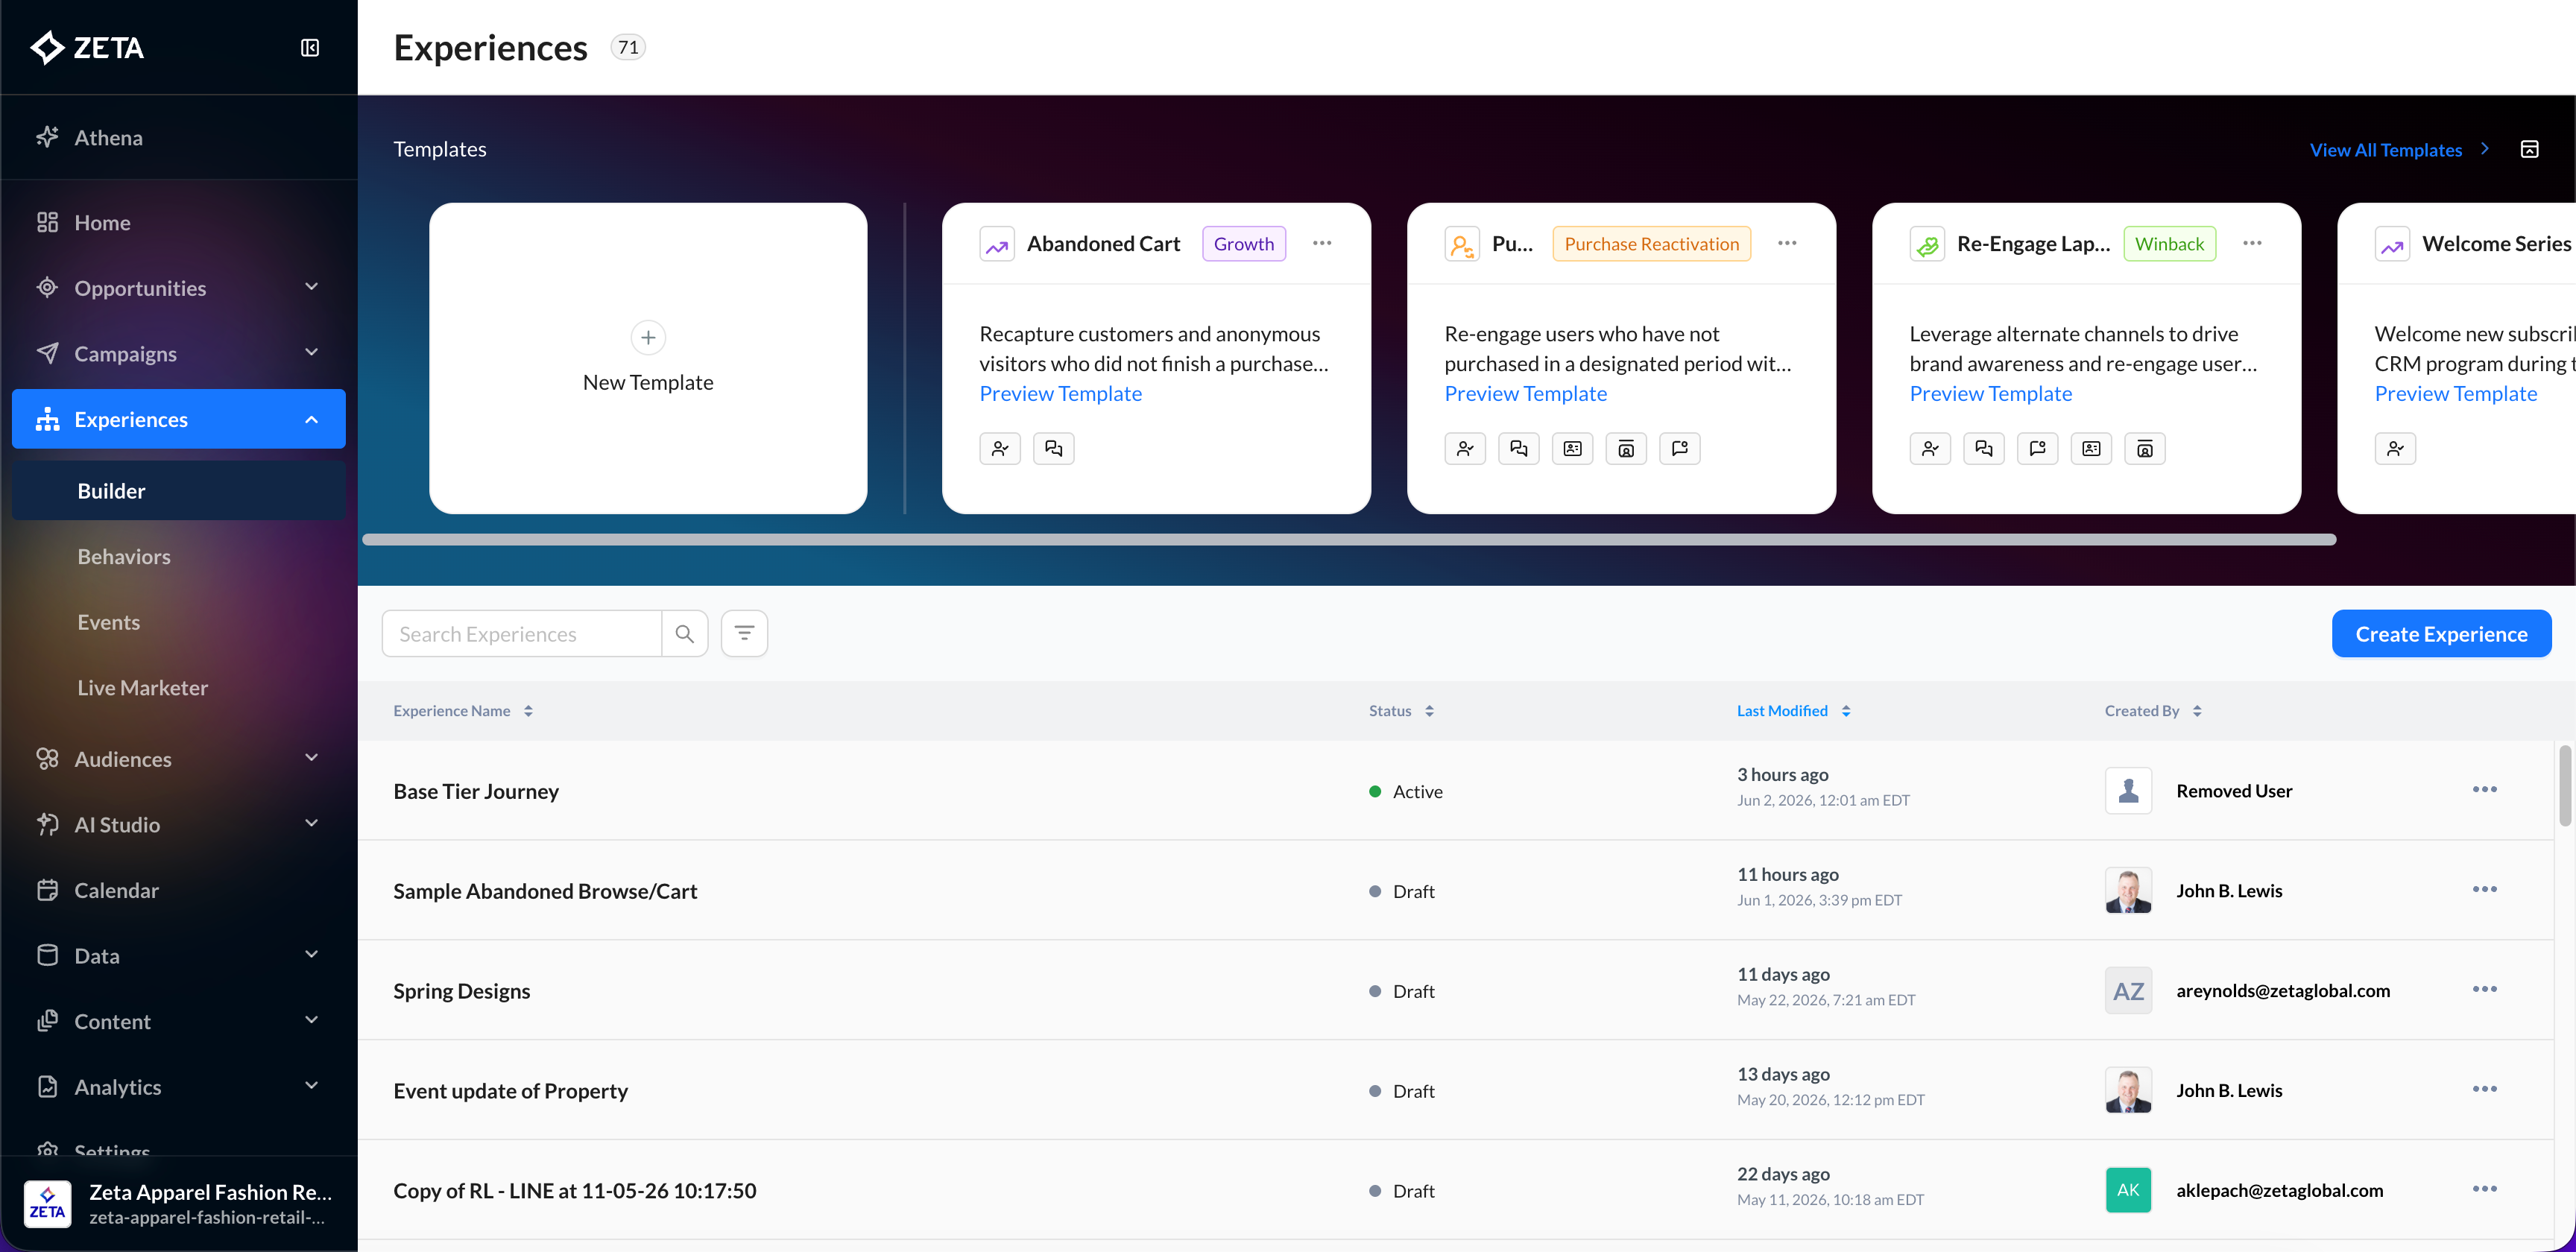
2. As the window to create a brand new experience pops open, give your experience the desired name and click on the add button below to continue.
-20250909-090829.gif?cb=6094ae47a5efcec3168b3d07f645d6fb)
3. Here are the experience triggers you can select from in the menu you shared:
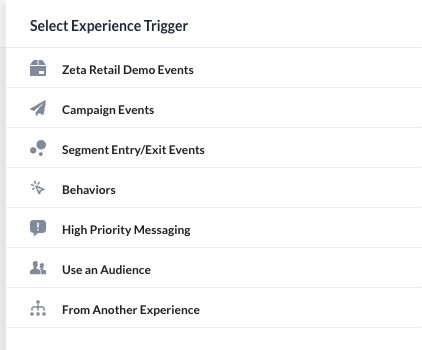
Zeta Retail Demo Events
Useful for testing/demoing with sample retail events.
-20250909-144355.gif?cb=45e2ff010a051228764149fcd3dac39d)
Campaign Event
Trigger an experience when someone interacts with or is targeted by a campaign (e.g., opens an email, clicks a link).
-20250910-070643.gif?cb=a25ce3fd45c0d15f998810ef2c7f6e4c)
Segment Entry/Exit Event
Fire when a customer enters or exits a defined audience segment.
-20250910-071226.gif?cb=6b04f06a0448484cdd33120c4ee04cc0)
Behaviors
Based on specific user actions (e.g., site visit, purchase, cart abandonment).
-20250910-073728.gif?cb=07ce9d197616eb1b17ddaeb772ca481f)
Use an Audience
Launch an experience for a predefined audience without waiting for real-time actions.
-20250910-073915.gif?cb=157e23395d18e5b45deedb1c55c96317)
From Another Experience
Chain experiences together by triggering one when another experience completes or passes a condition.
-20250910-075307.gif?cb=7a0ad8266fd2db855e517dcdc23553b3)
4. Once you’ve selected the Trigger Event, a plus sign is displayed, clicking on which reveals the four more node types you can select from, to tailor the rest of your Experience.
-20250910-080655.gif?cb=bce0f43e3d9e41c03783da7865374ae5)
|
Node |
Node Types Available |
|---|---|
|
Zeta Retail Demo Events |
|
|
Campaign Events |
|
|
Segment Entry/Exit Events |
|
|
Behaviors |
|
|
Delay for a set amount of time |
|
|
Delay based on previous event in experience |
|
|
Delay until a specific time |
|
|
Delay Via Throttle |
|
|
Add Campaign |
|
|
Add/Update data on profile |
|
|
Sync to List |
|
|
Sync to Programmatic |
|
|
Sync to Facebook |
|
|
Sync to Google Ads |
|
|
Sync to Yahoo DSP |
|
|
Trigger Another Experience |
|
|
Split Randomly |
|
|
Split By Audience |
|
|
Split By Zeta Segment |
|
|
Split By Identity |
|
|
Split By Property |
|
|
Split By Propensity Score |
To understand how to include Dynamic Senders in the created Experience, please click here.
5. Once your nodes and journey flow are complete, click Post for Approval in the top-right corner.
-20250910-081239.gif)
-
The experience will be routed to the designated approver.
-
The approver can either approve or reject the experience.
-
-
If approved, return to the builder and click Activate Experience to launch it live.
The panel on the left highlights the core functionalities for configuring and managing an experience:
-20250910-080813.gif?cb=3bdbab1dbf21ecb7e00531b0918a97a9)
-
About provides a summary of the experience, including details such as name, description, owner, and version history.
-
Helps collaborators quickly understand the purpose and context of the experience.
-
-
Entrance Criteria defines who or what triggers entry into the experience. Can be based on:
-
Events (e.g., account updated, purchase made)
-
Segment membership (e.g., entering a “High-Value Customers” segment)
-
Audience selections.
-
-
Exit Criteria specifies when and how a user should leave the experience.
-
Prevents users from looping endlessly or staying in the journey longer than intended.
-
-
Review Comments is a collaboration tool for teams.
-
Lets reviewers and stakeholders add comments, feedback, or notes before an experience goes live.
-
-
Required Actions is a checklist of tasks that must be completed before publishing.
-
Helps ensure nothing is missed (like setting criteria, testing, or compliance checks).
-
Filter Through the Campaigns
|
Filter |
Details |
|---|---|
|
skip |
Specific users can be skipped while a campaign is being sent across. (Owing to varied reasons, such as a user being a part of some control group or other business logic defined within the content.)
|
|
unsubscribe |
The unsubscribe filter helps you qualify users who have unsubscribed from a campaign, and trigger an experience for them. |
|
bounce |
The bounce filter helps export or retarget users for future campaigns and targeting. |
|
delivered |
The delivered filter can be used for experience targeting based on whether or not a specific user was delivered to. |