Double Opt-In Process

The Double Opt-In built-in functionality in ZMP allows for an explicit opt-in process. When this feature is enabled in ZMP, new users can be created in ZMP and properties can be assigned to the profile, but their status will be set to ‘New’ by default. They will not receive any promotional email campaigns until they click on the opt-in link in a confirmation email and their status is switched to Active.
1. Set up experience using any event as the trigger (i.e. did sign up, or signed up at).
2. Request Zeta/Support/SA to enable the double opt-in feature flag.
3. Enable the experience immediately after.
4. Test the experience to make sure the process is working as expected.
Setting up the Opt-In Confirmation Email Experience
1. Navigate to the Experience Builder and create an event (for eg., a user-signed-up event)
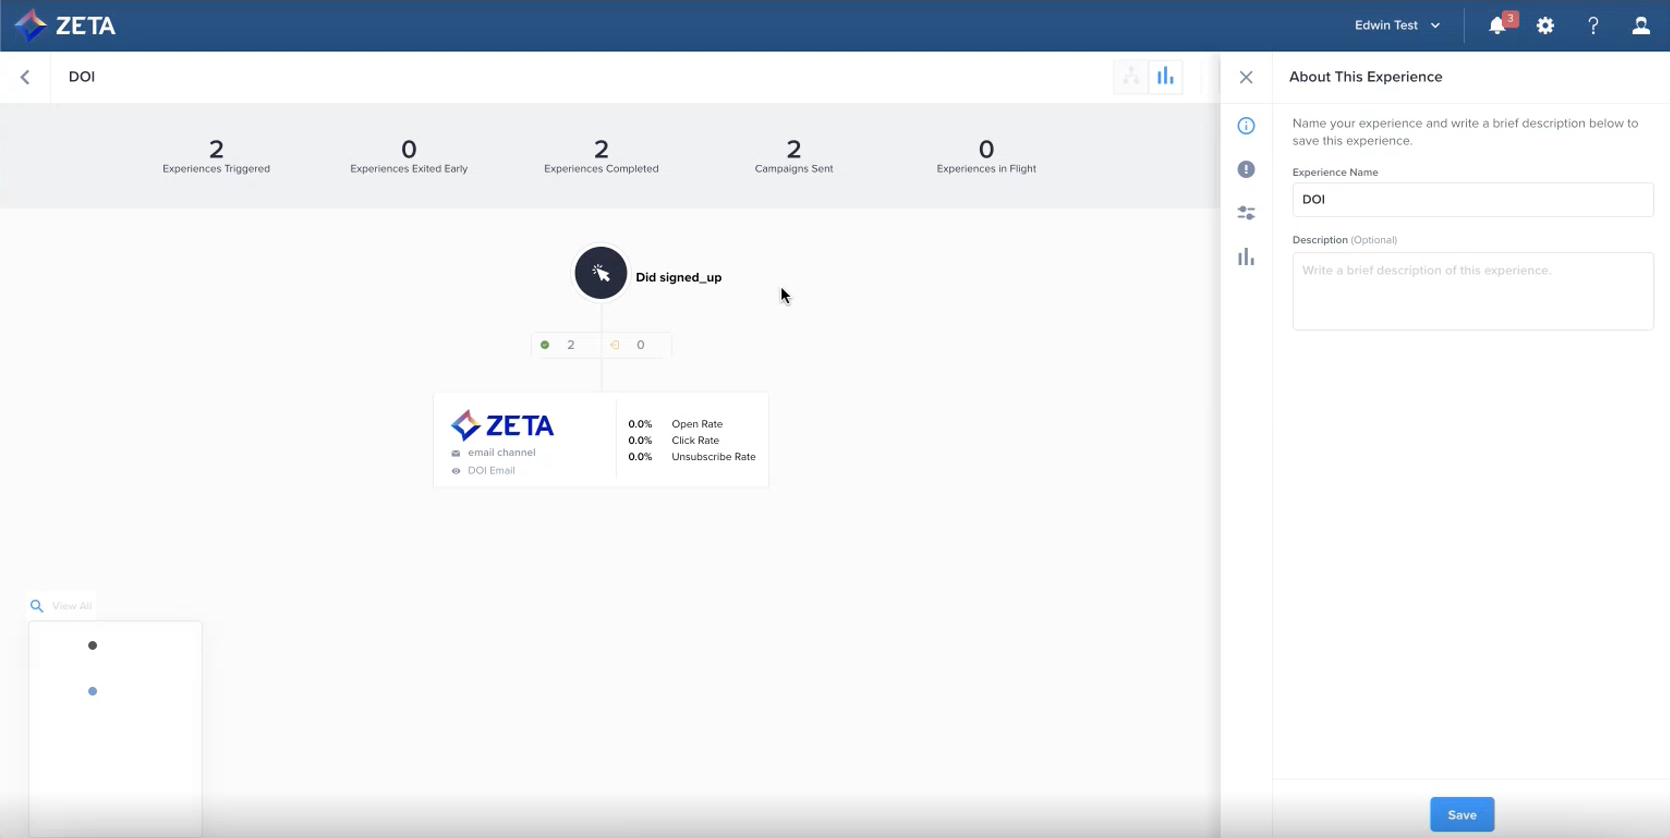
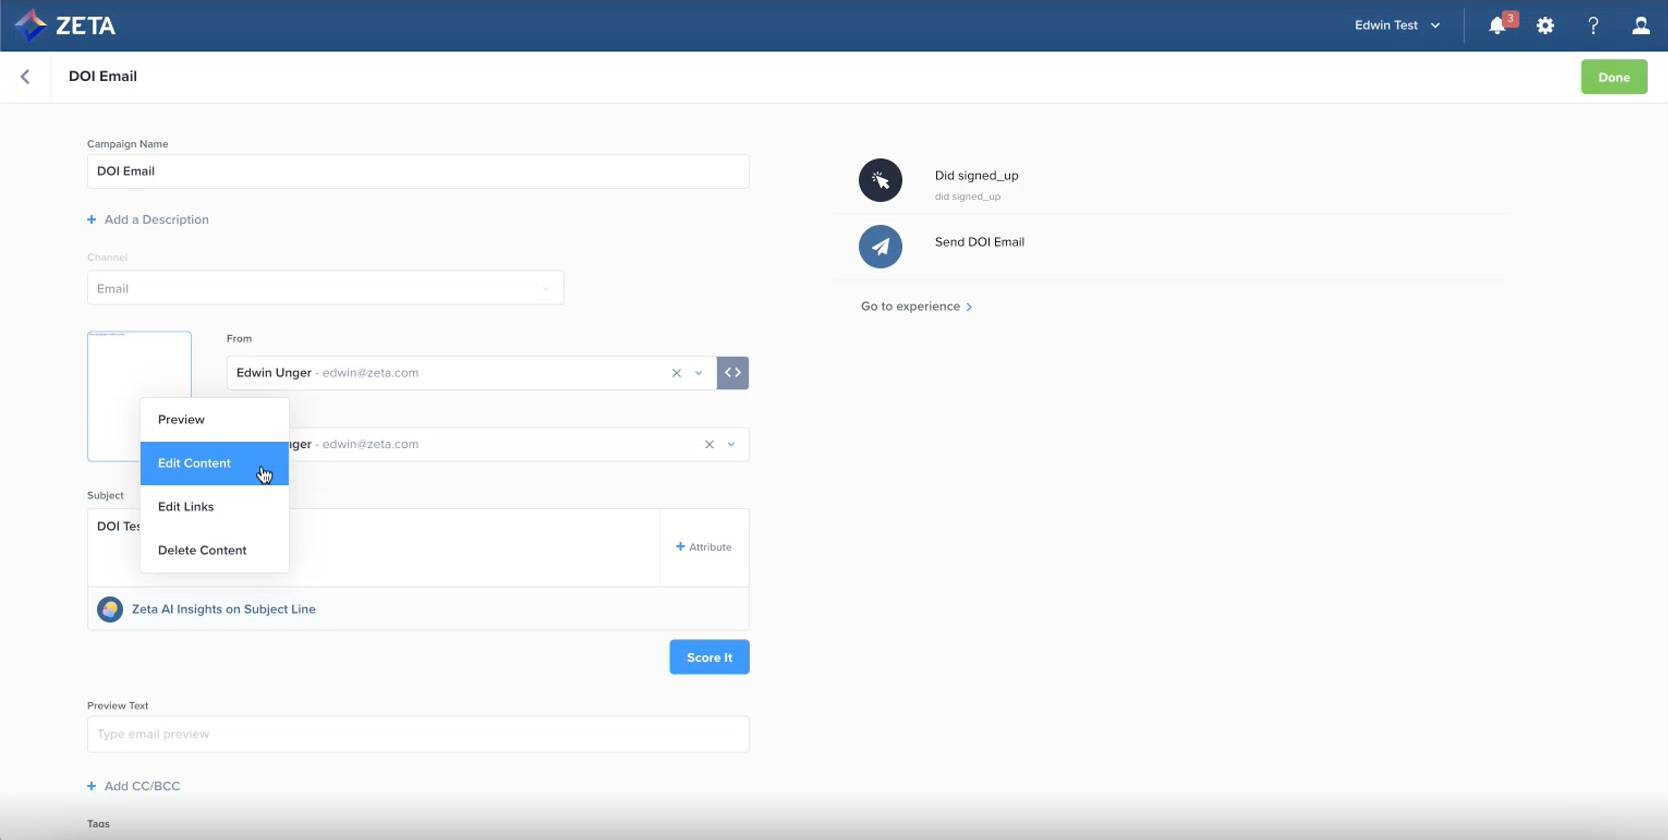
2. Configure the sign-up email and click on Edit Content.
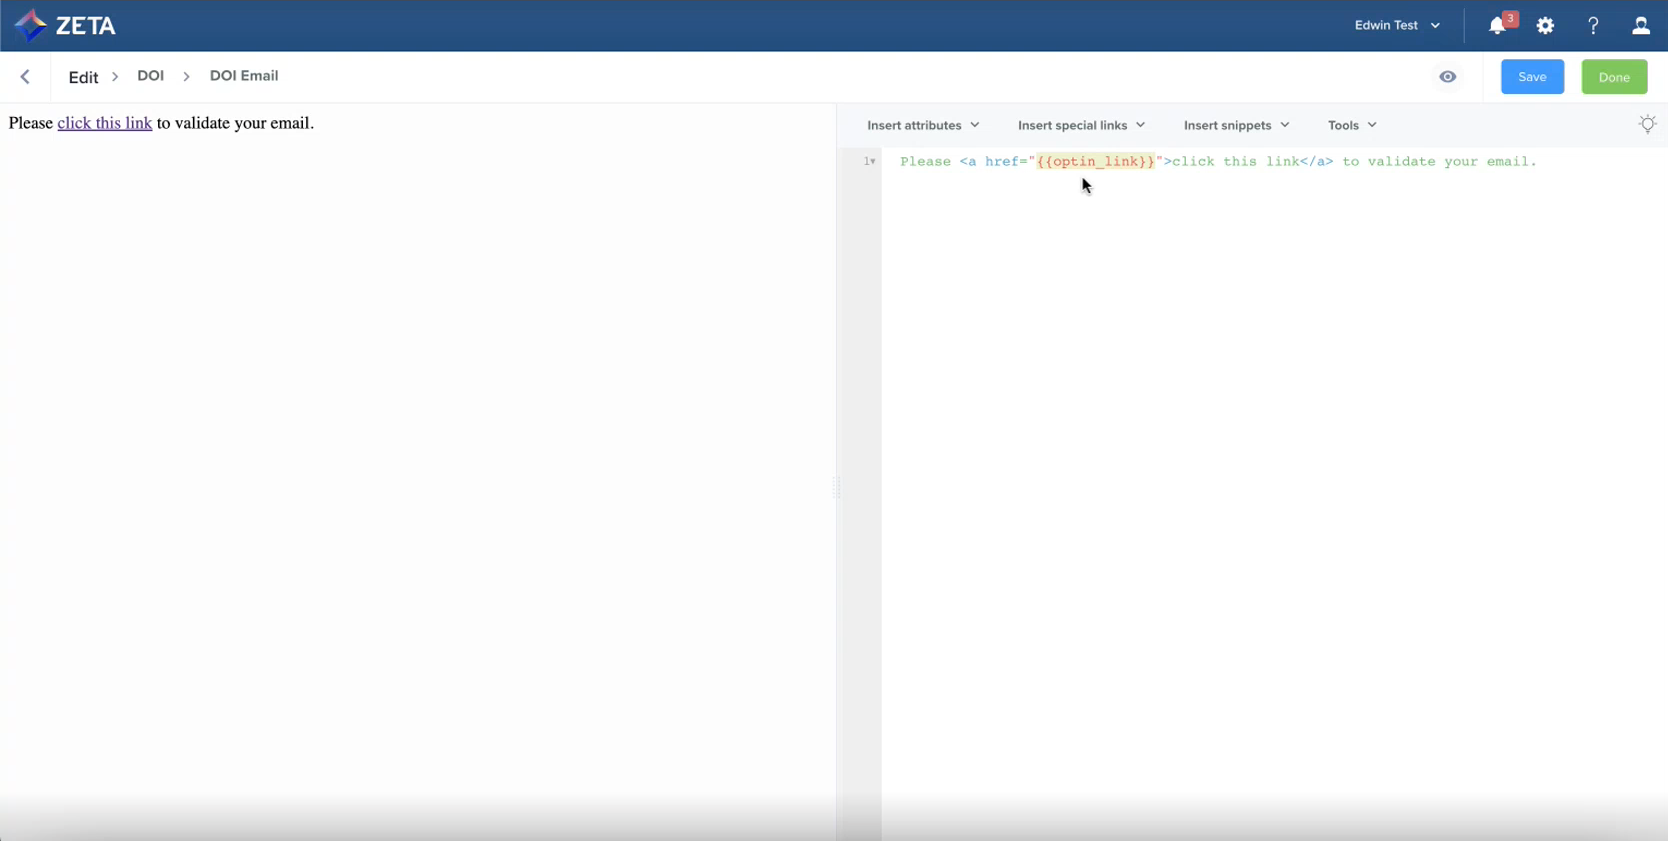
3. Add {{optin_link}} in the liquid tag.
Make sure you turn the Mark as Transactional toggle on to allow the double opt-in email to go out. 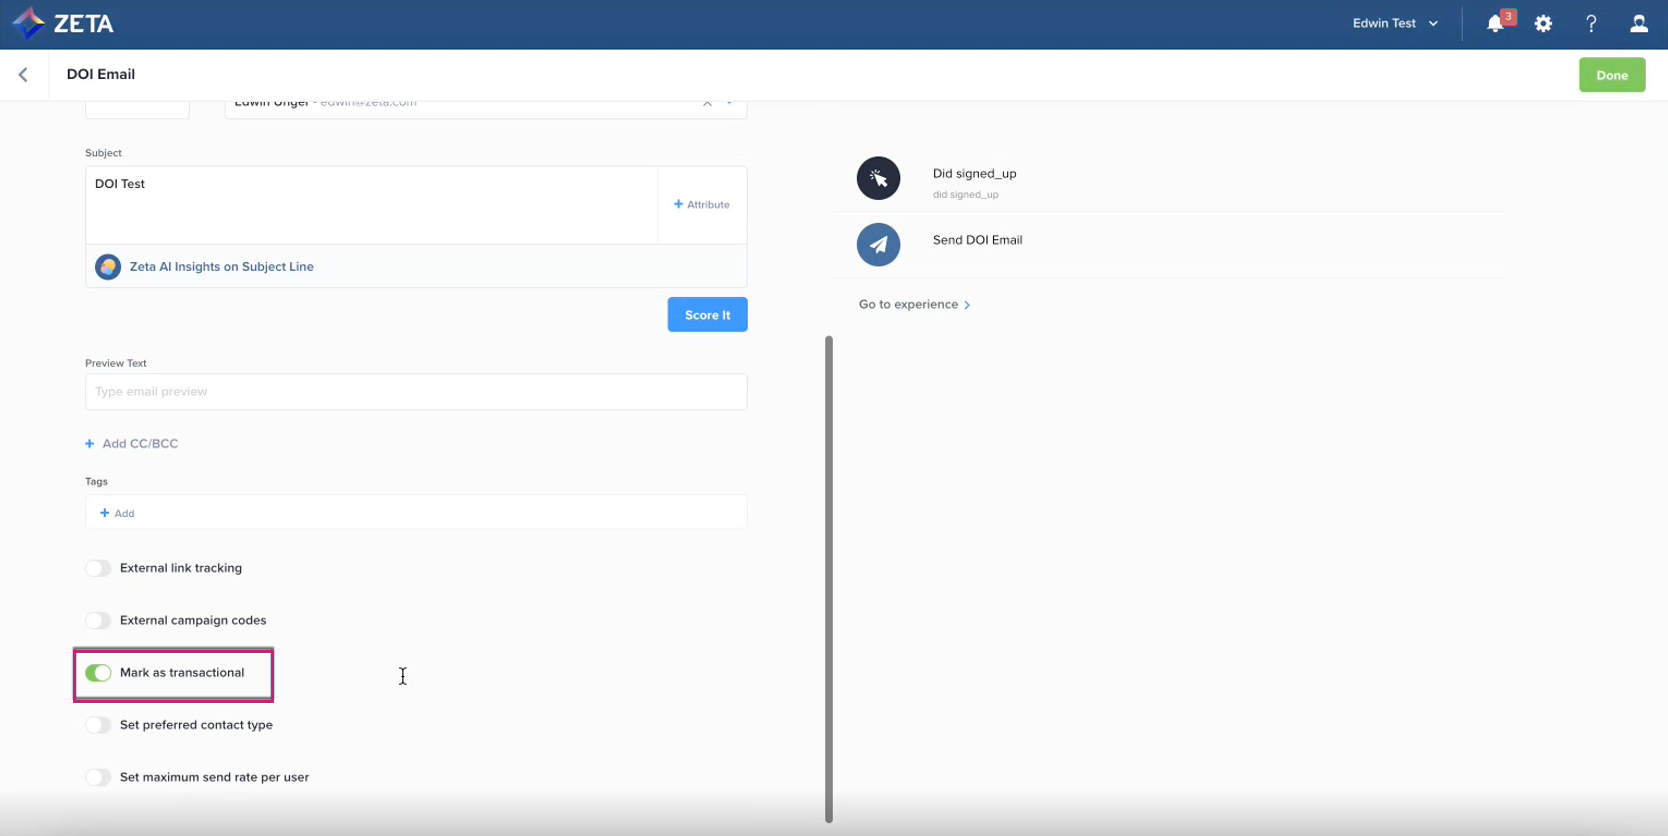 |
Once the criteria is met for the experience (ex. ‘Did sign up’), the confirmation email will be sent to the user. Clicking the link in the email will direct the user to a ZMP-hosted page confirming success and letting them know they will be redirected automatically.
Once they have clicked on the link to confirm, their status will be changed from ‘New’ to ‘Active’, the ‘Double Opt-In’ property will be set to ‘True’ and they will be able to receive promotional campaigns.
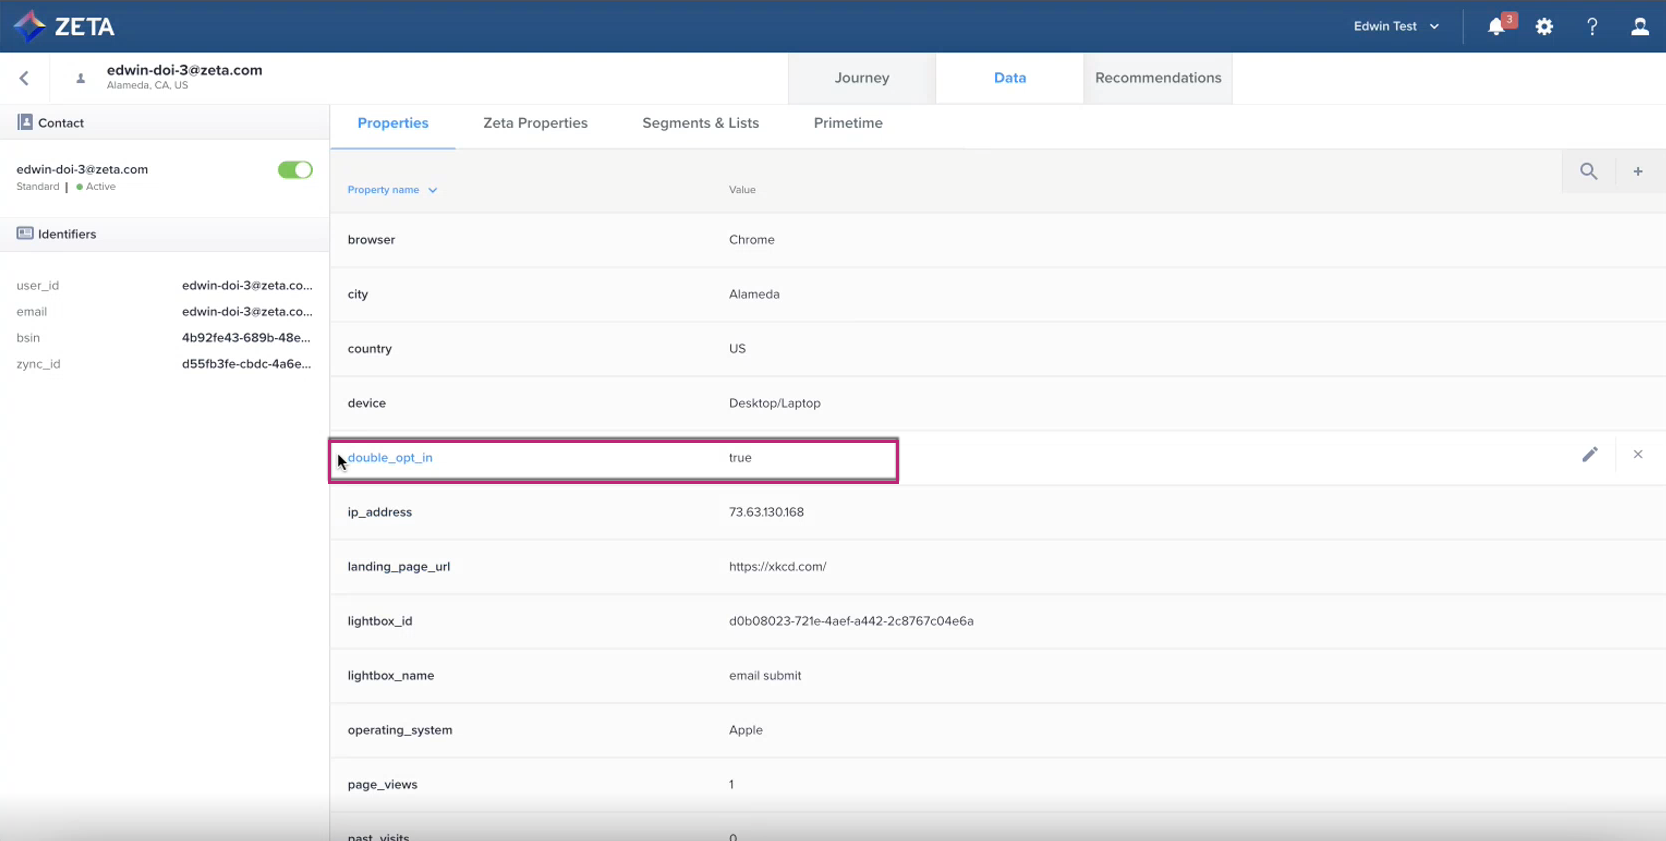
Once the double opt-in feature is enabled, any new profiles created in ZMP through any means will require the double opt-in moving forward, unless you have a system to explicitly set their status to Active. It is possible to explicitly set the contact status to Active directly via API or JSONL.
