Adding Ad Accounts
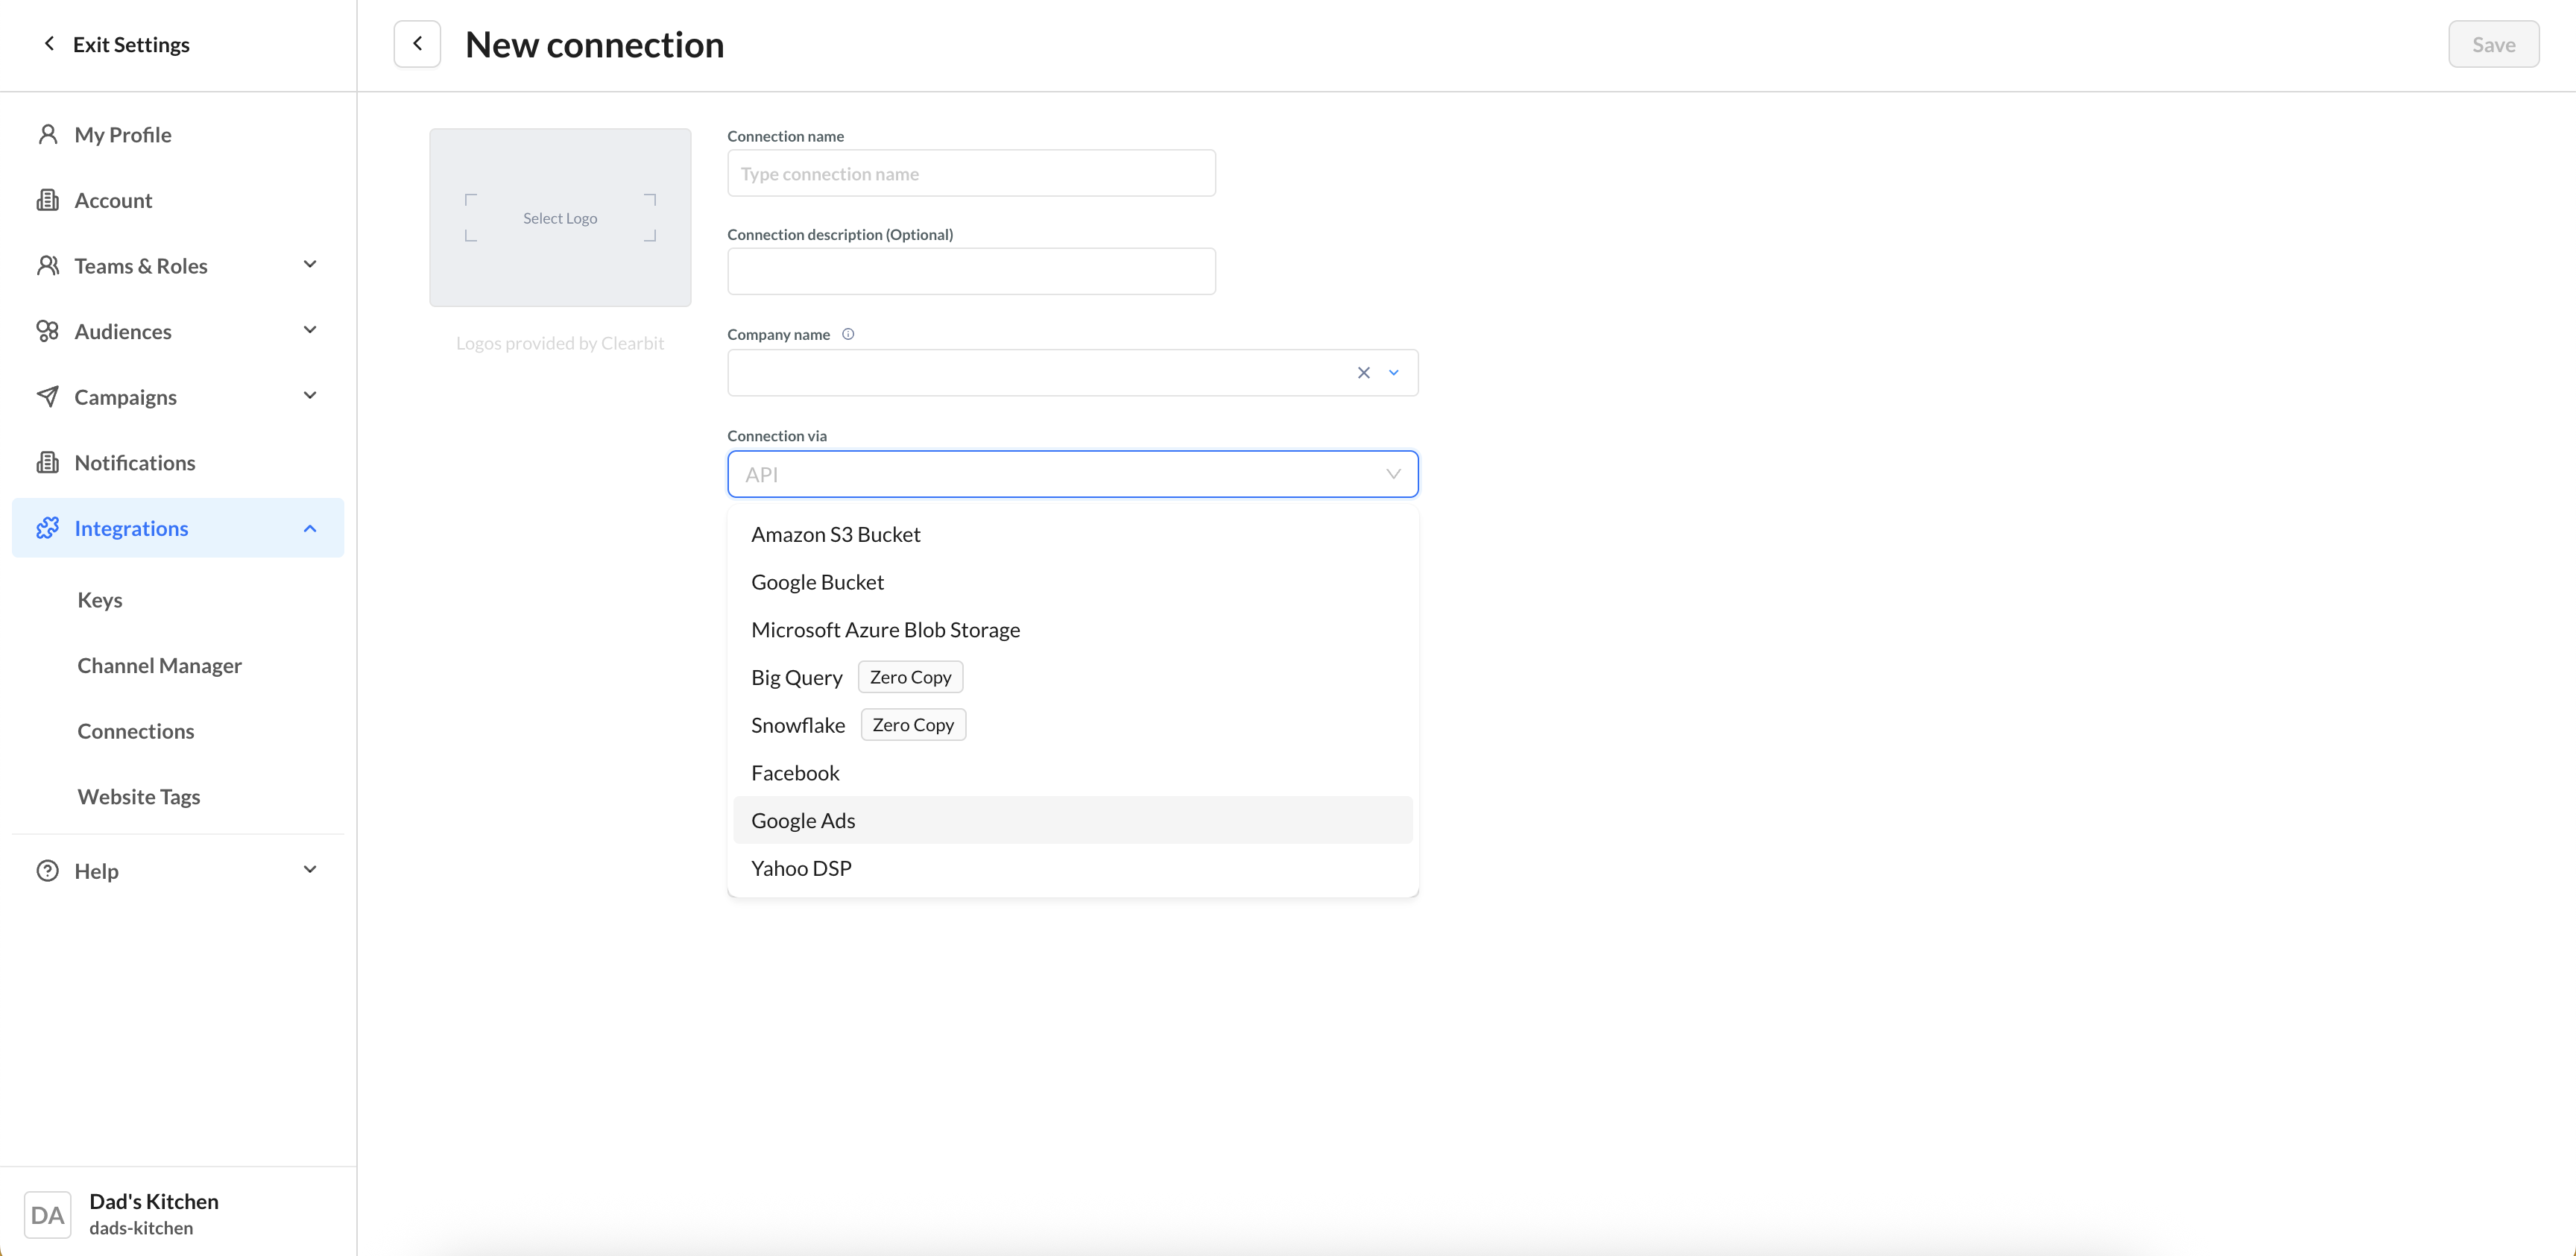
1. On a new Connection page, select Google Ads from the Connection via dropdown list.
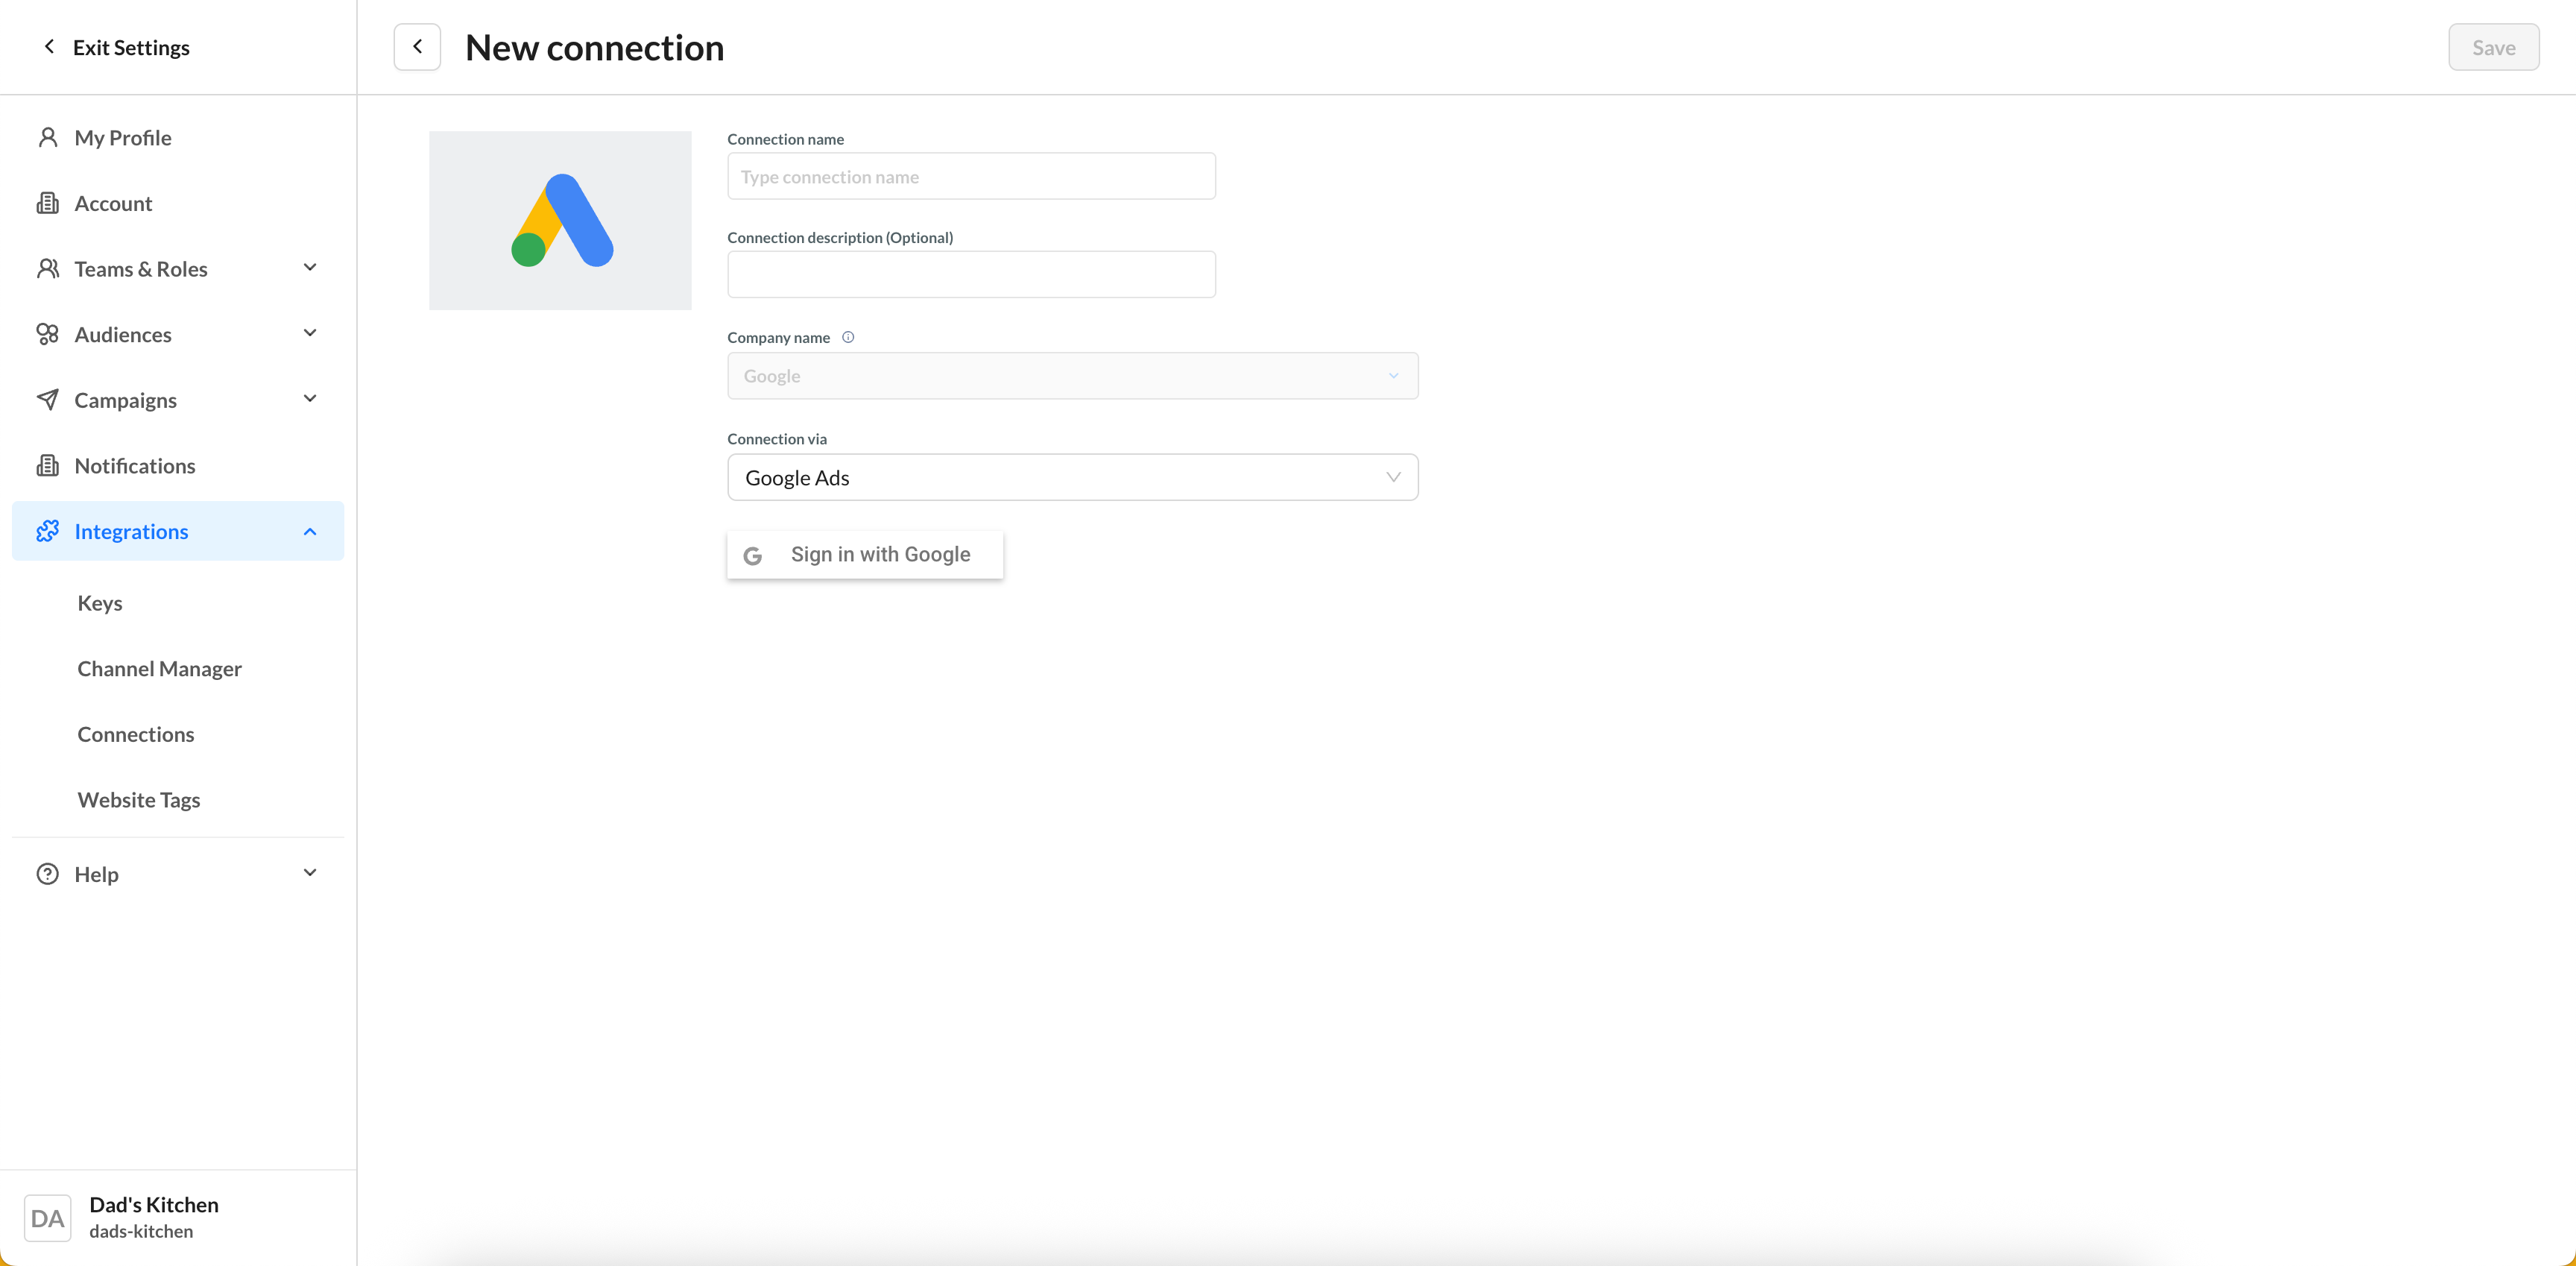
2. Once selected, the fields will resolve to a single Sign in with Google button for you to sign in to your account via SSO. Clicking the button will open a pop-up for you to sign in.
3. When prompted, make sure you accept all permissions so you can send data from ZMP to Google Ads.

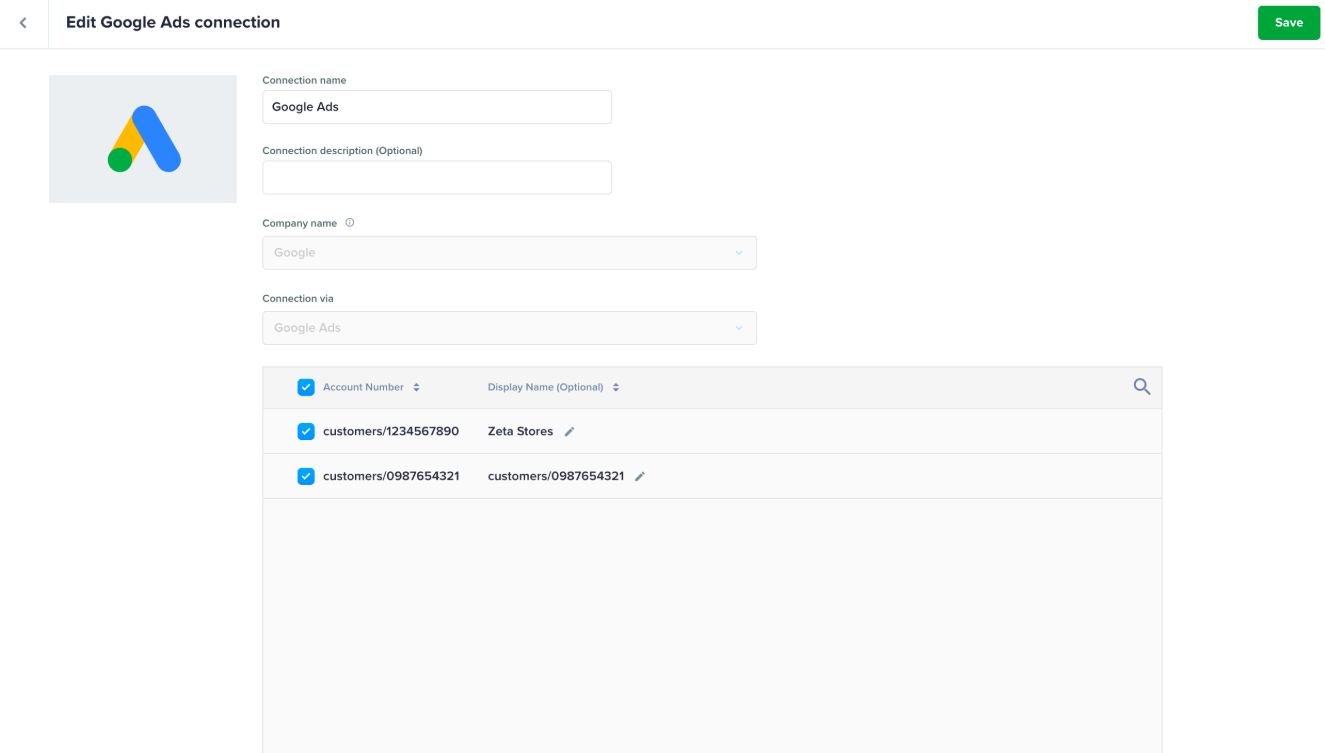
4. Once authenticated, all the Google Ads accounts attached to your username will appear in a table. Check the boxes of the accounts you want to use on the current ZMP instance. To add an optional Display Name for each account number, click the pencil icon to open the editor and save.
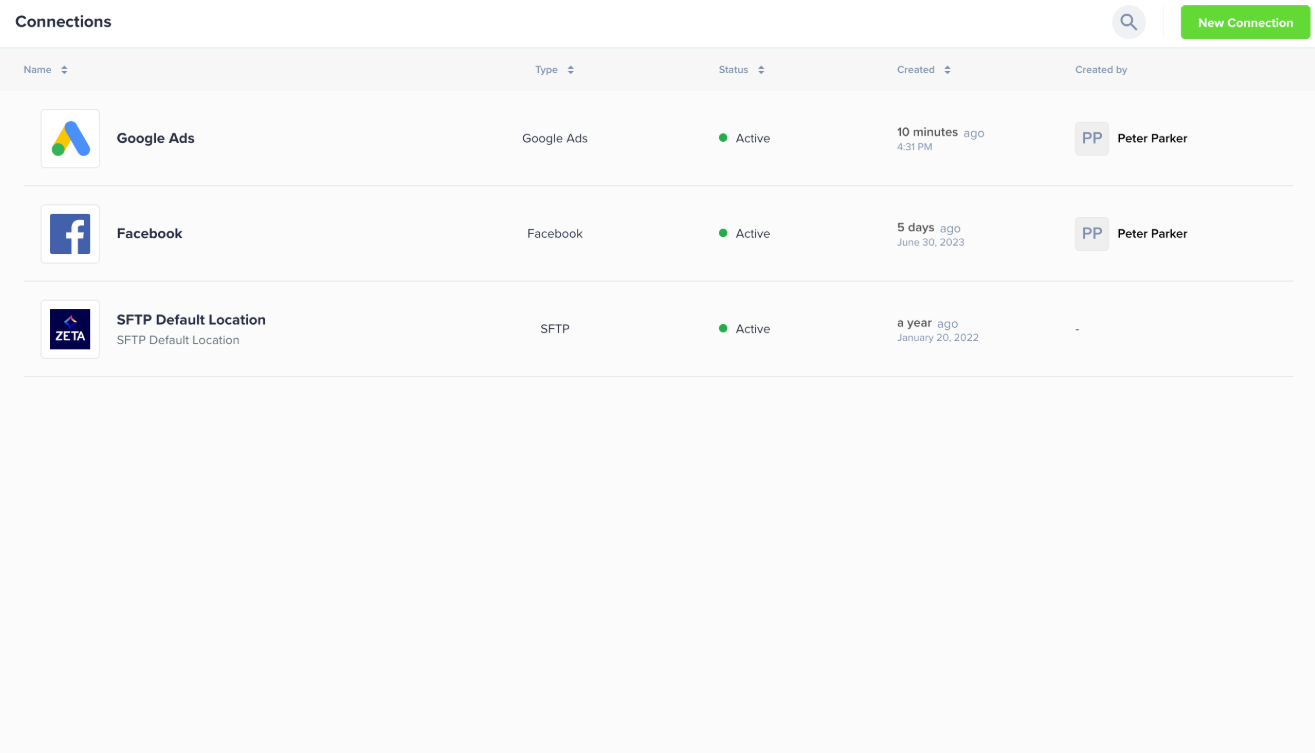
6. After clicking Save on the Google Ads Connection page, you’ll be redirected to the Connections page, where you can see the active status of your connection.
Google Ads connection permits only one Google account at a time. To add multiple accounts, remove the current connection, which deletes associated automated exports. You can then sign in with a different account, repeating the process to switch accounts.
Editing Ad Accounts
To add a new account to your existing Google Ads Connection, simply check each box you want to add and click Save.
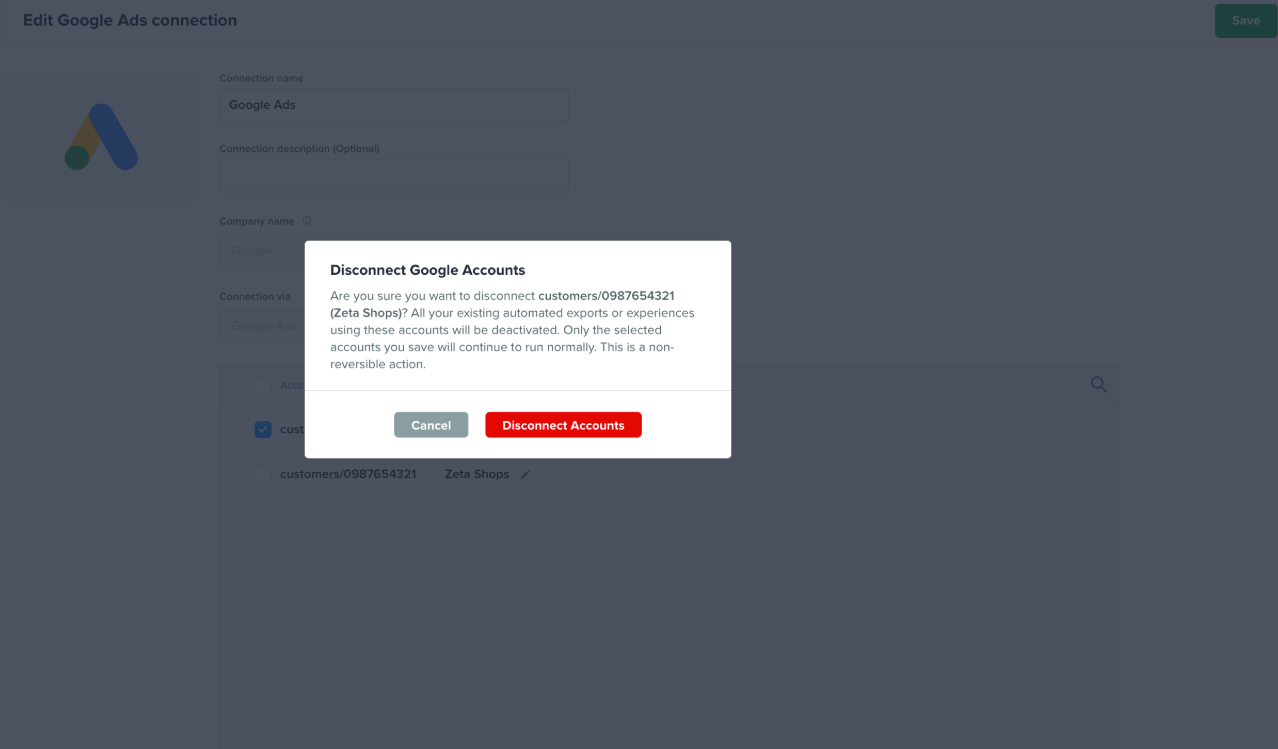
To remove an account, uncheck each box and click Save. You’ll be prompted to confirm this action because it will deactivate any automated exports or experiences that use the ad account being removed.