

As you incorporate marketing best practices and what works for your brand, you may find that your experiences take on common sequences of nodes. While Experience Builder Templates make sense for an entire experience, perhaps there are smaller use cases for inserting just a few nodes at a time in an existing experience. This is where Experience Builder Template Snippets come in.
By allowing you to create common sequences for your account, you can easily insert them into any experience with just a few clicks. Instead of one node at a time, insert many at once and only configure certain nodes that need attention; everything else will be added to your experience with the correct settings automatically.
Creating a Template Snippet
1. In any experience, click the … button in the action bar at the bottom of your screen.
2. Click Create Snippet in the menu.
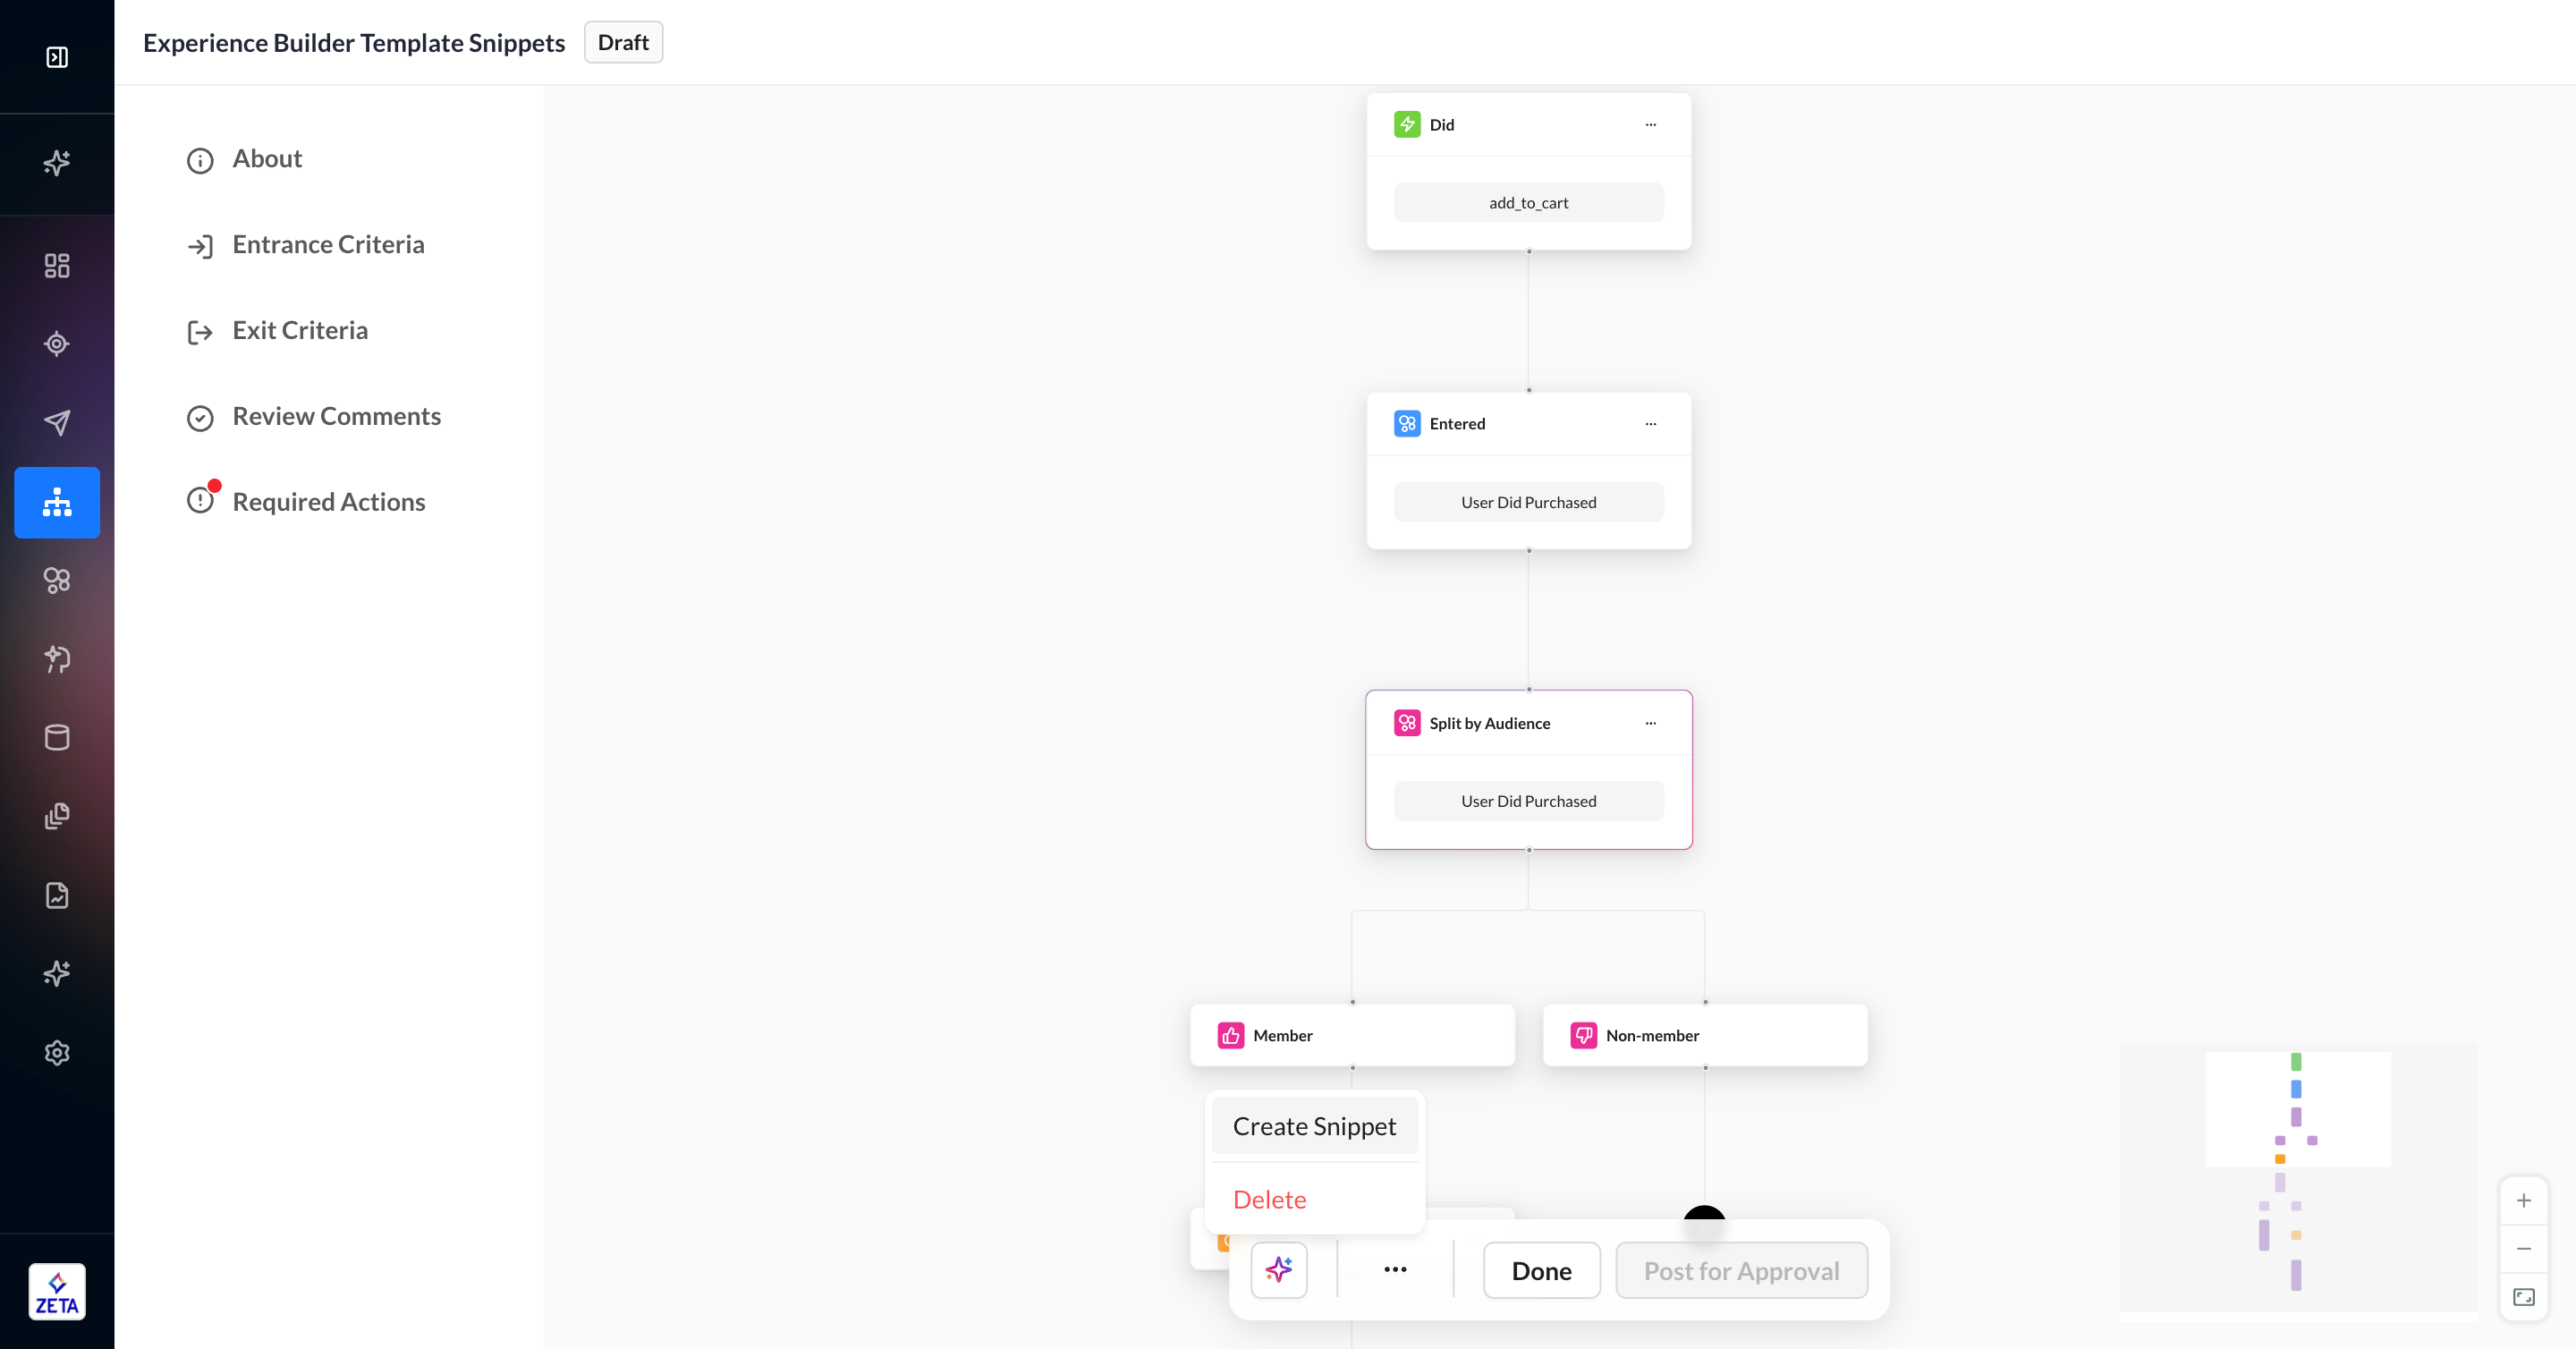
3. Select each node you want to add to your snippet.
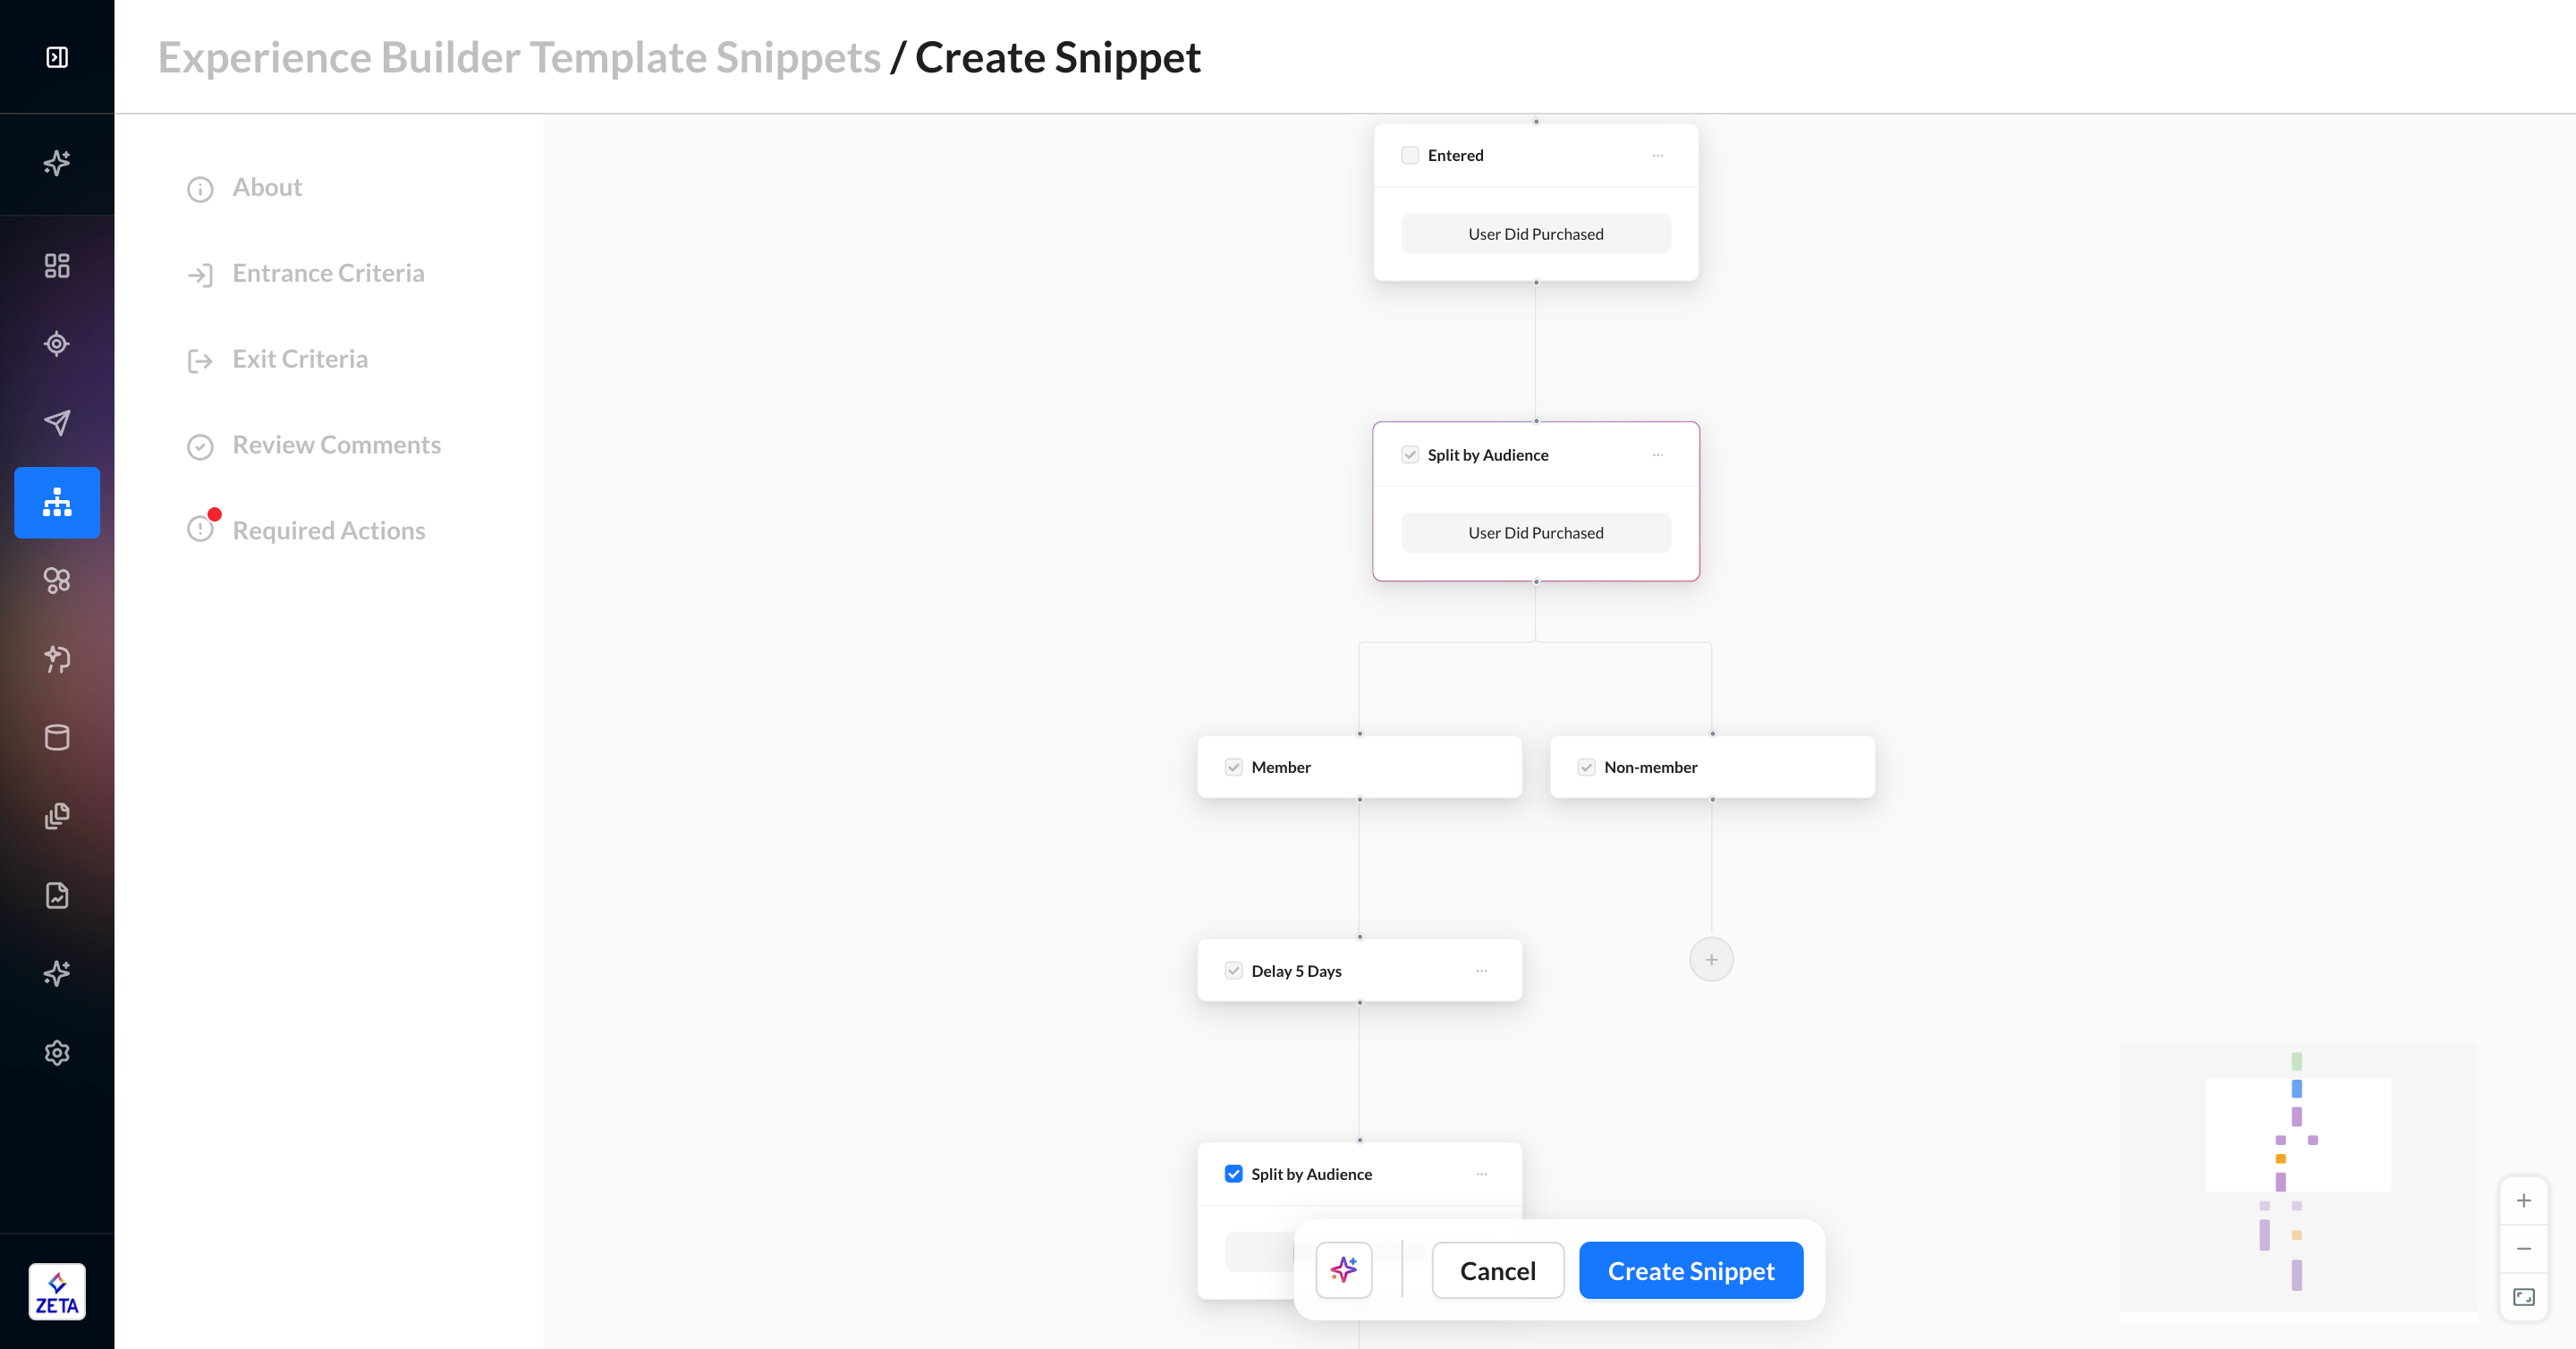
4. Save it by clicking Create Snippet.
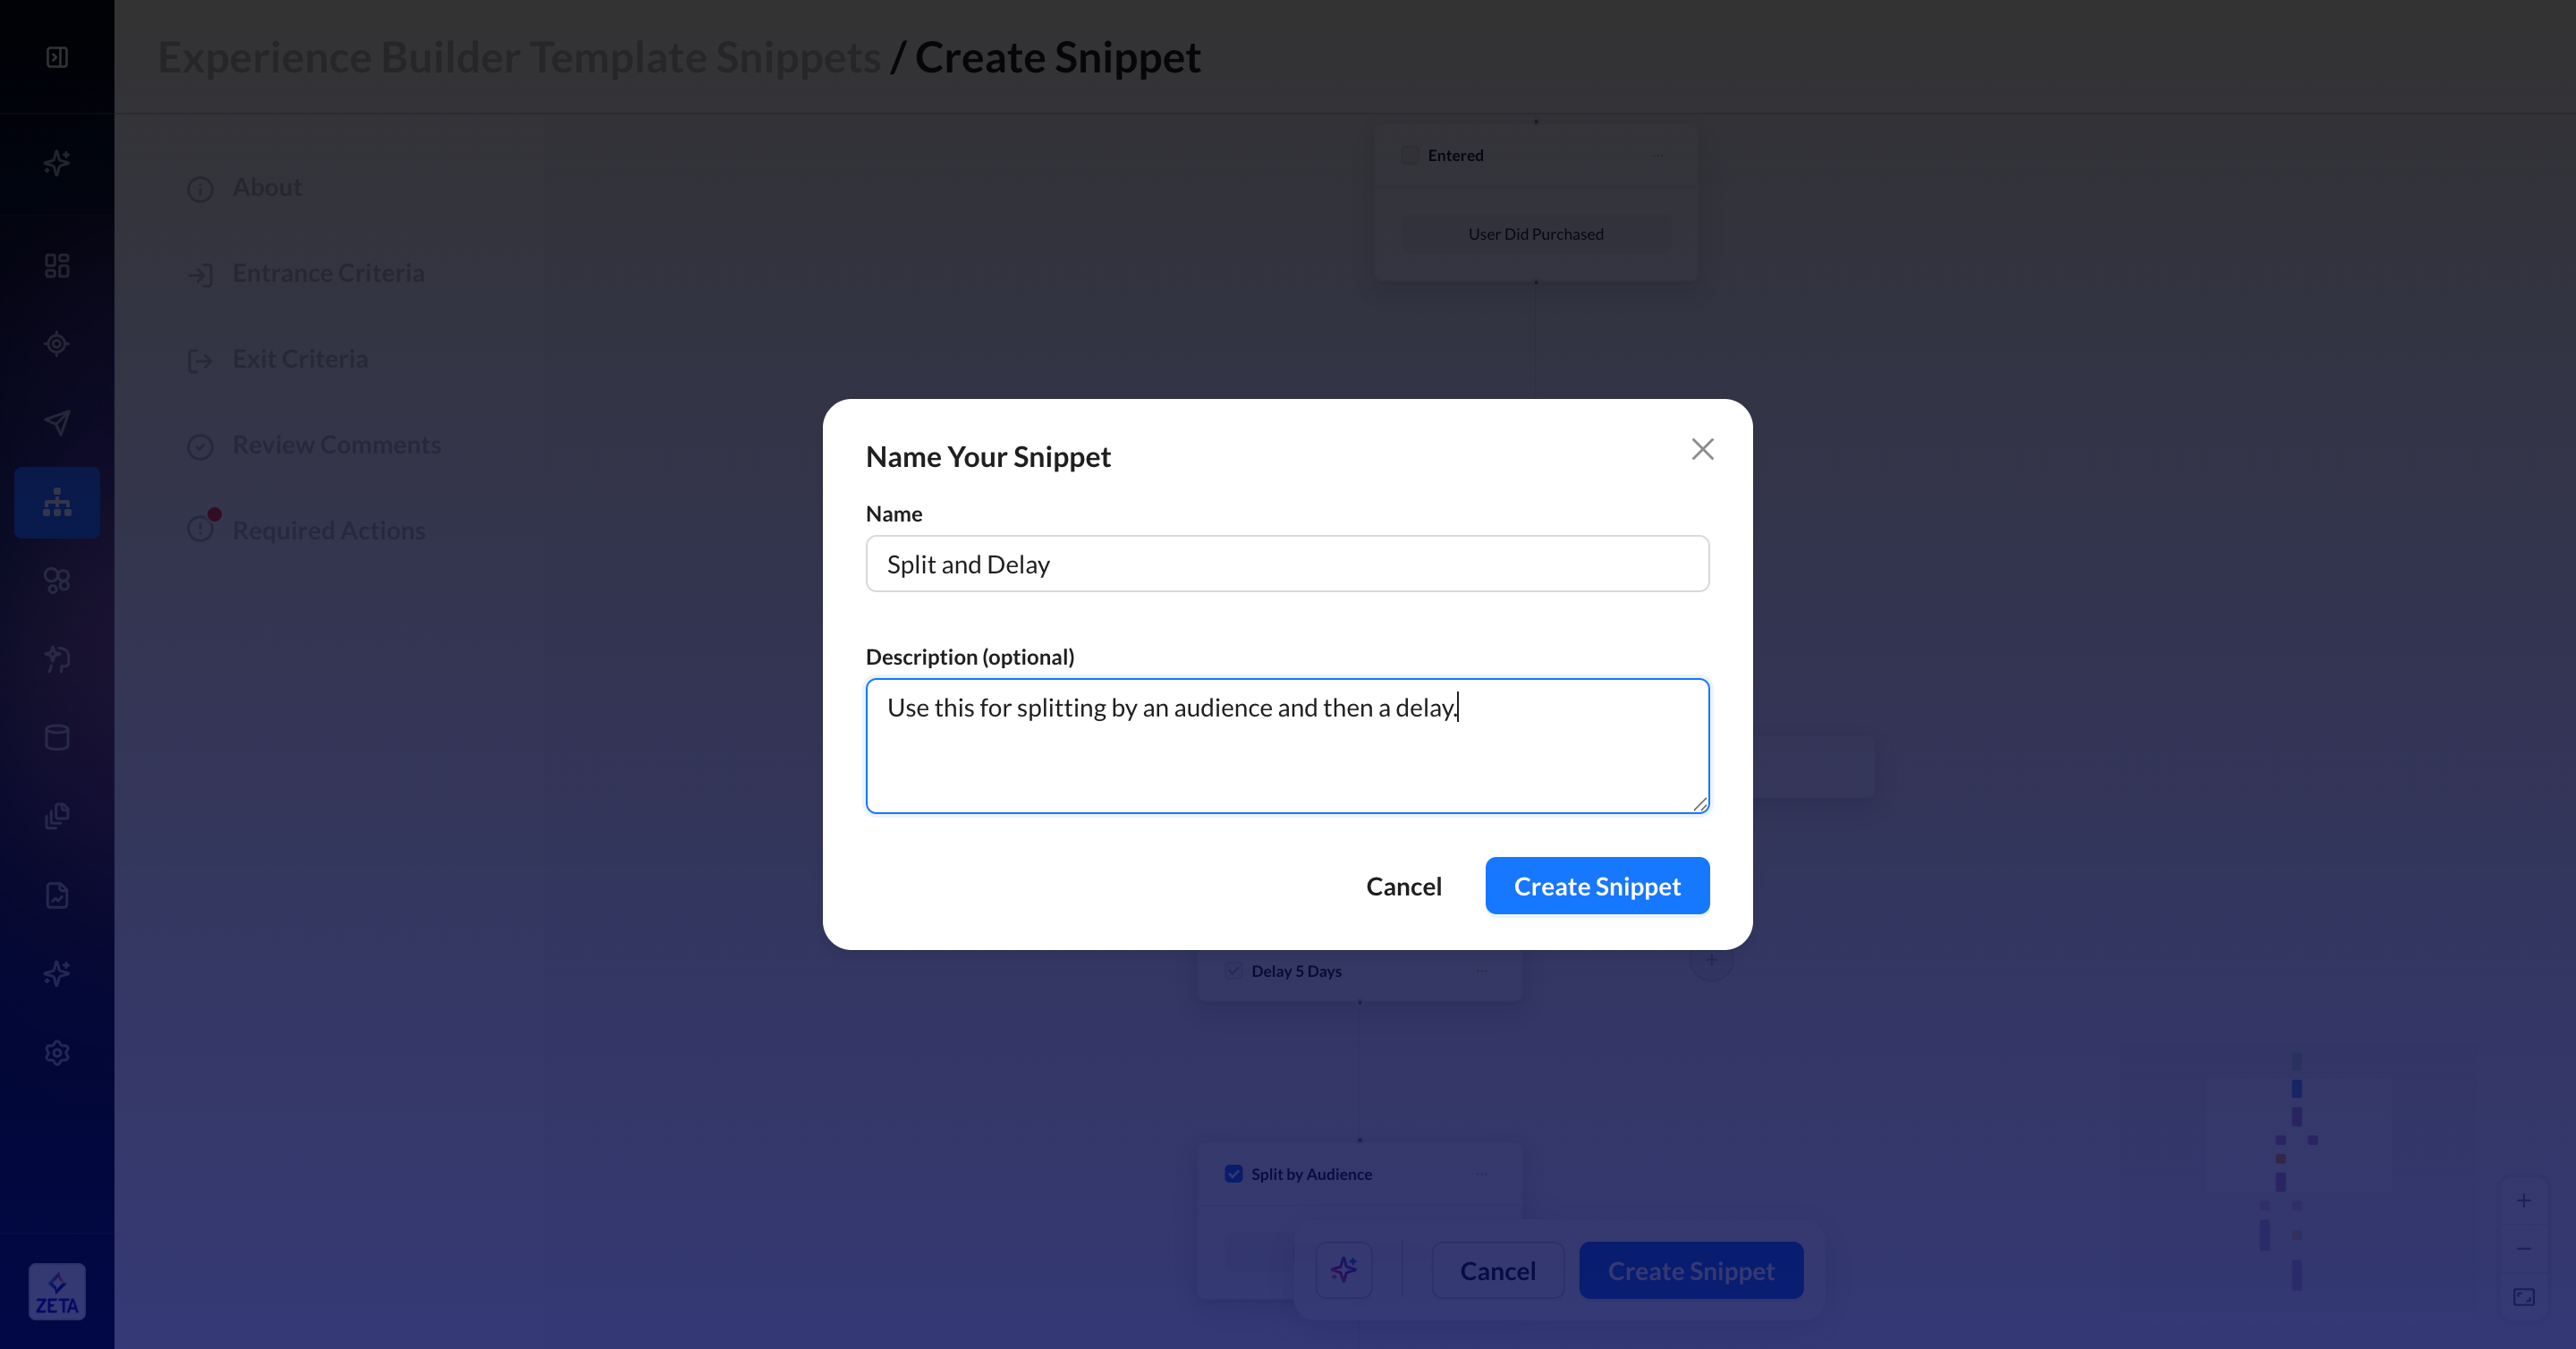
5. Give it a unique name and description and click Create Snippet in the modal.
6. Preview your snippet and add tags if you want.
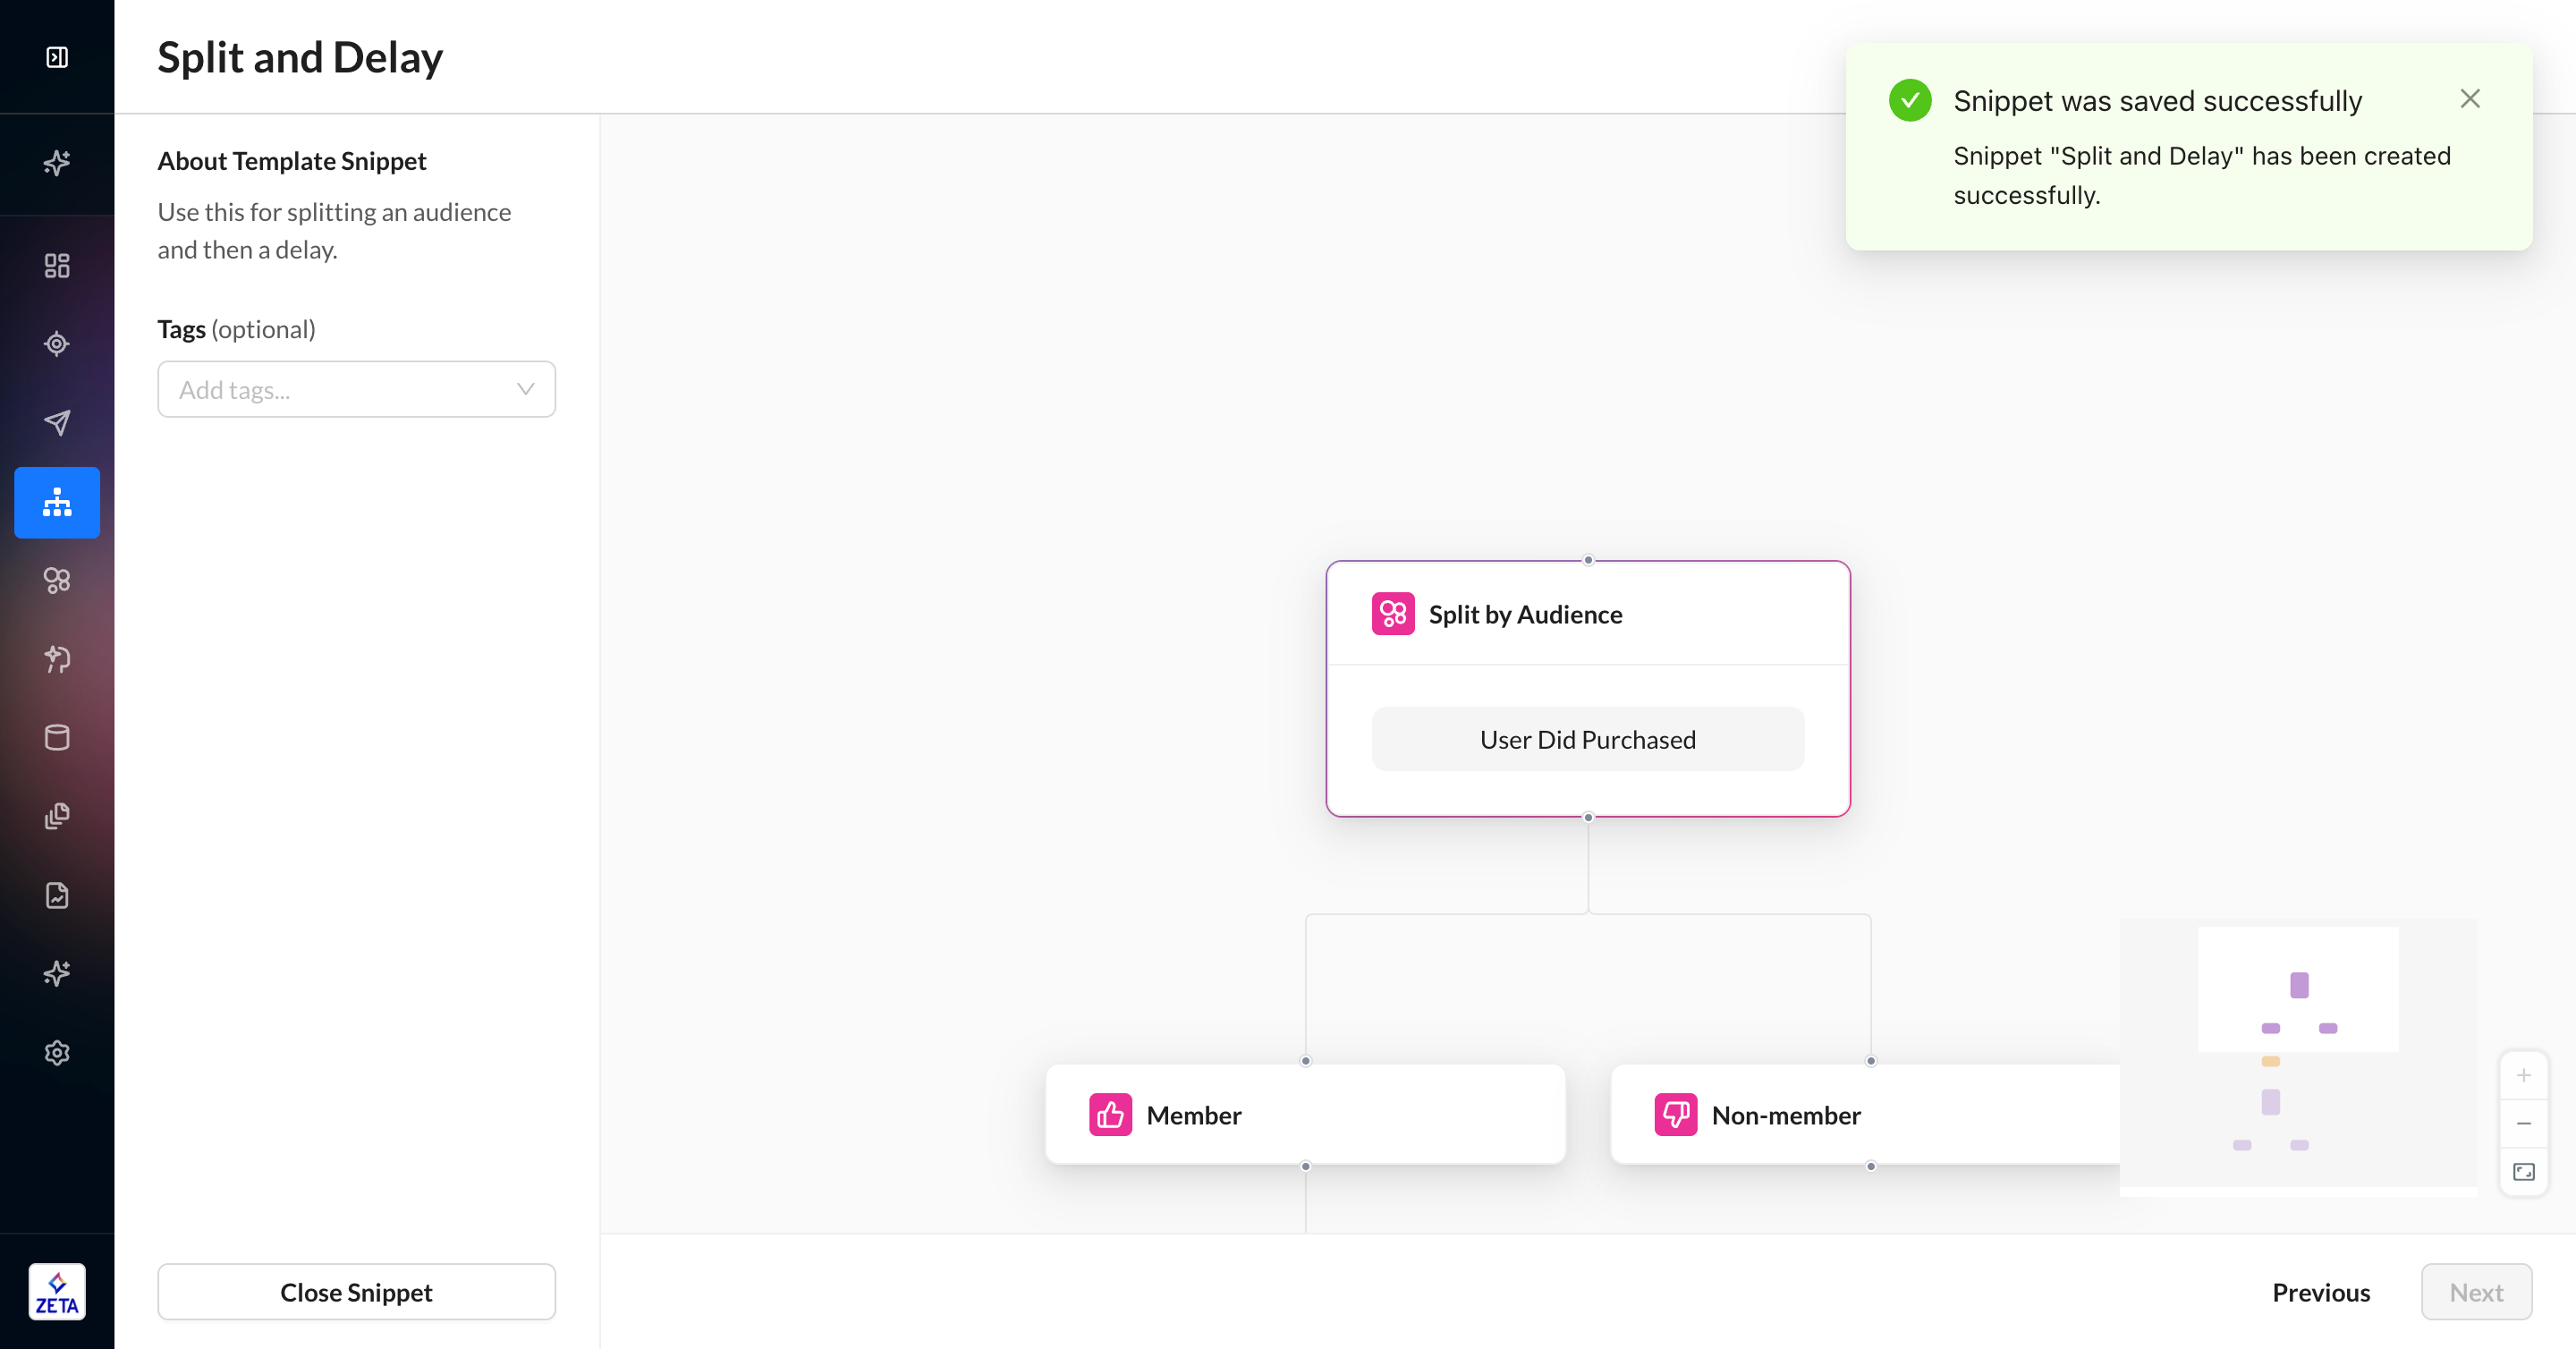
7. Click Close Snippet to return to the canvas and continue editing your experience.
Template snippets do not keep any live connection to the nodes that were used to create them. If you make any further changes to the nodes in the original experience, the snippet will remain unaffected.
Snippet Creation Limitations
-
Trigger nodes are not eligible to be included in template snippets. Try using a full template instead.
-
You must select consecutive nodes from top to bottom on the canvas.
-
Split nodes cannot be split; you can only select the main split node, and all its branches will automatically be included. This includes event nodes with time filters.
-
If a Split by Property node references an upstream event, both nodes will need to be included.
-
Snippets cannot be created in versions or templates; only experiences.
Inserting a Template Snippet
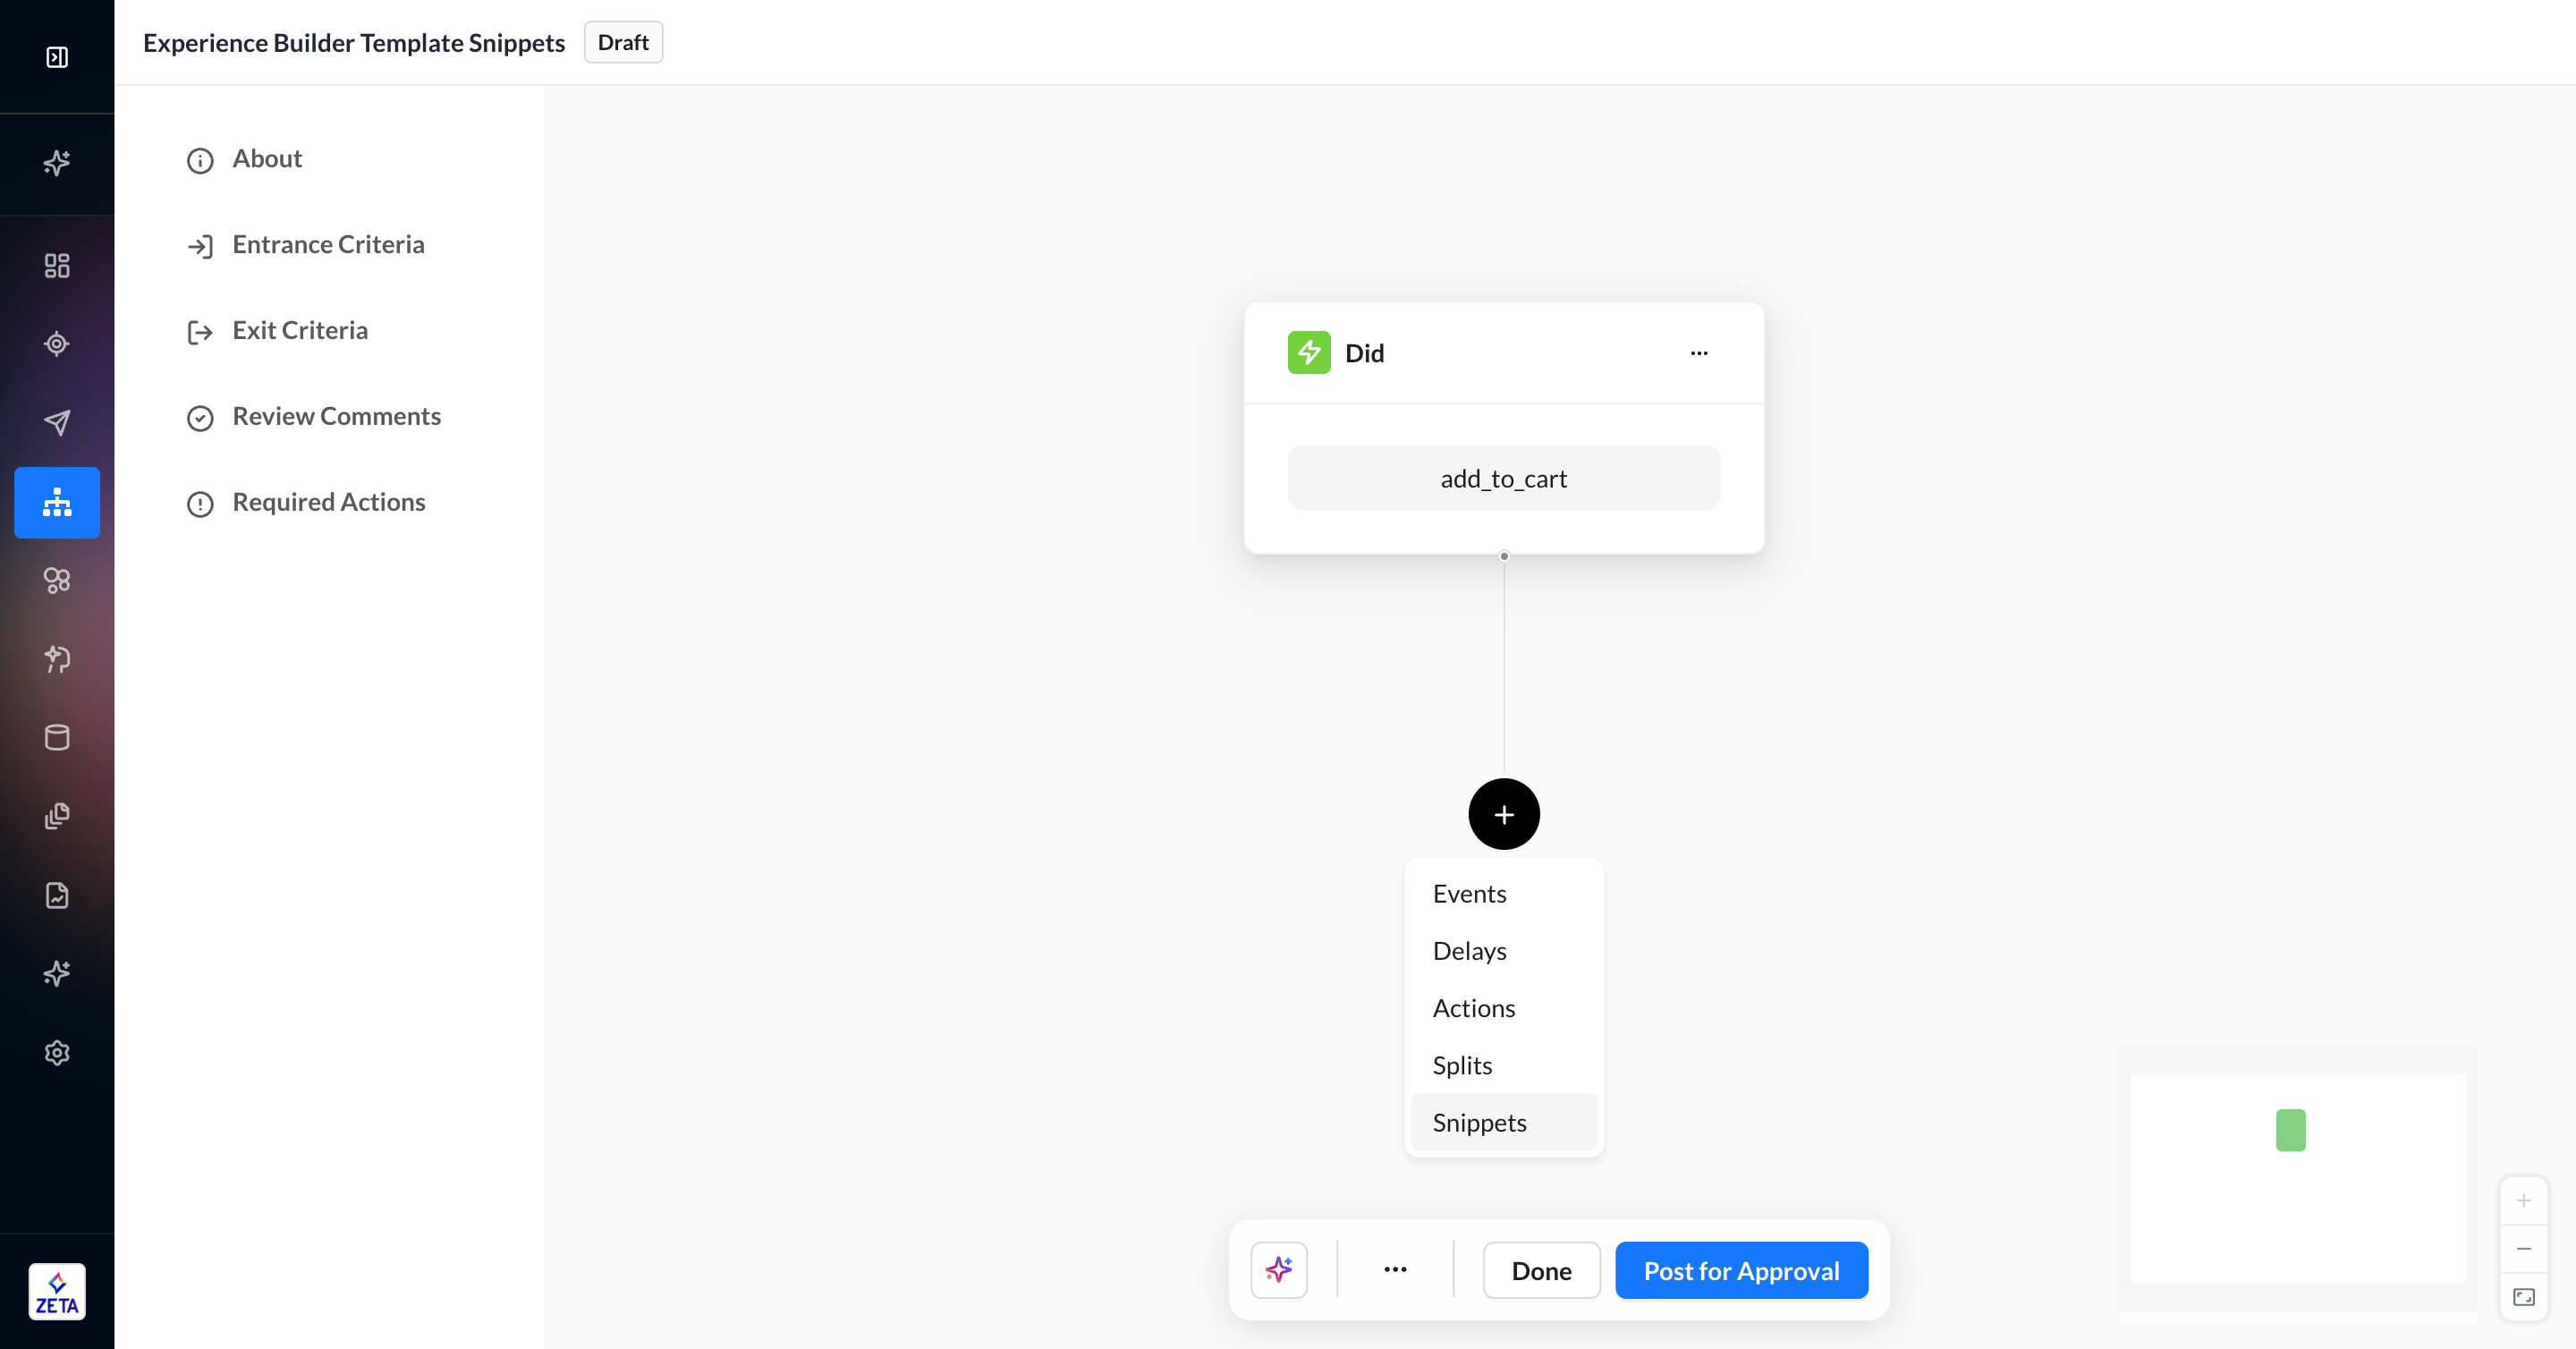
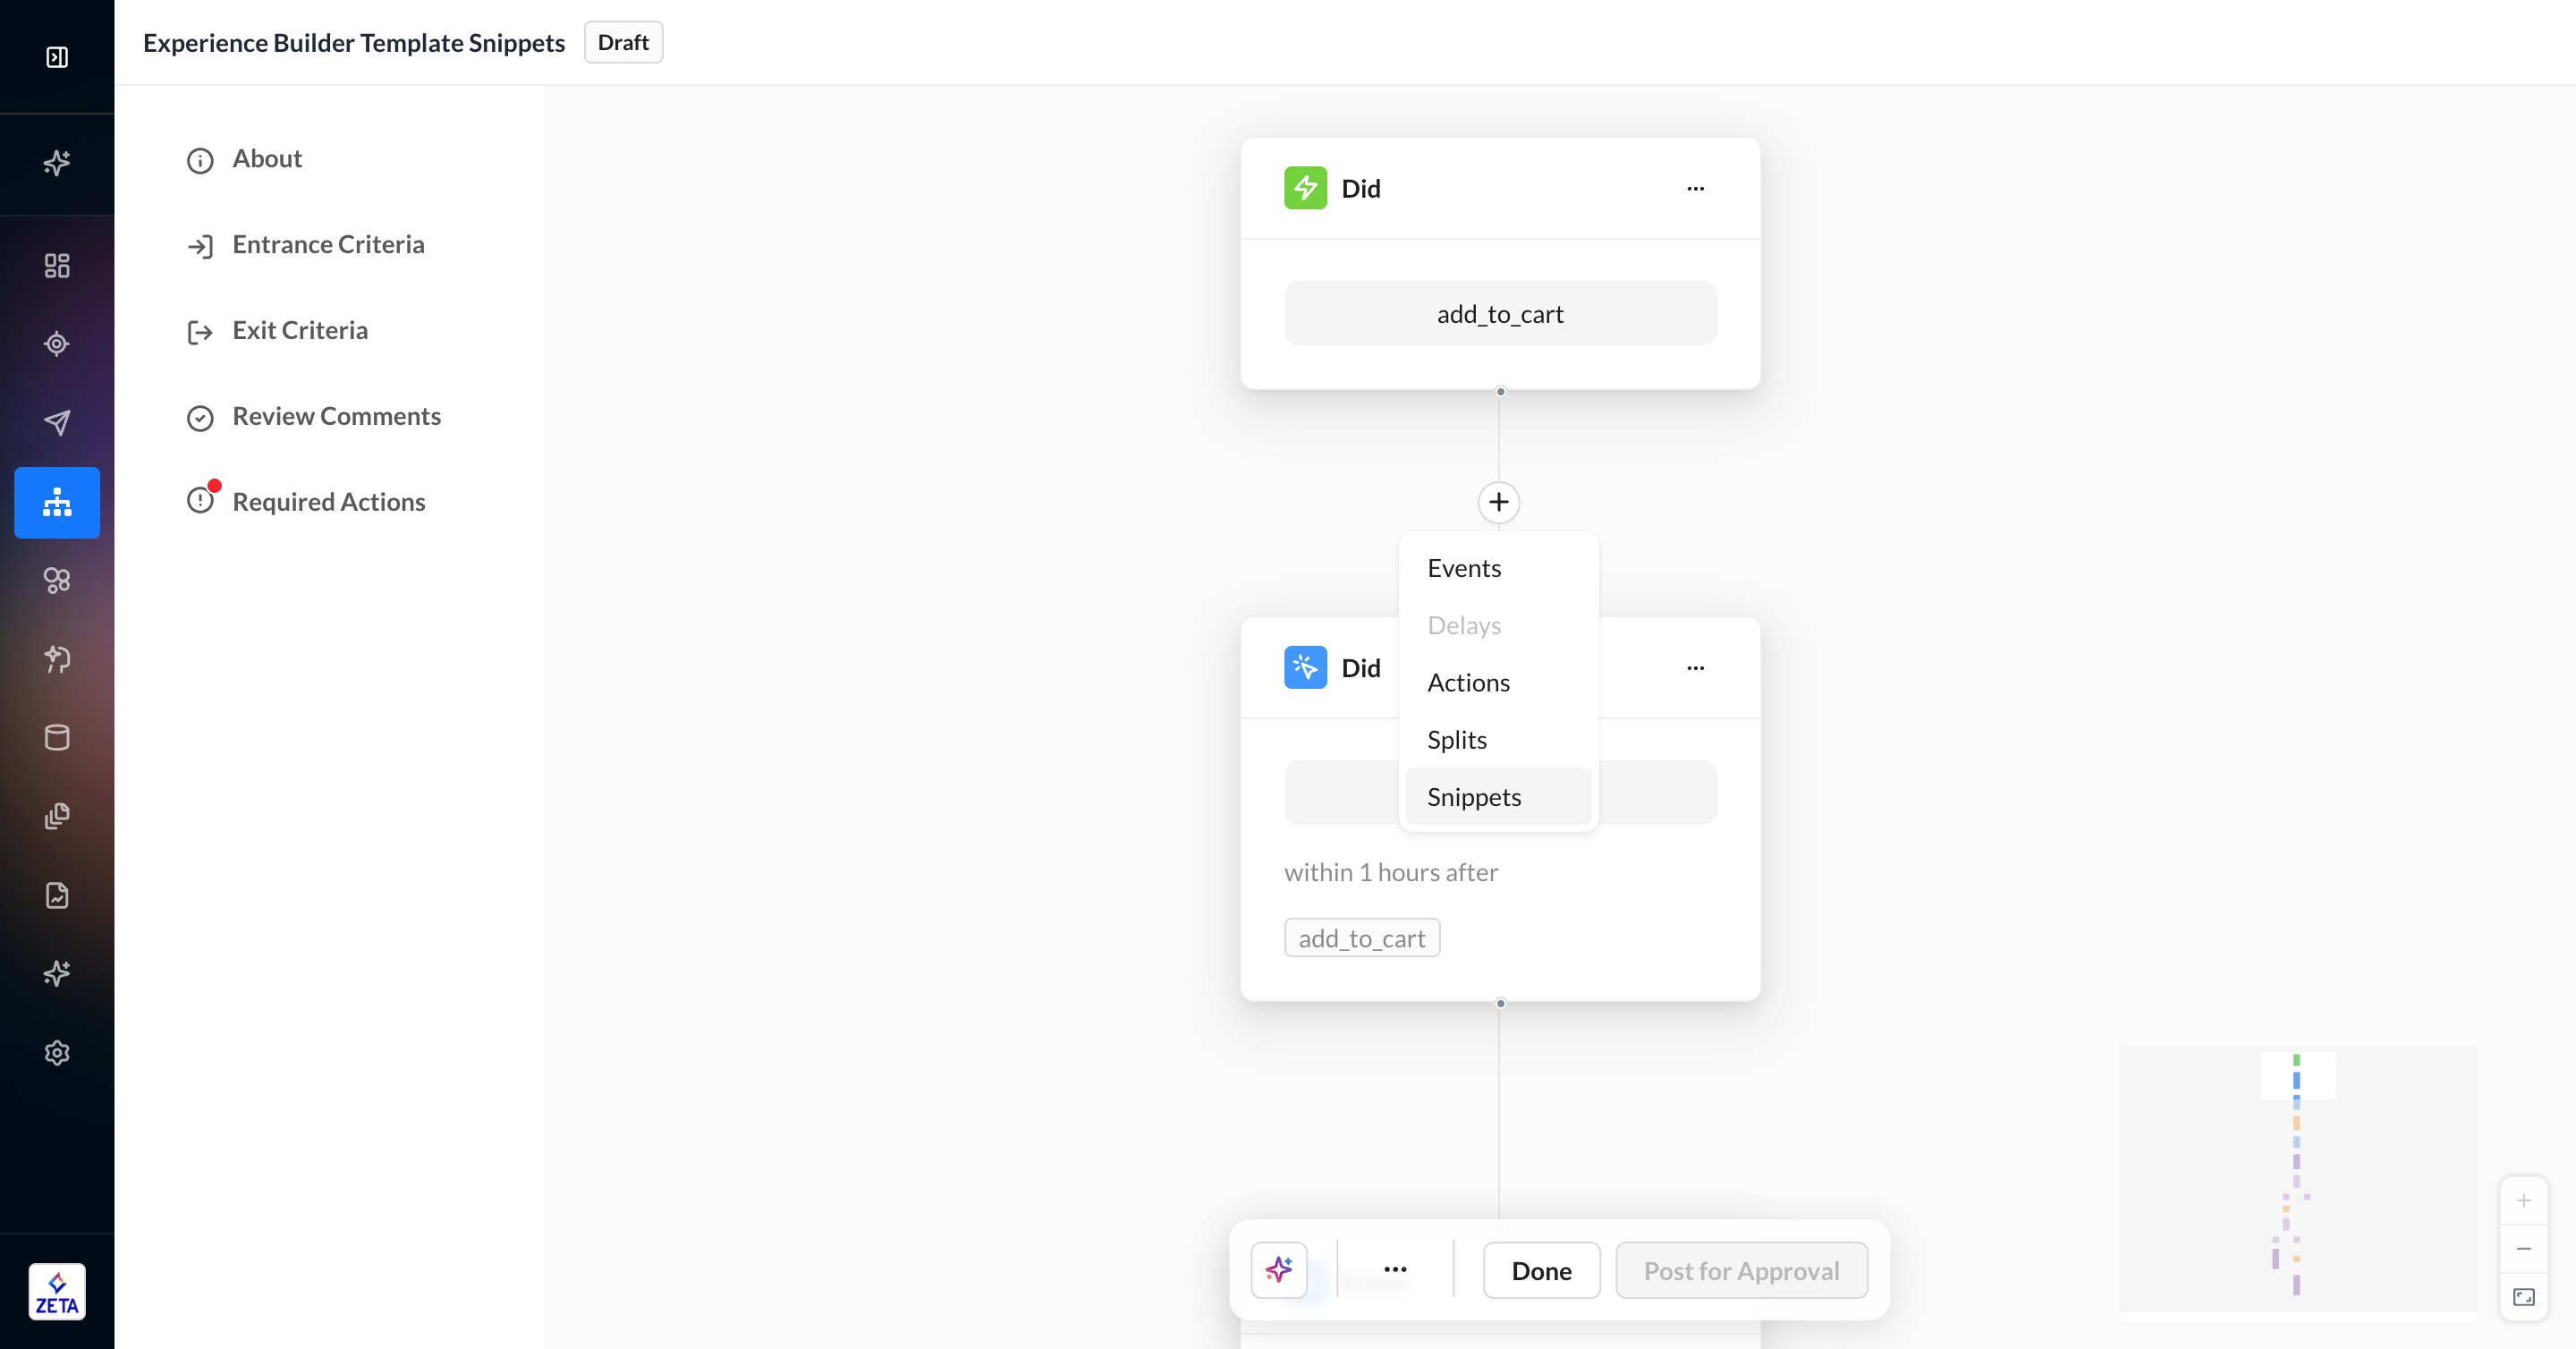
1. On the Experience Builder canvas, click the button to open the node menu. This can be at the end of a branch or in between existing nodes.
2. Select Snippets from the node menu.
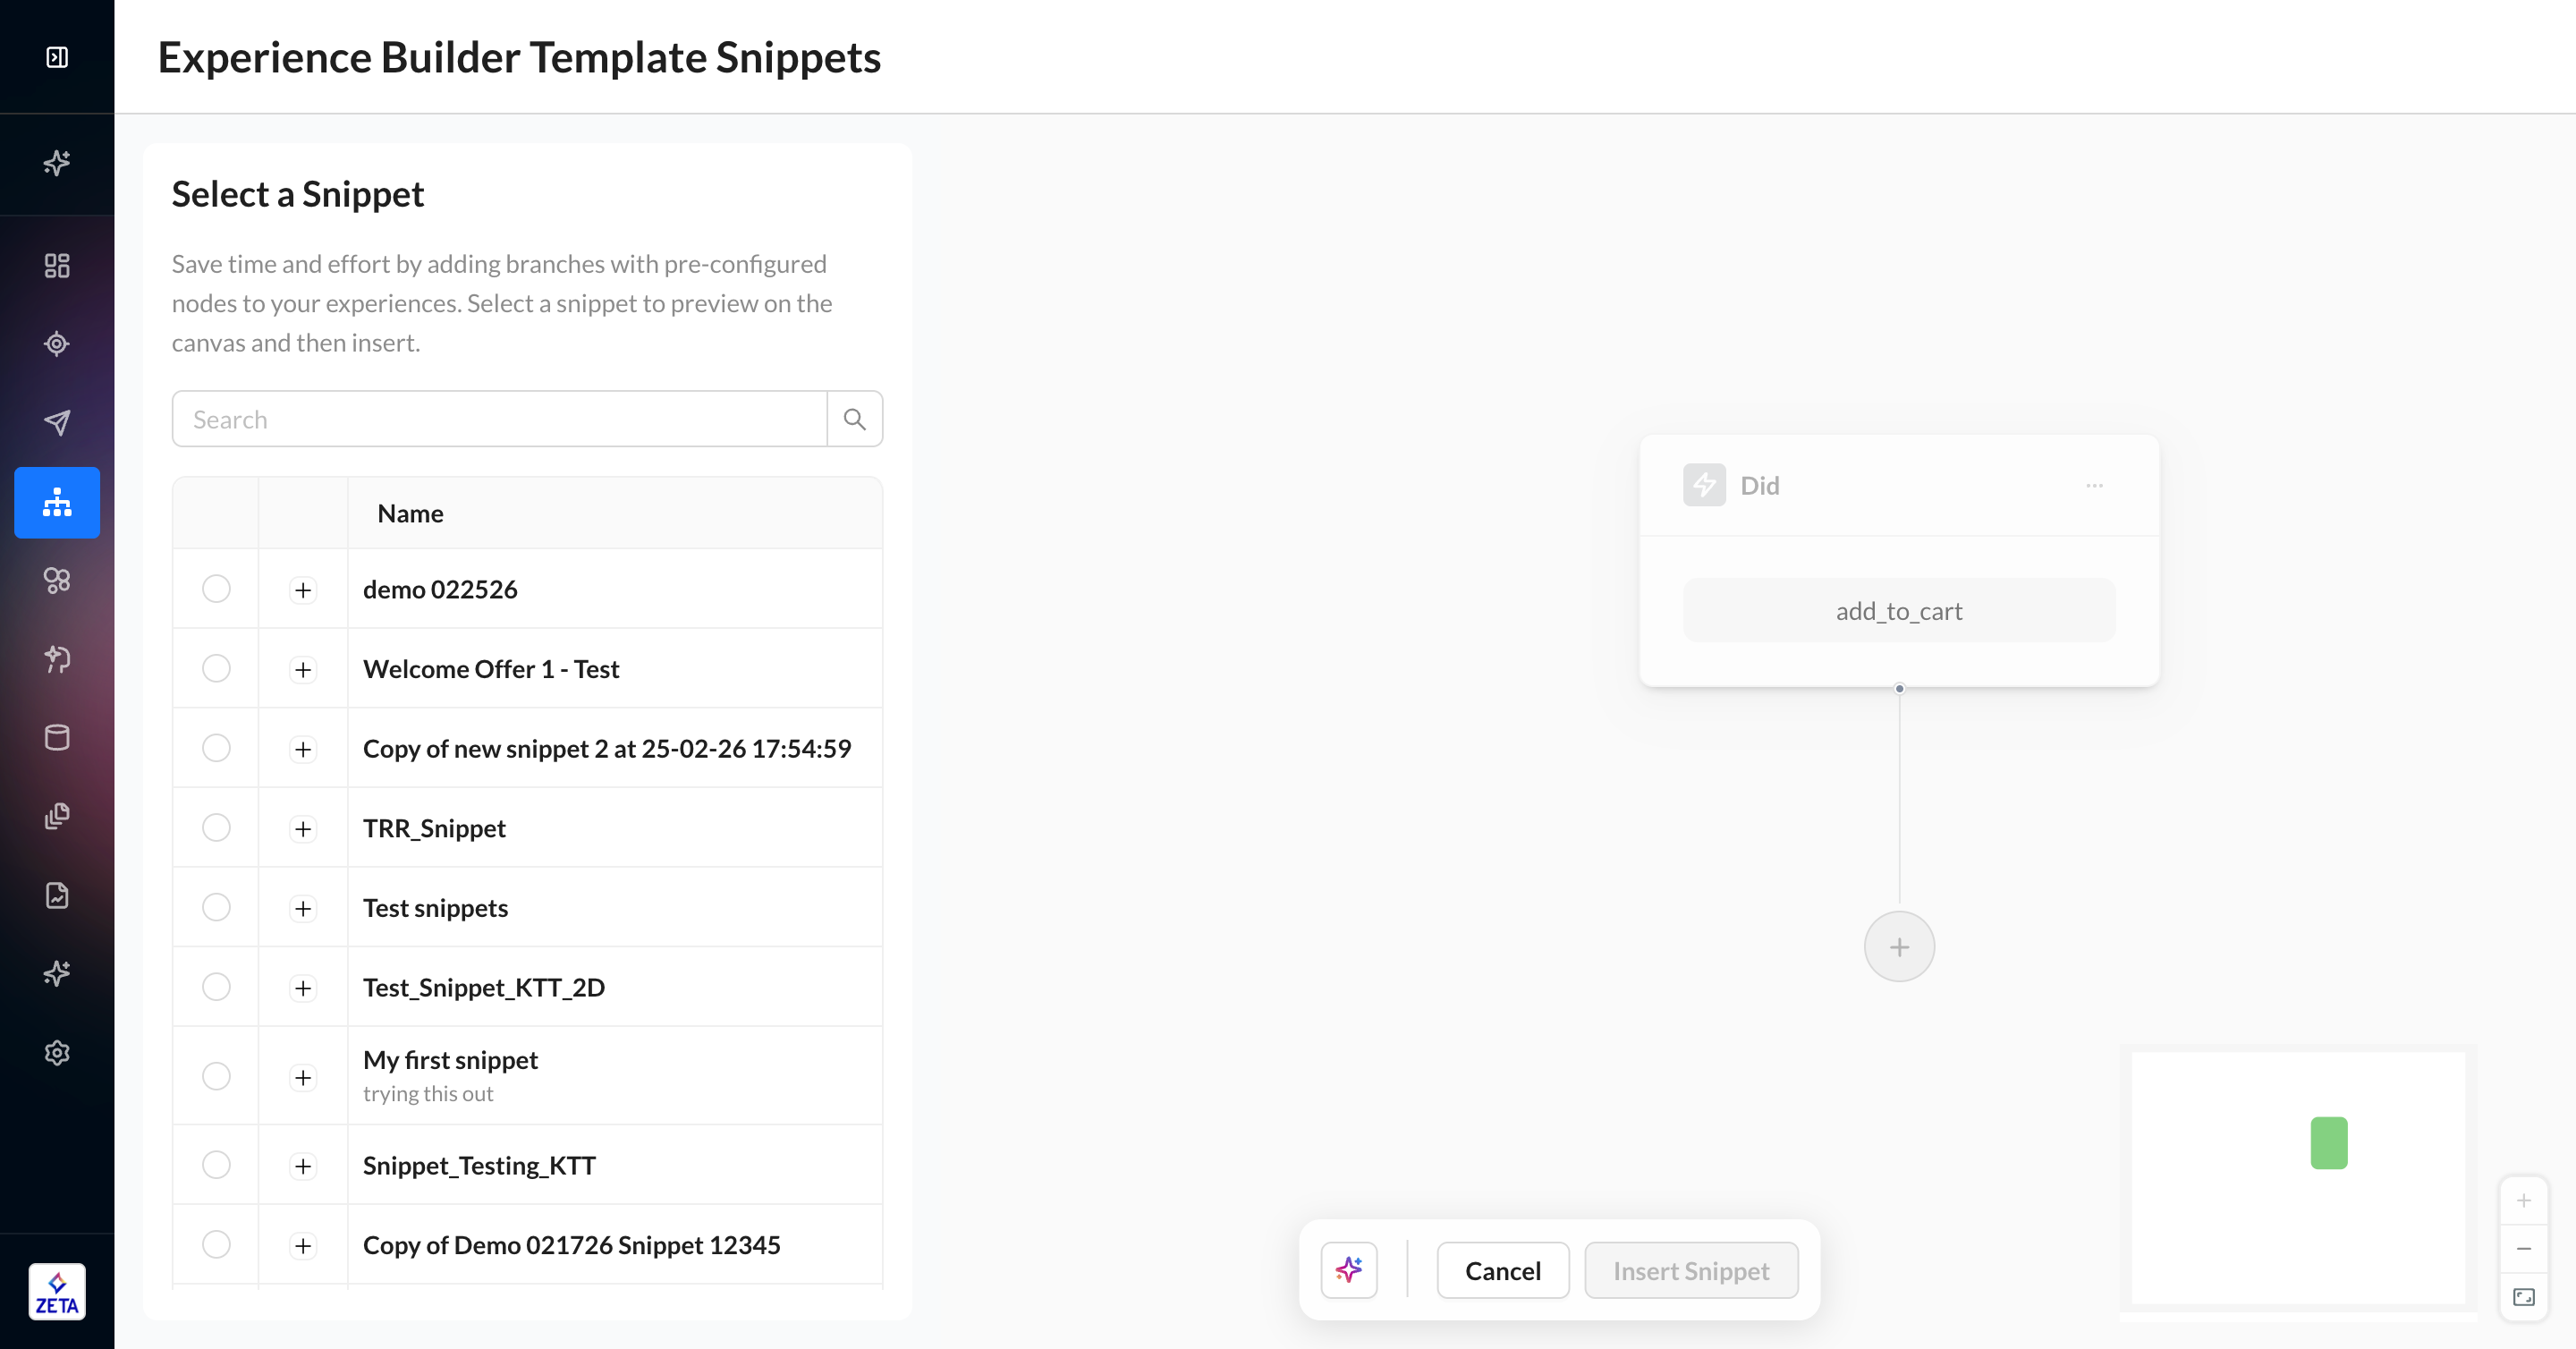
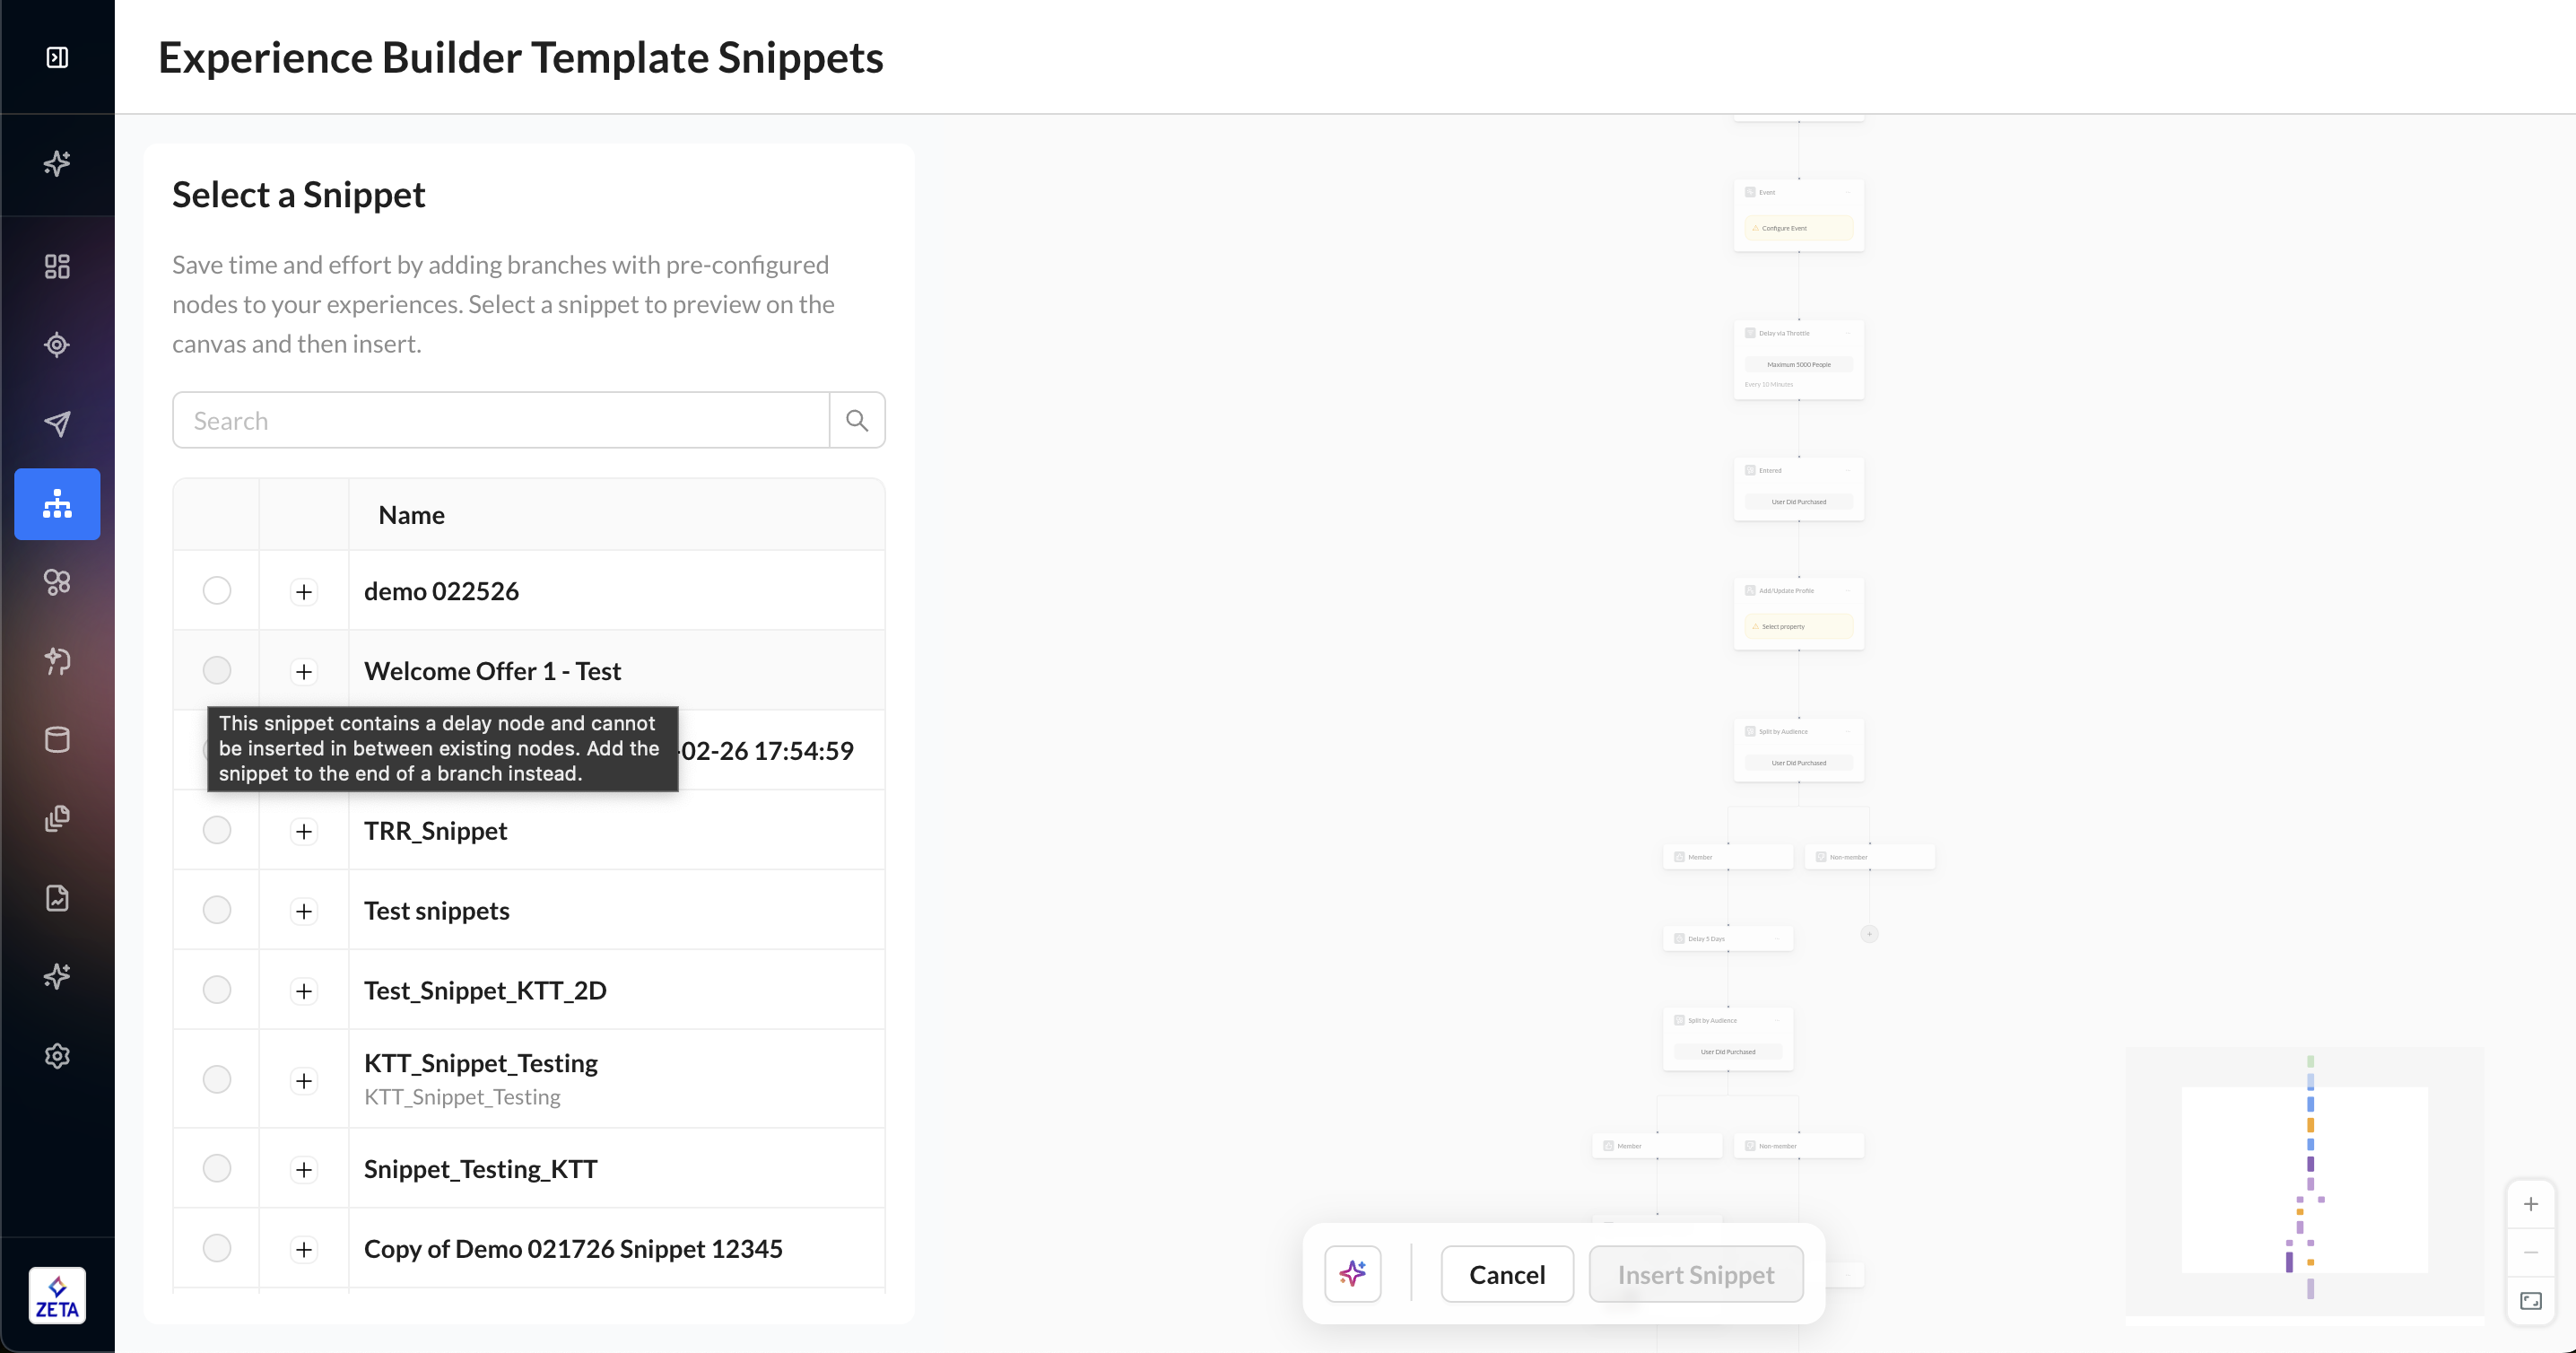
3. You will see a list of snippets available in your account. Each snippet includes its name, description, and list of nodes. You can also search this list.
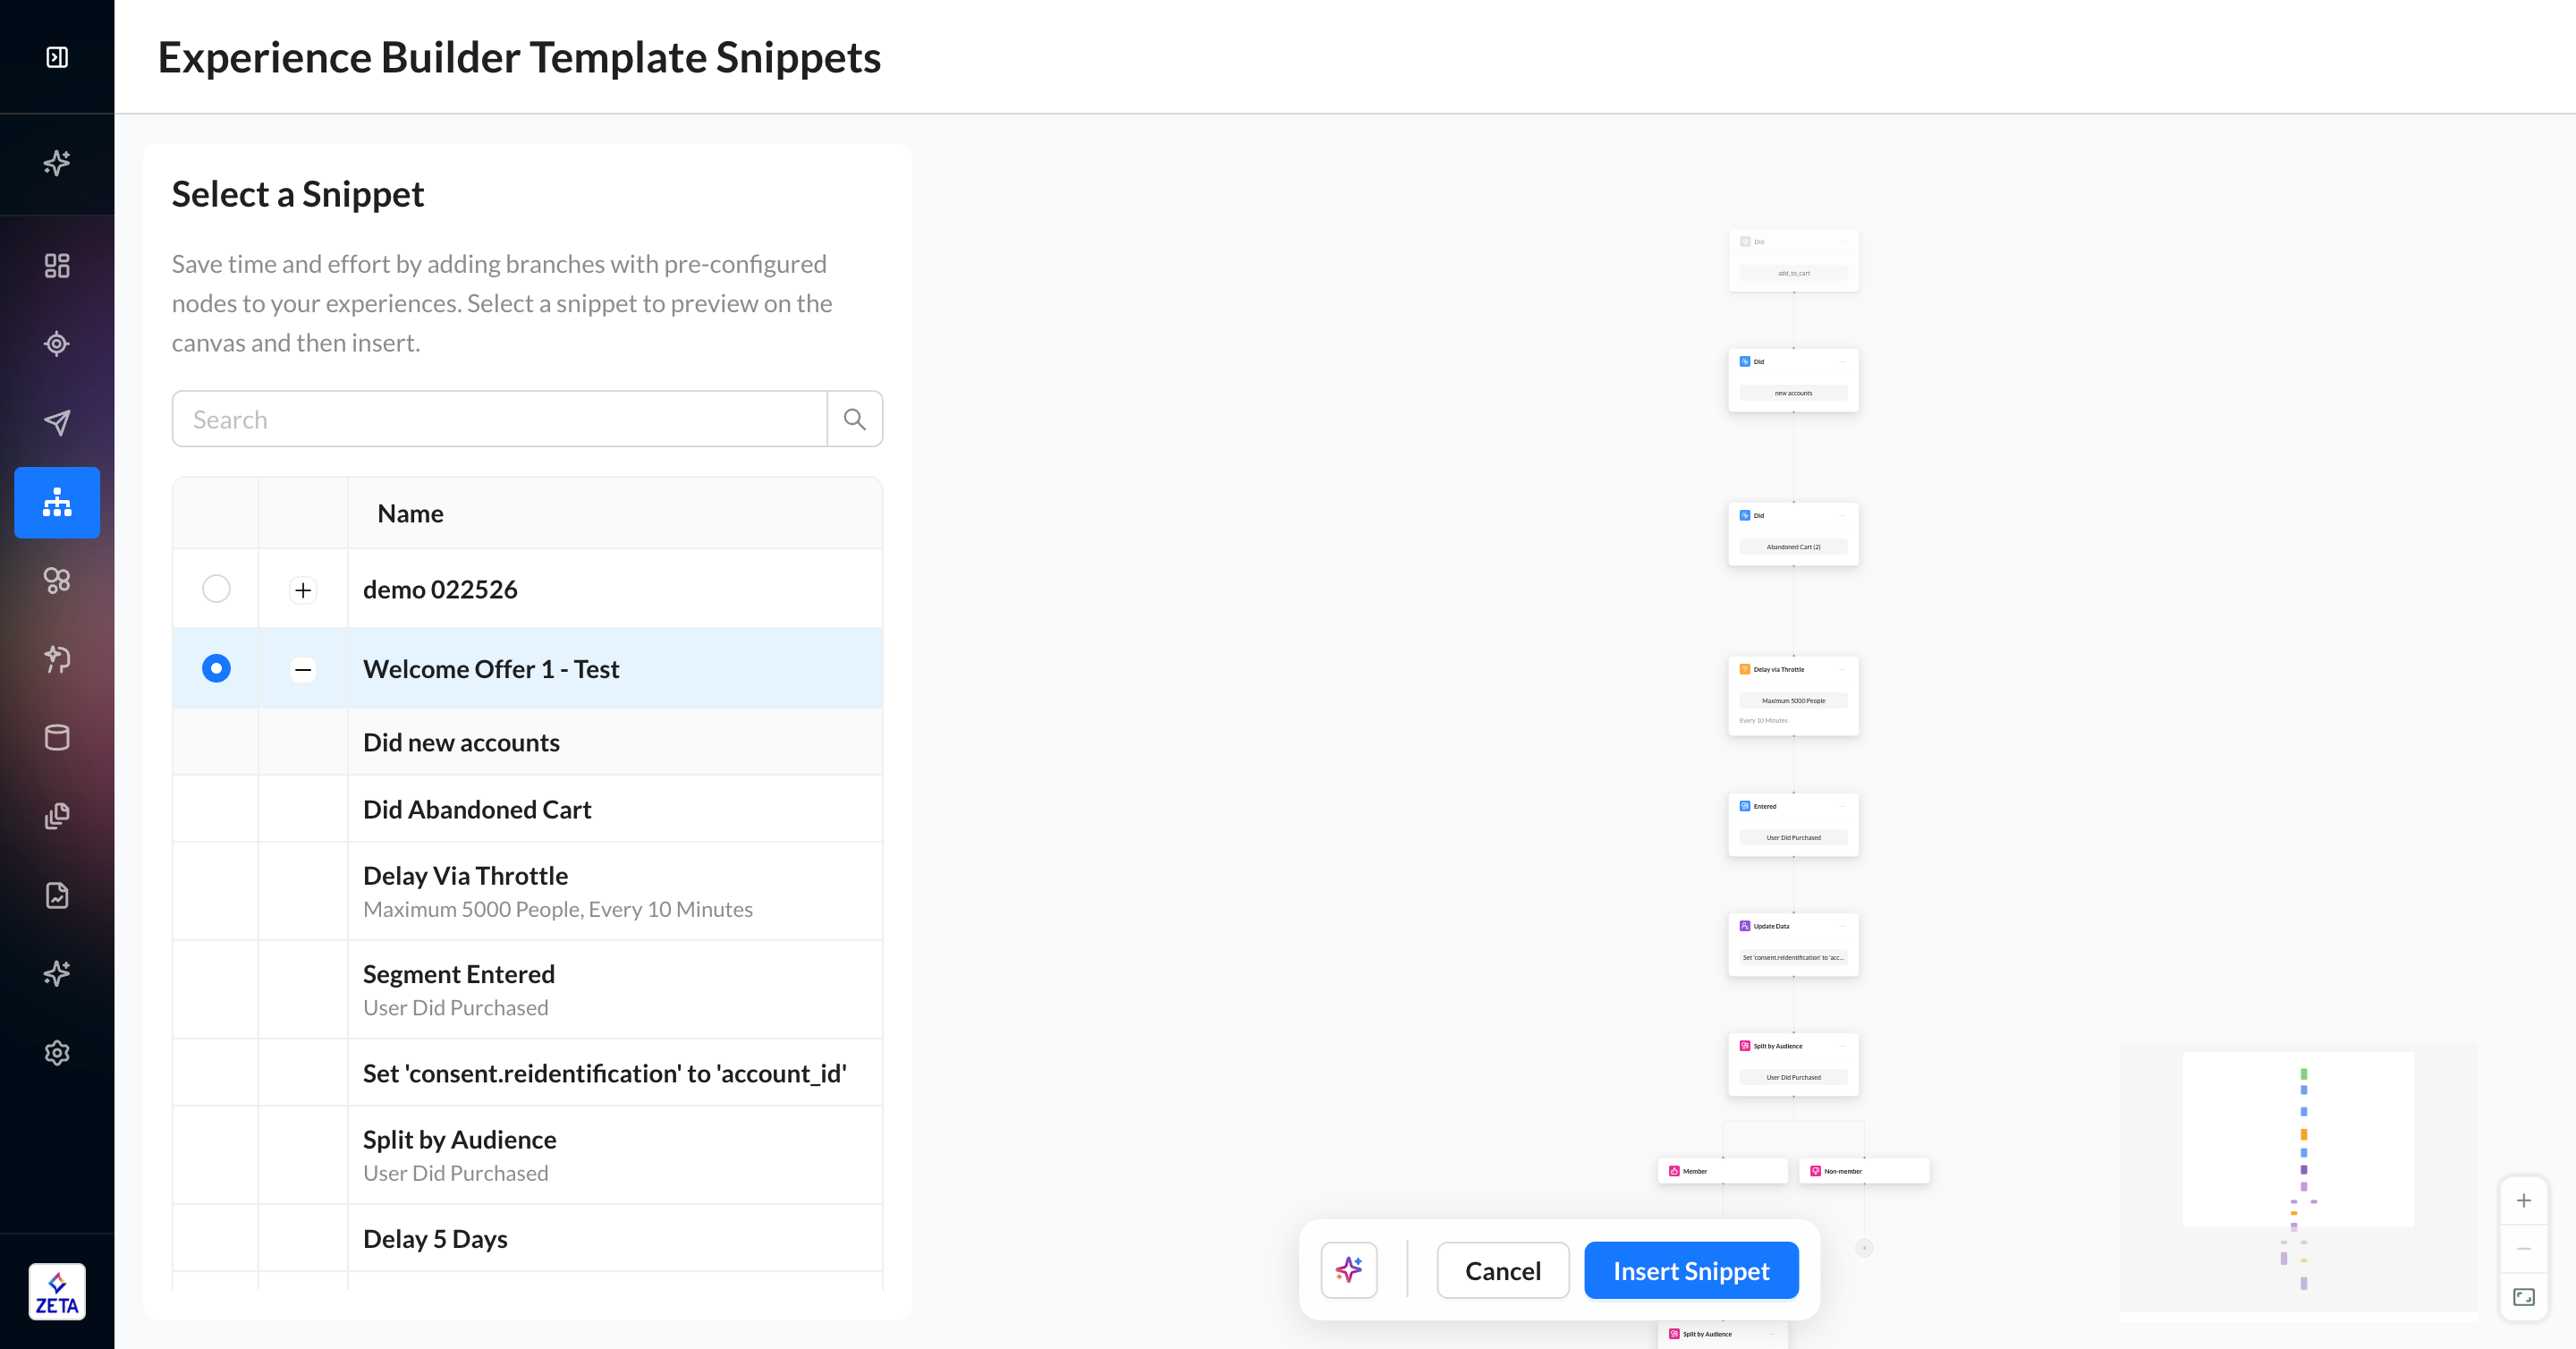
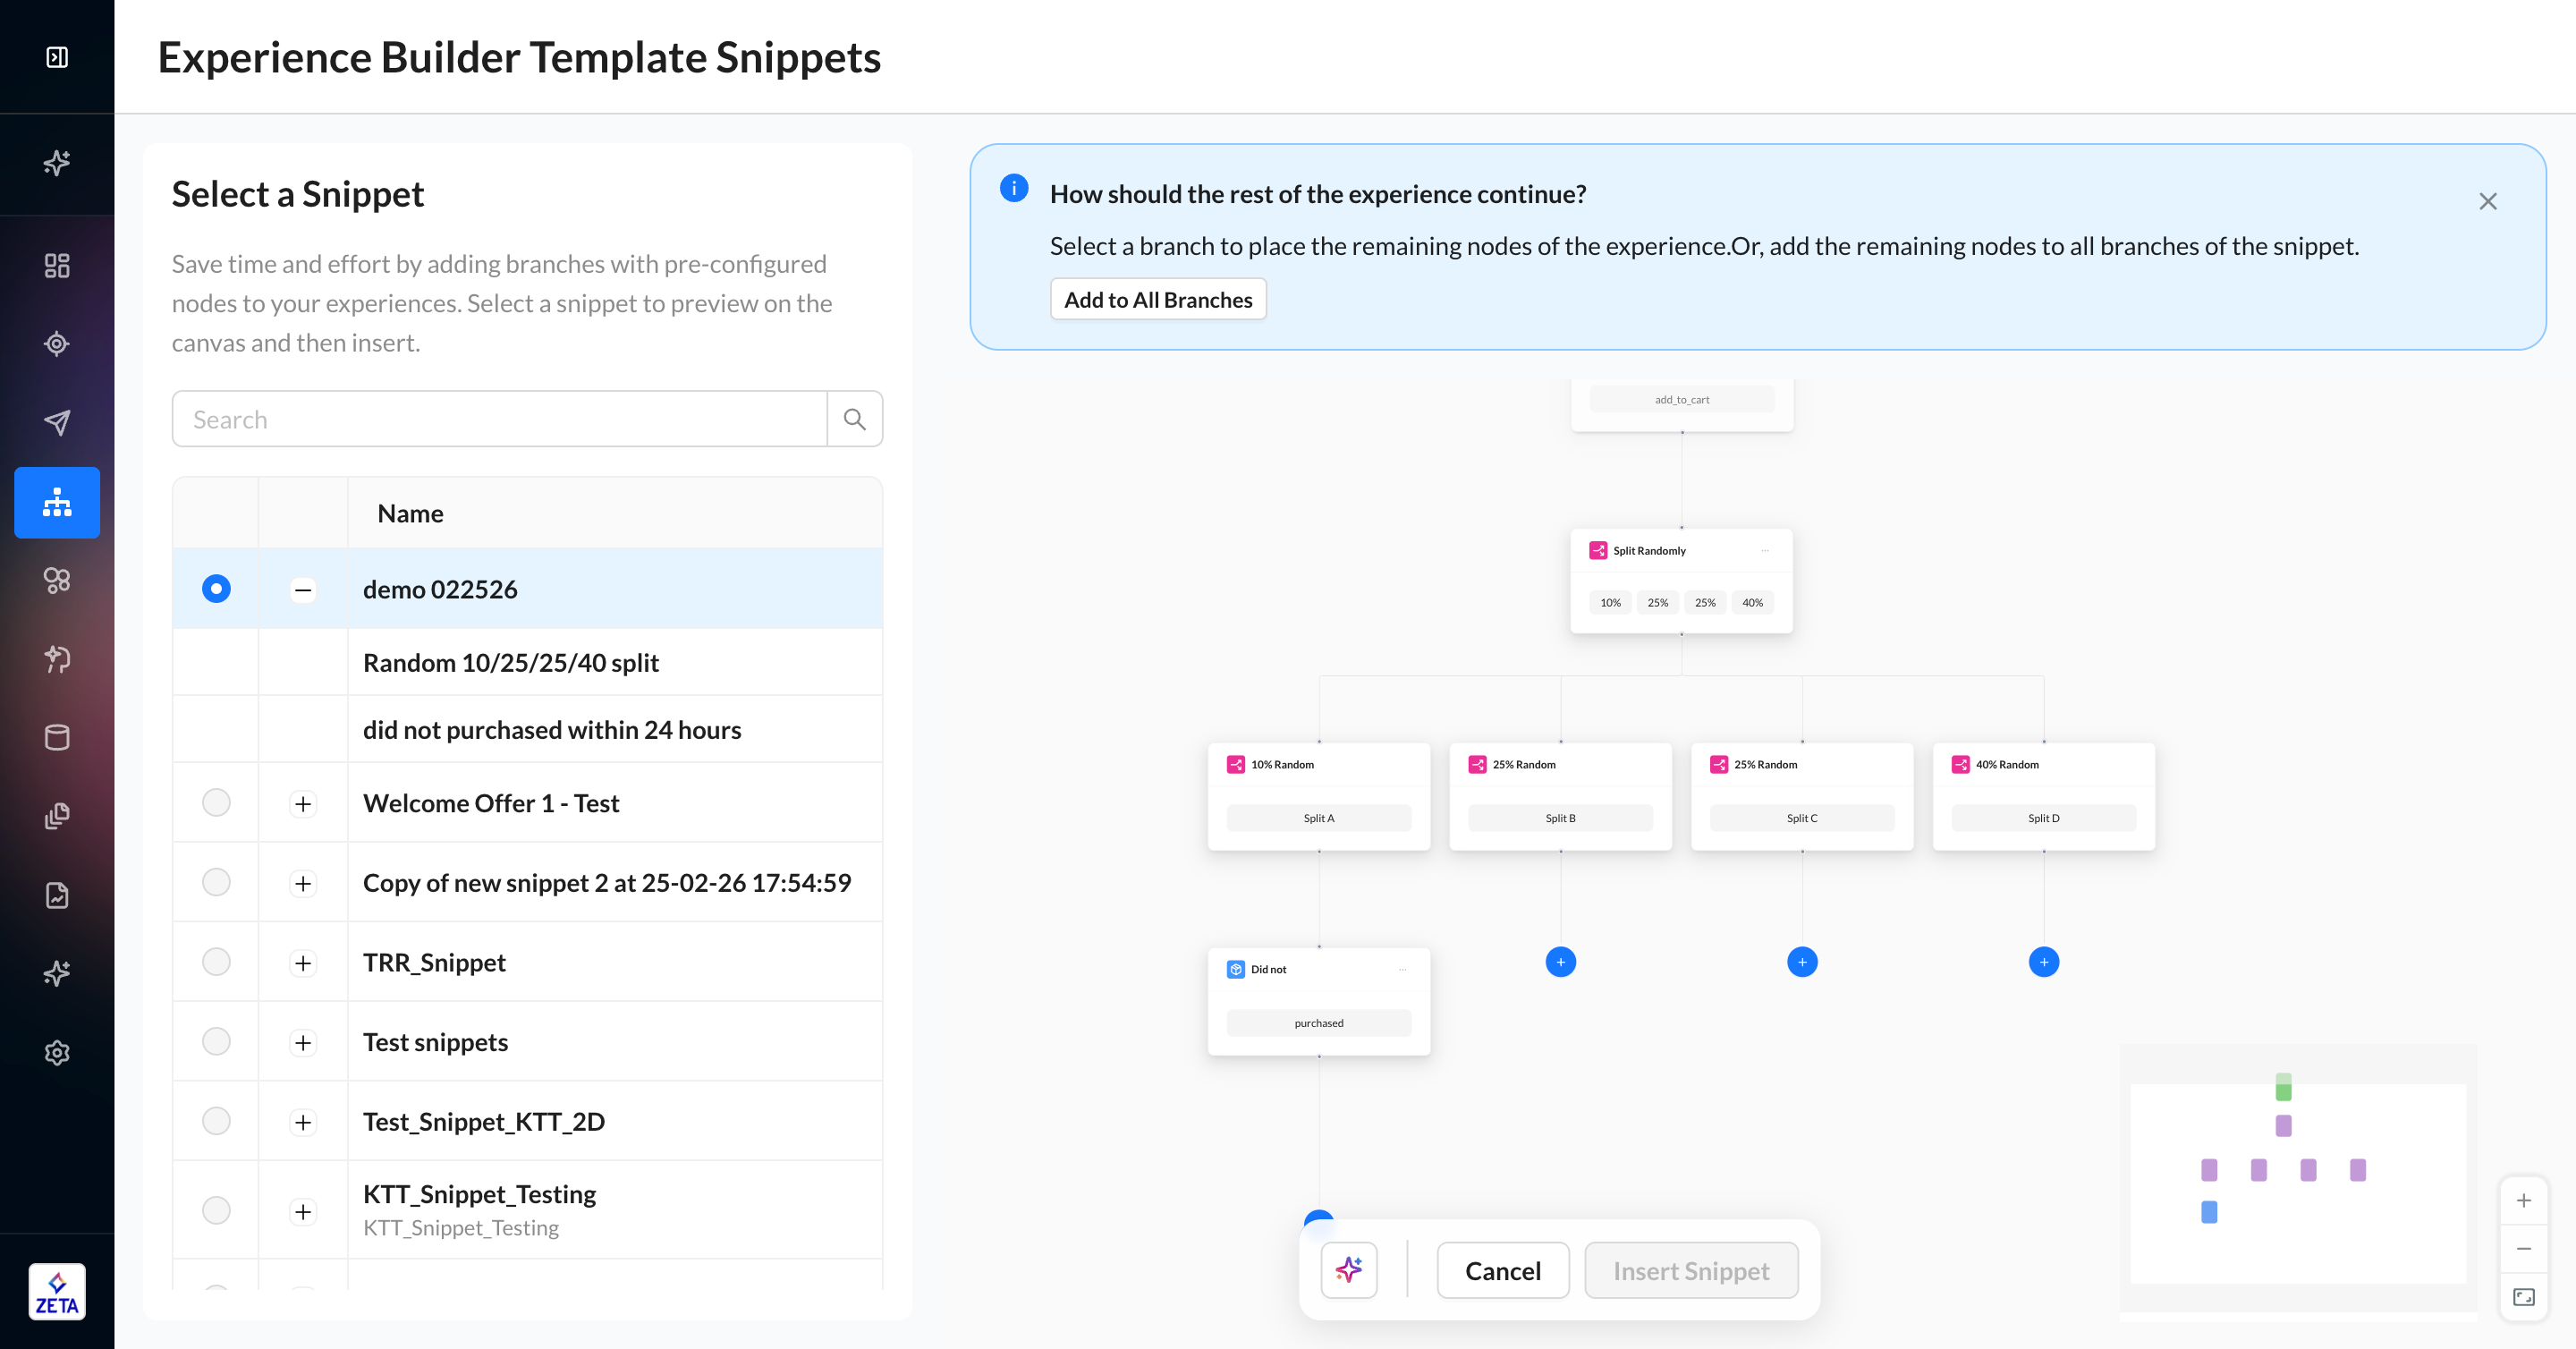
4. Click each snippet to see a preview of what the canvas will look like if you select that snippet. If you’re ready to proceed, click Insert Snippet.
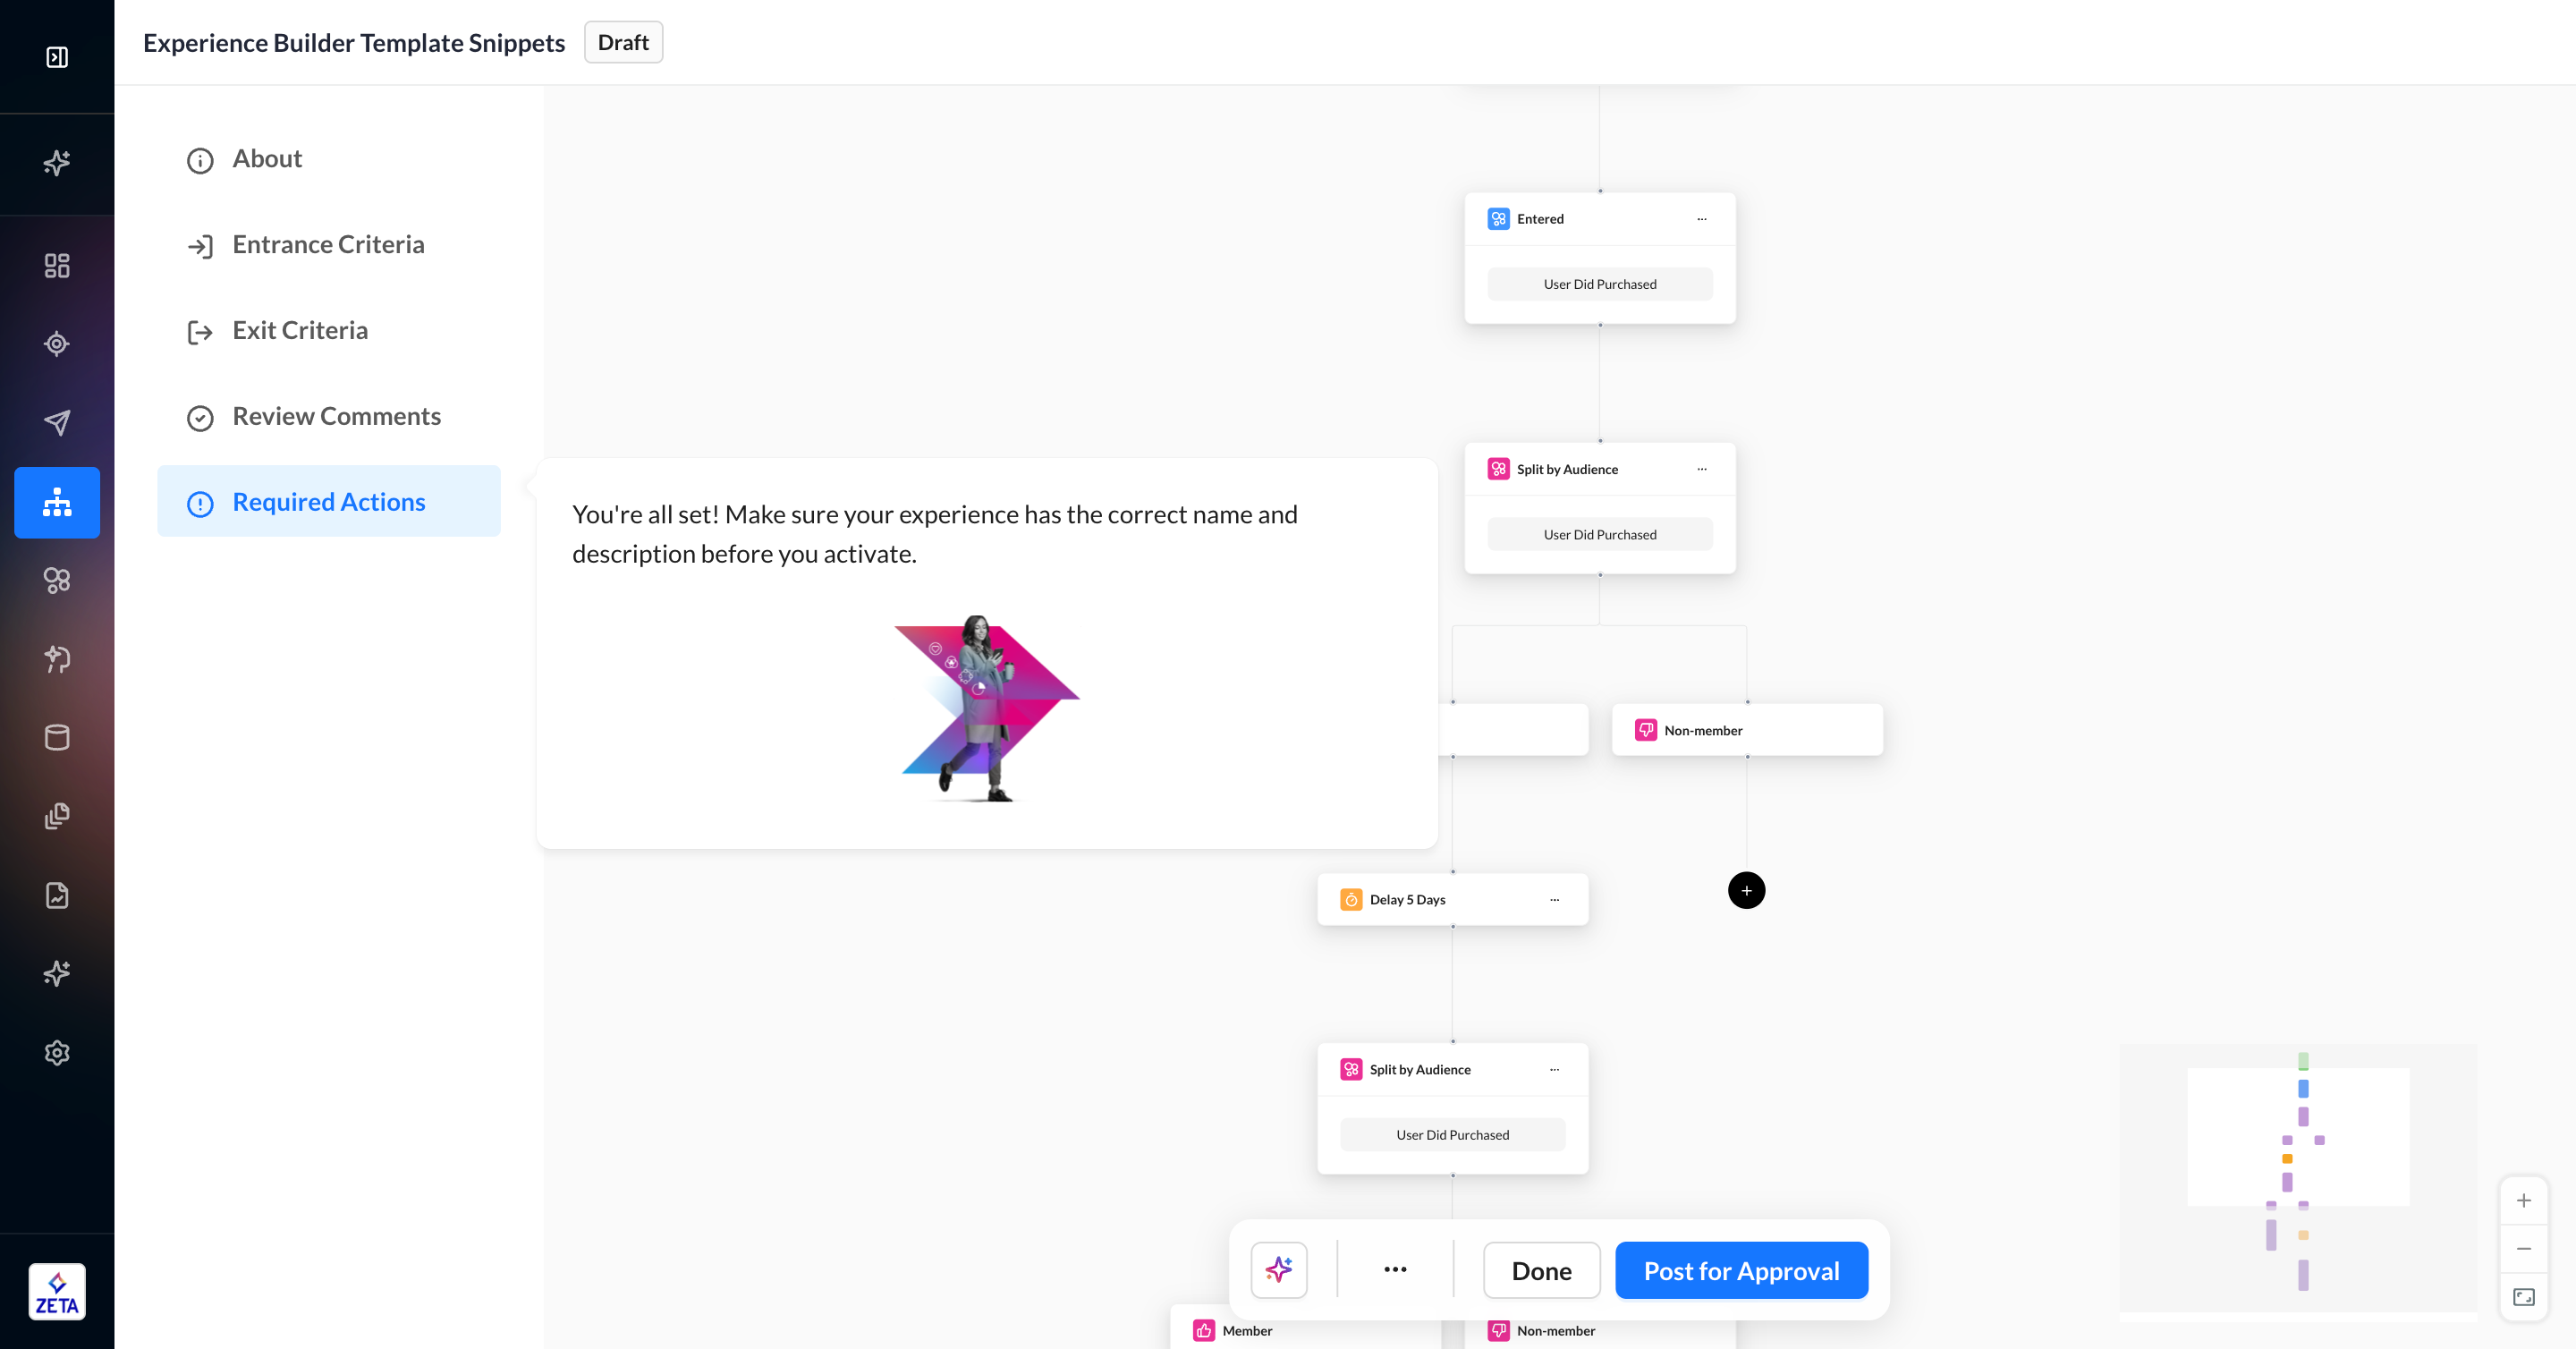
5. After clicking Insert Snippet, you will return to the canvas with your new nodes added. Since this is a template, there are no references back to the original snippet; they are simply nodes on the canvas now.

6. You may need to reconfigure some event and delay nodes if their upstream node references aren’t part of the snippet. These will be identified via Required Actions Remaining cards. Once you edit and complete the nodes, they will be ready to activate.
7. If you decide to insert a snippet in between existing nodes, you may have a few decisions to make. Some snippets may be ineligible because they contain delay nodes or end in certain kinds of splits. Ineligible nodes will be disabled from selection.
8. If you insert a snippet in between existing nodes and choose a snippet that ends in a split node, you will have the option to either put the rest of the existing experience in one branch or, if you want the rest of the experience copied to each branch in the snippet. Click the blue button to only choose one branch of click Add to All Branches in the top banner to duplicate the rest of the existing experience across each branch of the snippet.
Snippet Insertion Limitations
-
Once a snippet is inserted into an experience, it becomes part of that experience. No changes to the snippet will affect these nodes, nor vice versa.
-
You should not have any limitations when inserting a snippet at the end of an experience branch. Ineligible nodes may occur when inserting snippets in between existing nodes.
-
Events and delays that are inserted without their upstream node reference will be added, but you will be required to re-configure the settings so that it points to an upstream node in the current experience.
-
Rules about delays still apply — you cannot insert a delay node in between a node and its upstream reference.
-
Split by Identity nodes cannot be inserted mid-experience.
-
Once you add a snippet, it cannot be deleted. You can use
…>Deleteto delete consecutive nodes in bulk.
Managing Template Snippets
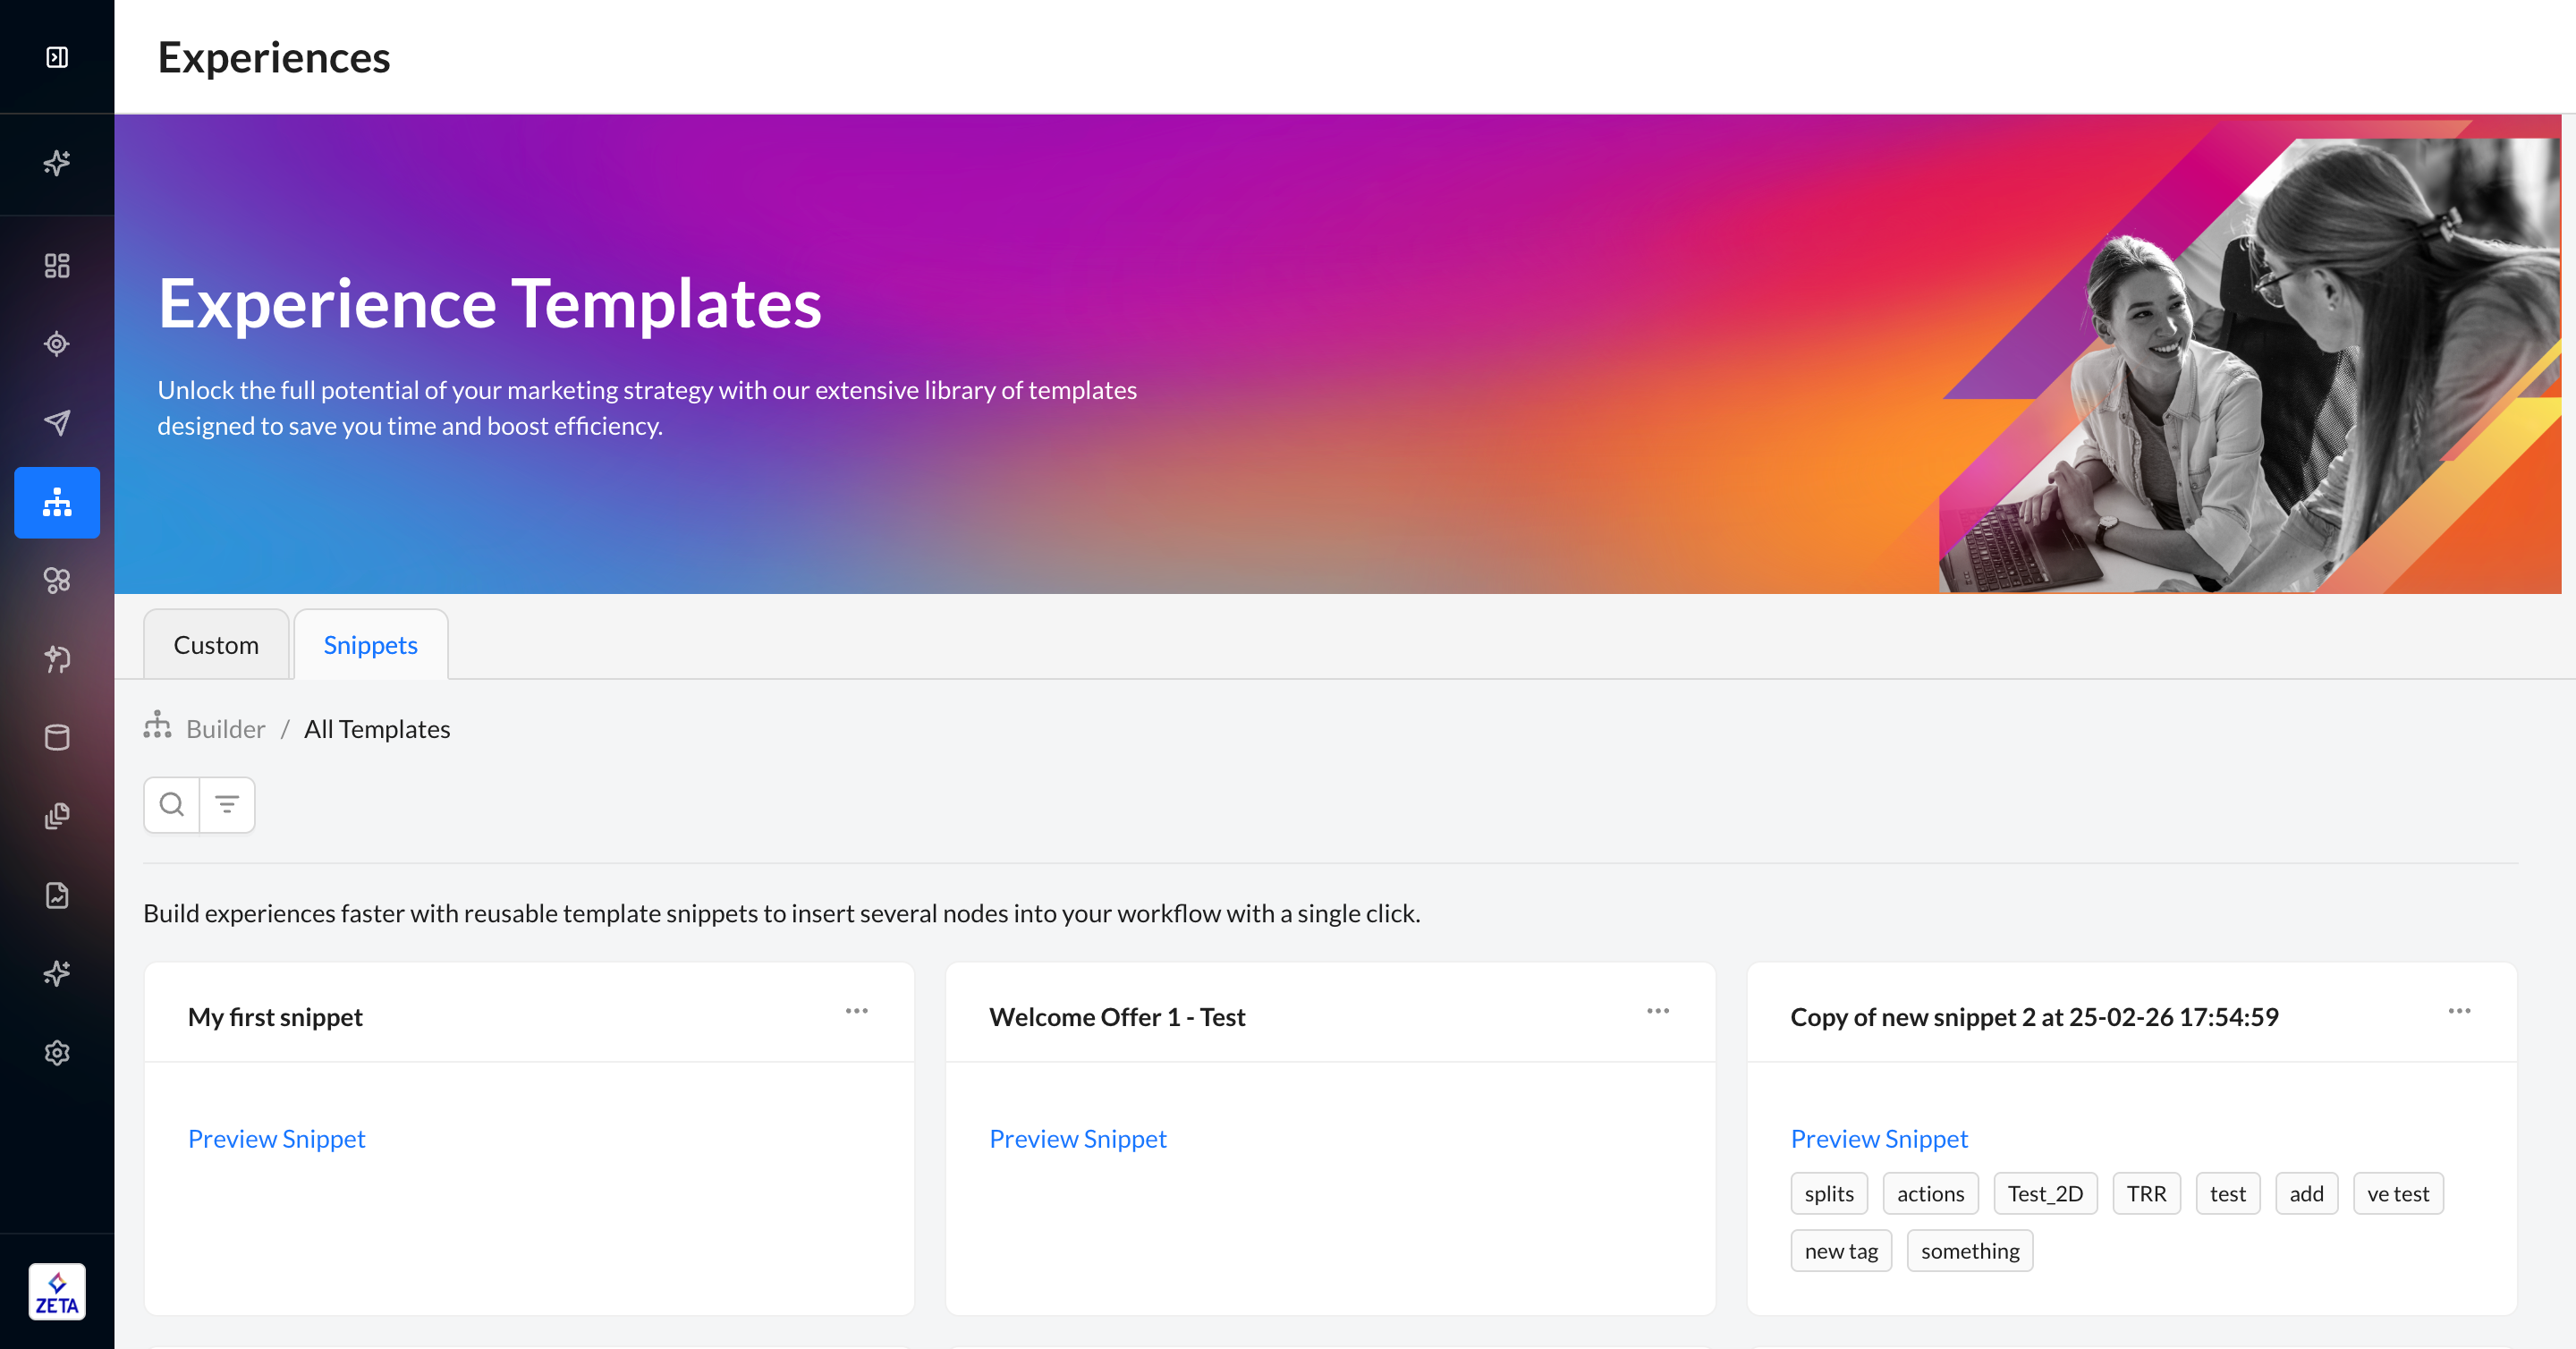
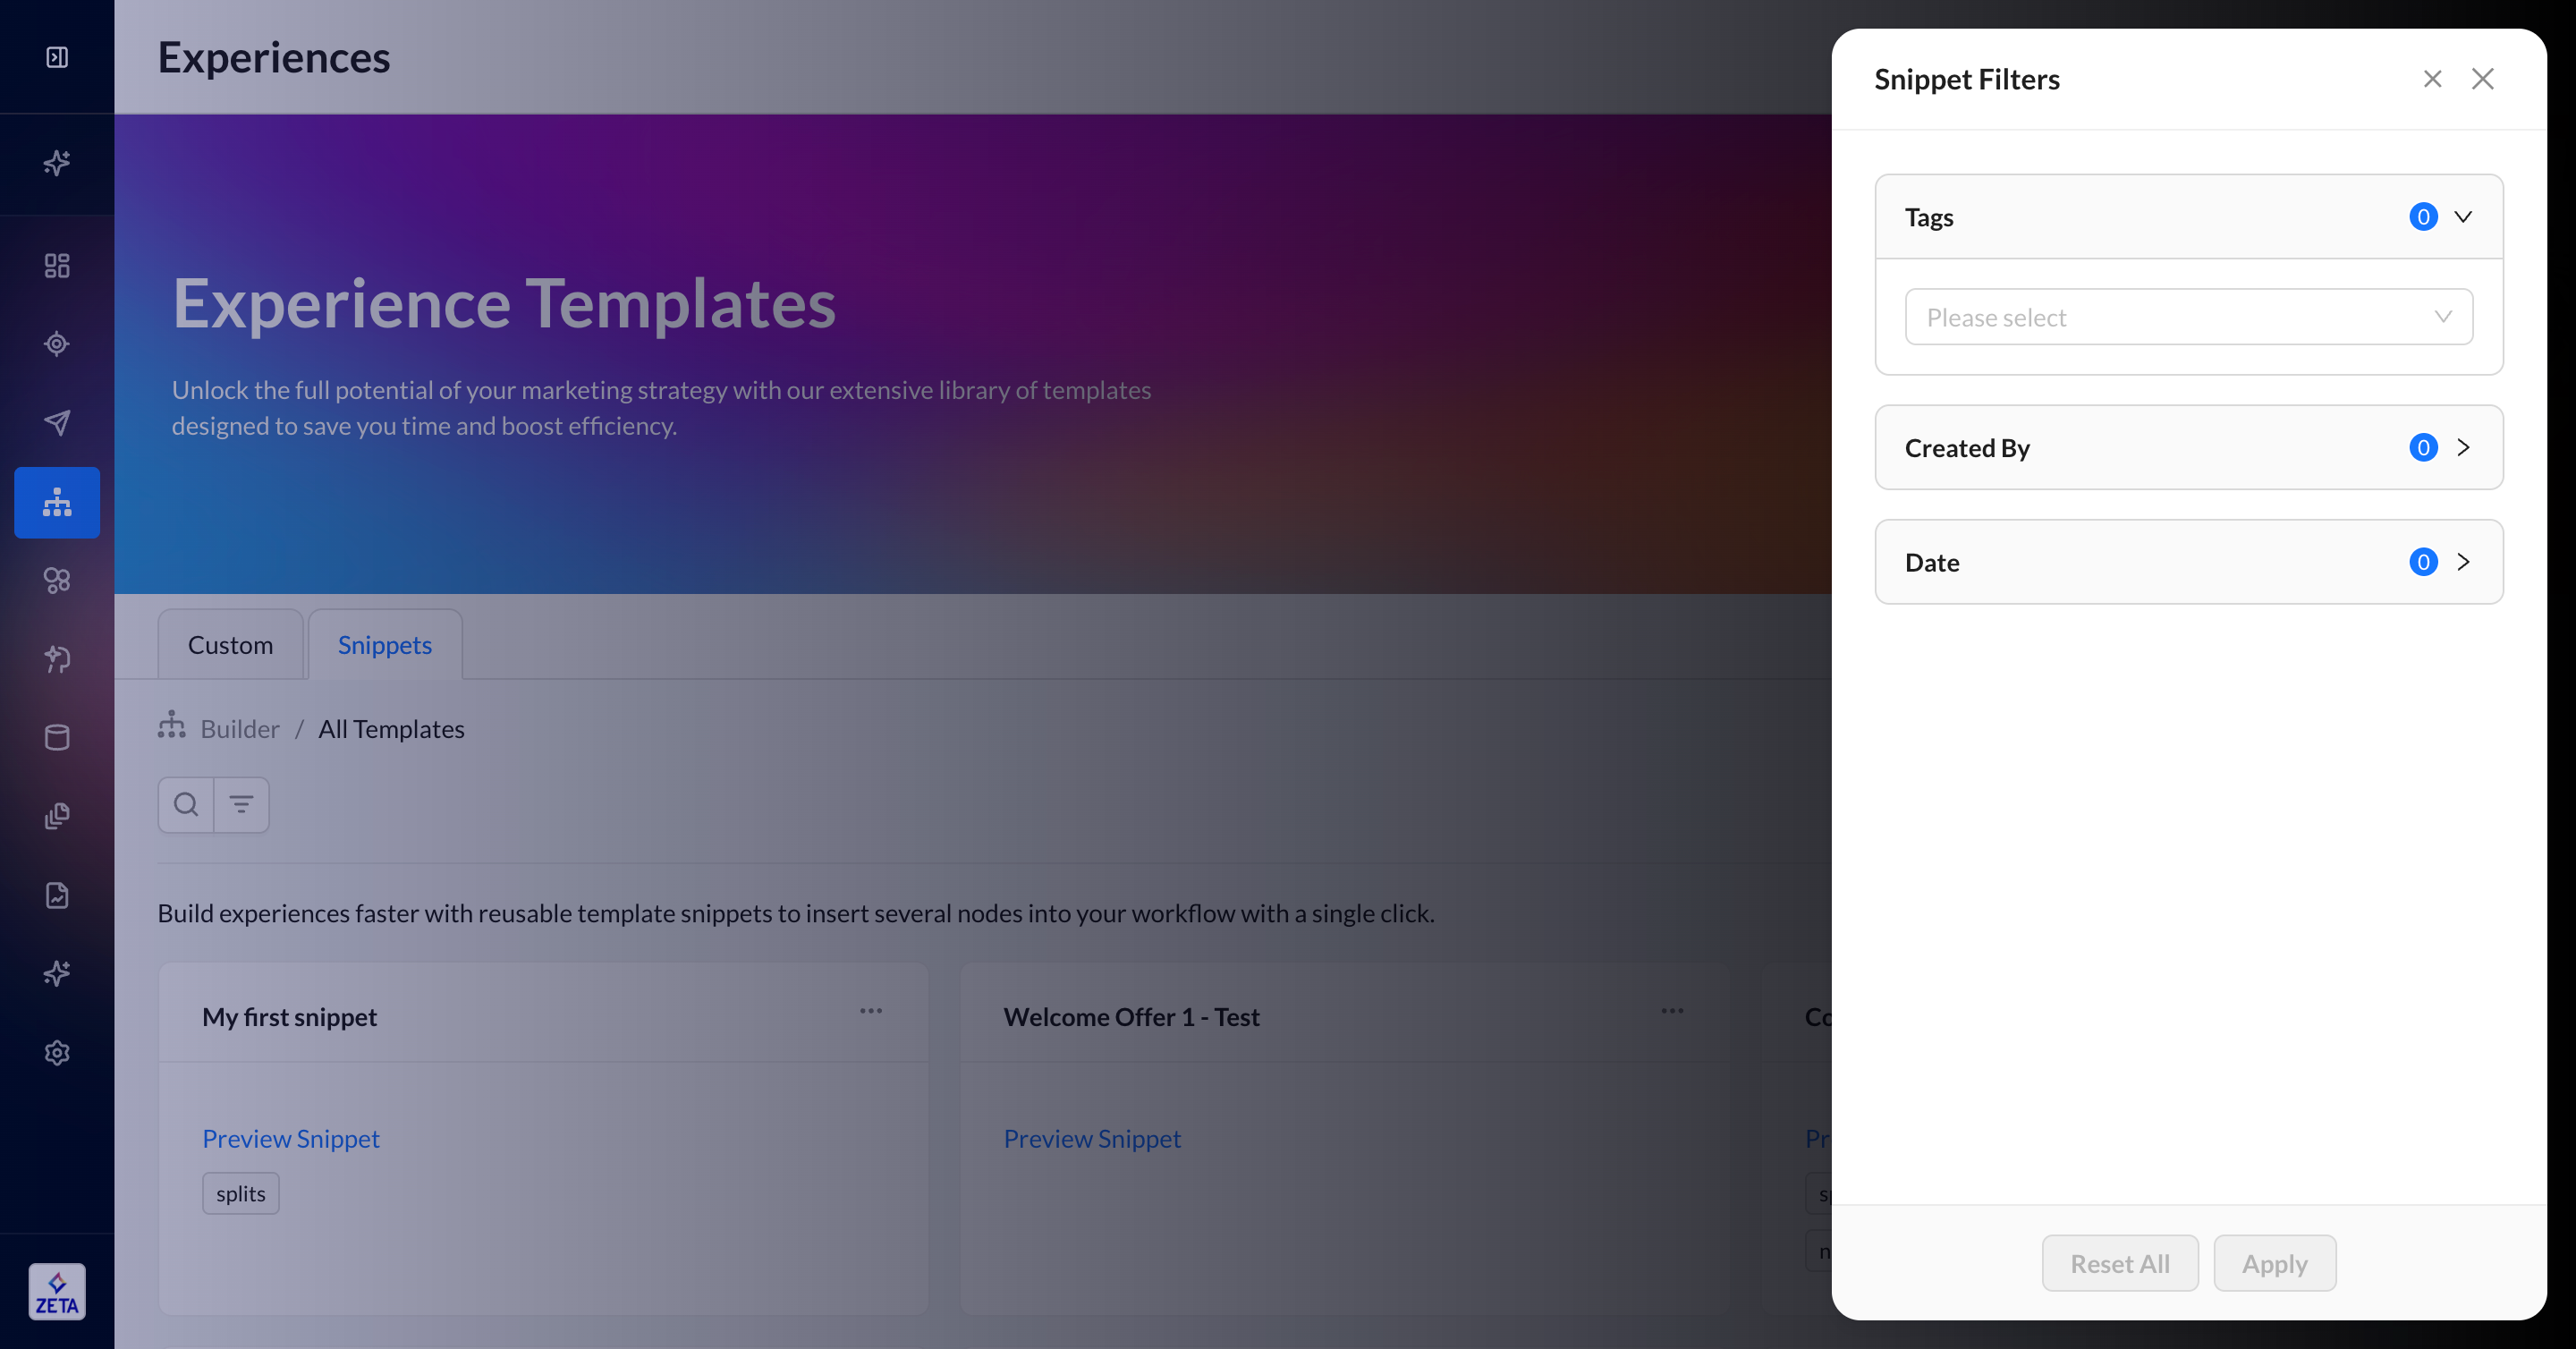
Experience Builder Template Snippets can be found in their own tab on the existing Experience Templates page. The nodes in a template snippet are not editable once created.
1. Click on View All Templates on the Experience Builder listings page and navigate to the Snippets tab. You will see a list of all snippets created for your account, including name, description, and tags.
2. Click the … menu on each snippet to see its menu. You can edit the name, description, and tags (not content); duplicate; or delete the snippet.

3. Click Preview Snippet to open the snippet and see its contents. You can also edit the name, description, and tags from this page.
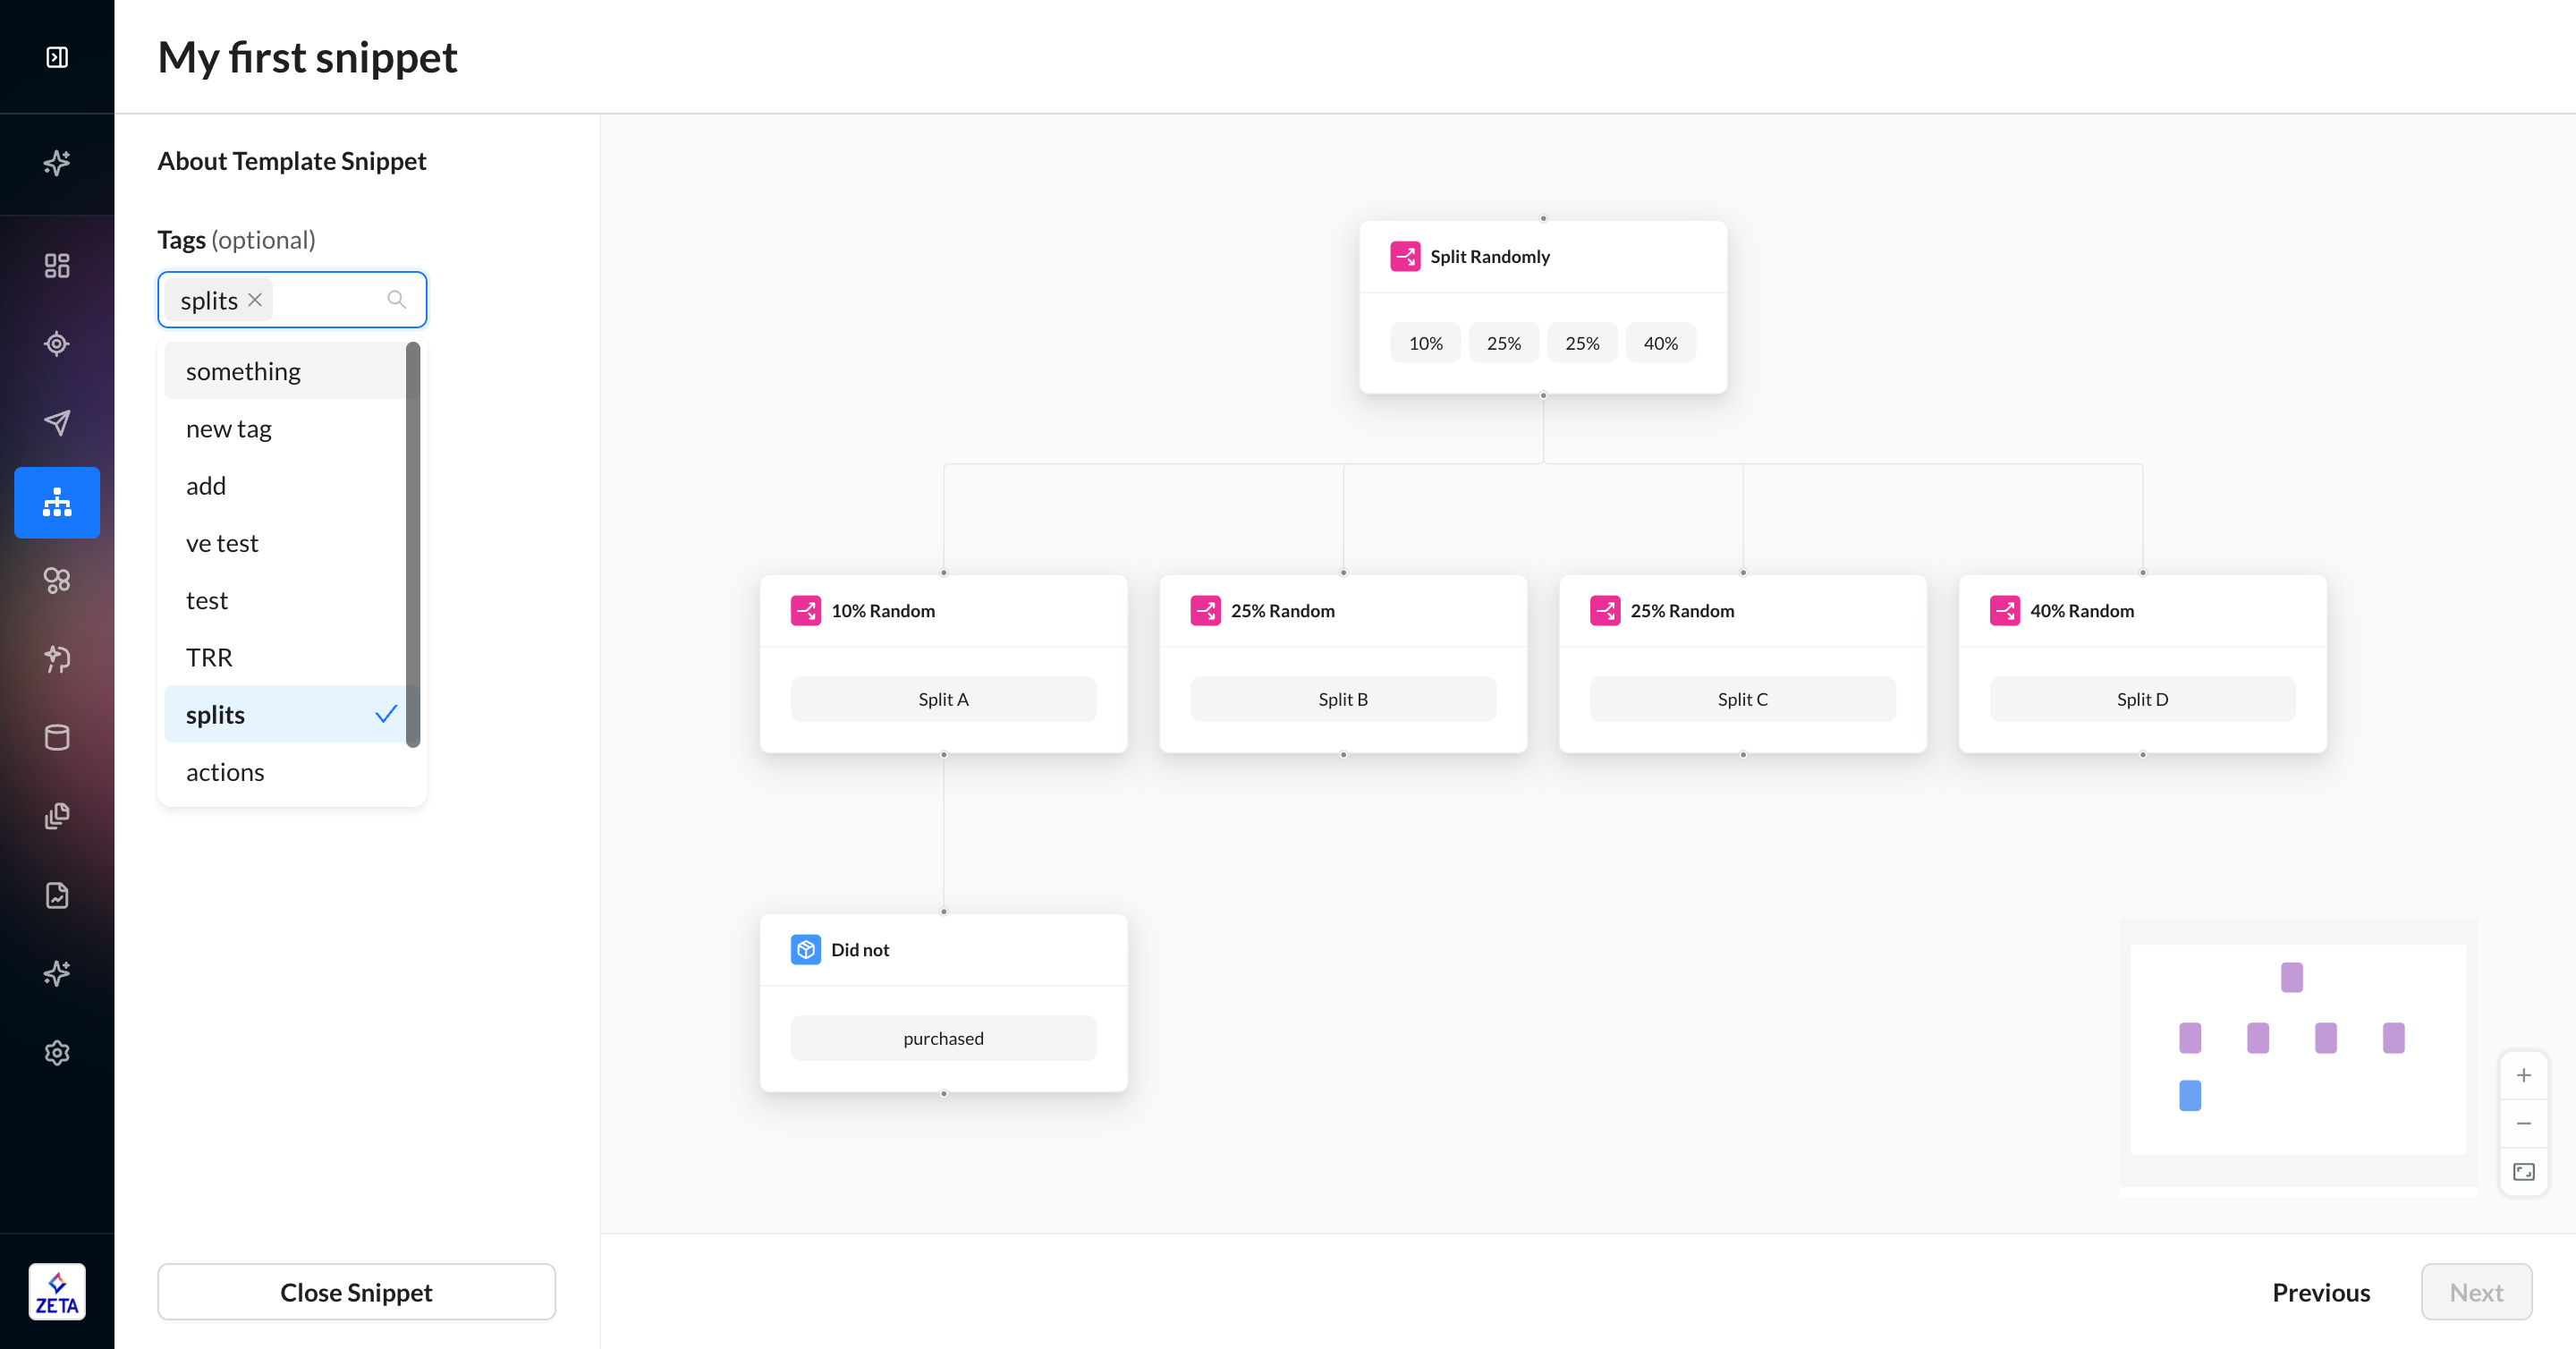
4. Use the bottom navigation to move between template snippets or close the preview. You cannot edit the contents of a template snippet outside of the Experience Builder canvas.
5. You can search and filter your snippets based on tags, creator, and date.
Sharing template snippets across accounts is not currently supported. You can add a snippet to an experience, share it with another account, then create the snippet in the other account.