

The X connector sends ZMP Customer and Prospect audiences to X (Twitter) Ads so you can target them in campaigns.
This destination should be configured prior to being able to use it. If this is not yet configured, you will be prompted to authenticate in Settings > Connections. If you have more than one account configured for this destination, you’ll be prompted to select it before you see a list of audiences.
The selected audience can be an existing X audience, or you can create a new audience during setup if that option is available.
Configuring the Connection
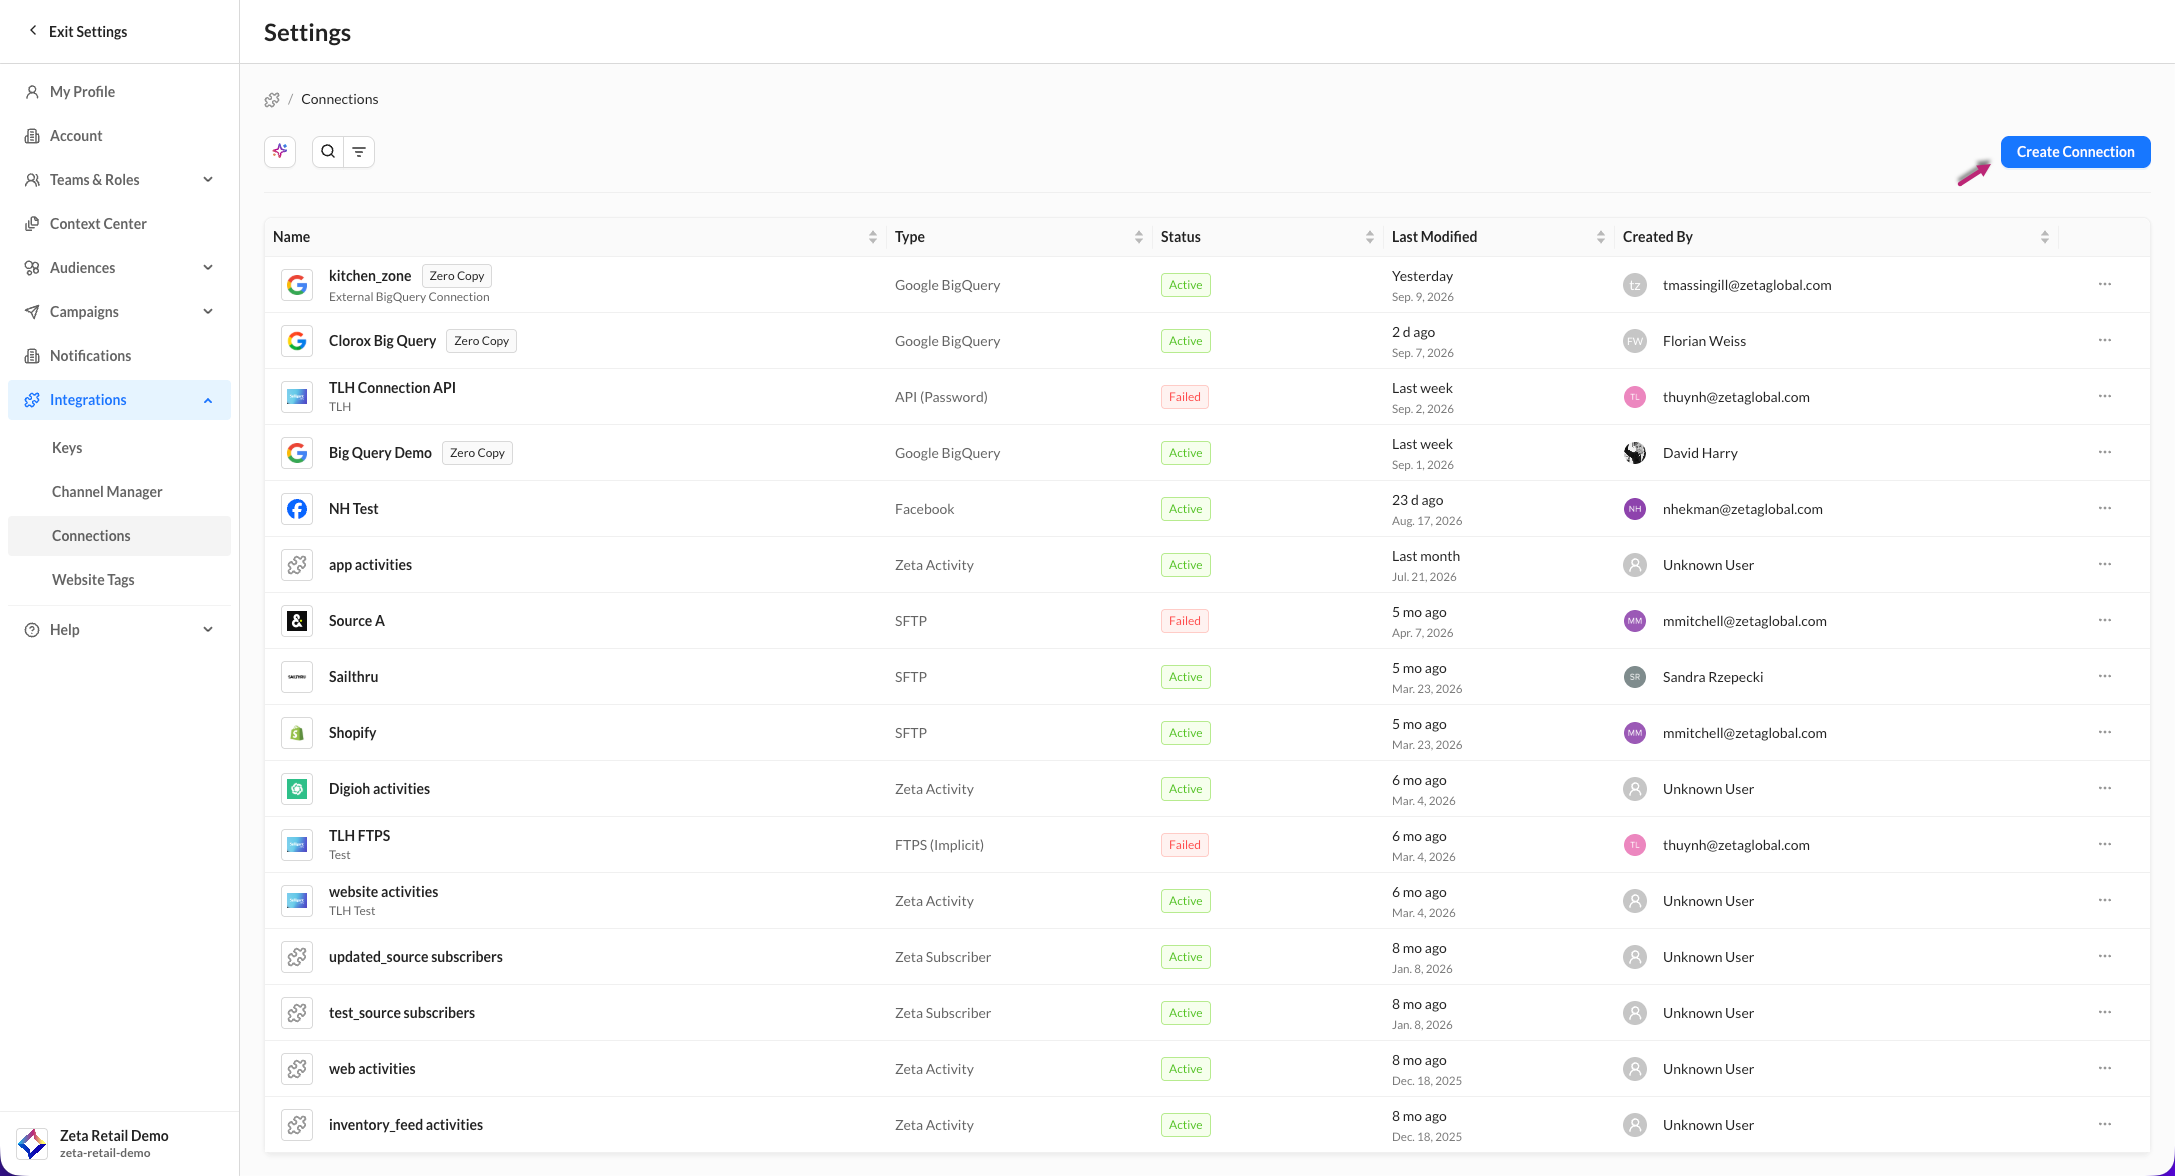
1. Navigate to Settings > Integrations > Connections. Click on Create Connection.
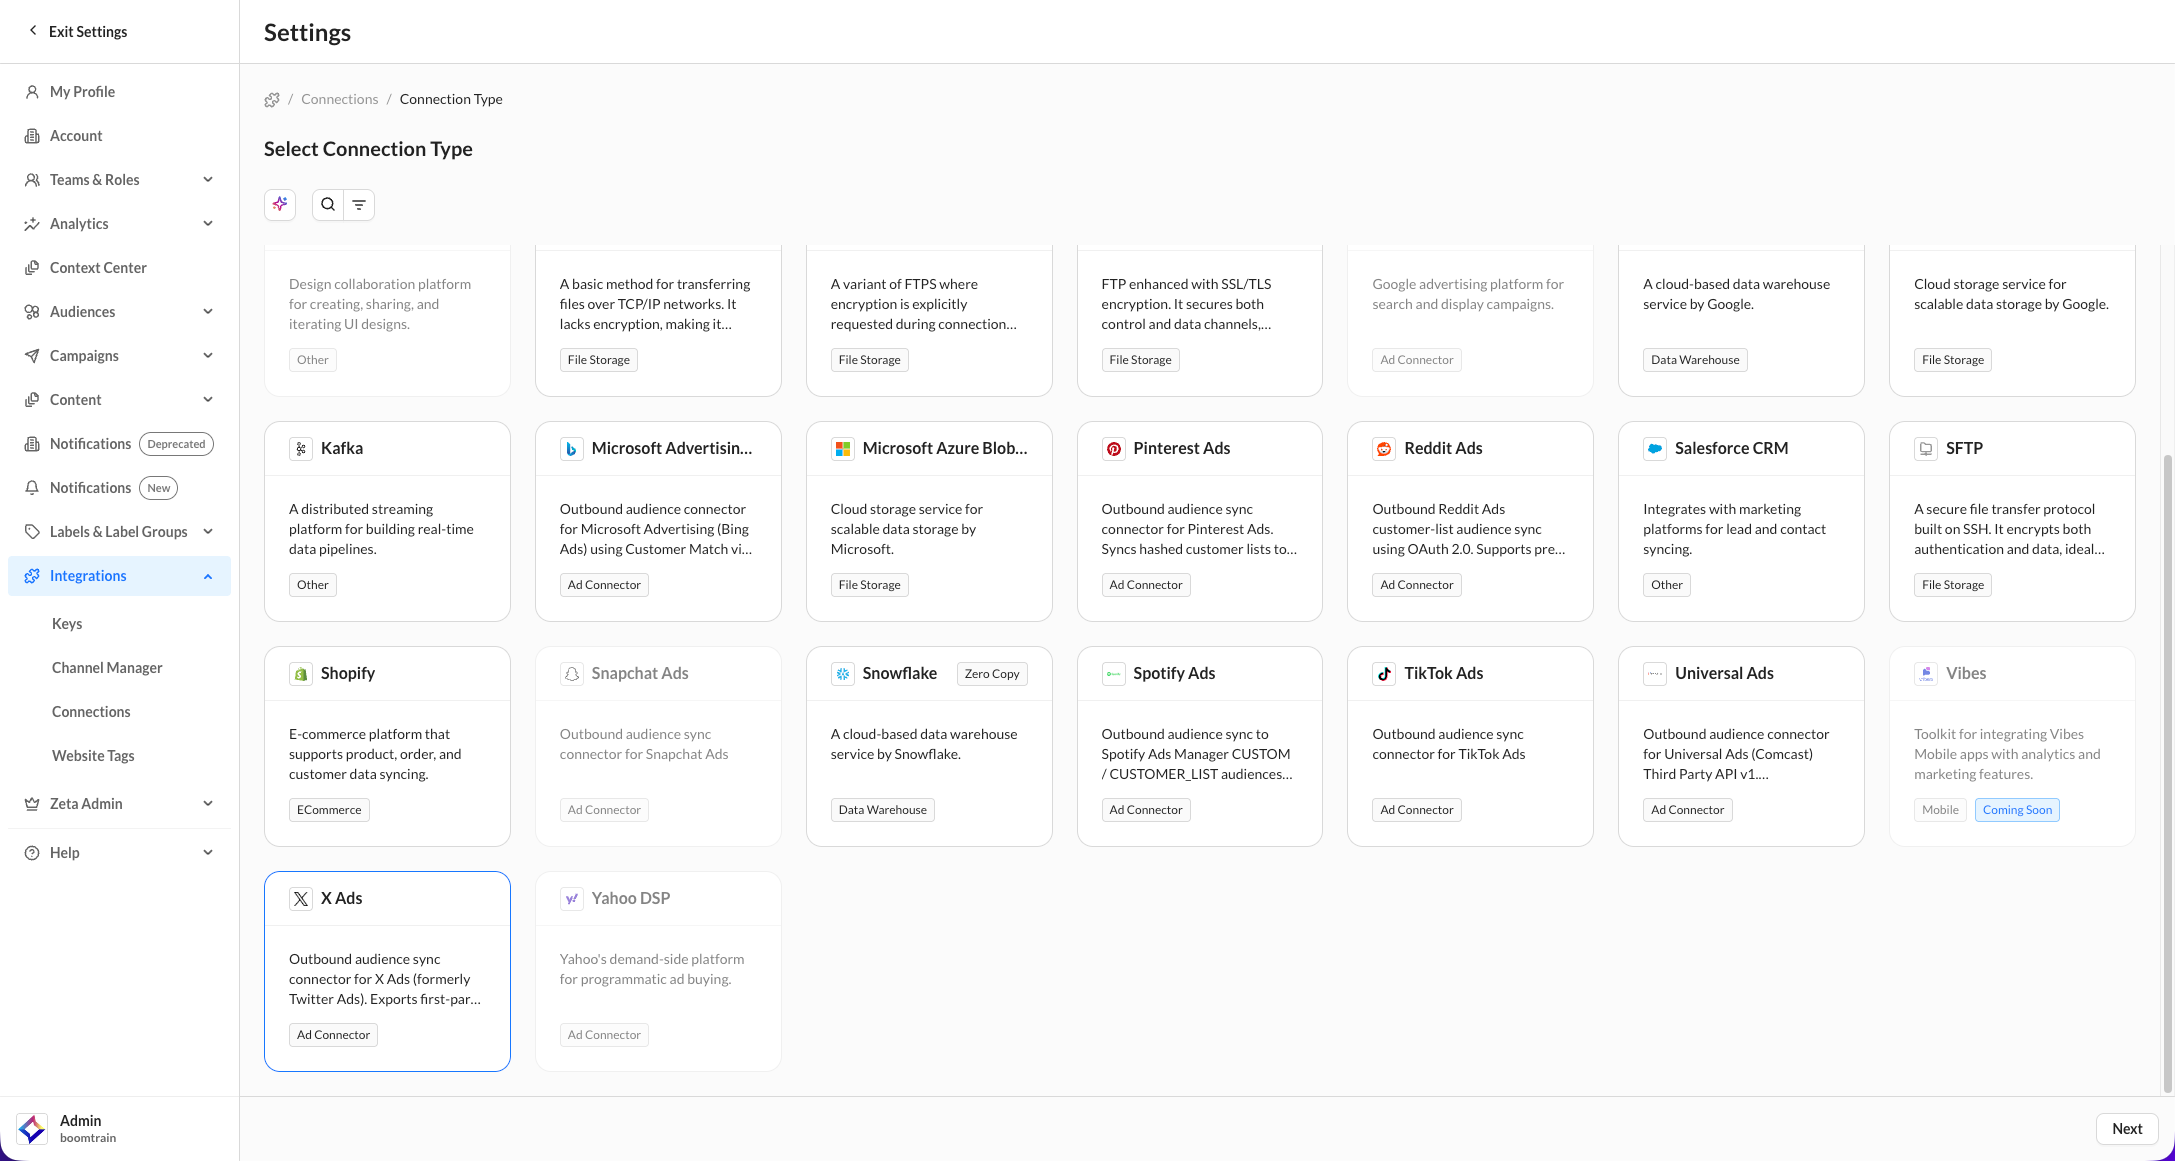
2. On the Select Connection Type page, click on the X tile. Click on Next.
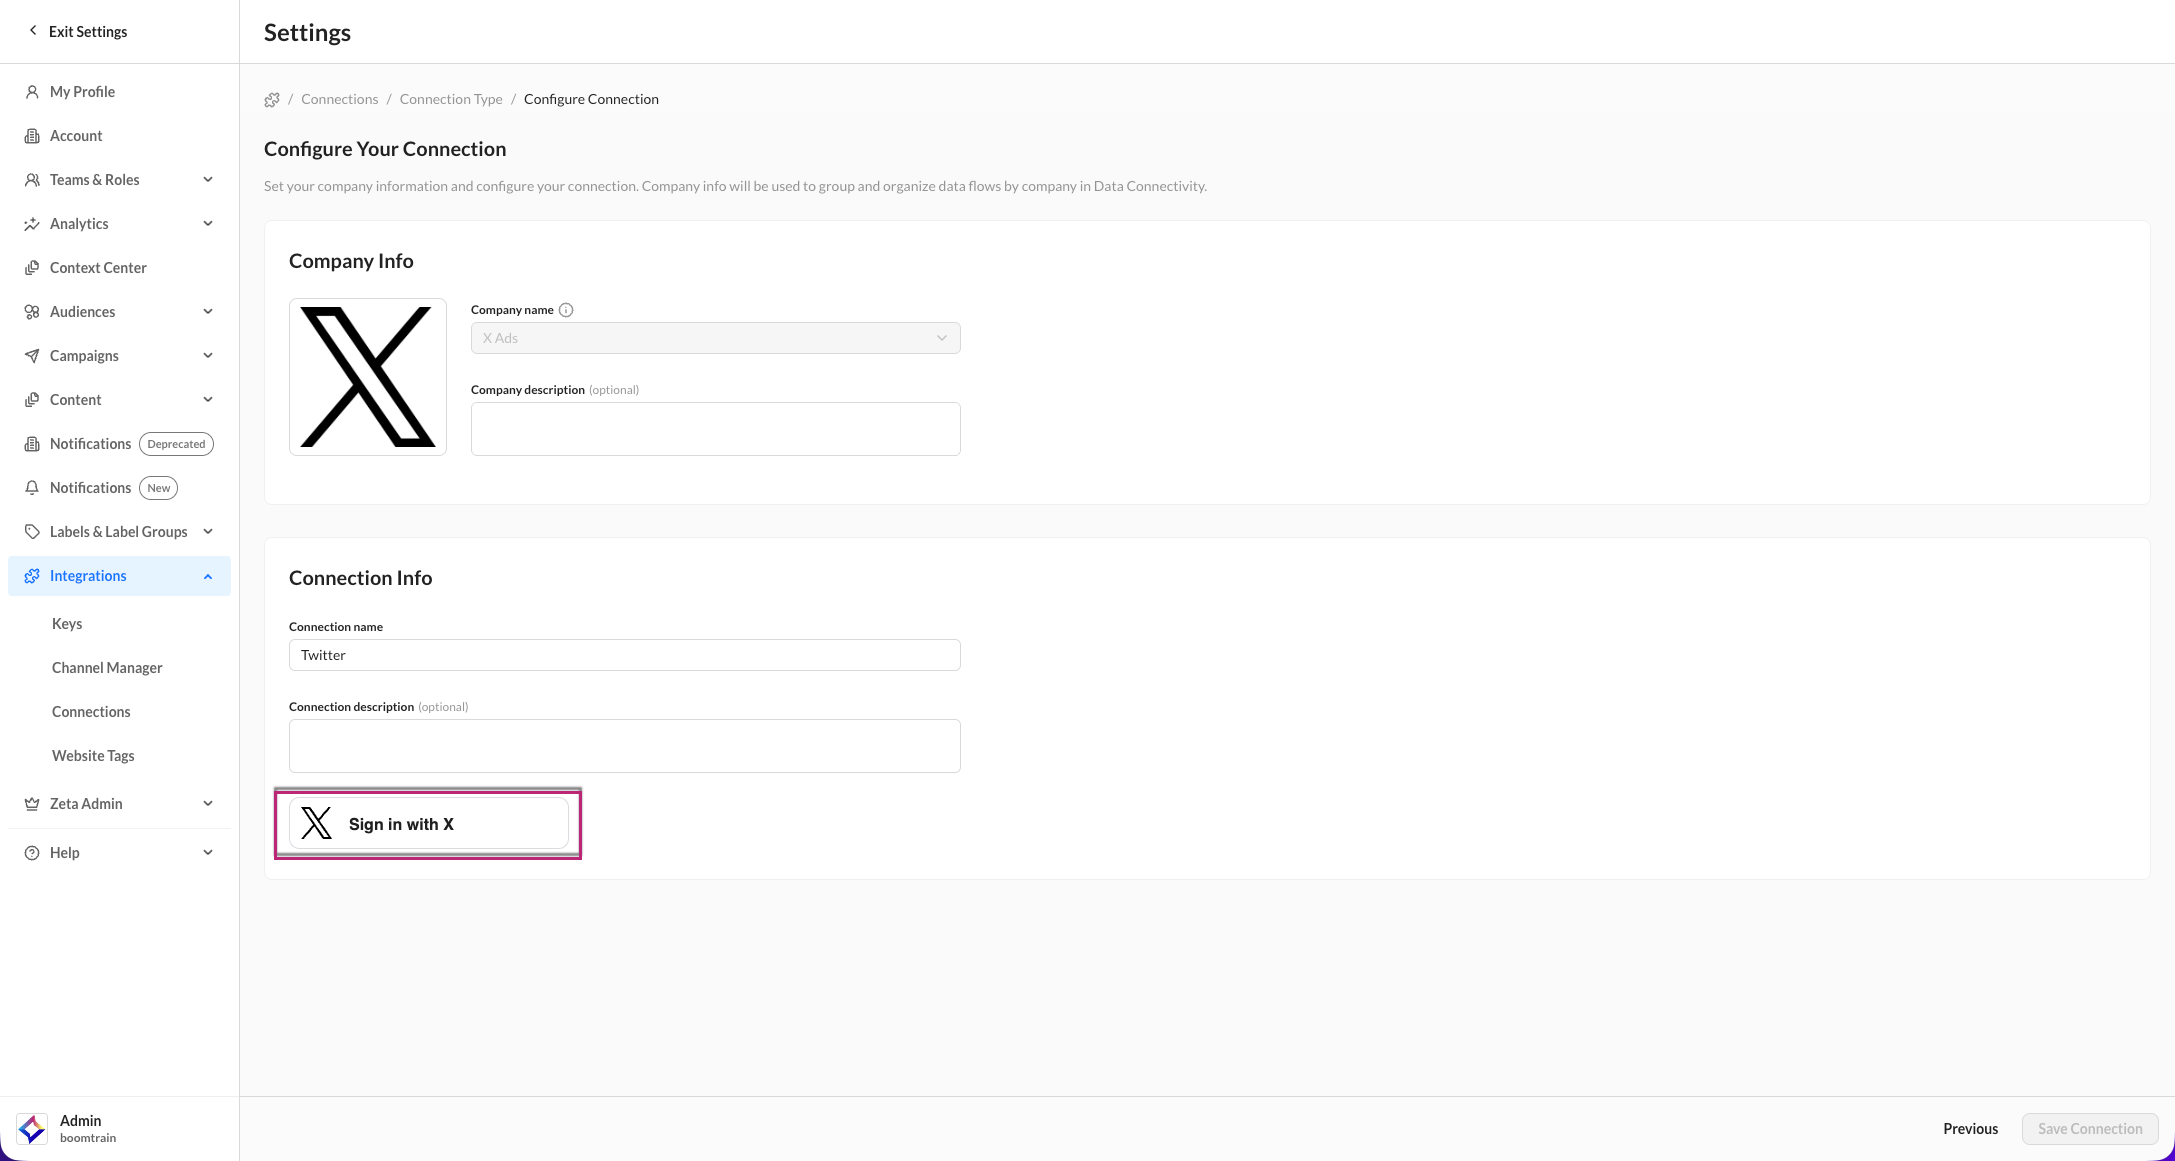
3. Once selected, the fields will resolve to a sign-in button for you to authenticate your X account via SSO. Clicking the button opens a pop-up to sign in.
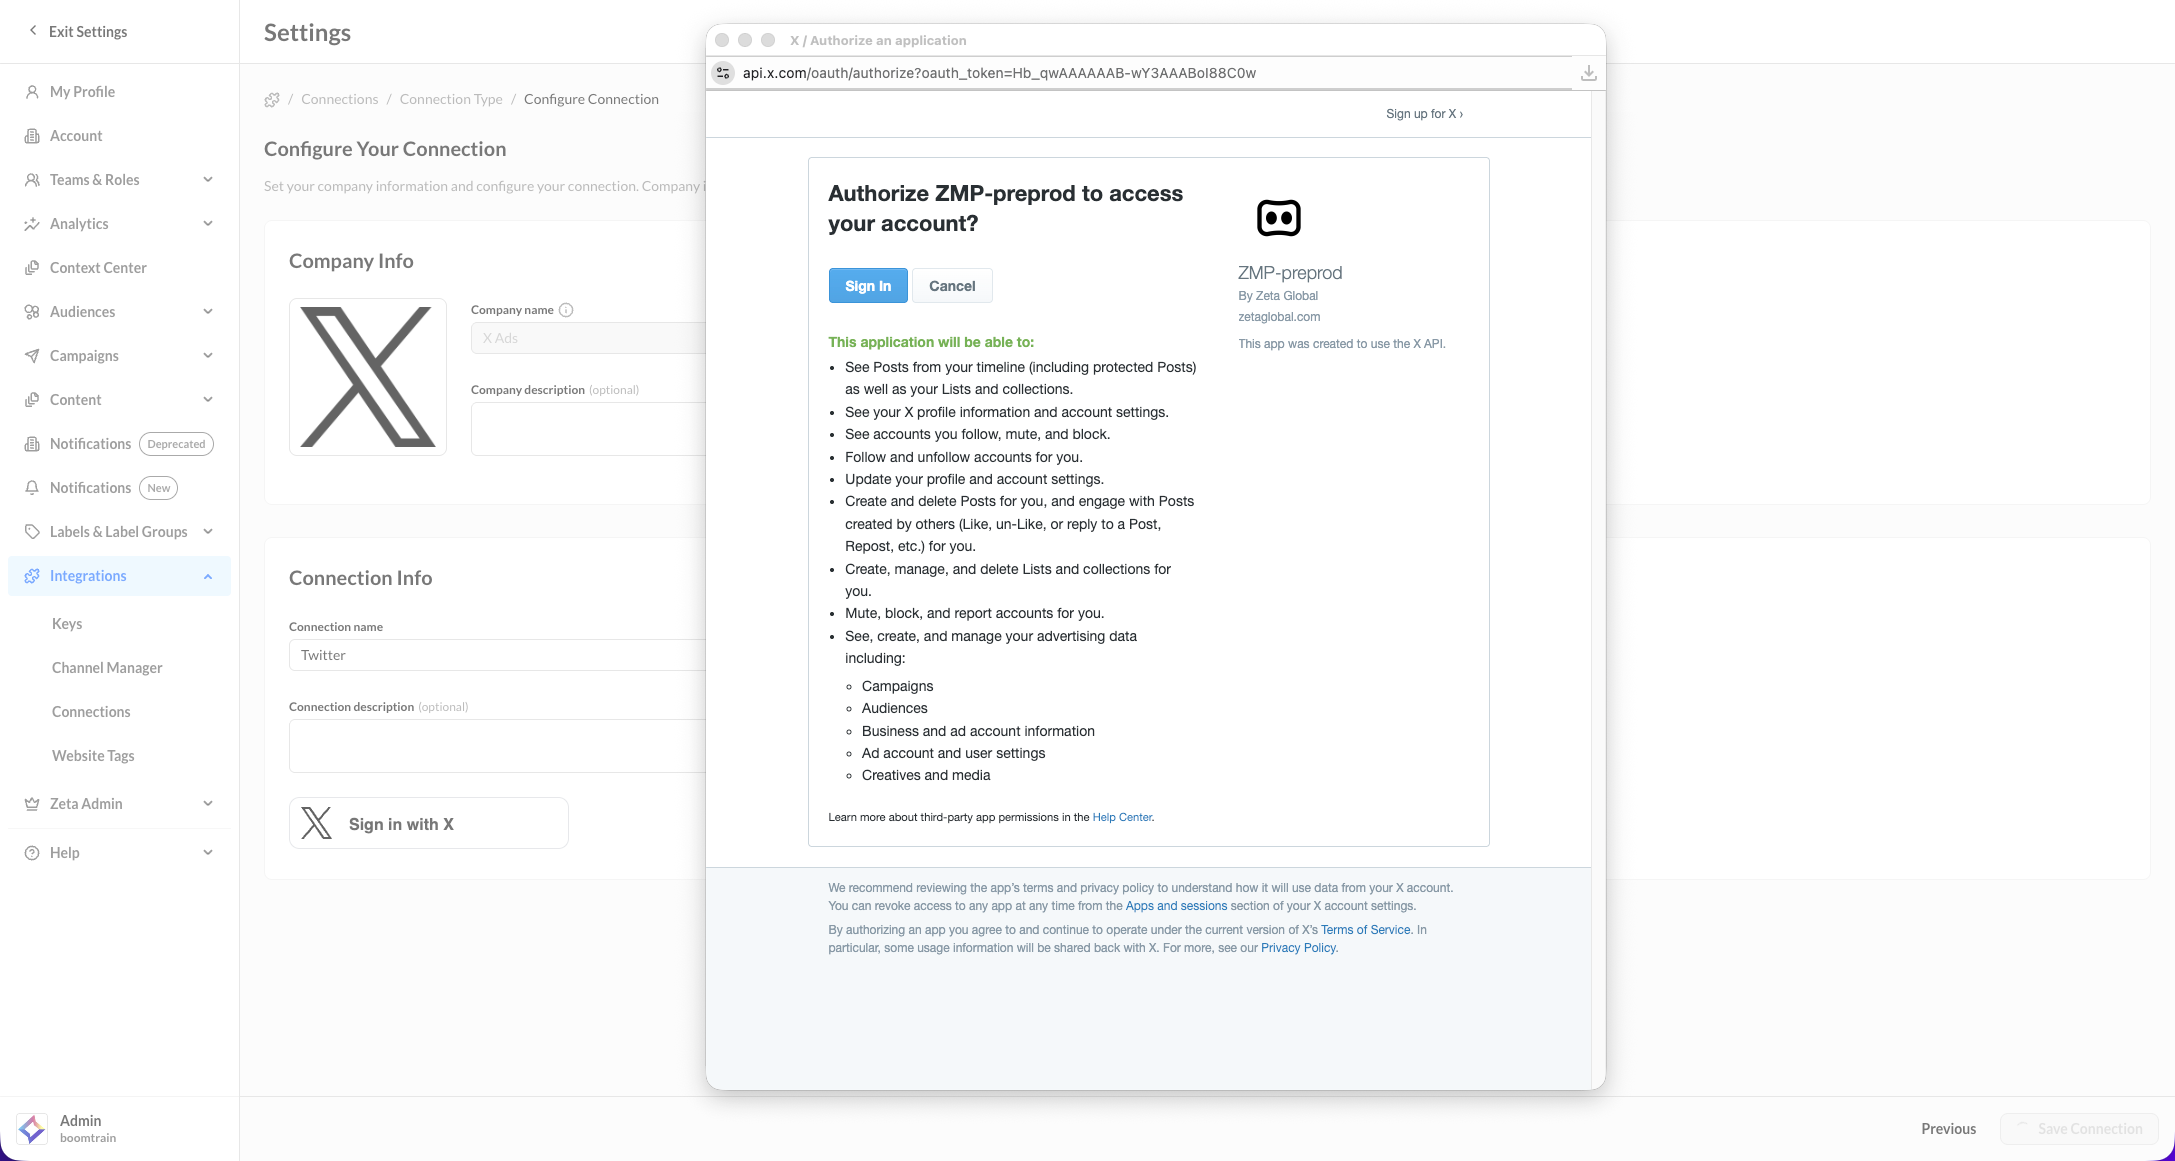
4. When prompted, make sure you accept all permissions so you can send data from ZMP to X Ads.
5. Once authenticated, all the X ad accounts attached to your username will appear in a table. Check the boxes of the accounts you want to use on the current ZMP instance.
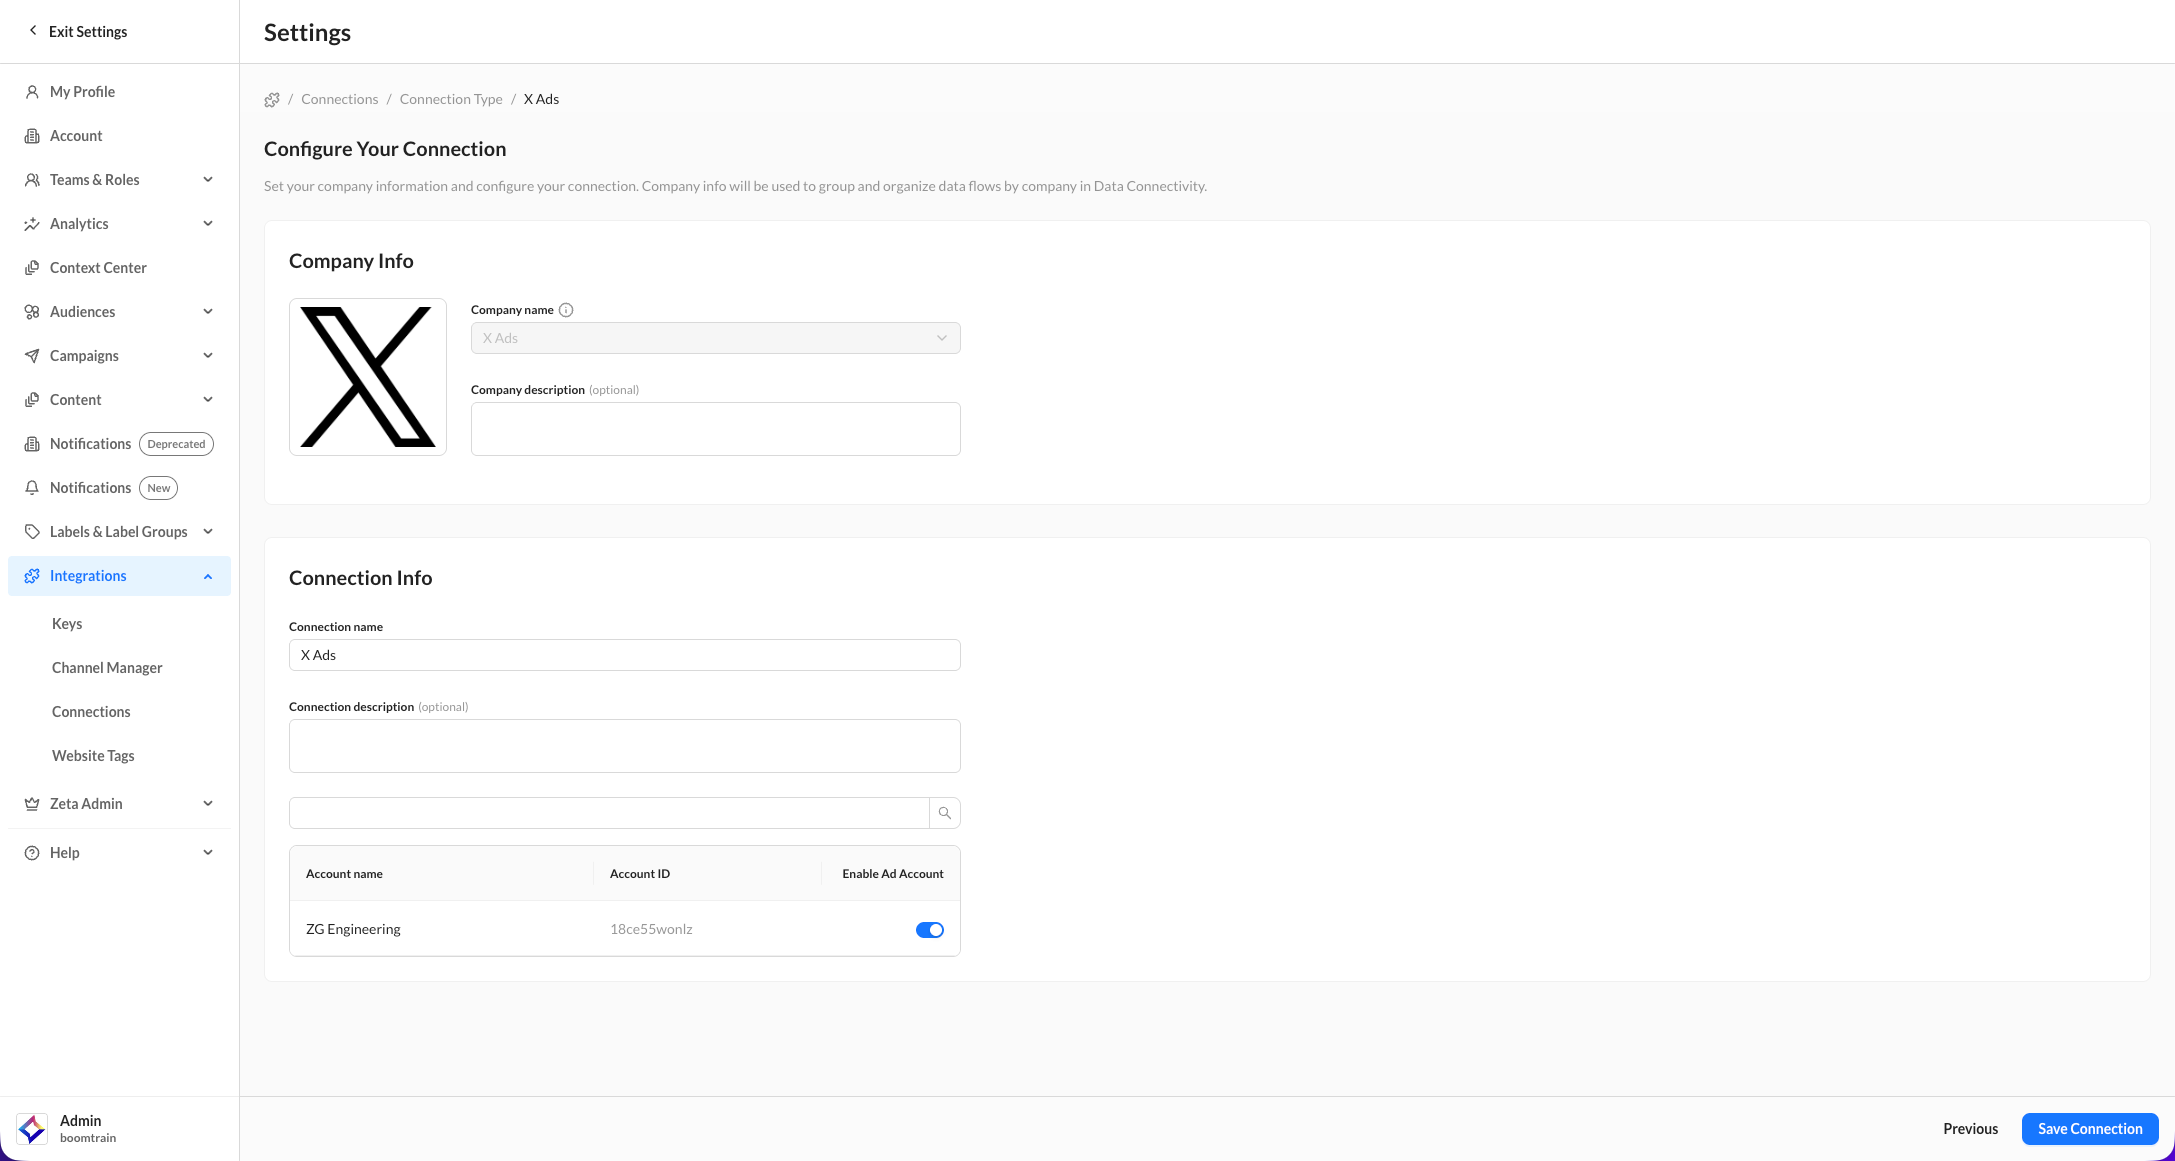
6. After clicking Save on the X Connection page, you’ll be redirected to the Connections page, where you can see the active status of your connection.
While you can add multiple accounts in a single Connection, you can only create one Connection for each partner connector.
For all OAuth connectors—including X—sync uses the person who initially connected the account. If that person loses ad-account access, changes their password, or their OAuth token expires or is revoked, all exports using that connector will stop until the connection is reauthenticated.
Sync using Audience Exports
The process for exporting an audience to a partner destination is standardized across all connectors.
1. From Segments & Lists, locate the row of the audience you wish to export. Click on the action menu (three dots) on the far right and select Export.
2. Within the Connect Audience panel that appears on the right, select X from the list of Available Connectors and click on Next.
3. From the list that appears, select the desired X account. If you have more than one X account configured, select the appropriate account from the account drop-down list.
4. Choose the X audience you want to export to from the available audience list. The selected audience can be an existing X audience, or you can create a new audience during setup if that option is available.
5. Once you select an audience, the available export options appear:
-
Add more people – Add people from the ZMP audience to the selected X audience.
-
Remove these people – Remove people in the ZMP audience from the selected X audience, if supported.
You can also use Set Attributes to configure any additional audience attributes available for the X export.
6. Click on Connect to export the audience. Turn the Automate connection toggle on and configure the available schedule options if you want to keep the X audience updated automatically.
-20260819-150021.gif)
Replace operations are not available for X. You cannot overwrite a destination audience with the people in your ZMP audience.
Expansion exports for X require the audience being exported to include the top-level email_md5 attribute. This requirement does not include external_ids.email_md5. The matching process skips records without top-level email_md5, which causes the export to fail.
For refreshable audiences like Prospect Segments, you can choose to export the audience one time or on a recurring basis. You cannot schedule a recurring export for Prospect List, Matched List, or Lookalike because you cannot modify existing items.
ZMP cannot execute Audience Export against inactive segments (archived/error).