

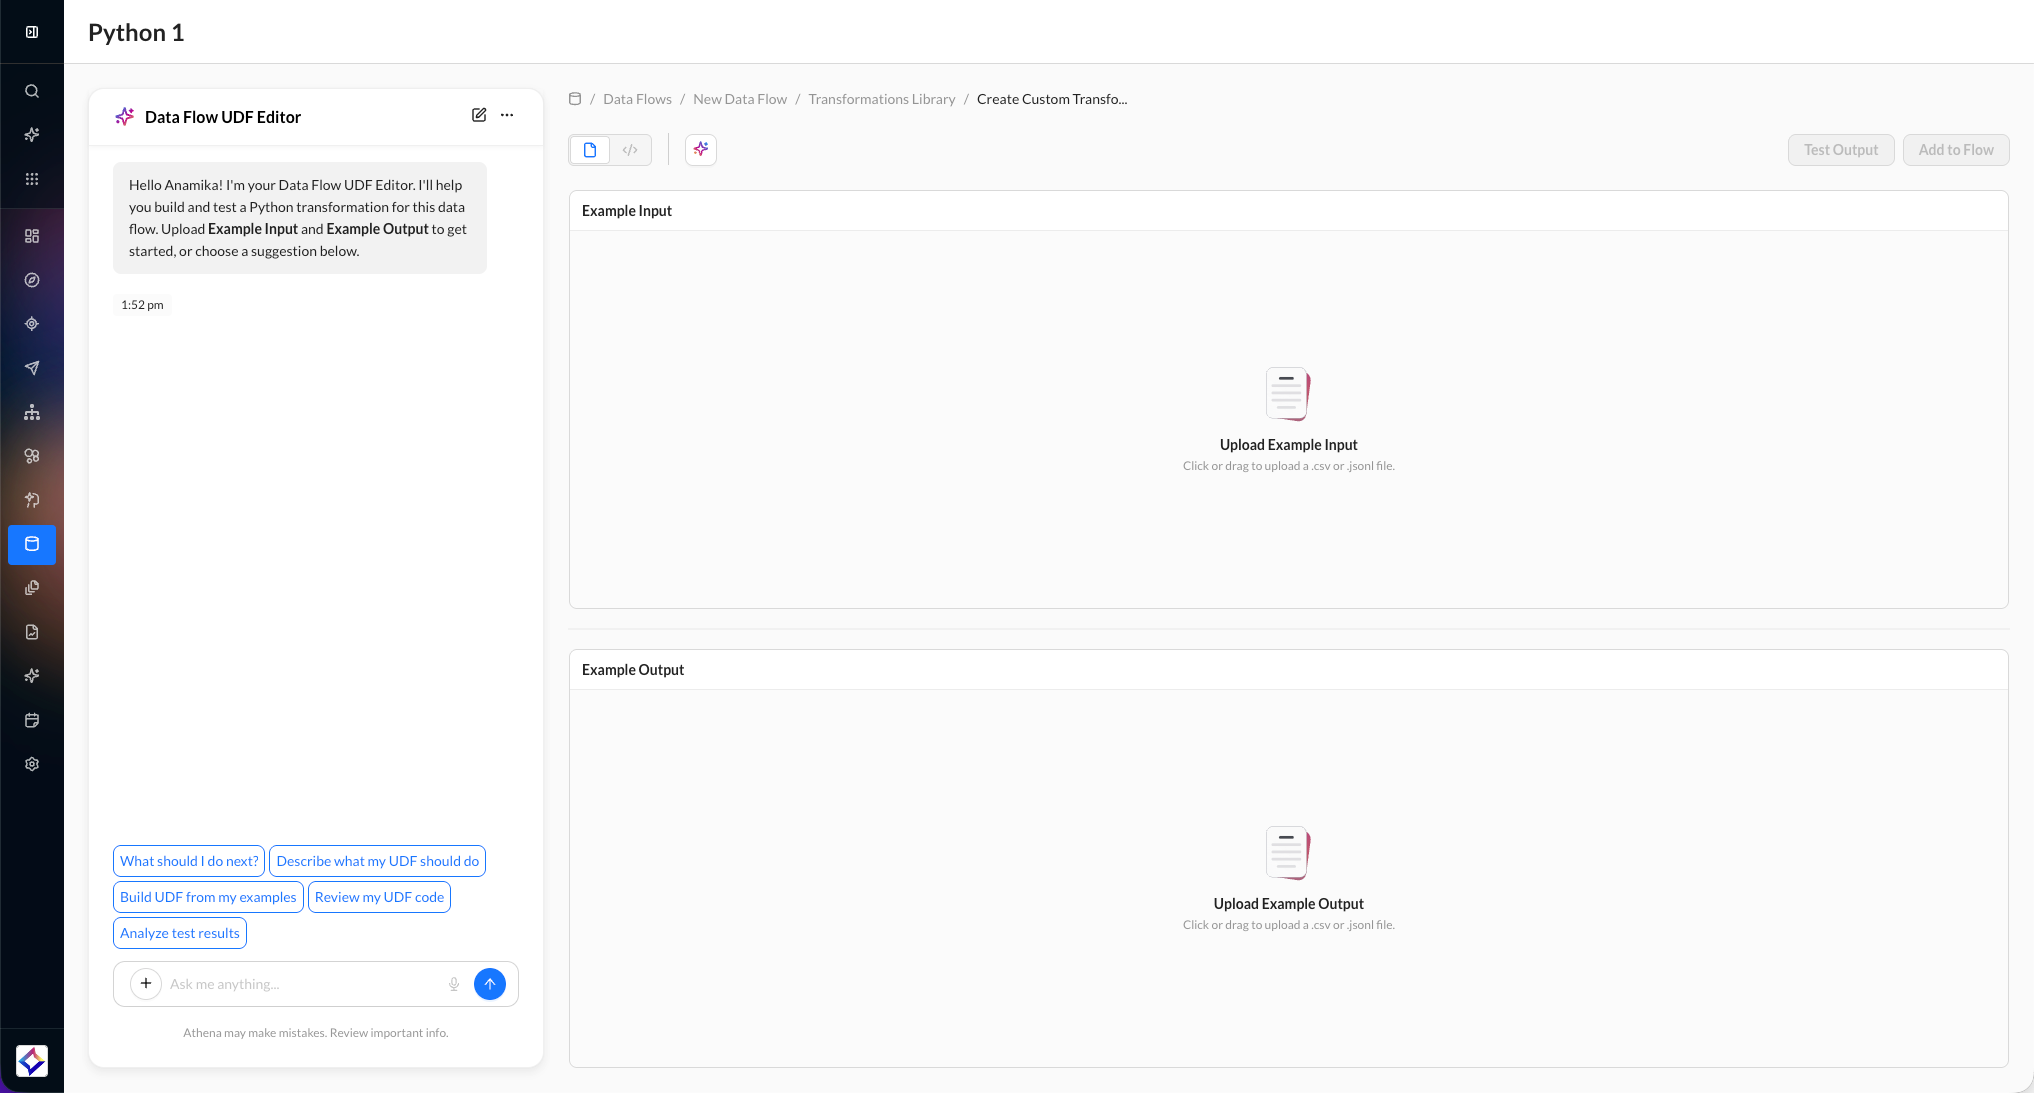
The UDF Agent creates a Custom Python Transformation (UDF) from sample files. Upload an example of your source data and an example of the result you want. The agent writes the Python for you, so you do not need to build the transformation by hand.
At a glance
The UDF Agent generates Python 3.11 from CSV input and output samples, shows a summary of what the code does, lets you test the transformation on your sample, and adds the approved UDF to the Data Flow. You can then refine the UDF in chat without uploading a new input file.
Only one UDF is allowed per Data Flow (UDF Agent or write-your-own Python, not both). Prebuilt Action Nodes are not limited this way. See Data Flows.
Contact Support if the UDF Agent is not available in your account.
When to use the UDF Agent
Use the UDF Agent when a prebuilt Action Node is not enough, and you would rather describe the transformation with examples than write Python yourself.
Use Custom Python Transformation (UDF) instead when you already have Python to paste in, or when you want to write the logic yourself.
UDF runtime is limited to 15 minutes (test and live Data Flow runs).
Create a UDF with the agent
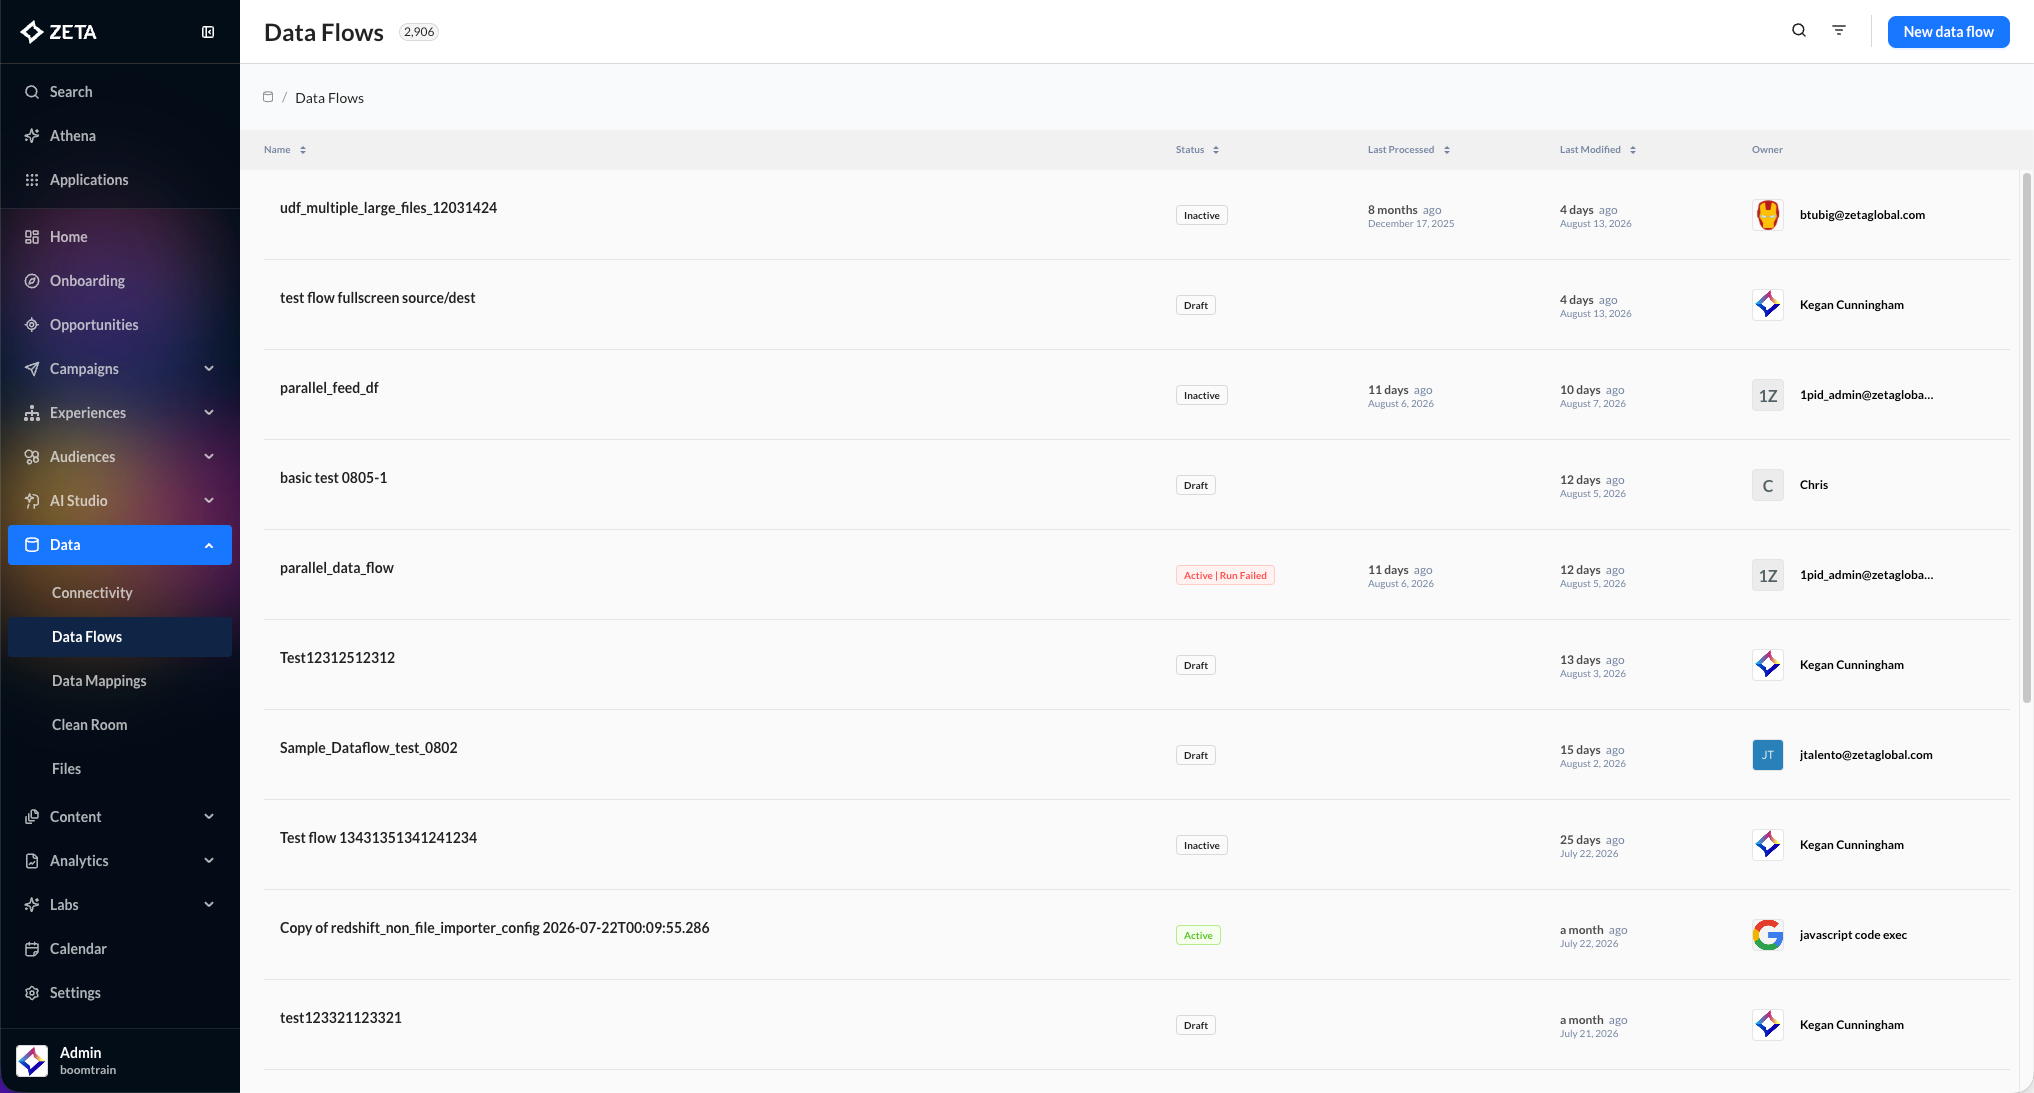
1. Navigate to Data > Data Flows and click on New data flow.
2. Add a Source. Then, click + Add Transformation to open the transformations library.
3. Under Create A Transformation, select Use the UDF Agent.
-20260817-082425.gif?cb=7839434503e44b6ce4d77b16de608c35)
The UDF Agent opens in a full-page editor. Prebuilt Action Nodes use a drawer on the canvas instead.
Upload sample files
The agent needs two CSV files:
Testing recommendation: Use sample files with no more than 1,000 rows when creating and testing a UDF. There is no limit on the number of columns, but row-wise transformations directly affect performance, so keeping test files small is recommended.
-
Input sample — how the data looks before the transformation.
-
Output sample — how the same records should look after the transformation.
Drag each file onto the upload area, or click to browse.
-20260817-084027.gif)
The UDF Agent currently accepts CSV samples only. If the file type is not supported, the agent asks you to upload a new file before you continue. If you need a different output format later, add an Output File Format Action Node after the UDF.
If a sample cannot produce the other file — for example, the output contains values that cannot be derived from the input — the agent explains what is wrong. Fix or replace the sample, then continue. The agent does not change your sample data unless you explicitly approve a change to the UDF.
Review the generated code
When both files upload successfully, the agent starts generating Python. Confirm the generated version when prompted. A summary of the code appears in the upper right, in the same order as the script. The Python itself is shown below the summary.
Technical users can still read and edit the code. Non-technical users can rely on the summary and the test step.
Validate my UDF code (chat prompt)
Sends that prompt to the agent. The agent reads the current draft Python and runs a static check (validate_udf) — it does not transform the sample file.
-20260817-084133.gif?cb=e67efd09b875f4f36e427f07a396840a)
It looks for things like:
-
code that won’t compile
-
mixed row vs DataFrame style (
input_row/output_rowvsinput_df/output_df) -
missing output variable
-
unsafe imports/ops (
os,subprocess,open, etc.)
Results show up in chat. Code is not changed unless you later accept a suggested fix.
Suggest improvements (chat prompt)
The agent reviews the current draft for quality — style, logic, reliability — and lists recommended changes. You can then Apply these improvements.
-20260817-085449.gif)
Apply writes the new code into the draft. It still does not run the UDF on the file. That’s why the agent then says to use Test Output to verify.
Run Test Output (top-right editor button)
This is the actual test run, not chat. It executes the current UDF against Data Input and writes the result into Data Output (or an error).
-20260817-085252.gif?cb=730b35cbdefca894b8dd9690895467c2)
The test view opens full screen with the input sample you already uploaded. You can remove that file and upload a different sample to try another case.
Run Test Output executes the current UDF against Data Input. If that run (or a later live Data Flow run) takes longer than 15 minutes, the job fails. This limit is the same for the UDF Agent and write-your-own Python.
Add the UDF to the Data Flow
When the transformation looks correct, click Add to Data Flow. That approves the code and places the UDF on the canvas.
After you save, name the UDF and set failure handling (for example, continue on failure or fail the step if too many rows error). Later, open those settings from the ⋯ menu on the canvas card.
A Data Flow can include one UDF node: either the UDF Agent or Write Your Own Code. After one is added, the other option is hidden or disabled in the Transformations Library. Remove the UDF from the canvas to choose a different type. This limit does not apply to Output File Format.
Edit an existing UDF Agent
Click the UDF card on the canvas, or use ⋯ > Edit / Edit Code.
You return to the UDF Agent with the code summary and the Python at the bottom.
-
Use chat to request changes without uploading a new output file. Quick-start prompts are available, or type in natural language.
-
Upload a new output sample if you want the agent to regenerate from a different target shape.
-
To change the input sample, create a new Data Flow. The agent does not replace the original input on an existing UDF.
-20260818-062356.gif)