

Apps isn’t available to everyone yet, so if you can’t see it, you’re not the only one. Please reach out to Support or your account team to learn more about availability and access.
When a brand begins sending email from a new IP address or domain, inbox providers like Gmail, Microsoft, Yahoo, and others have no history to evaluate. Without a positive sending reputation, even legitimate marketing emails risk being filtered to spam or blocked entirely.
Reputation Warming is the process of gradually increasing email send volume over a defined period—typically 30 to 60 days—so that Mailbox Providers (MBPs) can observe consistent, high-engagement sending behavior and build trust in the sender.
Zeta's Reputation Warming app, built inside the ZMP platform, replaces the historically manual process (spreadsheets, off-platform calculations, manual segment creation) with a guided, automated workflow.
Navigation
If you don’t see the Reputation Warming app, please reach out to your support team for access and assistance.
The Reputation Warming app is accessible via the Applications menu.
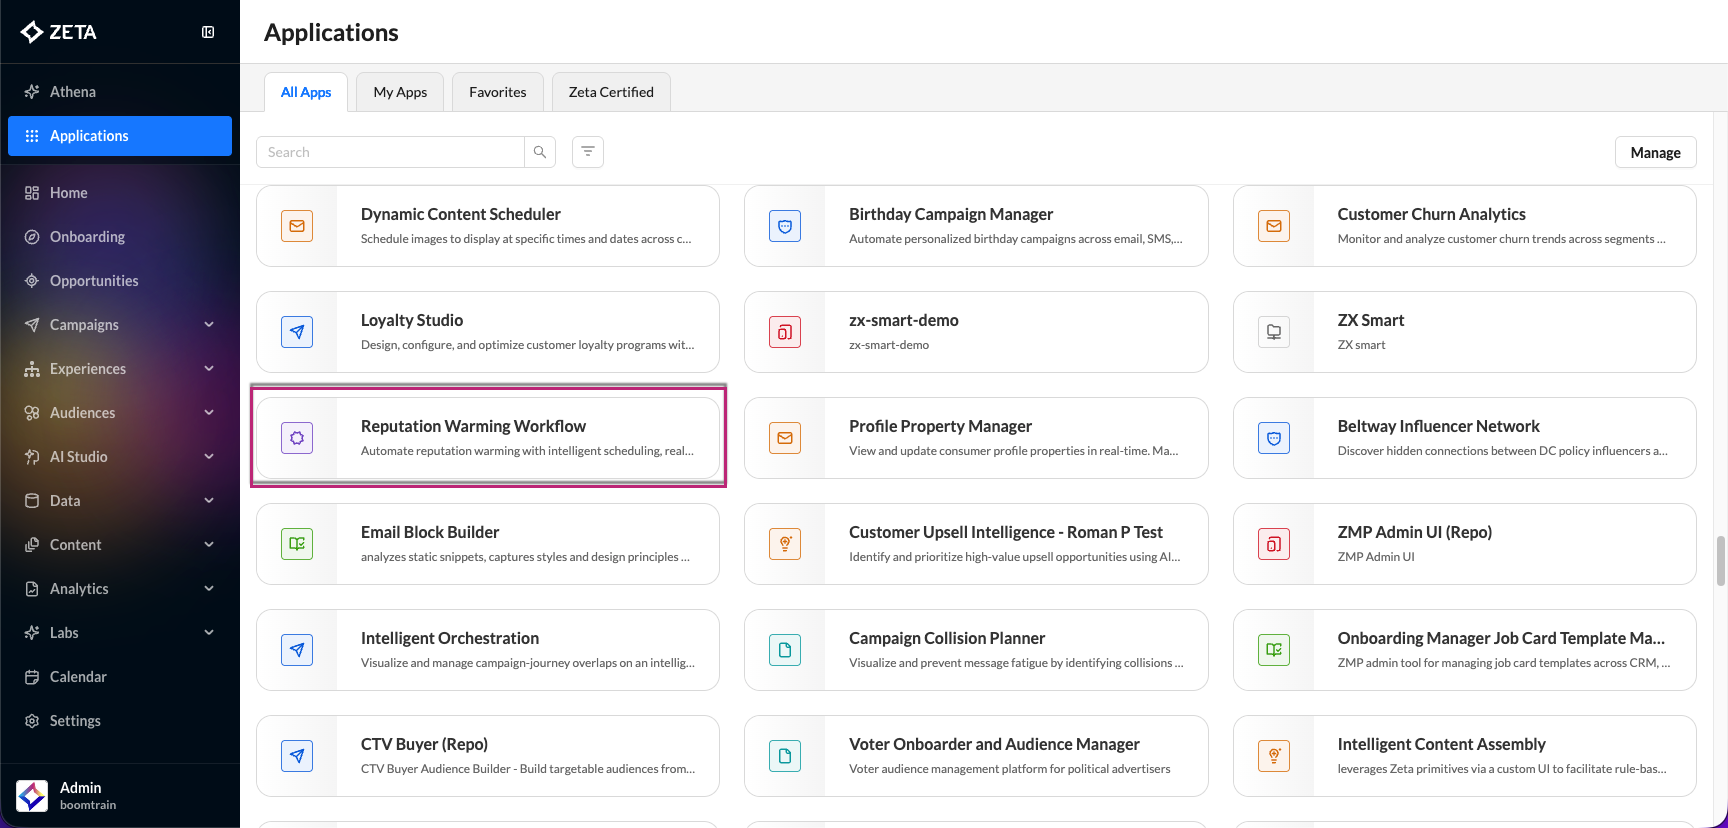
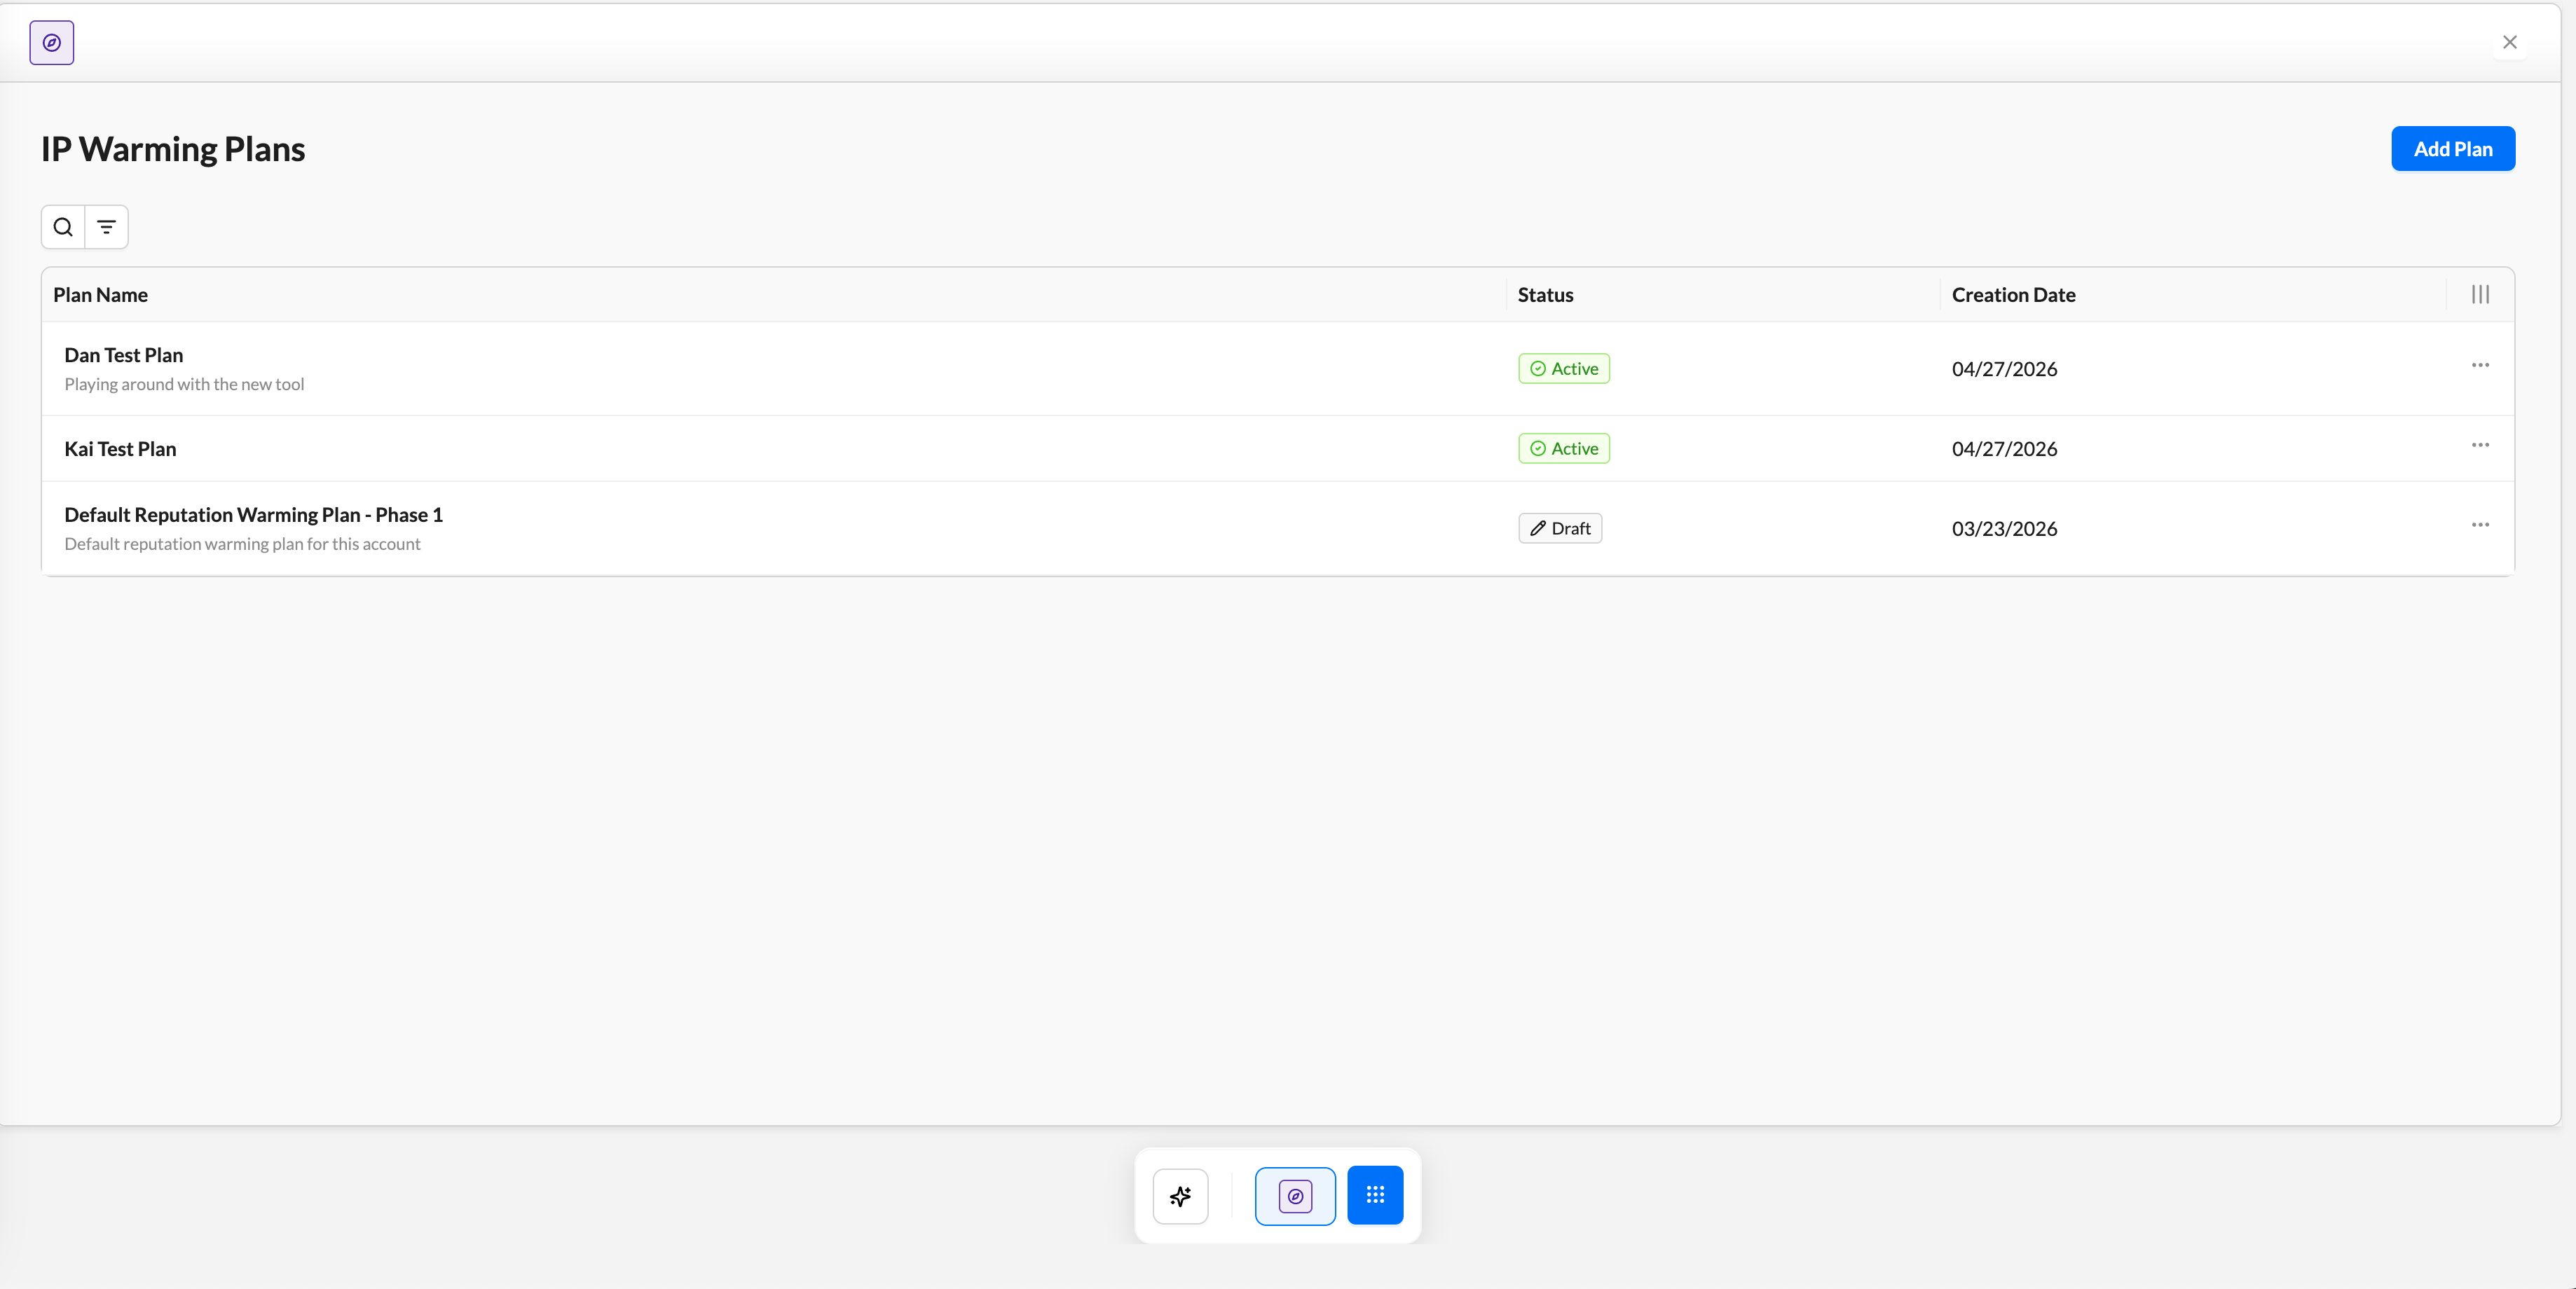
When you open the Reputation Warming app, you land on the Plans List screen. This is your central hub for all warming plans within the current account.
-
Each row in the table represents one warming plan.
|
Column |
What it shows |
|---|---|
|
Plan Name |
The name assigned to the plan at creation |
|
Status |
Current lifecycle state (see below) |
|
Created / Updated |
Timestamps for plan history |
|
Actions |
Edit, View, or Delete plan |
|
Status |
Meaning |
|---|---|
|
Draft |
Plan has been created and configured, but not yet activated. All fields are editable. |
|
Active |
Plan is live and executing. Volume schedule is running. Only the name and description can be edited. |
|
Archived |
Plan has been retired. Read-only, cannot be reactivated. |
Creating a Reputation Warming Plan
Creating a plan is a two-panel form. The left panel captures Plan Details and Settings; the right panel captures Mailbox Provider configurations.
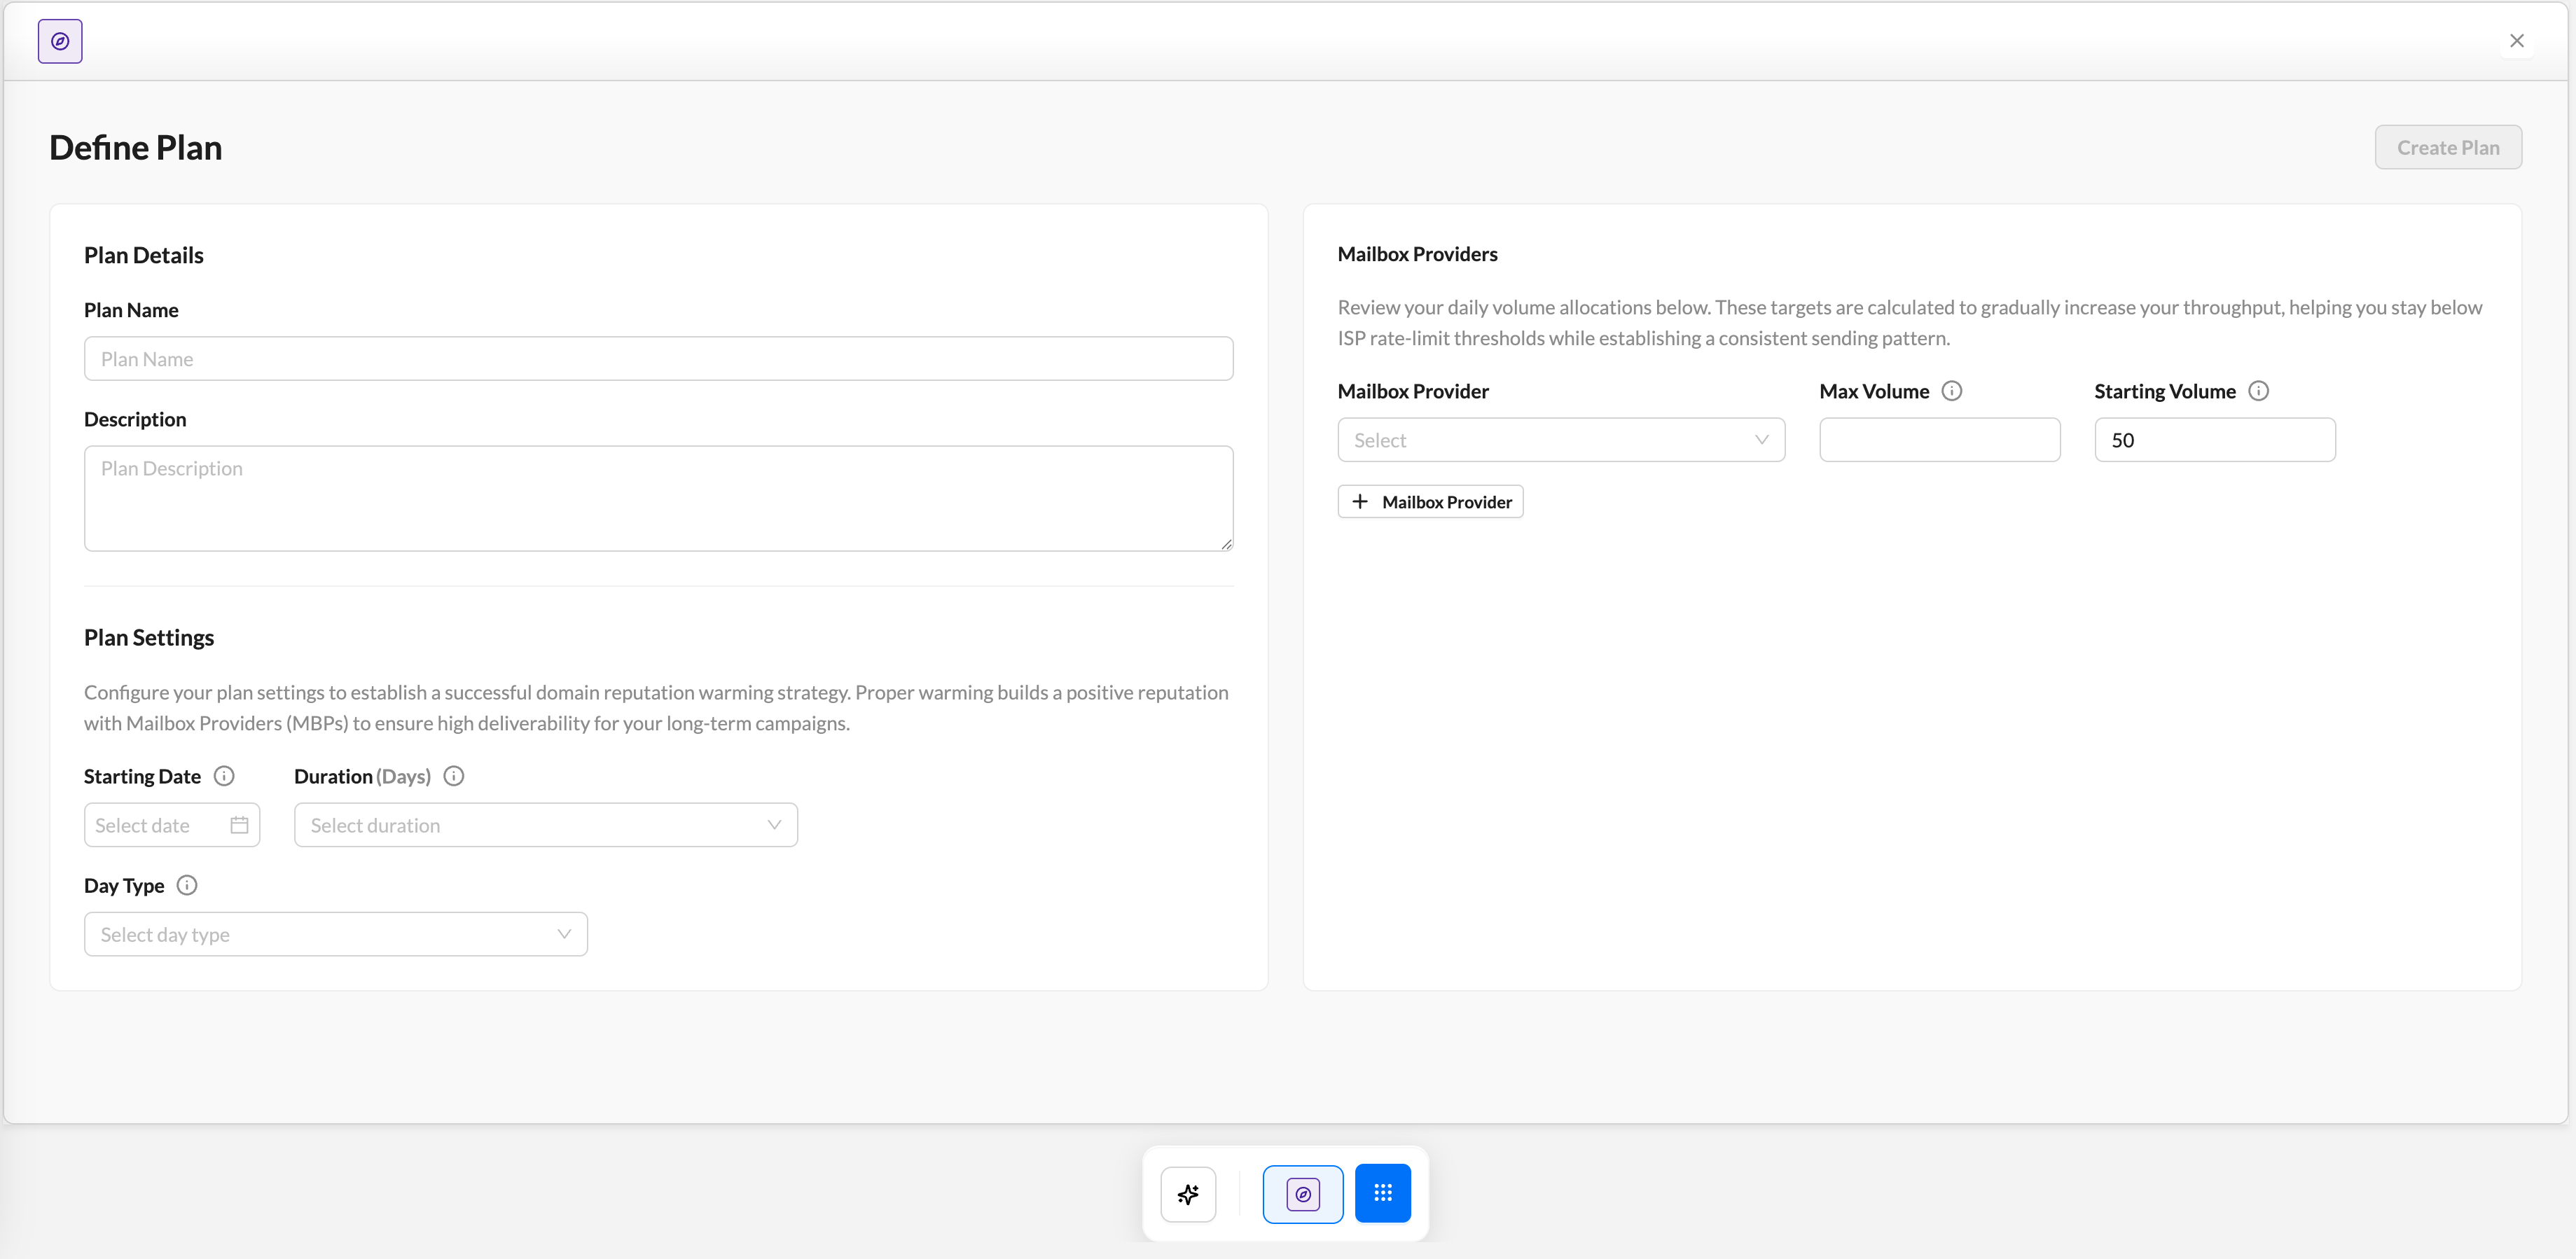
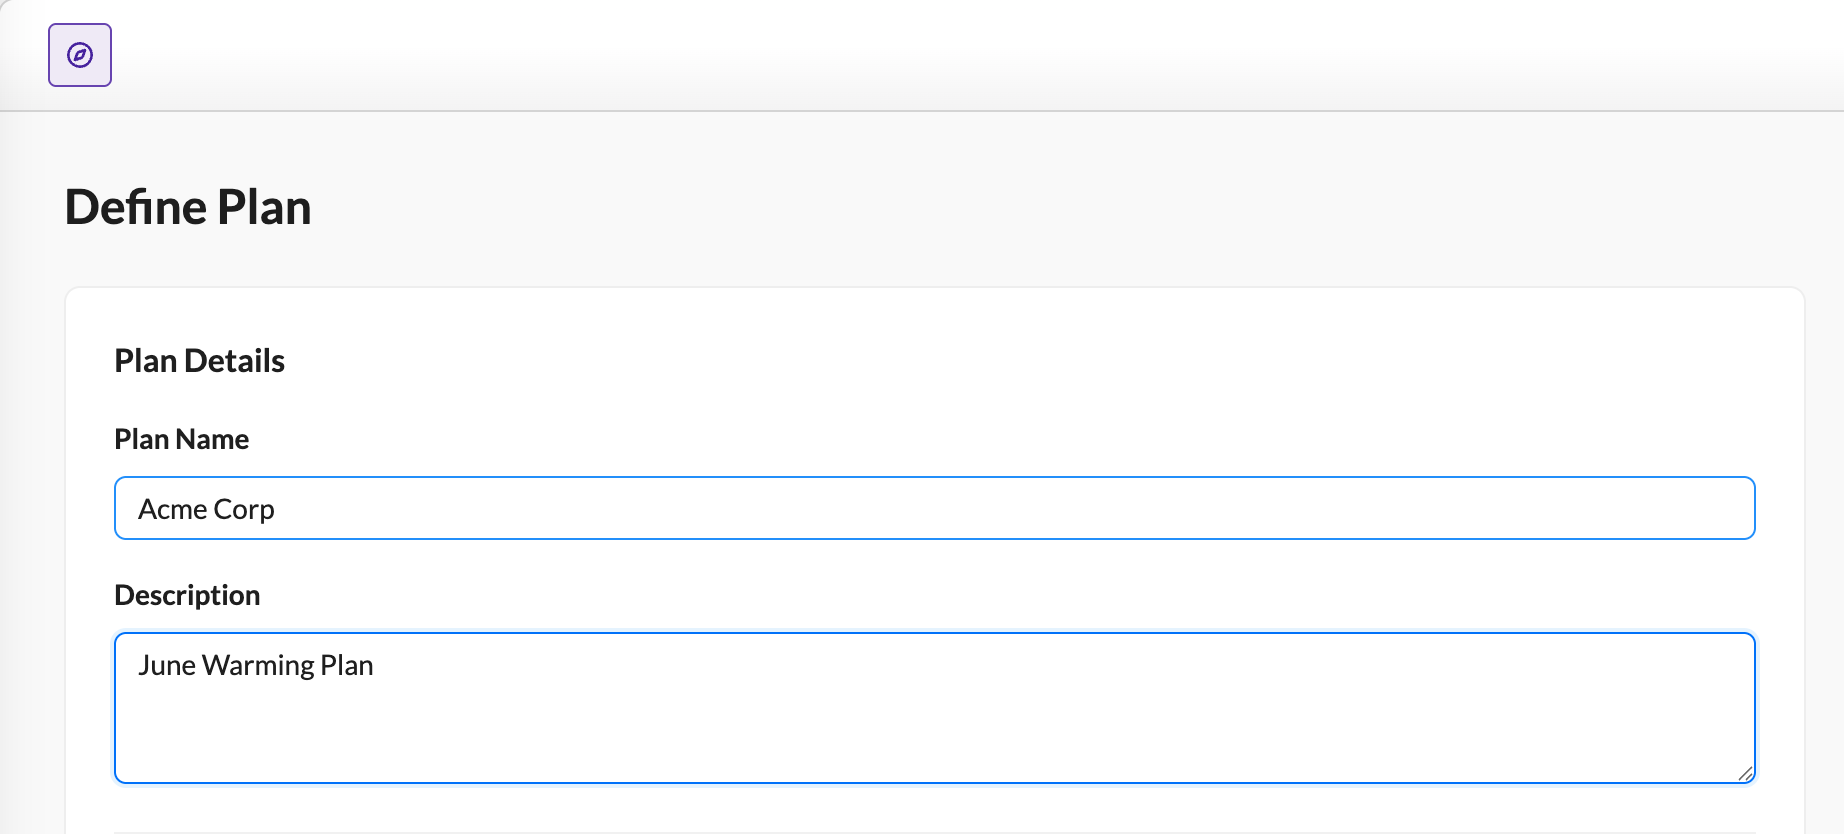
1. In the left panel, under Plan Details, enter a Plan Name and a brief Description to document context: client, campaign type, and any special notes for the Deliverability team.
2. Within the left panel itself, under Plan Settings:
-
Select the Starting Date when the first warming email will deploy. This should align with the client's confirmed launch readiness date.
-
Select the total Duration the warming plan will run.
-
Most successful strategies run 30 to 60 days.
-
Shorter durations carry a higher risk of deliverability issues at volume.
-
Recommended: 30 days for standard volume, 45–60 days for high-volume or re-warming scenarios.
-
-
Choose the Day Type to configure how the warming calendar counts days:
|
Day Type |
When to use |
|---|---|
|
Business Days (Mon–Fri only) |
B2B senders; lists with higher Monday–Friday engagement |
|
Calendar Days (including weekends) |
B2C/retail senders; lists where weekend engagement is consistent |
3. In the right panel, the Mailbox Providers section is where you define which inbox providers the warming plan targets and what volume ramp to apply to each.
Supported Mailbox Providers: Gmail, Microsoft, Yahoo, AOL, Comcast, iCloud, Other
For each provider row:
-
Select the Mailbox Provider from the dropdown. Each provider can only be added once per plan.
-
Choose the Starting Volume, which is the number of emails to send on Day 1 to this provider.
-
Should represent your most-engaged users.
-
Recommended: start conservatively (50–500, depending on list size and provider)
-
-
Set the Max Volume, which is the target daily send volume you aim to reach by the end of the warming period for this provider.
-
Minimum: 500
-
Must be ≥ Starting Volume
-
To add a second provider, click + Add Mailbox Provider. You can configure as many providers as needed. To remove a row, use the delete icon on that row (available when more than one provider is configured).
4. Once all required fields are complete, the Create Plan button in the top-right activates. Click Create Plan to save. The system will:
-
Save the plan in Draft status.
-
Auto-generate the day-by-day volume execution schedule based on your inputs.
-
Route you to the Plan Dashboard, where you can review the volume schedule.
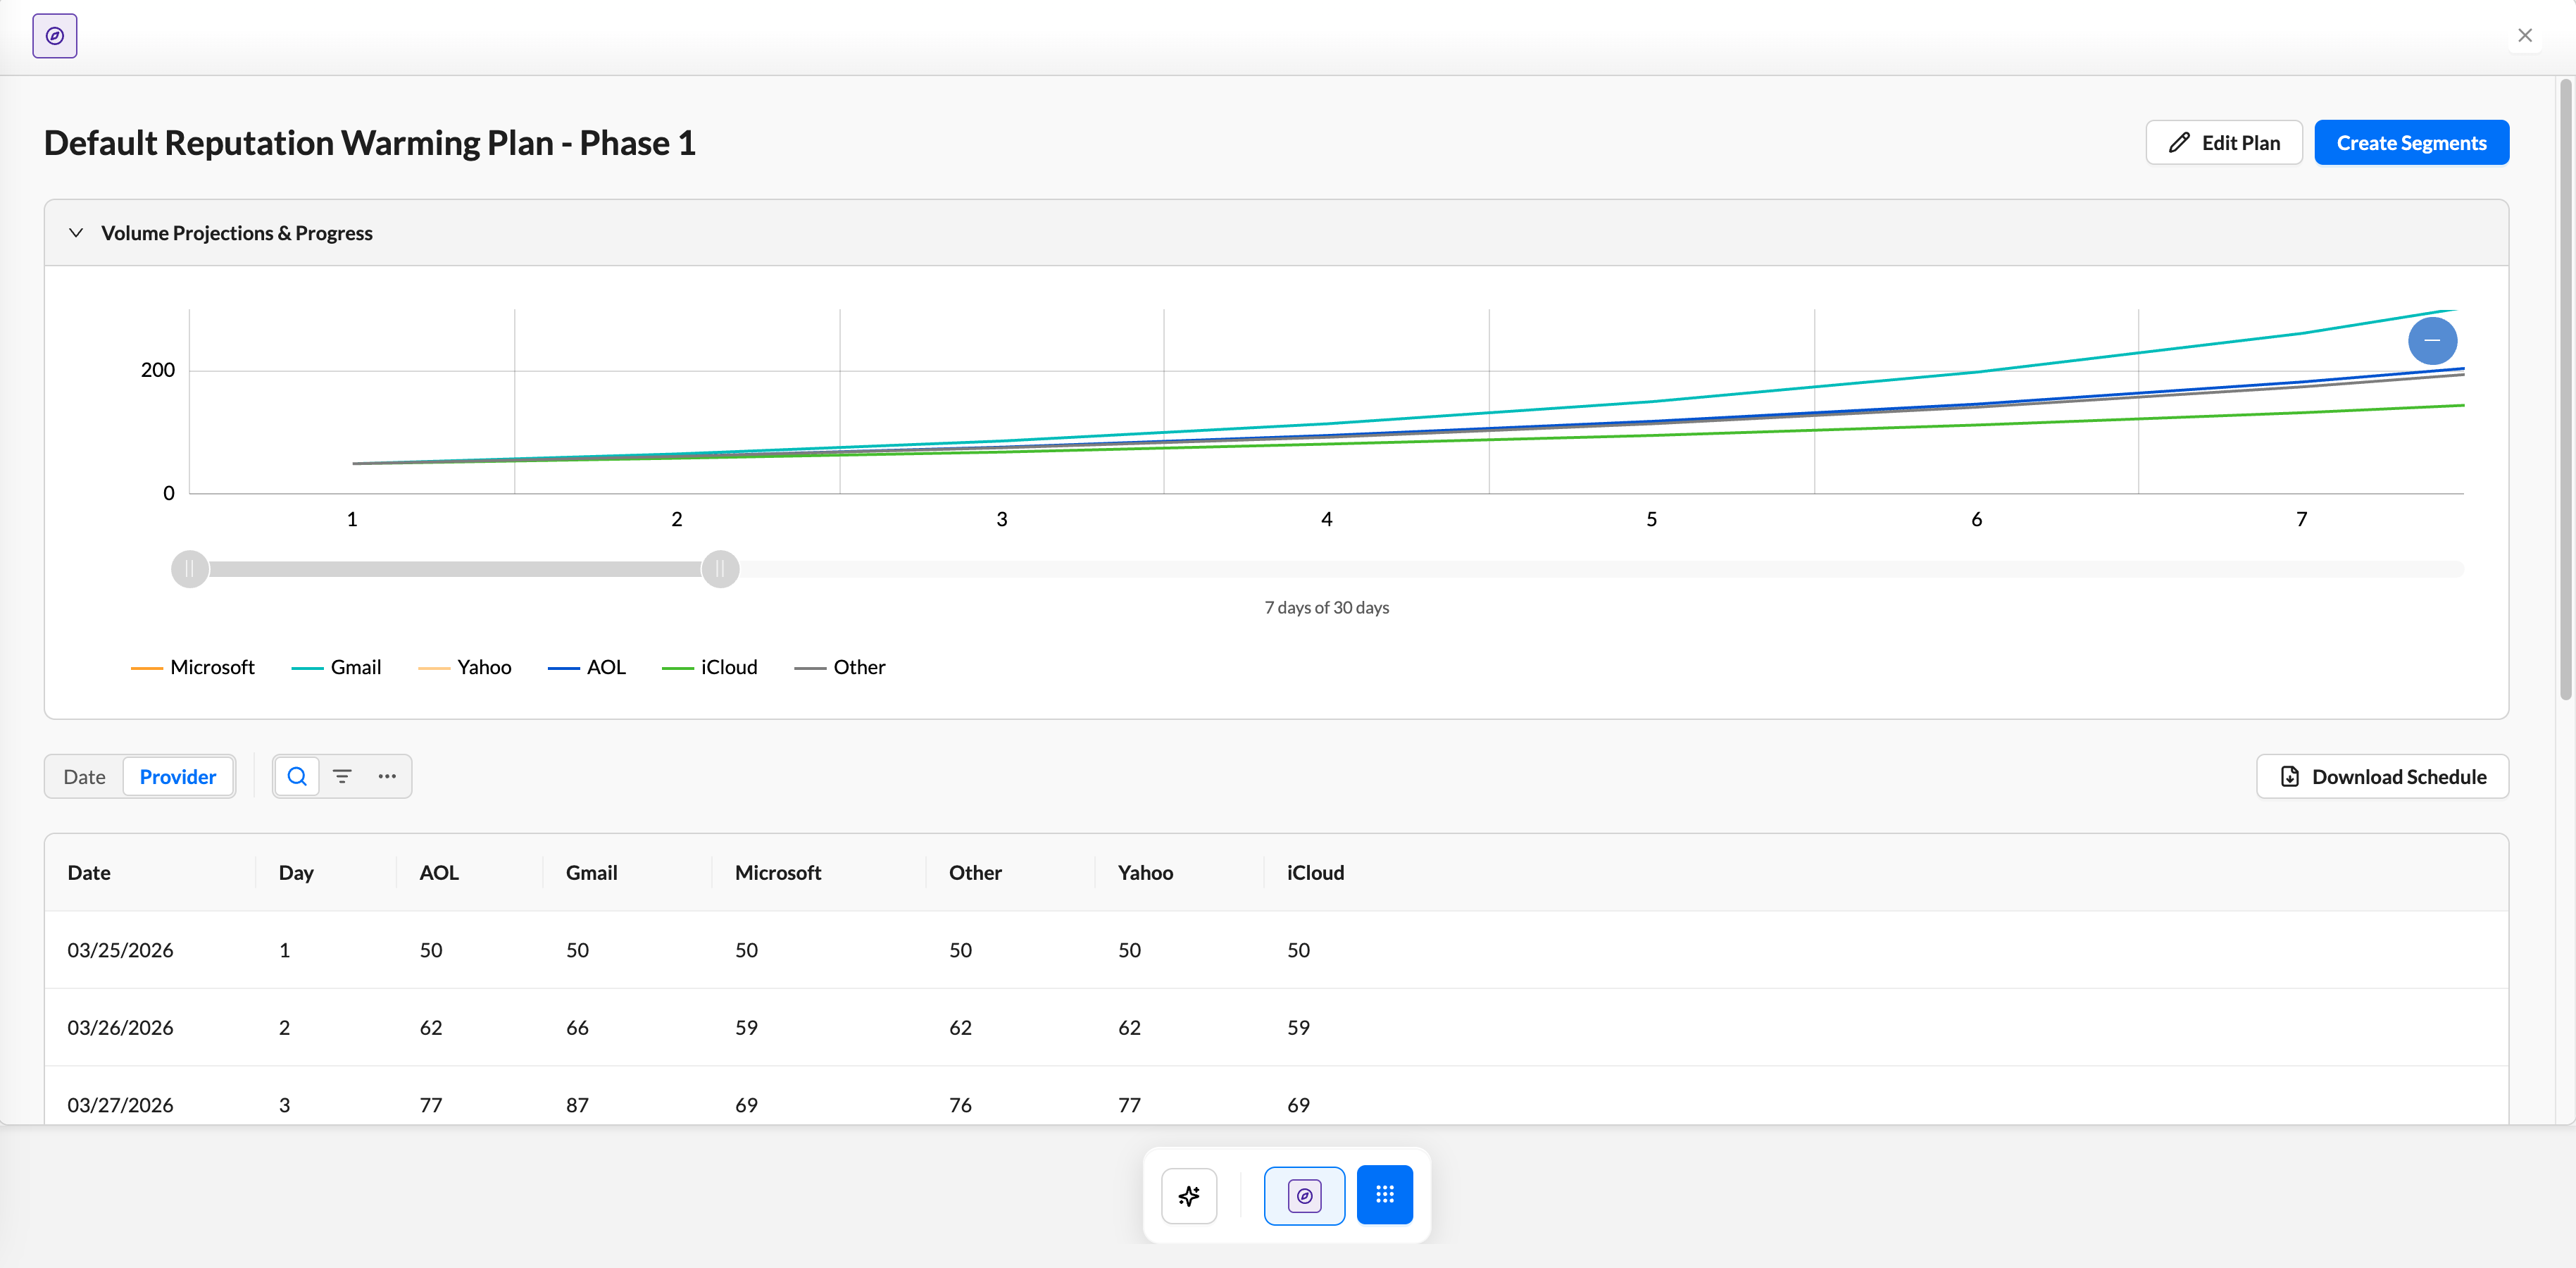
Volume Schedule
After creating (or opening) a plan, the Plan Dashboard shows the auto-generated volume schedule. This is the core output of the tool.
-
The table displays a row for each day of the warming plan.
|
Column |
Description |
|---|---|
|
Day |
Day number within the warming plan (Day 1, Day 2, etc.) |
|
Date |
The actual calendar date for that day |
|
[Provider] Volume |
Planned send count for each configured Mailbox Provider on that day |
The volume for each provider increases progressively from the Starting Volume to the Max Volume over the plan duration. The ramp curve is calculated automatically — you do not need to adjust individual day values.
Volume Projections & Progress View
The Volume Projections & Progress chart provides a visual representation of the ramp. Use this to:
-
Confirm the ramp curve looks appropriate for the client's goals.
-
Spot any anomalies (e.g., unexpected flat days, which can indicate a business-day gap over a holiday period).
Downloading the Schedule
Click Download Schedule to export the full day-by-day volume table as a CSV file. This is useful for:
-
Sharing the warming schedule with the client for sign-off.
-
Attaching to the client's onboarding documentation.
-
Cross-referencing with campaign scheduling.
Generating Segments
Segment generation is triggered from the Plan Dashboard. The system automatically creates audience segments and simultaneously moves the plan from Draft to Active status. This action cannot be undone.
1. Click Create Segments on the Plan Dashboard.
2. A confirmation modal appears; click on Ok to start generation.
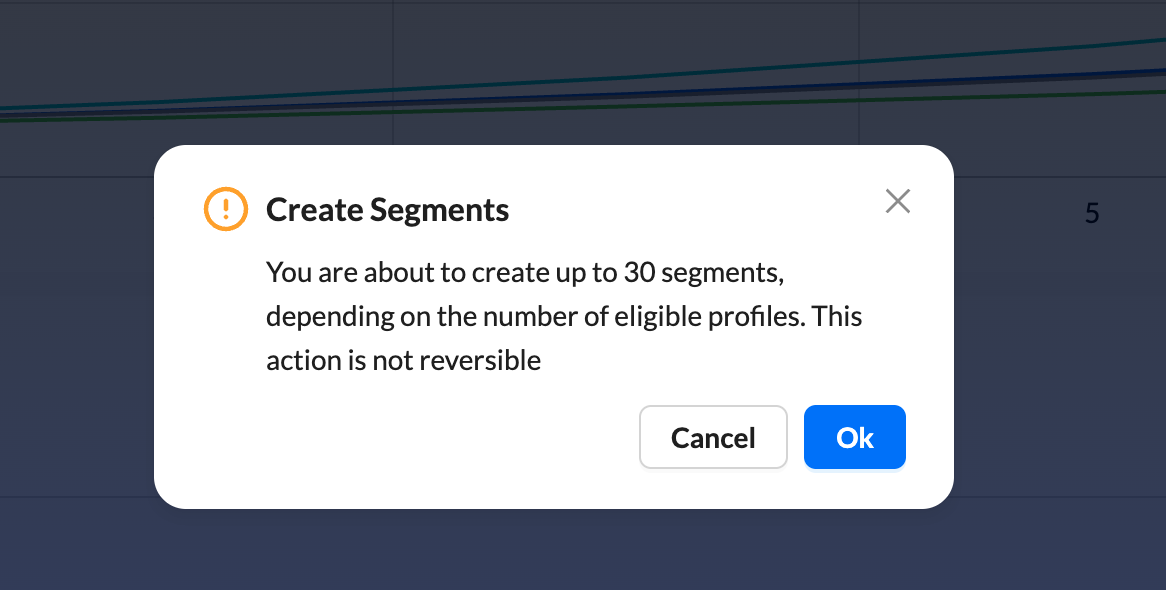
Once you click Ok, the action is irreversible. Segments are created, and the plan is activated in the same step. Confirm the volume schedule and plan settings are correct before proceeding.
3. You are automatically routed to the Segments page for this plan. Once all segments have finished generating (loading indicator gone, Export CSV button enabled), click Export CSV to download the list.
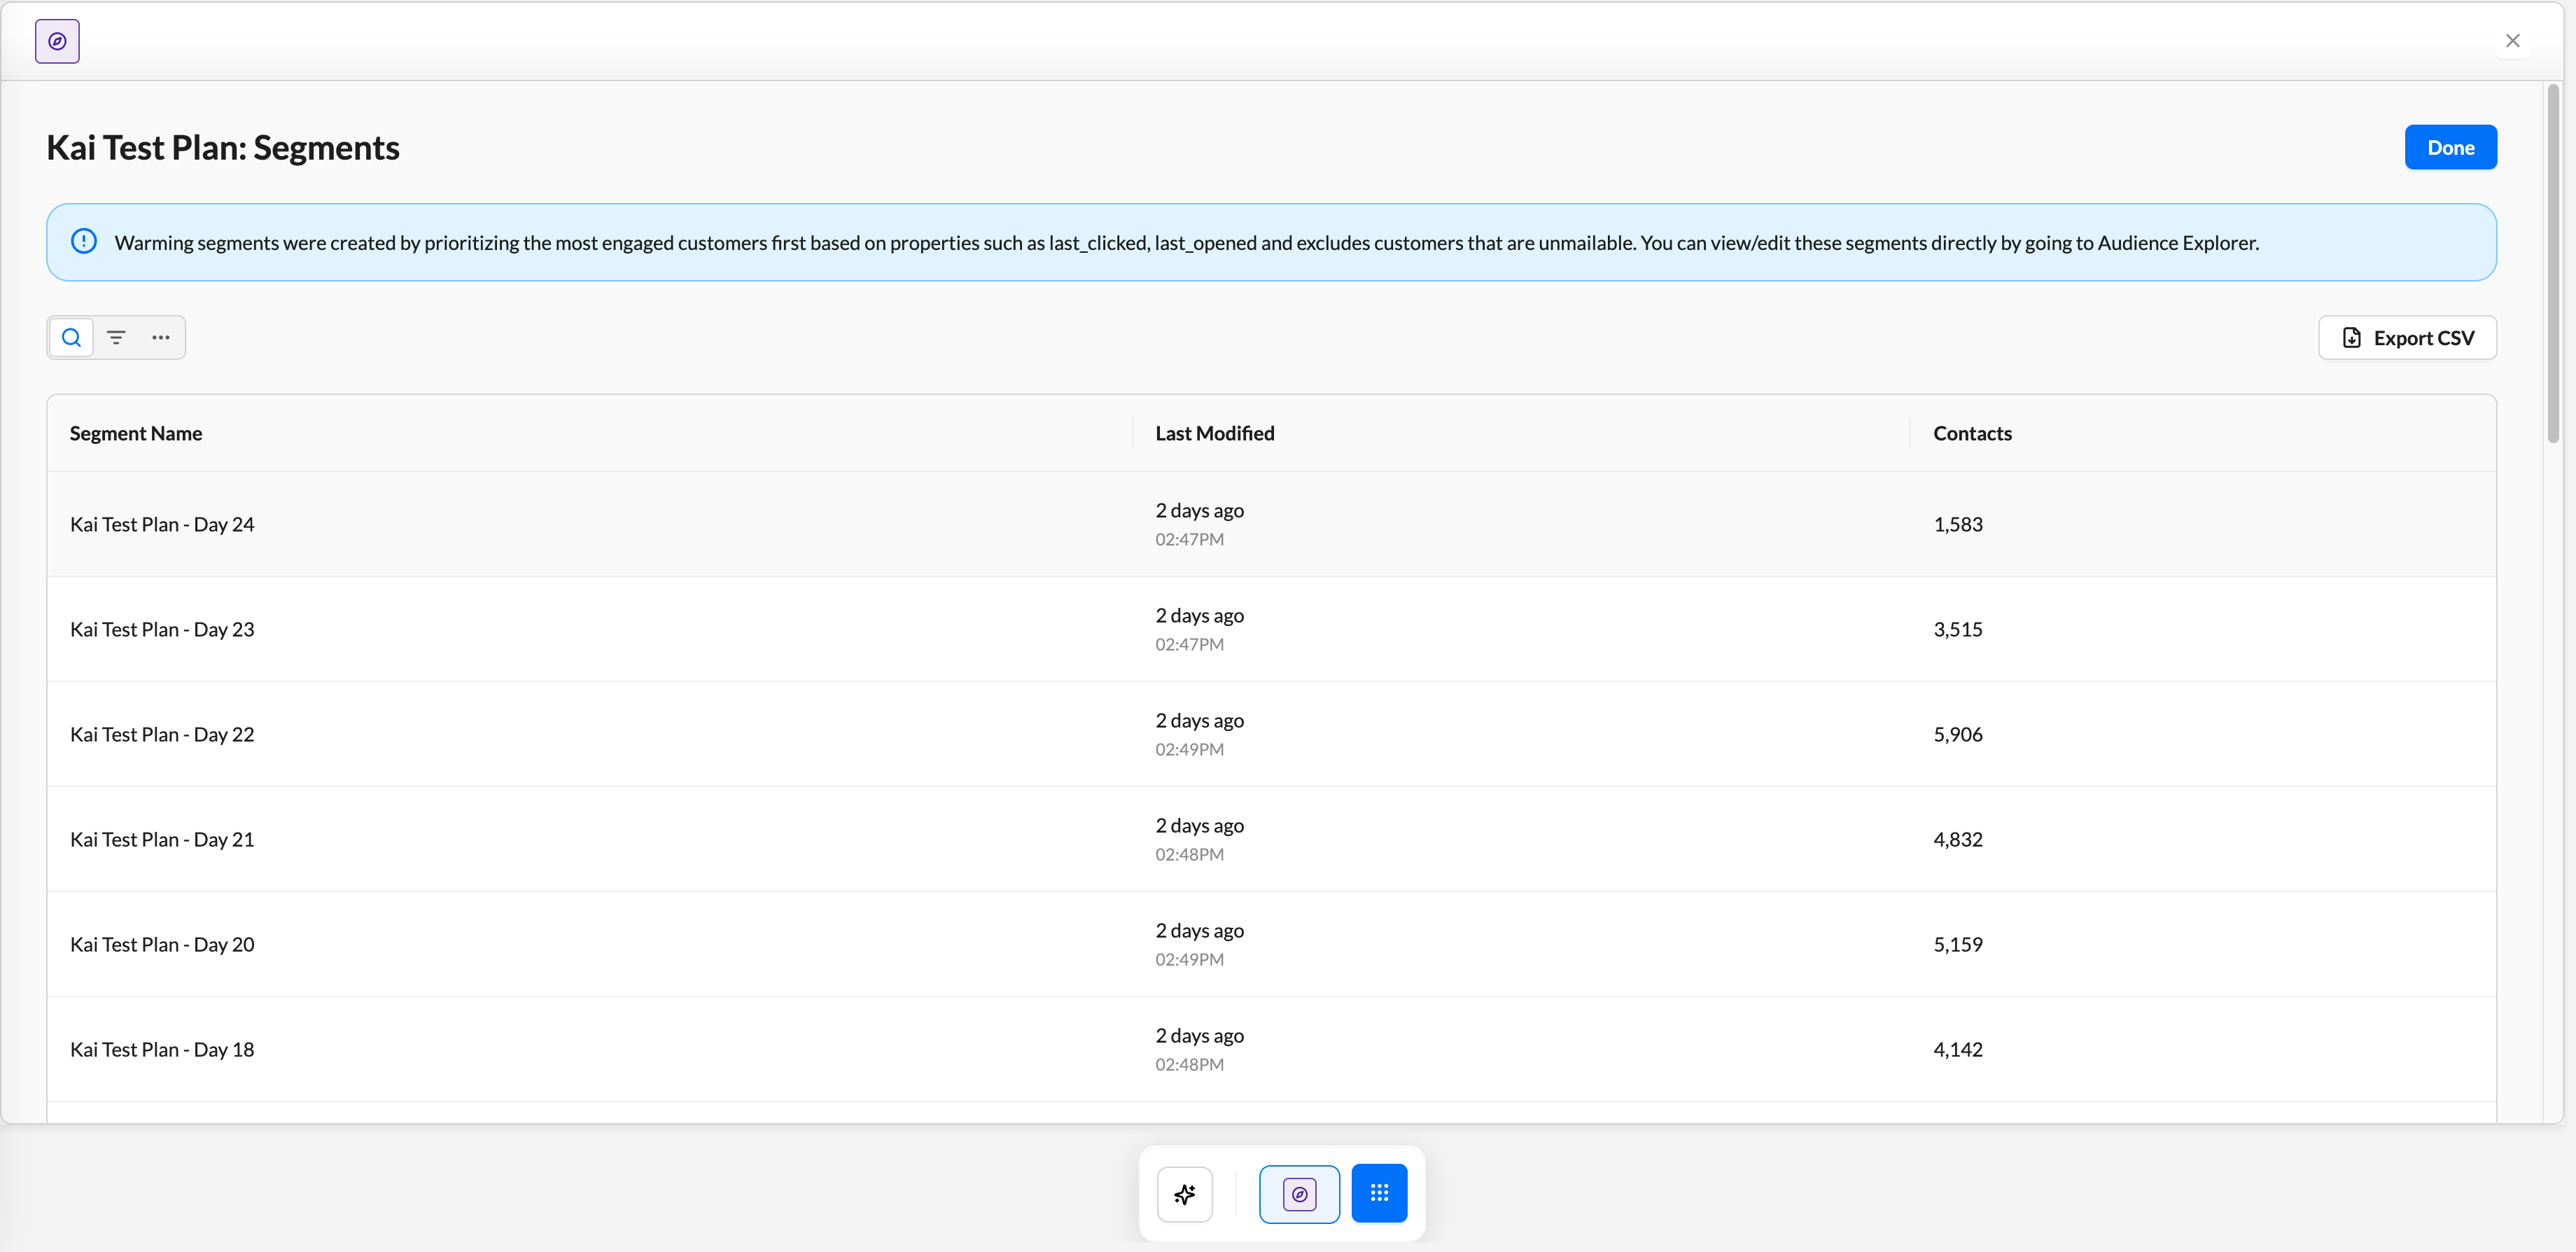
6. Click the Done button in the top-right of the Segments page to return to the Plans List. The plan will now show an Active status badge.
For an already-Active plan, open the plan from the Plans List. The Plan Dashboard shows a Review Segments button in the header instead of Create Segments. Click on it to return to the Segments page.
Editing an Active Plan
If your requirements change significantly during the warming period (e.g., you need to add a new MBP, or your max volume target changes), these are the steps to take:
1. Archive the current active plan.
2. Create a new plan with the updated parameters, starting from the current day's volume level (not Day 1).
3. Notify the Deliverability team of the change and document the reason in the new plan's description.