

Zeta DSP/DMP's Campaign Builder lets you create and maintain your campaigns over several intuitive steps. Every step of the campaign-building process gets you one step closer to delivering ads in the campaign. Before you run a campaign, you must have set up the advertiser and created the ads that will be served via this campaign. Let’s have a look at the very first and last steps, respectively, involved in creating a campaign on the DSP Campaign Builder:
Set Up a Campaign
.gif?cb=5ad10c5a46fe9adc1c3351c0ac87428d)
1. Click on the Advertisers dropdown on the left-hand panel to select an Advertiser.
-
The Campaigns Grid opens where you can view all the running campaigns for the Advertiser.
2. Click on the + Campaign icon in the upper-right corner to open the Campaign Builder.
Launch a Campaign
1. Click on Launch Campaign in the upper-right corner.
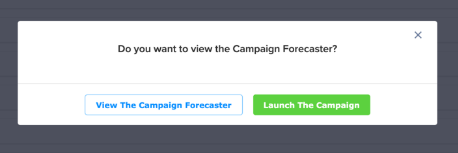
-
You will receive one more prompt before the campaign can go live to check the Forecaster. Click on Launch the Campaign.
|
Change History: This feature allows users to view changes made to a campaign in a new tab. 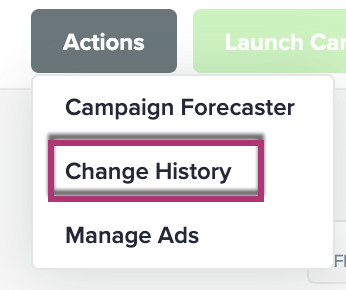
|
This section of the Programmatic Knowledge base will provide you with every possible detail to walk you through the steps of the Campaign Builder. Let’s have a look at everything that comes in between starting and launching a DSP Campaign: