

This step of the DSP Campaign Builder is Optional.
As of today, Zeta statistics reveal that an average person employs 3.8 devices on a regular basis, and the number is growing. Clearly, customers can see Ads from the same campaign on multiple devices and often see impressions on one device and convert on another. Therefore, it is vital that digital advertisers take a holistic view and seek to identify individuals on all the devices they use.
The methodology is capable of crediting Ads shown/clicked on any of a user's devices, irrespective of the device of conversion, including cases such as:
-
Ad shown on an iPhone, conversion on a desktop browser
-
Ad shown on a tablet app, conversion on the same tablet's web browser
-
Ad shown in a desktop browser, conversion in a different browser on the same desktop
Zeta DSP Campaign Builder supports cross-device optimization and you’re here to see how.
Frequency Caps
Zeta suggests avoiding Frequency Caps as they can make it much more difficult for the DSP AI to find the optimal device for conversion. In fact, frequency is a factor that the AI considers when optimizing its bidding. A Frequency Cap can be set to limit the impressions delivered within a given number of hours.
Entering Frequency Caps is optional, and you may get better results by leaving them blank. Zeta models determine an optimal frequency for each user automatically by figuring in factors such as the recency of the last ad shown and the total number of ads shown.
1. Navigate to Optional Settings > Frequency Cap, and click on the line item you want to set the cap(s) for.
-20230817-091604.gif?cb=06d9a97390085b248a50d0cdda16c962)
2. Enter the number of ads (impressions) to be shown during the set period.
3. Optional: Create an additional Frequency Cap using the Second Frequency Cap section.
4. To set Frequency Caps for multiple line items, select them and click on the Action menu > Set Frequency Caps.
-20230817-092109.gif?cb=faeeb3d251f0ae96d11c03d116dc072e)
5. Similarly, you can remove the caps by selecting the desired line items and clicking on the Action menu > Remove Frequency Caps.
-20230817-111609.gif?cb=9b96c78392415fa45a5b61de981cd949)
Cost Constraints
1. Navigate to Optional Settings > Cost Constraints, and click on the campaign to set it minimum and maximum margin.
-20230817-112247.gif?cb=c85c281cfbcb794ff200ae967014ee41)
2. You can also set the cost constraints for line items by selecting them and clicking on the Action menu > Set Cost Constraints.
3. Similarly, you can remove the margins by selecting the desired line items and clicking on the Action menu > Remove Cost Constraints.
-20230817-112210.gif?cb=c1856c7ef1769066ad21ce14534b45c4)
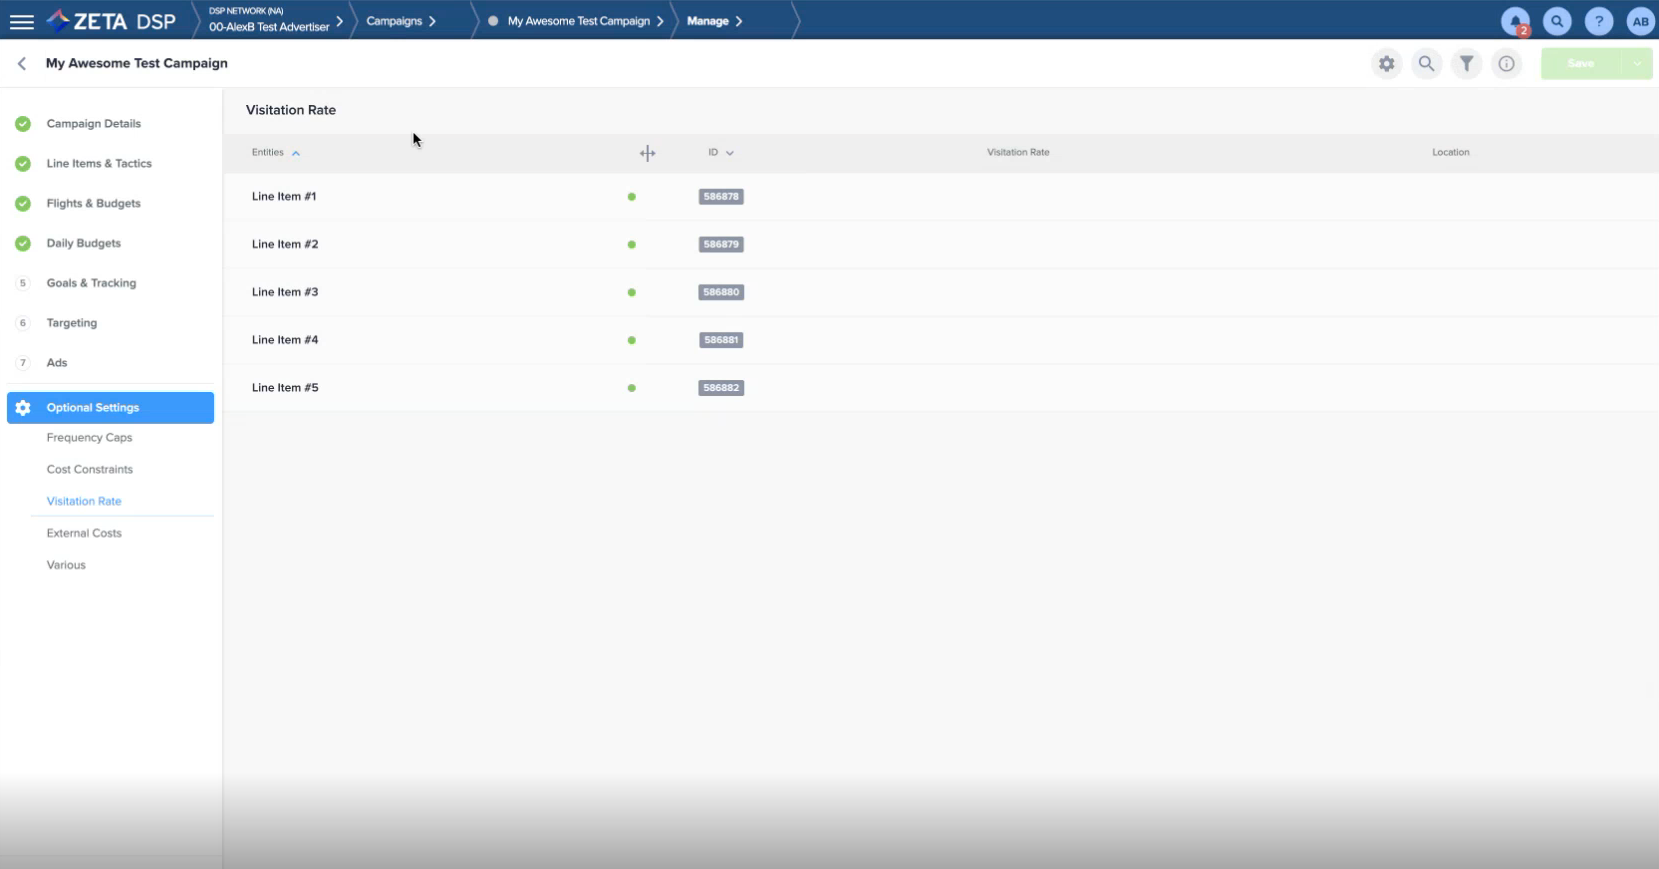
Visitation Rate
Navigate to Optional Settings > Visitation Rate, and click on the campaign or line items to set the rate(s), following the same steps as mentioned above.
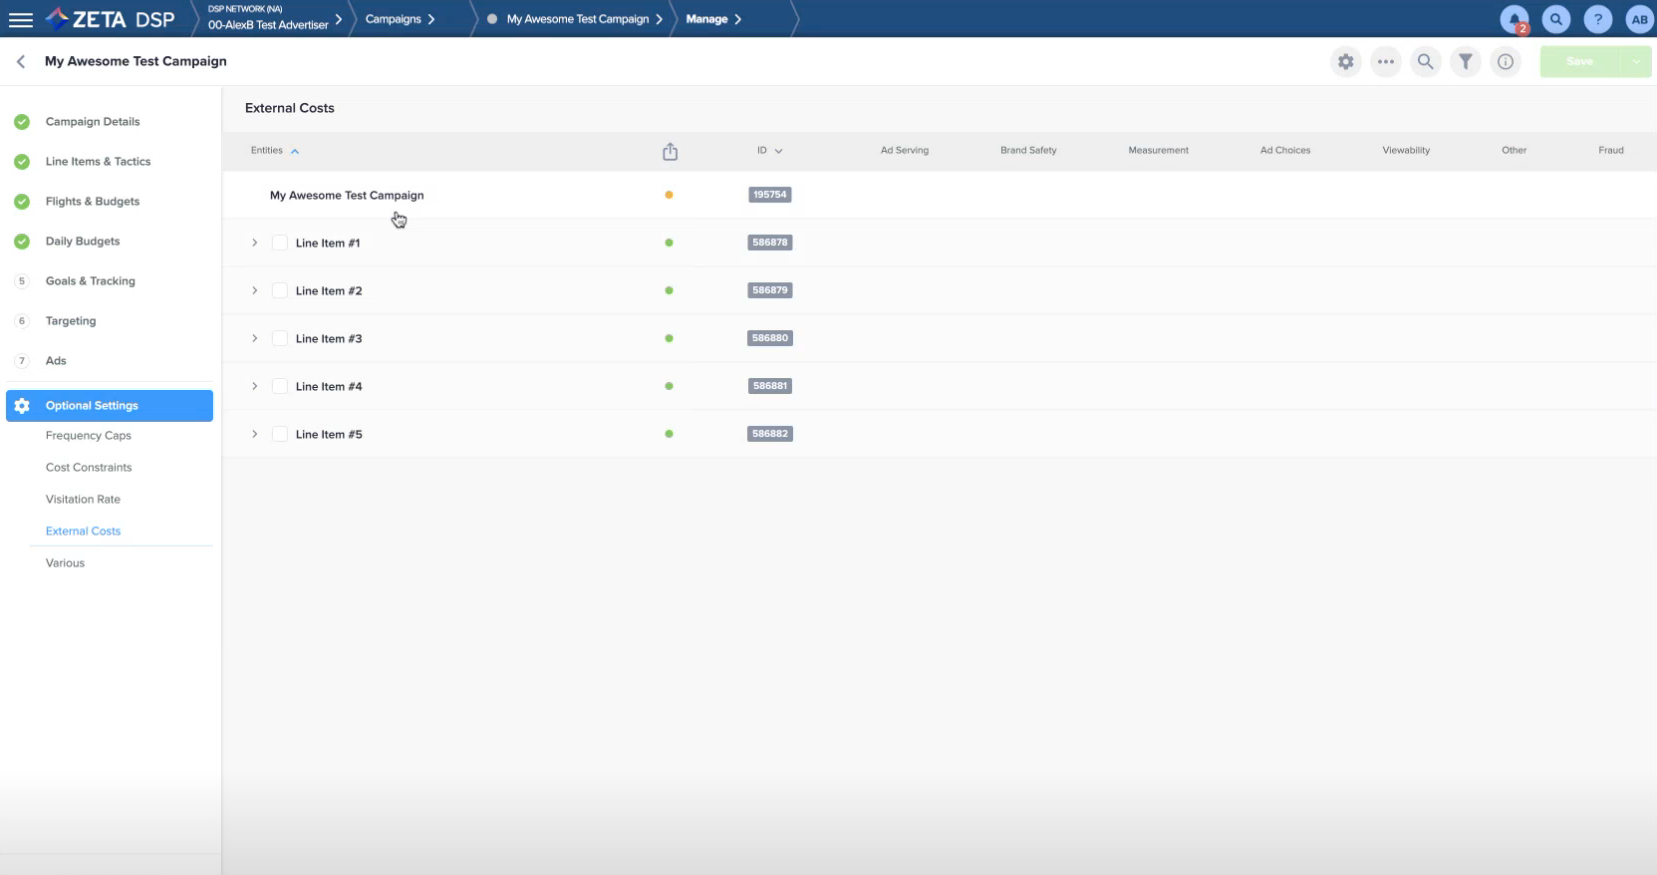
External Costs
Navigate to Optional Settings > External Costs, and click on the campaign or line items to set the costs or fees, following the same steps as mentioned above.
Various
Navigate to Optional Settings > Various, and set up the Modeling & Optimization, Partner Margin, Managed Service, and Contacts.

Modeling & Optimization
From the Model Group dropdown, select the name of the previous campaign you want to use.

|
Terms |
Description |
|---|---|
|
Model Group |
If you have run campaigns previously and this one is similar in terms of product and audience, you may use the Model Group setting to guide this Campaign's bidding with data learned from that campaign. |
|
Cross-Device Optimization |
Select the Cross-Device Optimization toggle to enable Cross-Device attribution in which two or more apparent users who use different devices than one another can be determined to be a single individual. |
|
Ad Collision |
Select the Ad Collision toggle to reduce ad collision ratio. However, while enabling this feature can reduce the ad collision ratio, ad collision cannot be completely eliminated. In addition, performance and delivery may also be affected. |
Partner Margin
Determine your partner margin by choosing your desired percentile.
Managed Service
Select the Agency, Vertical, and Opportunity ID to choose who manages your campaign.

Contacts
This optional step allows users to be assigned as a contact based on their role in managing the campaign.
Select an Account Manager, Trader, Analyst, Sales Person #1, and Sales Person #2 from the respective dropdowns.

Click on Save & Close to return to the Campaign’s homepage. Your Campaign is ready to be launched!