

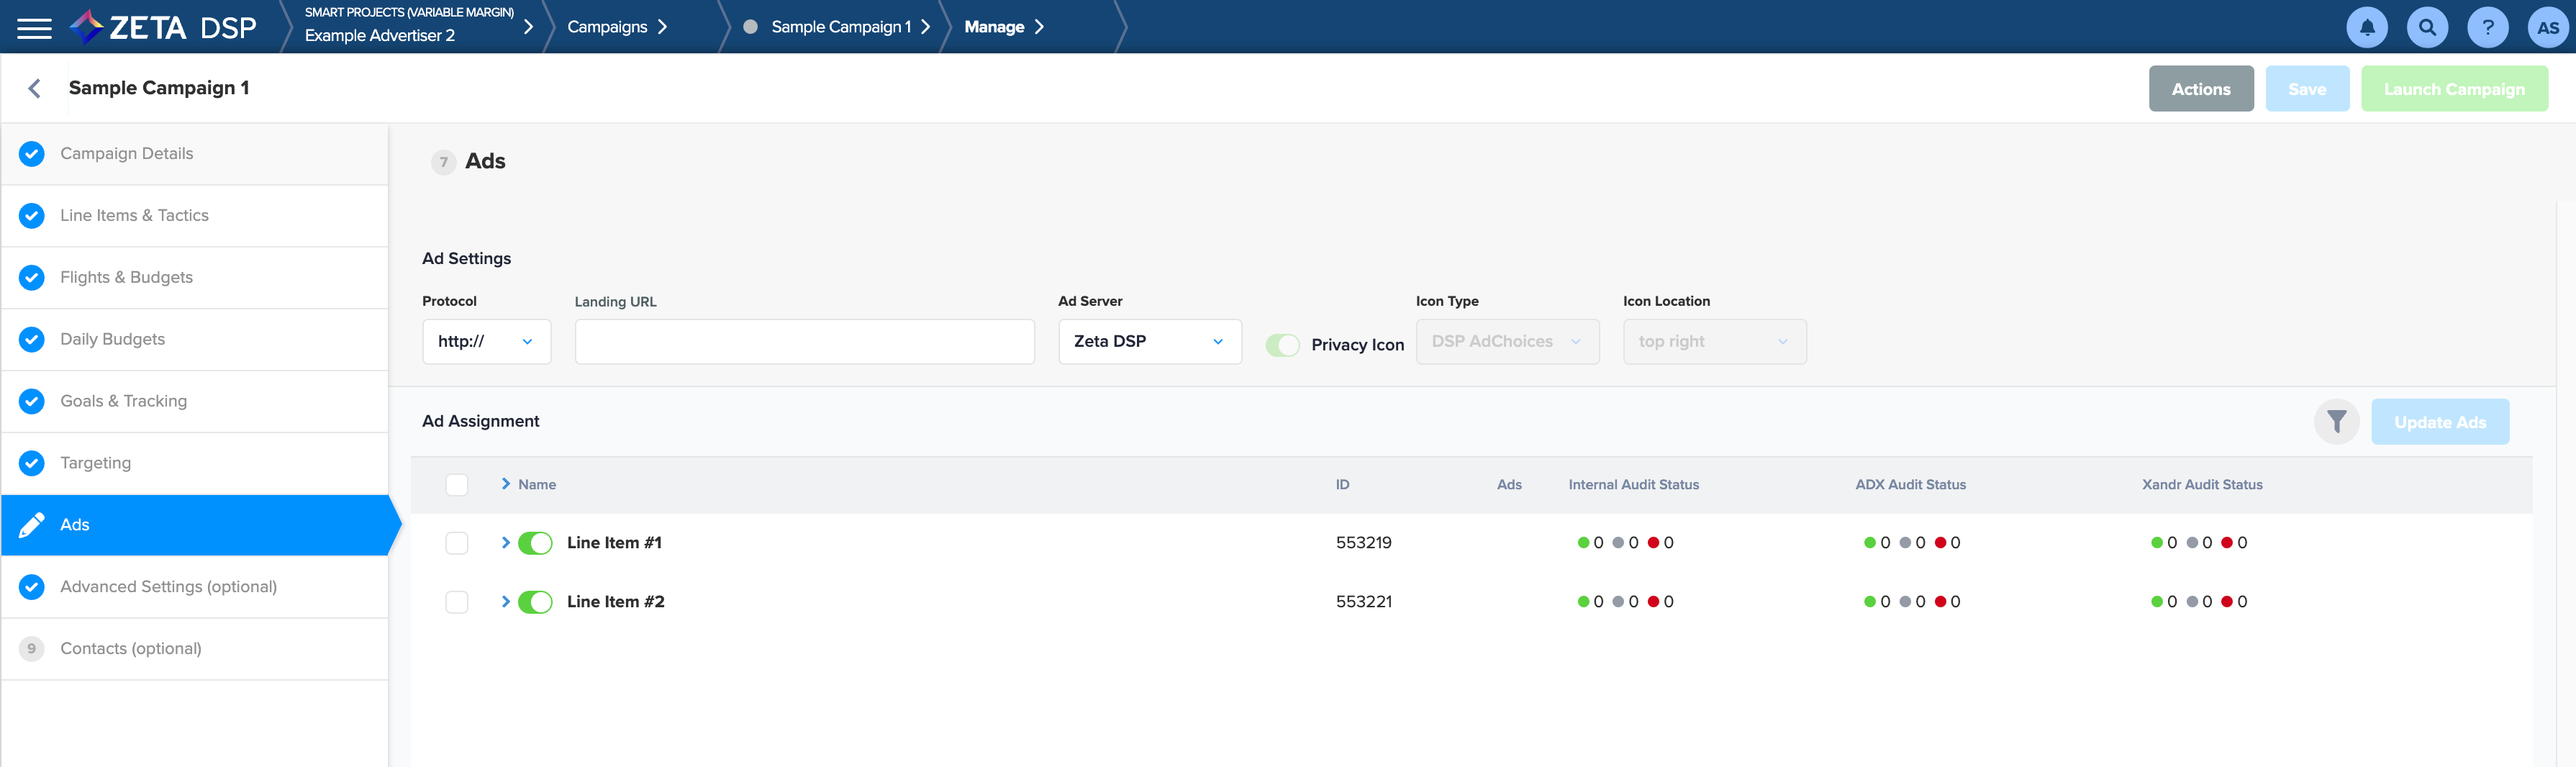
Once you’ve set up your campaign’s targeting, it’s time to assign Ads to it.
|
Field |
Description |
|
|---|---|---|
|
Protocol |
Choose either non-secure http:// or secure https:// |
|
|
Landing URL |
This field is used for ads assigned to the campaign, if they are not declared on the ad itself, the ad will inherit the campaign's landing URL. |
|
|
Ad Server |
The default Ad Server is Sizmek DSP. |
|
|
Privacy Icon (Toggle) |
This field is not editable. If you have any questions, please reach out to your Account Manager. |
|
|
Icon Type |
This field is not editable. These choices will differ dependant on Account Setup. |
|
|
Icon Location |
This field is not editable. If you need to have this changed, please reach out to your Account Manager. |
|
Assign Ads
1. Check the boxes against the Line Item(s)/Tactic(s) where ads need to be assigned and click on Update Ads.
Clicking on the Expand (>) icon against a Line Item will reveal its Tactics. Selecting a Line Item will select all the Tactics within it.
2. From the list of Available Ads (housed at the Advertiser level) that appears, select the ones you want to assign to the selected line item(s) and click on Save.
|
You can further filter the list of ads for better searchability: .gif?cb=88486e4a20e0f9a02b9574142464a22e)
|
3. Within the Assigned Ads tab, use the checkboxes to de-select and remove any ads that may have been accidentally selected for assignment (Ad assignments are not saved until the Save button has been clicked)
.gif?cb=aa7627d0cd9059391ebde9ea12303ac3)
4. After saving the assigned ads, click on Close to return to the Ad Assignment grid.
5. The count of the assigned ads for the selected Tactic(s) will be updated.
.gif?cb=d7784e899bf2516e6df2bb0c246365cf)
-
Once a Tactic has at least one ad assigned, an Expand (>) icon becomes available at the Tactic level, clicking on which will display a list of the ads assigned to the said Tactic.
6. Click on an assigned ad within the Tactic to open the Ad Info panel and view its details.
.gif?cb=4564e8322d1e5c831245ad2683444314)
-
The
section will display the Ad Preview and read-only details, as well as the ability to change the status of an ad with the toggle and edit the ad in a new tab (pencil icon)
-
The < > section will display the HTML tag, as well as any extra HTML (applicable to HTML and Image ads only)
-
The last section (|||) will display the audit details of the selected ad.
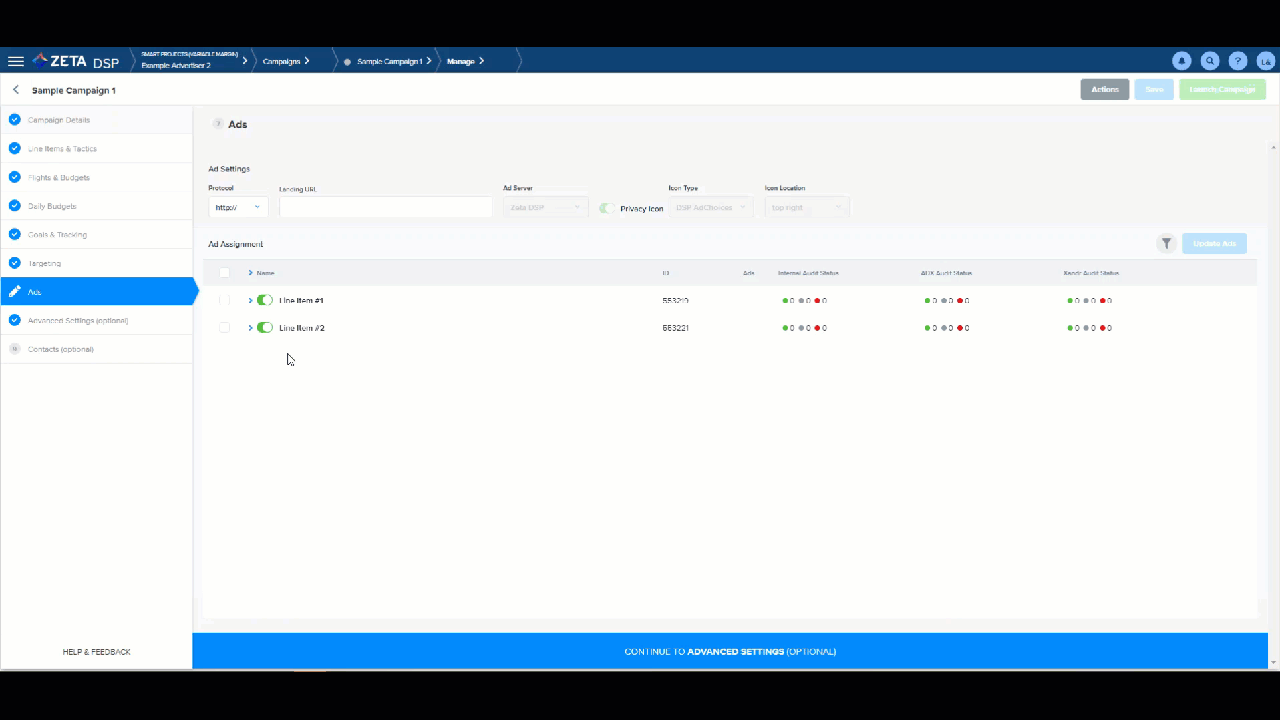
7. Click on Save & Continue to Advanced Settings (Optional) at the bottom of the screen to continue building your campaign.
.gif?cb=8ae342e8a2cc12eeaf8d93aa08439ef1)
Learn more about Ad Assignment.