

IP List targeting enables the inclusion or exclusion of users based on the addresses of their Internet Providers.
Creating an IP List
1. From the menu on the left, navigate to Admin > Targeting Lists > IP Lists. Click on the + IP List button.
-20250827-052624.gif?cb=9981383aa665bb14384f461ea577ffeb)
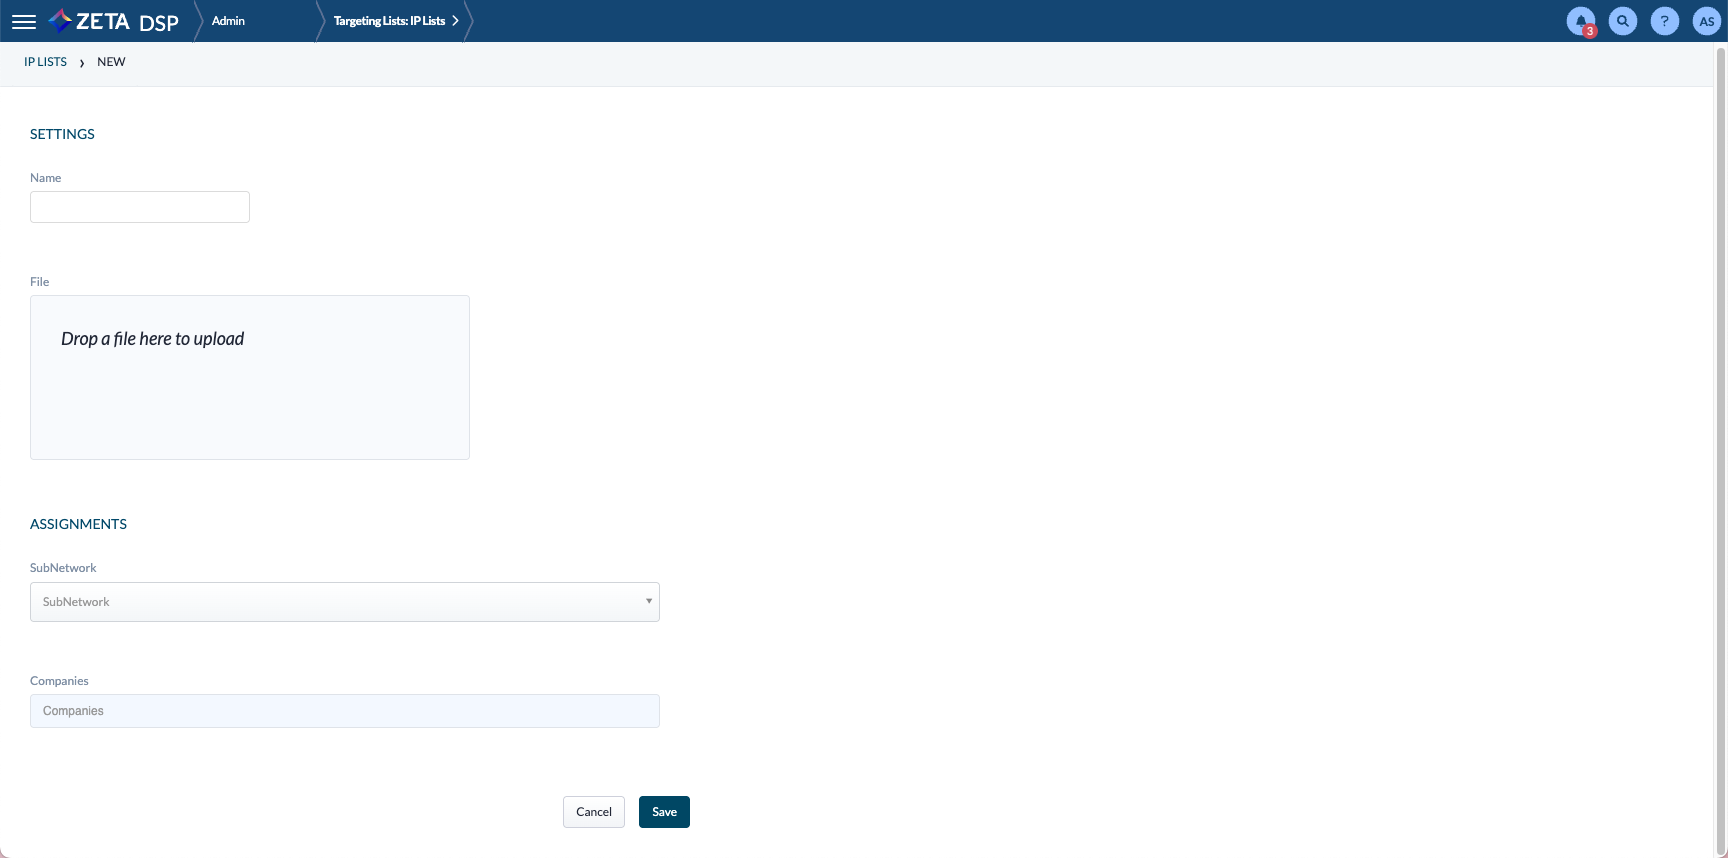
2. Once you land on the New IP List page, fill in the following:
|
Settings |
|
|---|---|
|
Name |
Give your IP list a unique and descriptive name |
|
File |
Upload your list file by either:
|
|
Assignments |
|
|
SubNetwork |
Choose the relevant subnetwork from the dropdown. Think of this as the department or zone you’re assigning the list to. |
|
Companies |
Select the companies that this IP list should apply to. This ensures proper targeting. |
3. Click Save to commit your settings and upload the IP list.
Targeting an IP List
Before using IP List targeting, you must first create an IP List for your Network.
Do not utilize IP List Targeting for CTV. Audience Targeting is recommended.
1. Within the Targeting tab of the Campaign Builder, the Targeting grid appears. Click on the sign against each row or object to add its targeting rules.
.gif?cb=2fc71ee5a488cafcd346f6c9b4836ee7)
2. Select IP List.
3. Choose whether to Include or Exclude the selected IP Lists.
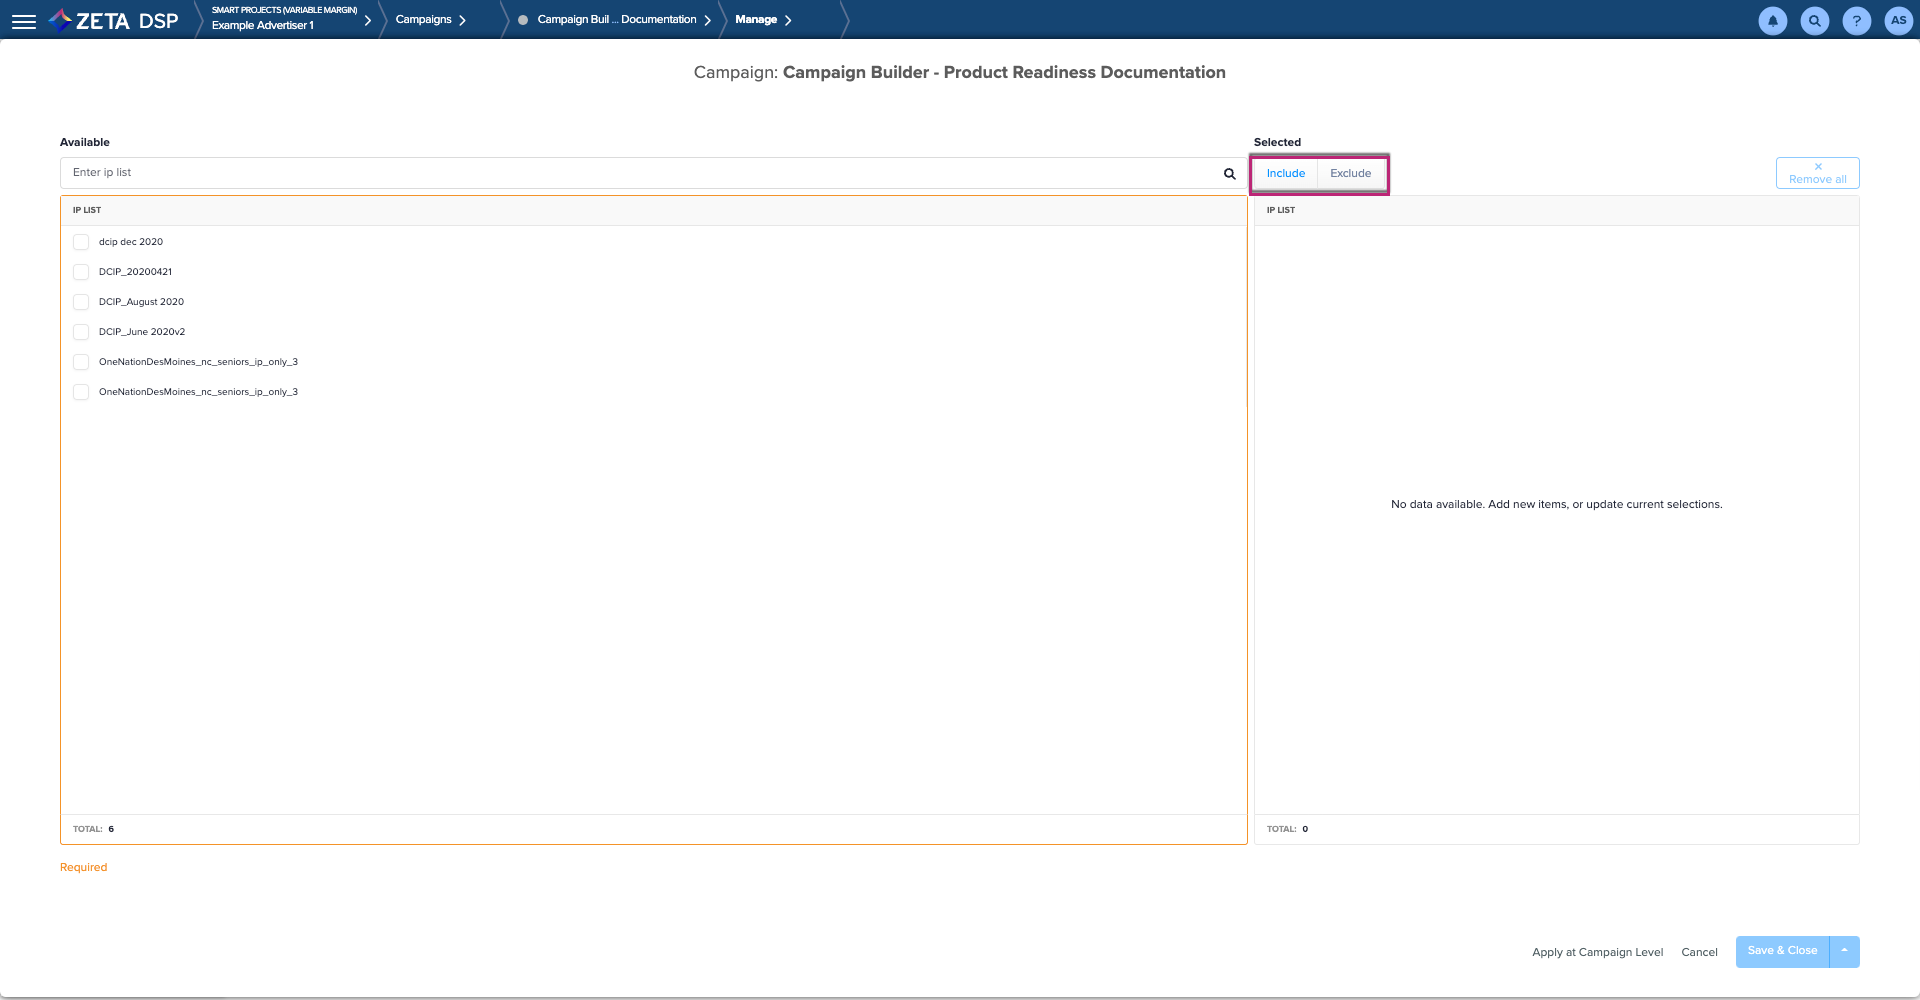
4. Navigate to the Available IP Lists box and enter the name of an IP List that has been created in the DSP.
5. Check the box beside the IP List and then click to move it to the Selected column. Included lists will be highlighted in blue, whereas Excluded lists will be highlighted in red.
.gif?cb=563c99281748ba25b848018e297cd4a5)
6. Click on Save & Close when complete.

You can target (include or exclude) multiple IP Lists.