

Let’s have a look at the new Ad Assignment UI as well as the steps you need to perform in order to assign Ads within the DSP Platform:
Make sure you have already created Ads for your Advertiser.
1. Click on the DSP logo in the upper left corner. Within the menu that appears for Advertisers and Admin, select the Account that contains your advertiser housing the ads.
2. The DSP shows all the advertiser's campaigns. Within the Campaign Grid, select a Campaign.
.gif?cb=2d3719bcec0884aa58f64af492f20002)
3. Click on Campaign Settings at the top right to access the Campaign Builder UI.
4. Click on Step 7: Ads from the menu on the left.
Ad Settings
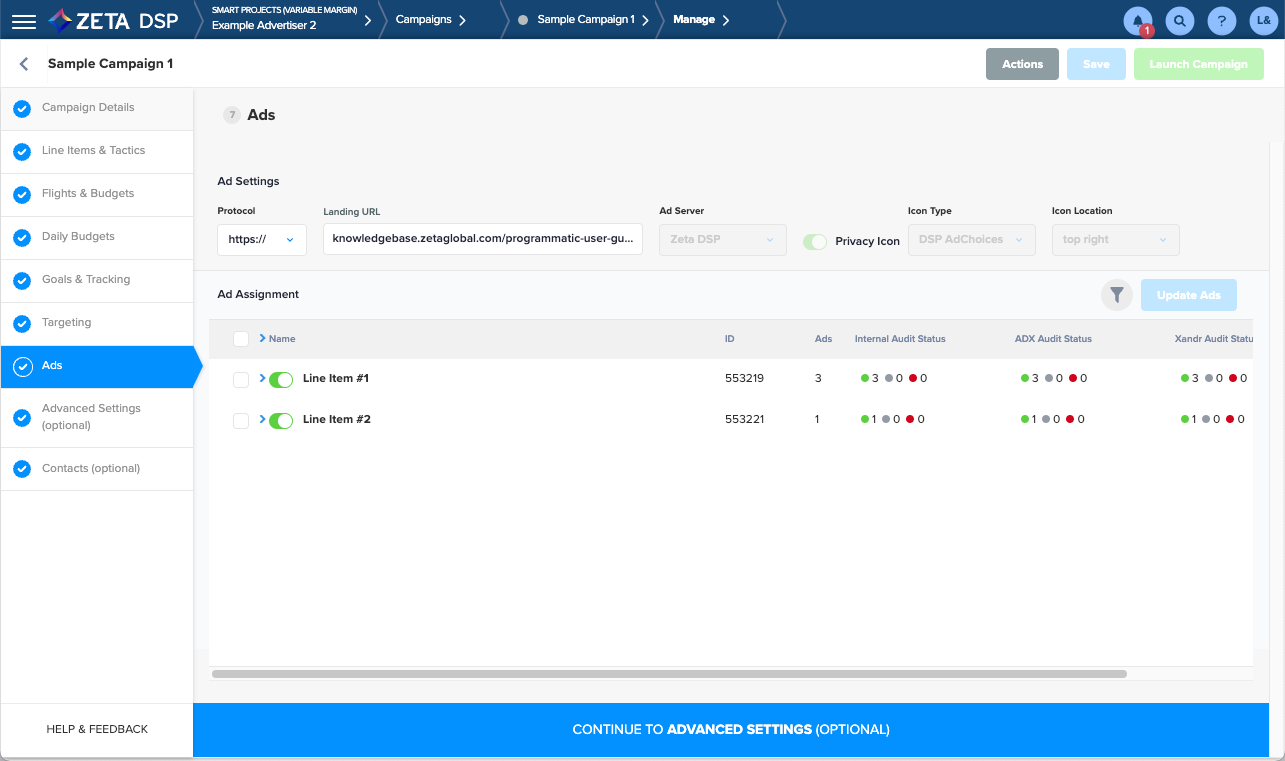
Let’s have a look at the descriptions of each field present in the Ad settings page of the Campaign Builder:
|
Field |
Description |
|---|---|
|
Protocol |
Choose either non-secure http:// or secure https:// |
|
Landing URL |
This field is used for ads assigned to the campaign, if they are not declared on the ad itself the ad will inherit the campaigns landing URL |
|
Ad Server |
The default Ad Server is Sizmek DSP - this will be updated in a future release |
|
Privacy Icon (Toggle) |
This field is not editable. If you have any questions please reach out to your Account Manager |
|
Icon Type |
This field is not editable. These choices will differ dependant on Account Setup |
|
Icon Location |
This field is not editable. If you need to have this changed please reach out to your Account Manager |
On the right-hand side of the page, you can see the option to filter:
.gif?cb=bfd87ac3201842cf4a7e629ecdb3fe9b)
-
Users can expand and contract each filter.
-
When applying filters, the number next to the filter selected will change based on what was applied.
Learn more about the available filters
|
Filter |
Description |
Visuals |
|---|---|---|
|
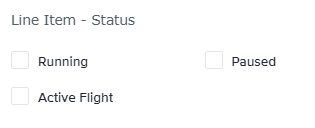
Line Item - Status |
Filters by Line Items Status Status Definitions Below:
|
|
|
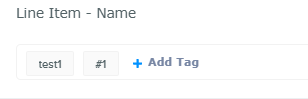
Line Item - Name |
Filters by Line Item Name Users can add in tags for easy filtering - Simply click |
|
|
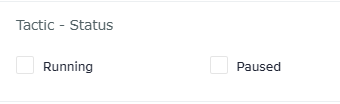
Tactic Status |
Filters by the Tactic Status Status Definitions Below:
|
|
|
Tactic Name |
Filters by Tactic Name Users can add in tags for easy filtering - Simply click |
|
|
Ad Status |
Filters by the Ad Status Status Definitions Below:
|
|
|
Ad Name |
Filters by Ad Name Users can add in tags for easy filtering - Simply click |
|
|
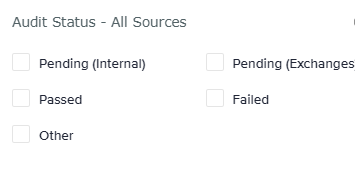
Audit Status - All Sources |
Filters by Ad Audit Status across ALL Exchanges Status Below:
For More information on Status Definitions Click Here |
|
|
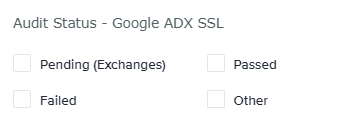
Audit Status - Google ADX SSL |
Filters by Ad Audit Status on Google ADX SSL Only
For More information on Status Definitions Click Here |
|
|
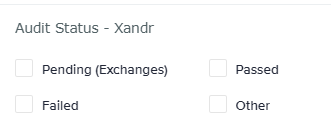
Audit Status - Xandr |
Filters by Ad Audit Status on Xandr Only
For More information on Status Definitions Click Here |
|
|
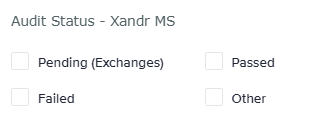
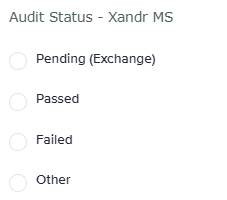
Audit Status - Xandr MS |
Filters by Ad Audit Status on Xandr MS Only
For More information on Status Definitions Click Here |
|
Assigning Ads
1. Check the boxes against the Line Item(s)/Tactic(s) where ads need to be assigned and click on Update Ads.
Clicking on the Expand (>) icon against a Line Item will reveal its Tactics. Selecting a Line Item will select all the Tactics within it.
2. From the list of Available Ads (housed at the Advertiser level) that appears, select the ones you want to assign to the selected line item(s) and click on Save.
|
You can further filter the list of ads for better searchability: .gif?cb=88486e4a20e0f9a02b9574142464a22e)
|
3. Within the Assigned Ads tab, use the checkboxes to de-select and remove any ads that may have been accidentally selected for assignment (Ad assignments are not saved until the Save button has been clicked)
.gif?cb=aa7627d0cd9059391ebde9ea12303ac3)
4. After saving the assigned ads, click on Close to return to the Ad Assignment grid.
5. The count of the assigned ads for the selected Tactic(s) will be updated.
.gif?cb=d7784e899bf2516e6df2bb0c246365cf)
-
Once a Tactic has at least one ad assigned, an Expand (>) icon becomes available at the Tactic level, clicking on which will display a list of the ads assigned to the said Tactic.
6. Click on an assigned ad within the Tactic to open the Ad Info panel and view its details.
.gif?cb=4564e8322d1e5c831245ad2683444314)
-
The
section will display the Ad Preview and read-only details, as well as the ability to change the status of an ad with the toggle and edit the ad in a new tab (pencil icon)
-
The < > section will display the HTML tag, as well as any extra HTML (applicable to HTML and Image ads only)
-
The last section (|||) will display the audit details of the selected ad.
7. Click on Save & Continue to Advanced Settings (Optional) at the bottom of the screen to continue building your campaign.
.gif?cb=8ae342e8a2cc12eeaf8d93aa08439ef1)
Unassigning Ads
1. Use the checkboxes to select the Tactic(s) where ads need to be unassigned.
.gif?cb=ceac54c3d45734a979c17f5f36f4bdd8)
2. Click on the Update Ads button, then navigate to the Assigned Ads tab.
If multiple Tactics were selected, the Available Ads tab will display all ads assigned to any of the selected Tactics.
3. De-select the ads to be unassigned, then click on Save to confirm the changes.
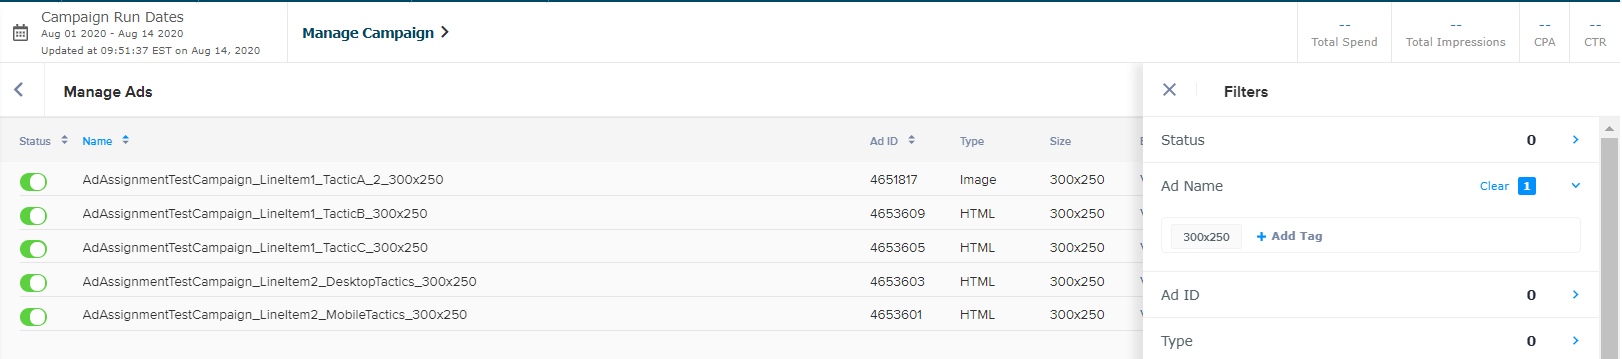
Managing Ads
In order to view a grid/list of all ads assigned to the campaign without the Line Item/Tactic hierarchy view, click on the Actions button at the top-right of the Ads step and select Manage Ads.
.gif?cb=9ef4b1fd5cd153f286aadfb1bb15be6f)
Available functionalities within this page include:

-
Search
-
Filters
-
Column Manager
-
Export
Search
Click on the Magnifying Glass to Search for Ads.
-
As the Ad Name filter will be highlighted, add in the search criteria and click on Enter
-
The list of ads containing the Ad Tag will be displayed
-
Filters
-
Click on the Funnel Icon to Filter Ads.
Learn more about the available filters
|
Filter |
Description |
Visuals |
|---|---|---|
|
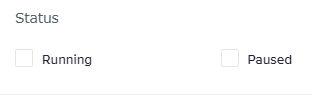
Status |
Filters Ads by Status Status Definitions Below:
|
|
|
Ad Name |
Filters Ads by Name Users can add in tags for easy filtering - Simply click |
|
|
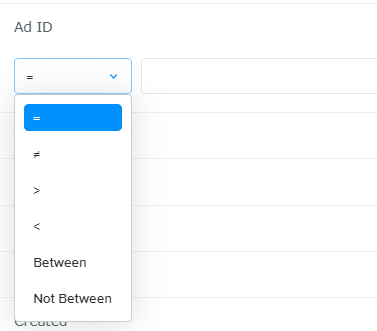
Ad ID |
Filters Ads by ID
|
|
|
Type |
Filters Ads by Type - Choices Below:
|

|
|
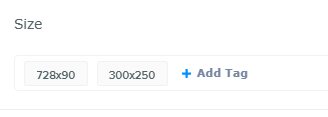
Size |
Filters Ads by Size Enter in the Ad sizes for the system to filter by Example shown on the right - 728x90 and 300x250 |
|
|
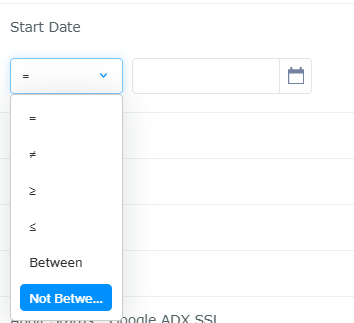
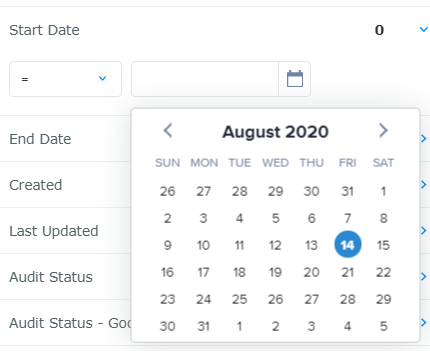
Start Date |
Filters Ads by Start Date (if implemented)
Click the Calendar icon to Select Date |
|
|
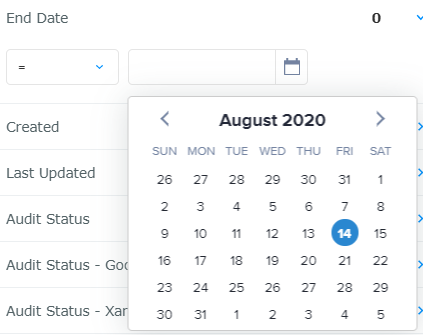
End Date |
Filters Ads by End Date (if implemented)
Click the Calendar icon to Select Date |

|
|
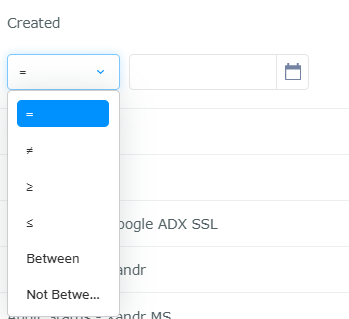
Created |
Filters Ads by Creation Date
Click the Calendar icon to Select Date |

|
|
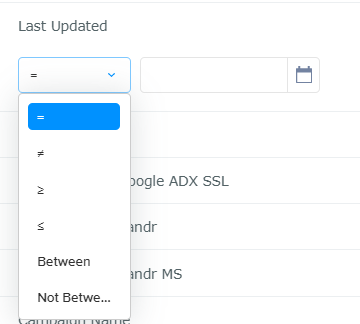
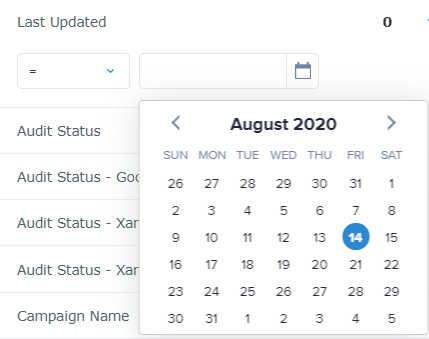
Last Updated |
Filters Ads by Last Updated Date
Click the Calendar icon to Select Date |
|
|
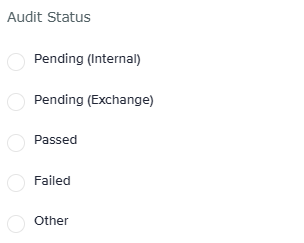
Audit Status |
Filter by Ad Audit Status across ALL Exchanges Status Below:
For More information on Status Definitions Click Here |
|
|
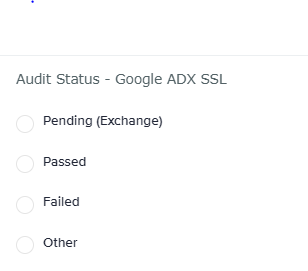
Audit Status - Google ADX SSL |
Filters by Ad Audit Status on Google ADX SSL Only
For More information on Status Definitions Click Here |
|
|
Audit Status - Xandr |
Filters by Ad Audit Status on Xandr Only
For More information on Status Definitions Click Here |

|
|
Audit Status - Xandr MS |
Filters by Ad Audit Status on Xandr MS Only
For More information on Status Definitions Click Here |
|
|
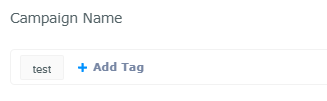
Campaign Name |
Filters Ads by Assigned Campaign Name Users can add in tags for easy filtering - Simply click |
|
|
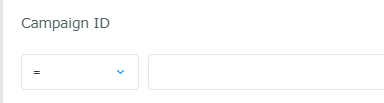
Campaign ID |
Filters Ads by Assigned Campaign ID Enter in the Campaign Id to the Search field for results |
|
|
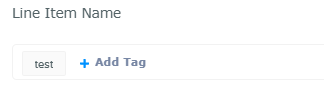
Line Item Name |
Filters Ads by Assigned Line Item Name Users can add in tags for easy filtering - Simply click |
|
|
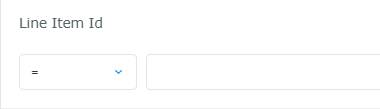
Line Item Id |
Filters Ads by Assigned Line Item ID Enter in the Line Item Id to the Search field for results |
|
|
Tactic Name |
Filters Ads by Assigned Tactic Name Users can add in tags for easy filtering - Simply click |
|
|
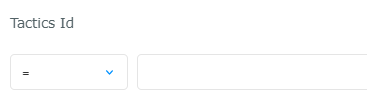
Tactics Id |
Filters Ads by Assigned Tactic ID Enter in the Tactic Id to the Search field for results |
|
|
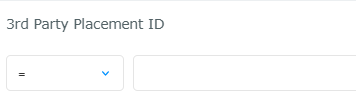
3rd Party Placement ID |
Filters Ads by Assigned 3rd Party Placement ID Enter in the 3rd Party Placement ID to the Search field for results |
|
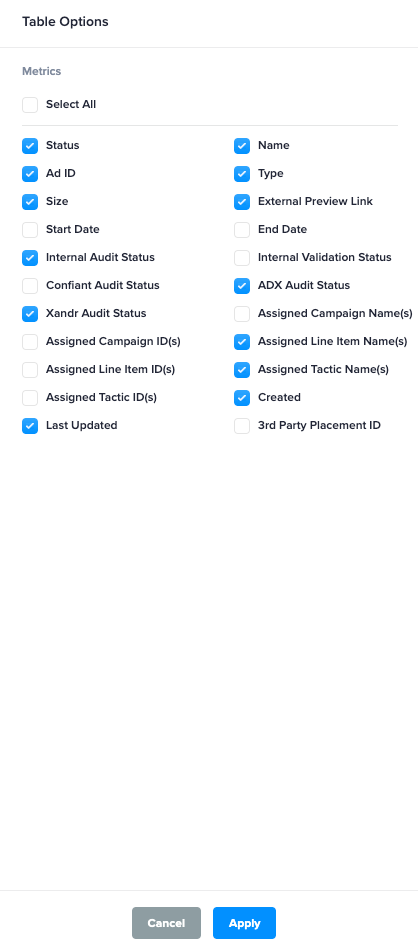
Column Manager
Click on the Gear icon and choose the Filters to render for the Manage Ads Page, and click on Apply.
Export
You can download the contents of the grid as-is to CSV.
-
Click on the Export Icon to download the file.
▲
11