To generate predictable hashed URLs for your assets, you can use the {media_asset} ZML tag to input some information in order to provide a URL output for your emails. This tag can help you maintain the organization of your assets using the original filenames, while still pointing to the correct hashed asset URL that doesn’t reference the file or folder names.
How It Works
The paths and filenames in the ZML tag refer to the original location, which means you cannot move the asset to a new folder nor rename it without breaking the {media_asset} tag.
Like all ZML tags, the media asset tag is specific to the account where it’s used. In the following sections, each part of the ZMP referenced (eg, Asset Library, Feeds, etc.) is expected to be in the same ZMP account. While a public asset URL can be used across accounts because it exists outside of the ZMP, the media asset tag can only generate URL outputs for its own account.
Uploading to Asset Library
1. Create a new folder in the Asset Library. While you can reuse folders, you won’t be able to move files without breaking the media asset tag, so a new folder is cleaner.
2. Upload your images
3. Identify the file names and extensions

Inserting Tags in a Content Template
This can work either in a campaign or a standalone template, and in any editor.
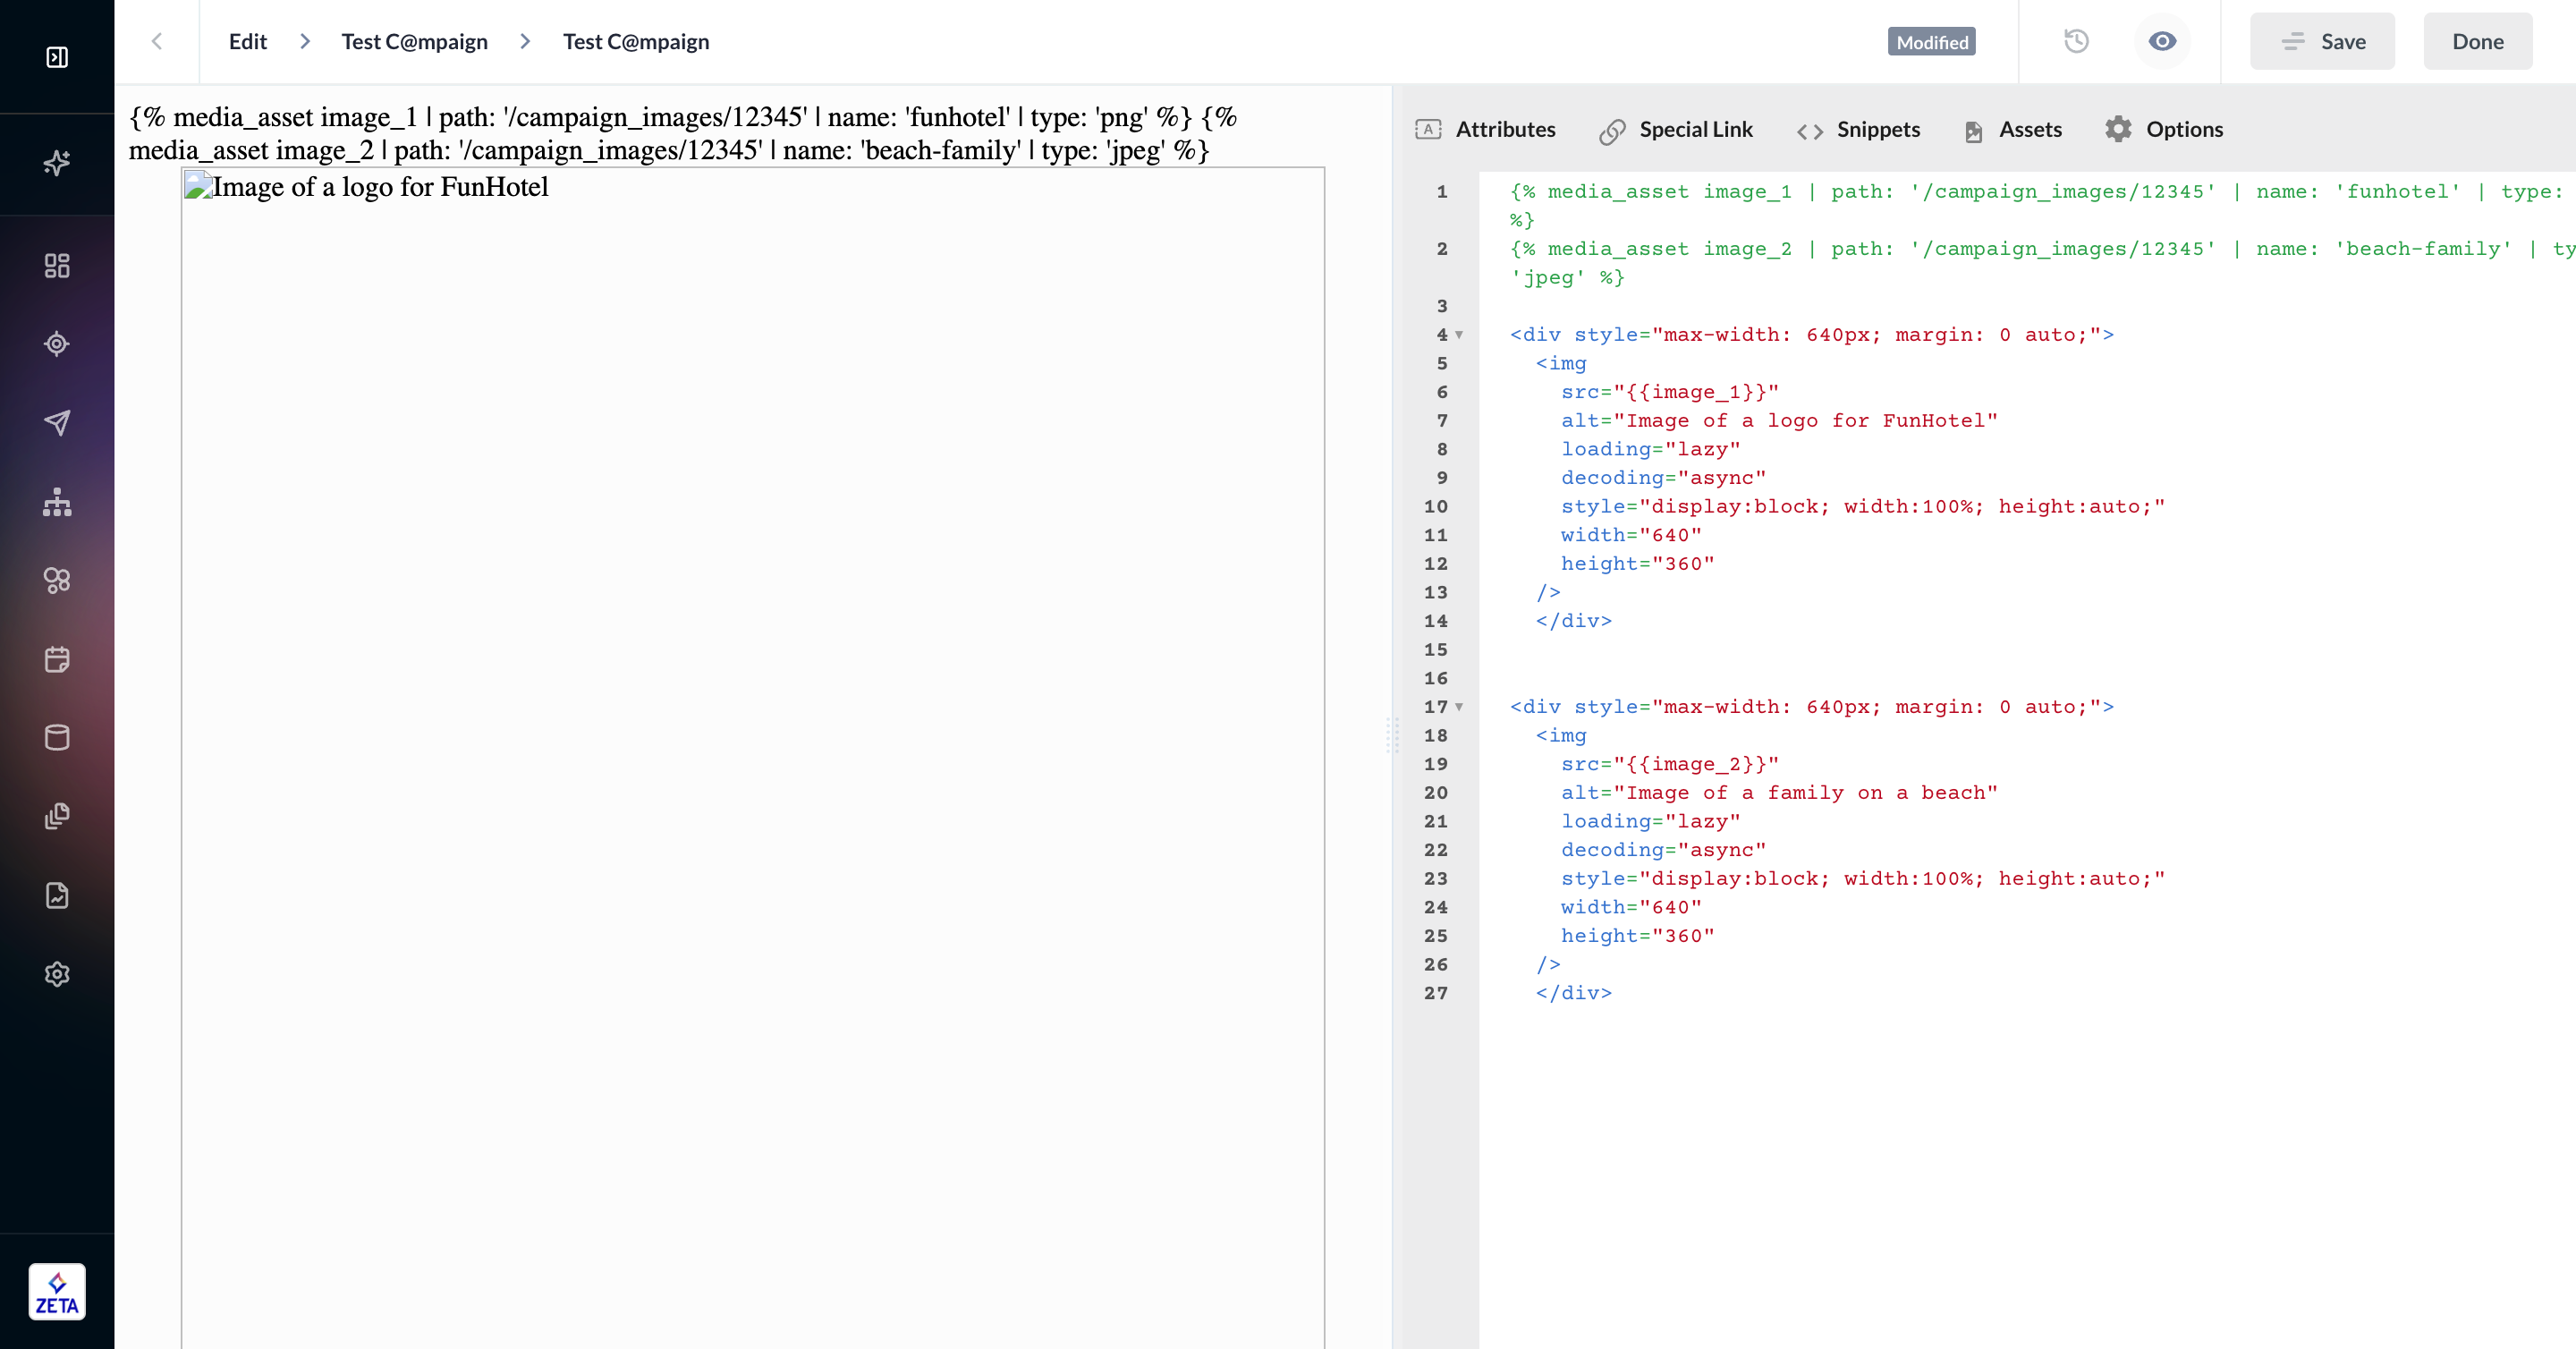
1. Add the media asset tag to the top of your template for each asset you intend to use.
{% media_asset image_1 | path: '/campaign_images/12345' | name: 'funhotel' | type: 'png' %}
{% media_asset image_2 | path: '/campaign_images/12345' | name: 'beach-family' | type: 'jpeg' %}
|
Item |
Definition |
Example |
|---|---|---|
|
tag name (will always be |
ZML tag name that dictates the function. |
media_asset |
|
variable name |
A short name that you can reference later in the template. This variable is arbitrary so you can use whatever suits your process best. |
image_1 image_2 |
|
path |
The exact file path in your account’s Asset Library, inside single quotes. If your file exists in the root Asset Library, then this value will be |
path: '/campaign_images/12345' |
|
file name |
The exact file name you’re referencing, inside single quotes. |
name: 'funhotel' |
|
file type |
The exact file type of the file you’re referencing, inside single quotes. |
type: 'png' |

2. In the body of the email, add your variable name where you would normally insert a url. In the above example, it will be {{image_1}}.
HTML Editor example
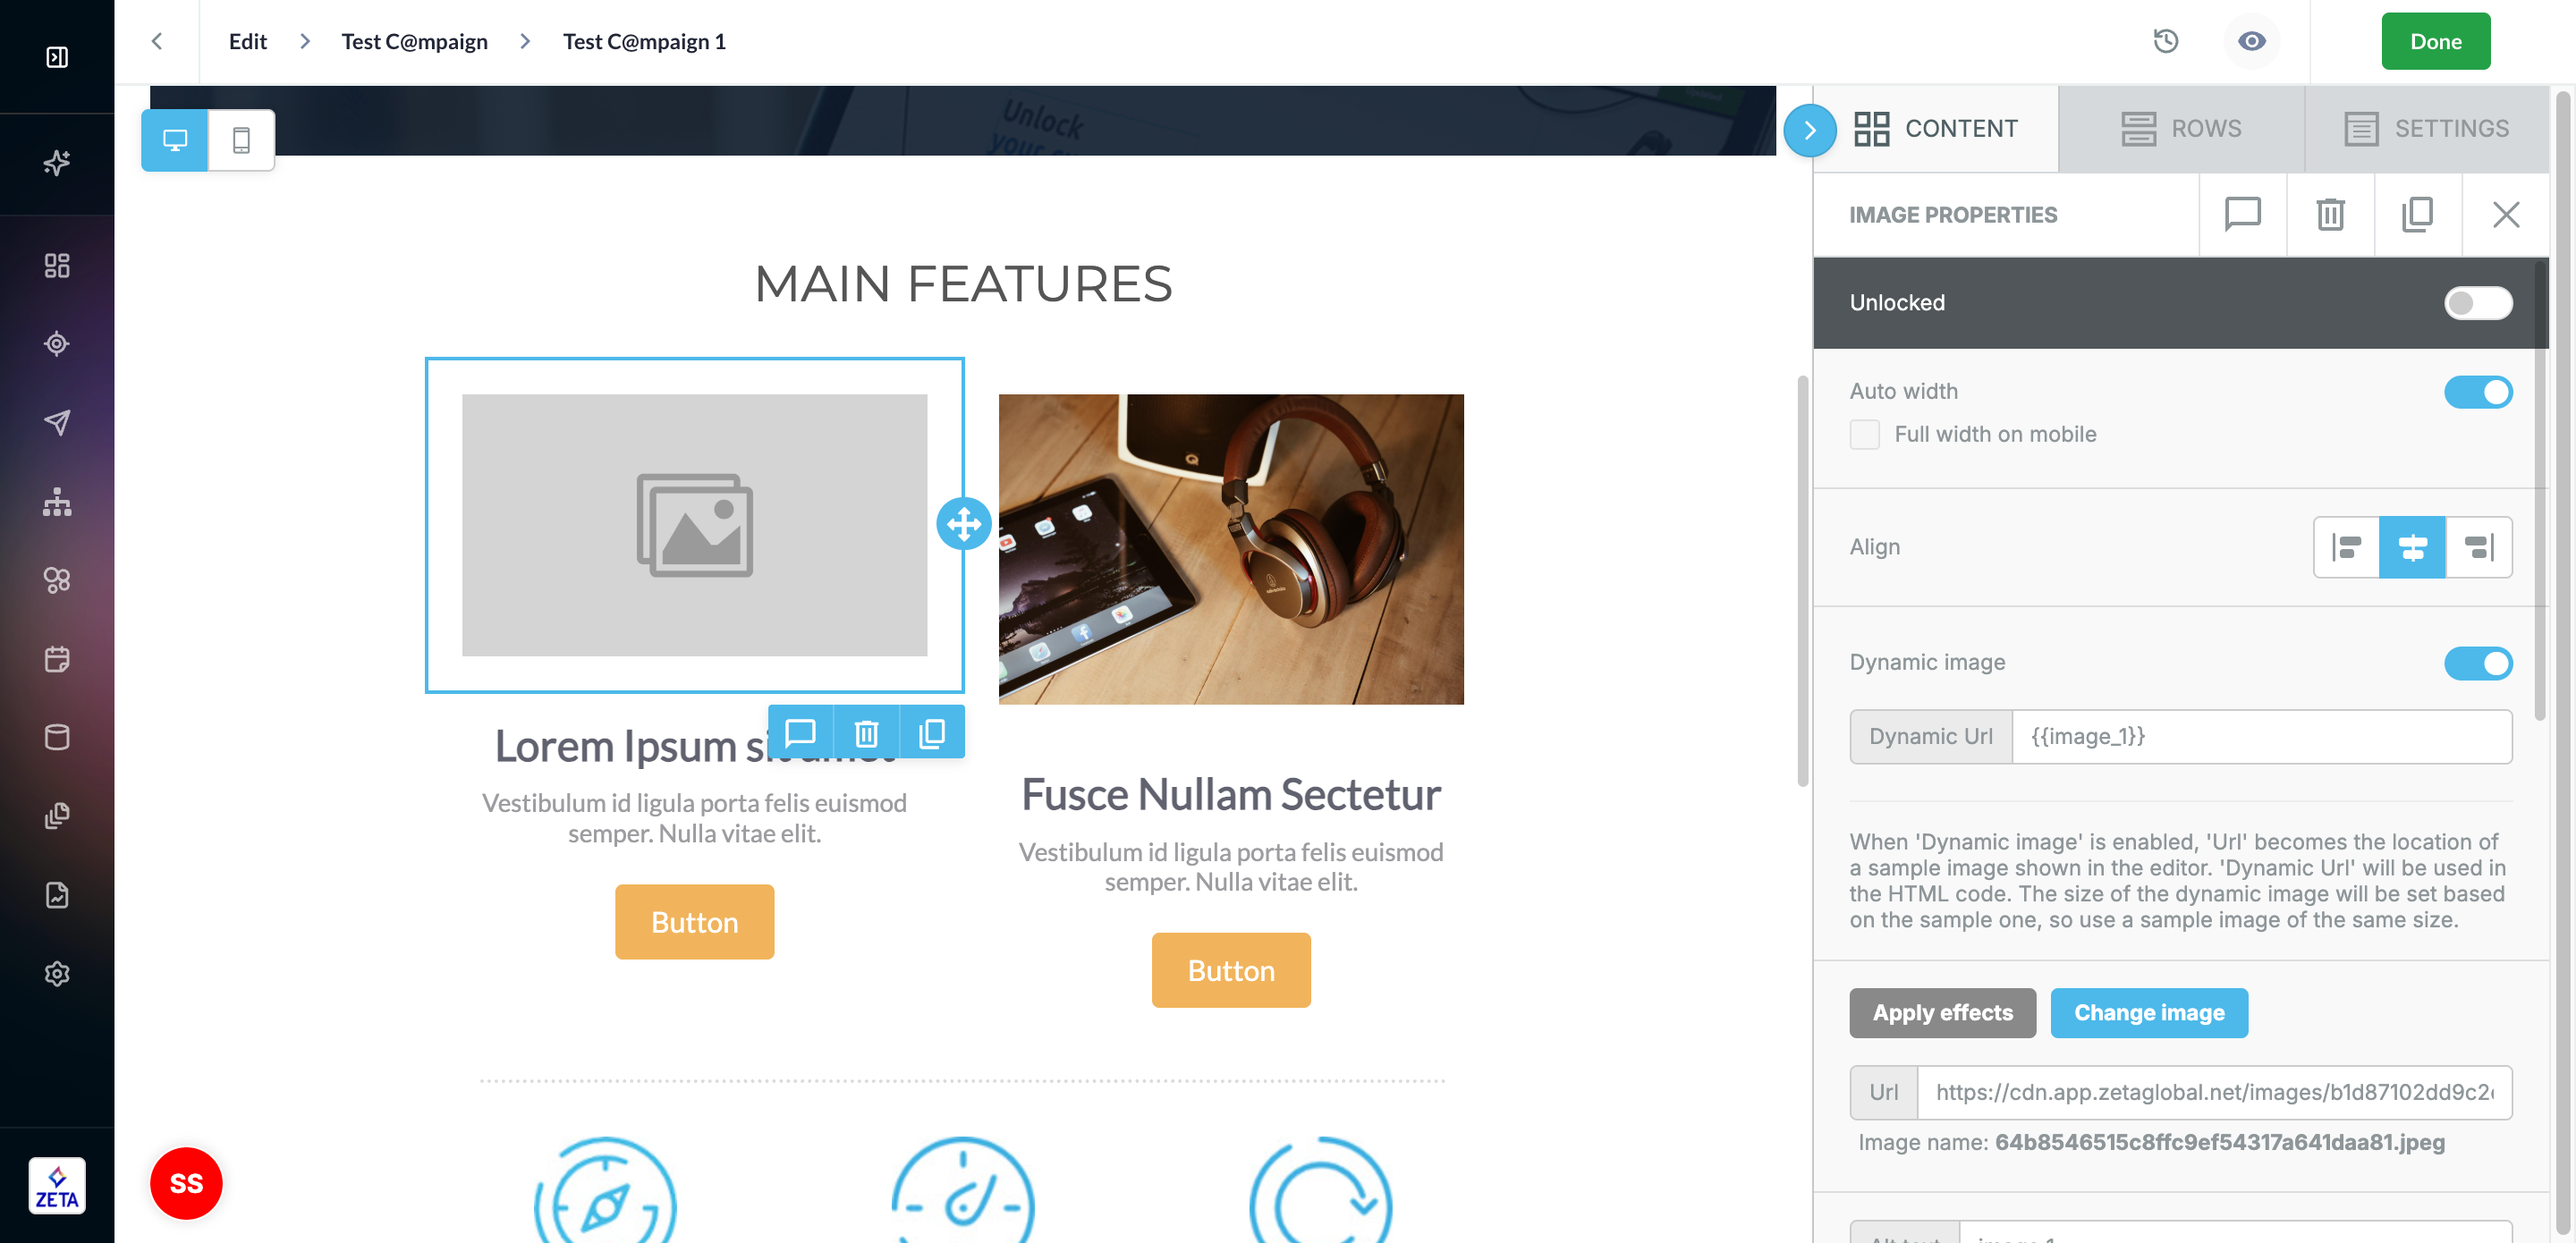
3. In Visual Editor, you will also need to enable Dynamic Url and insert your variable there. You can put a placeholder image in URL to see where the image will be while you’re editing your email.
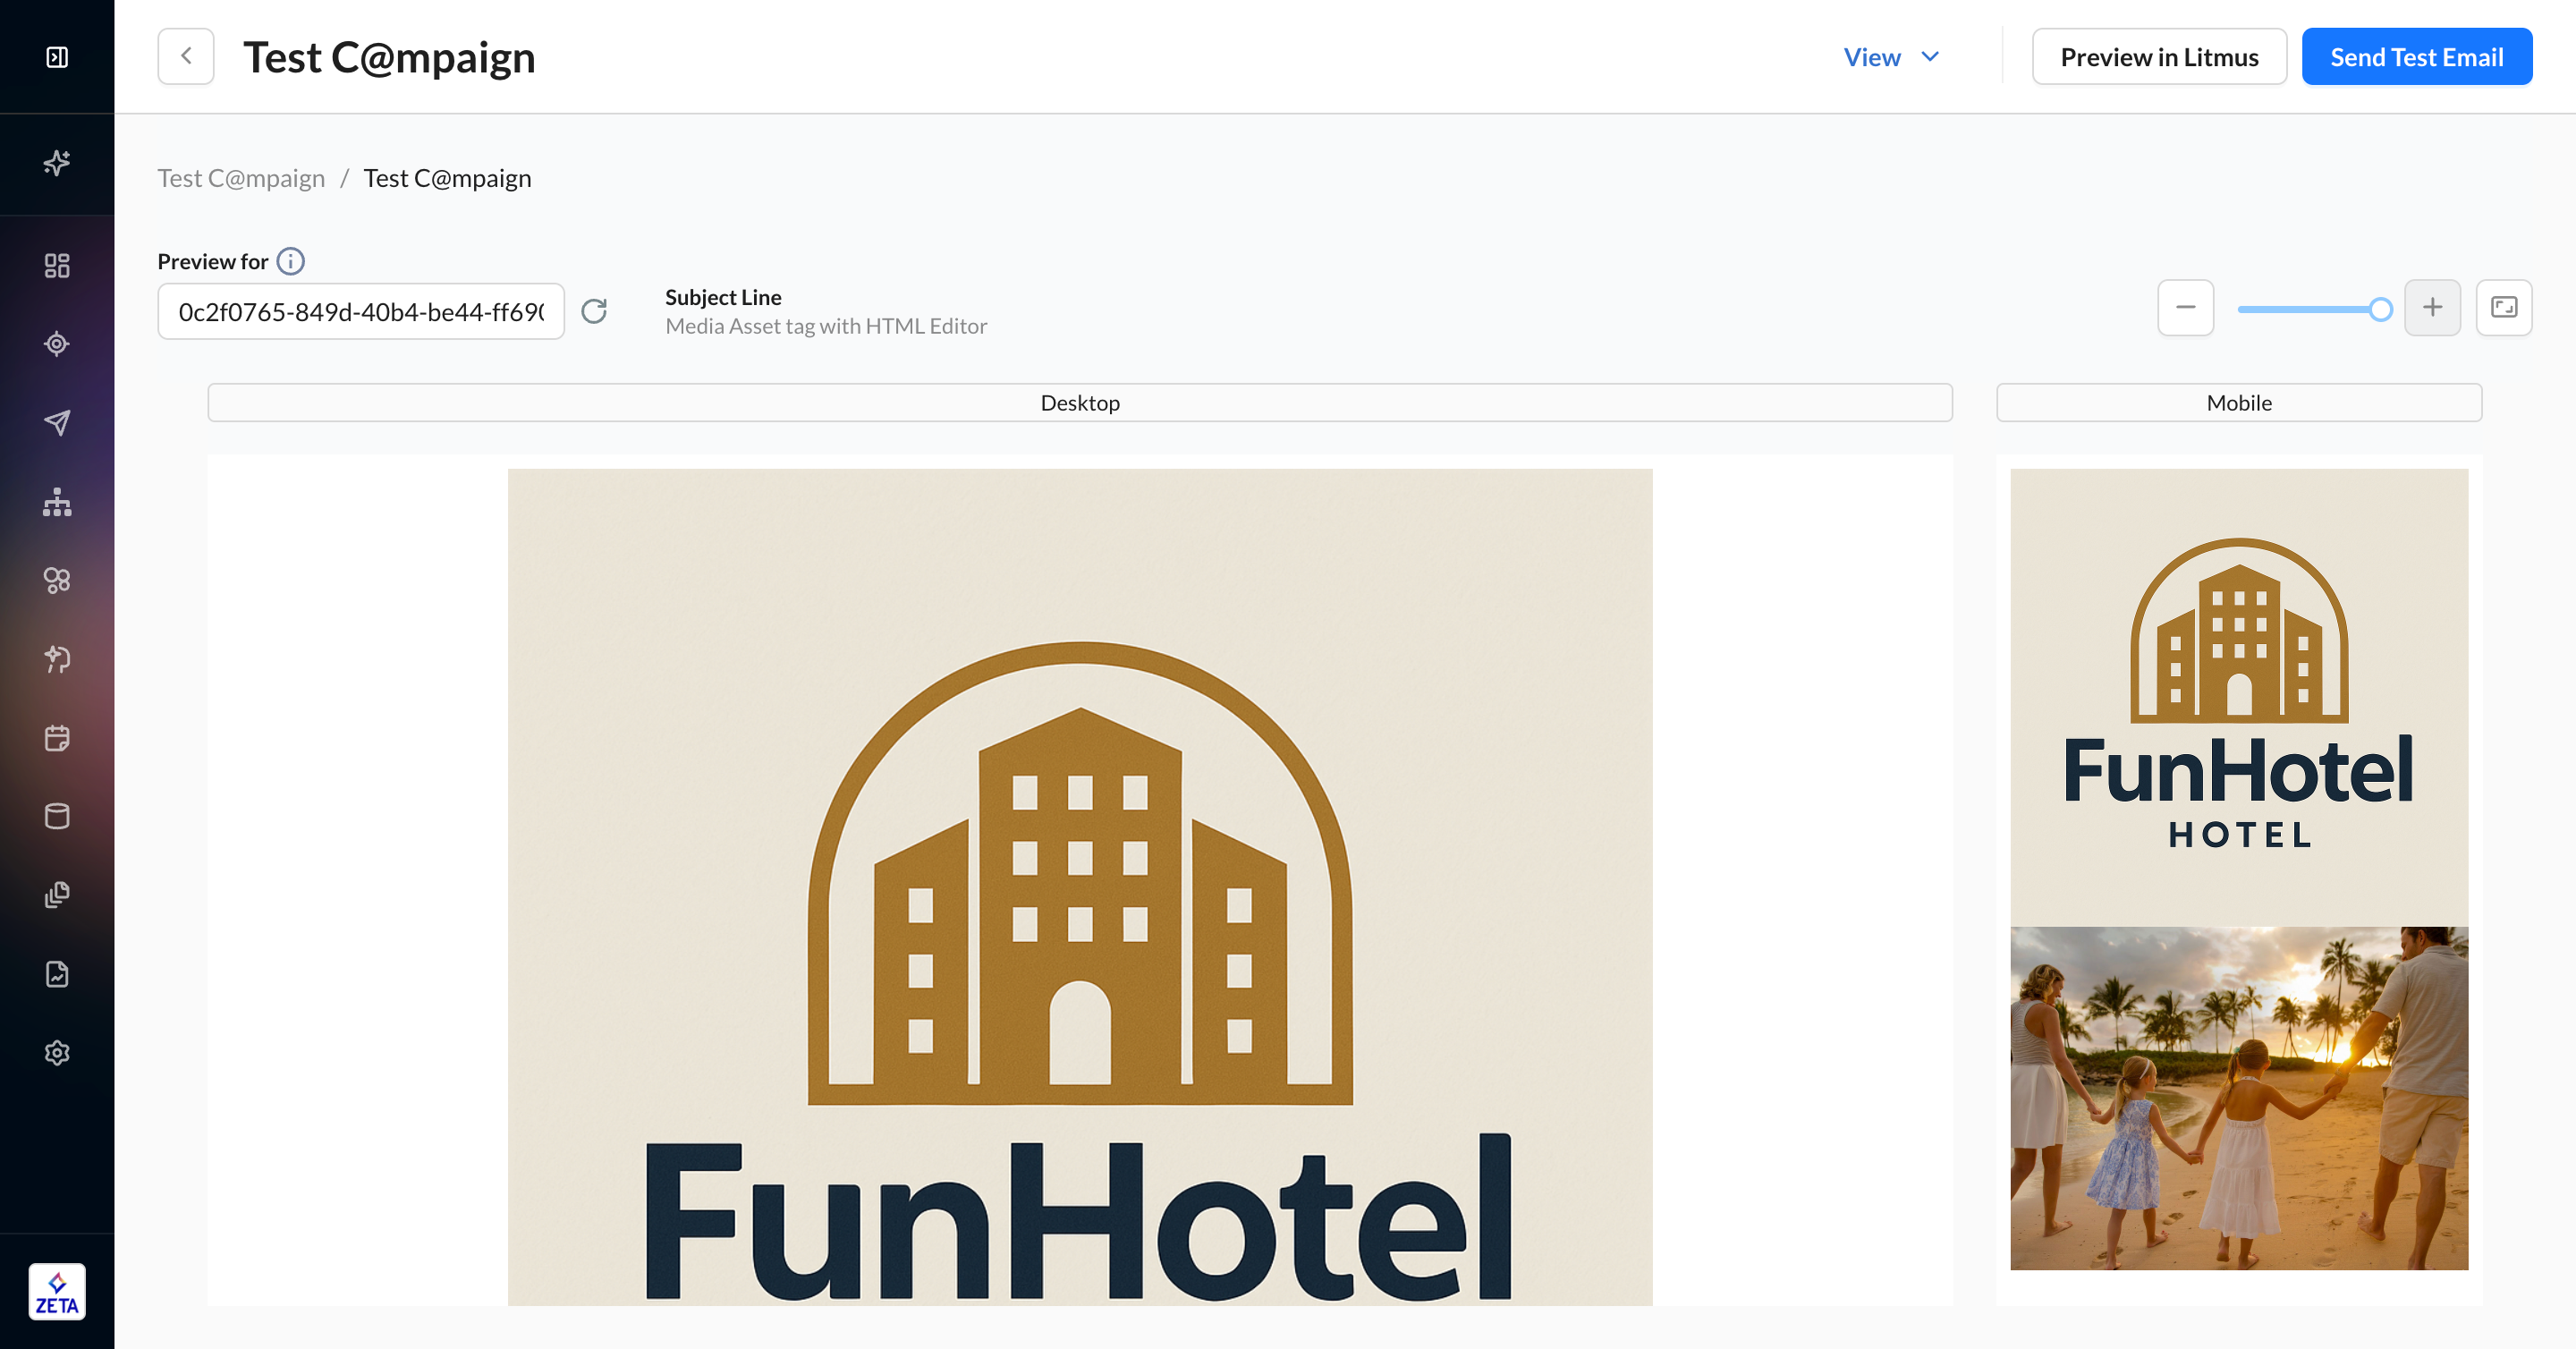
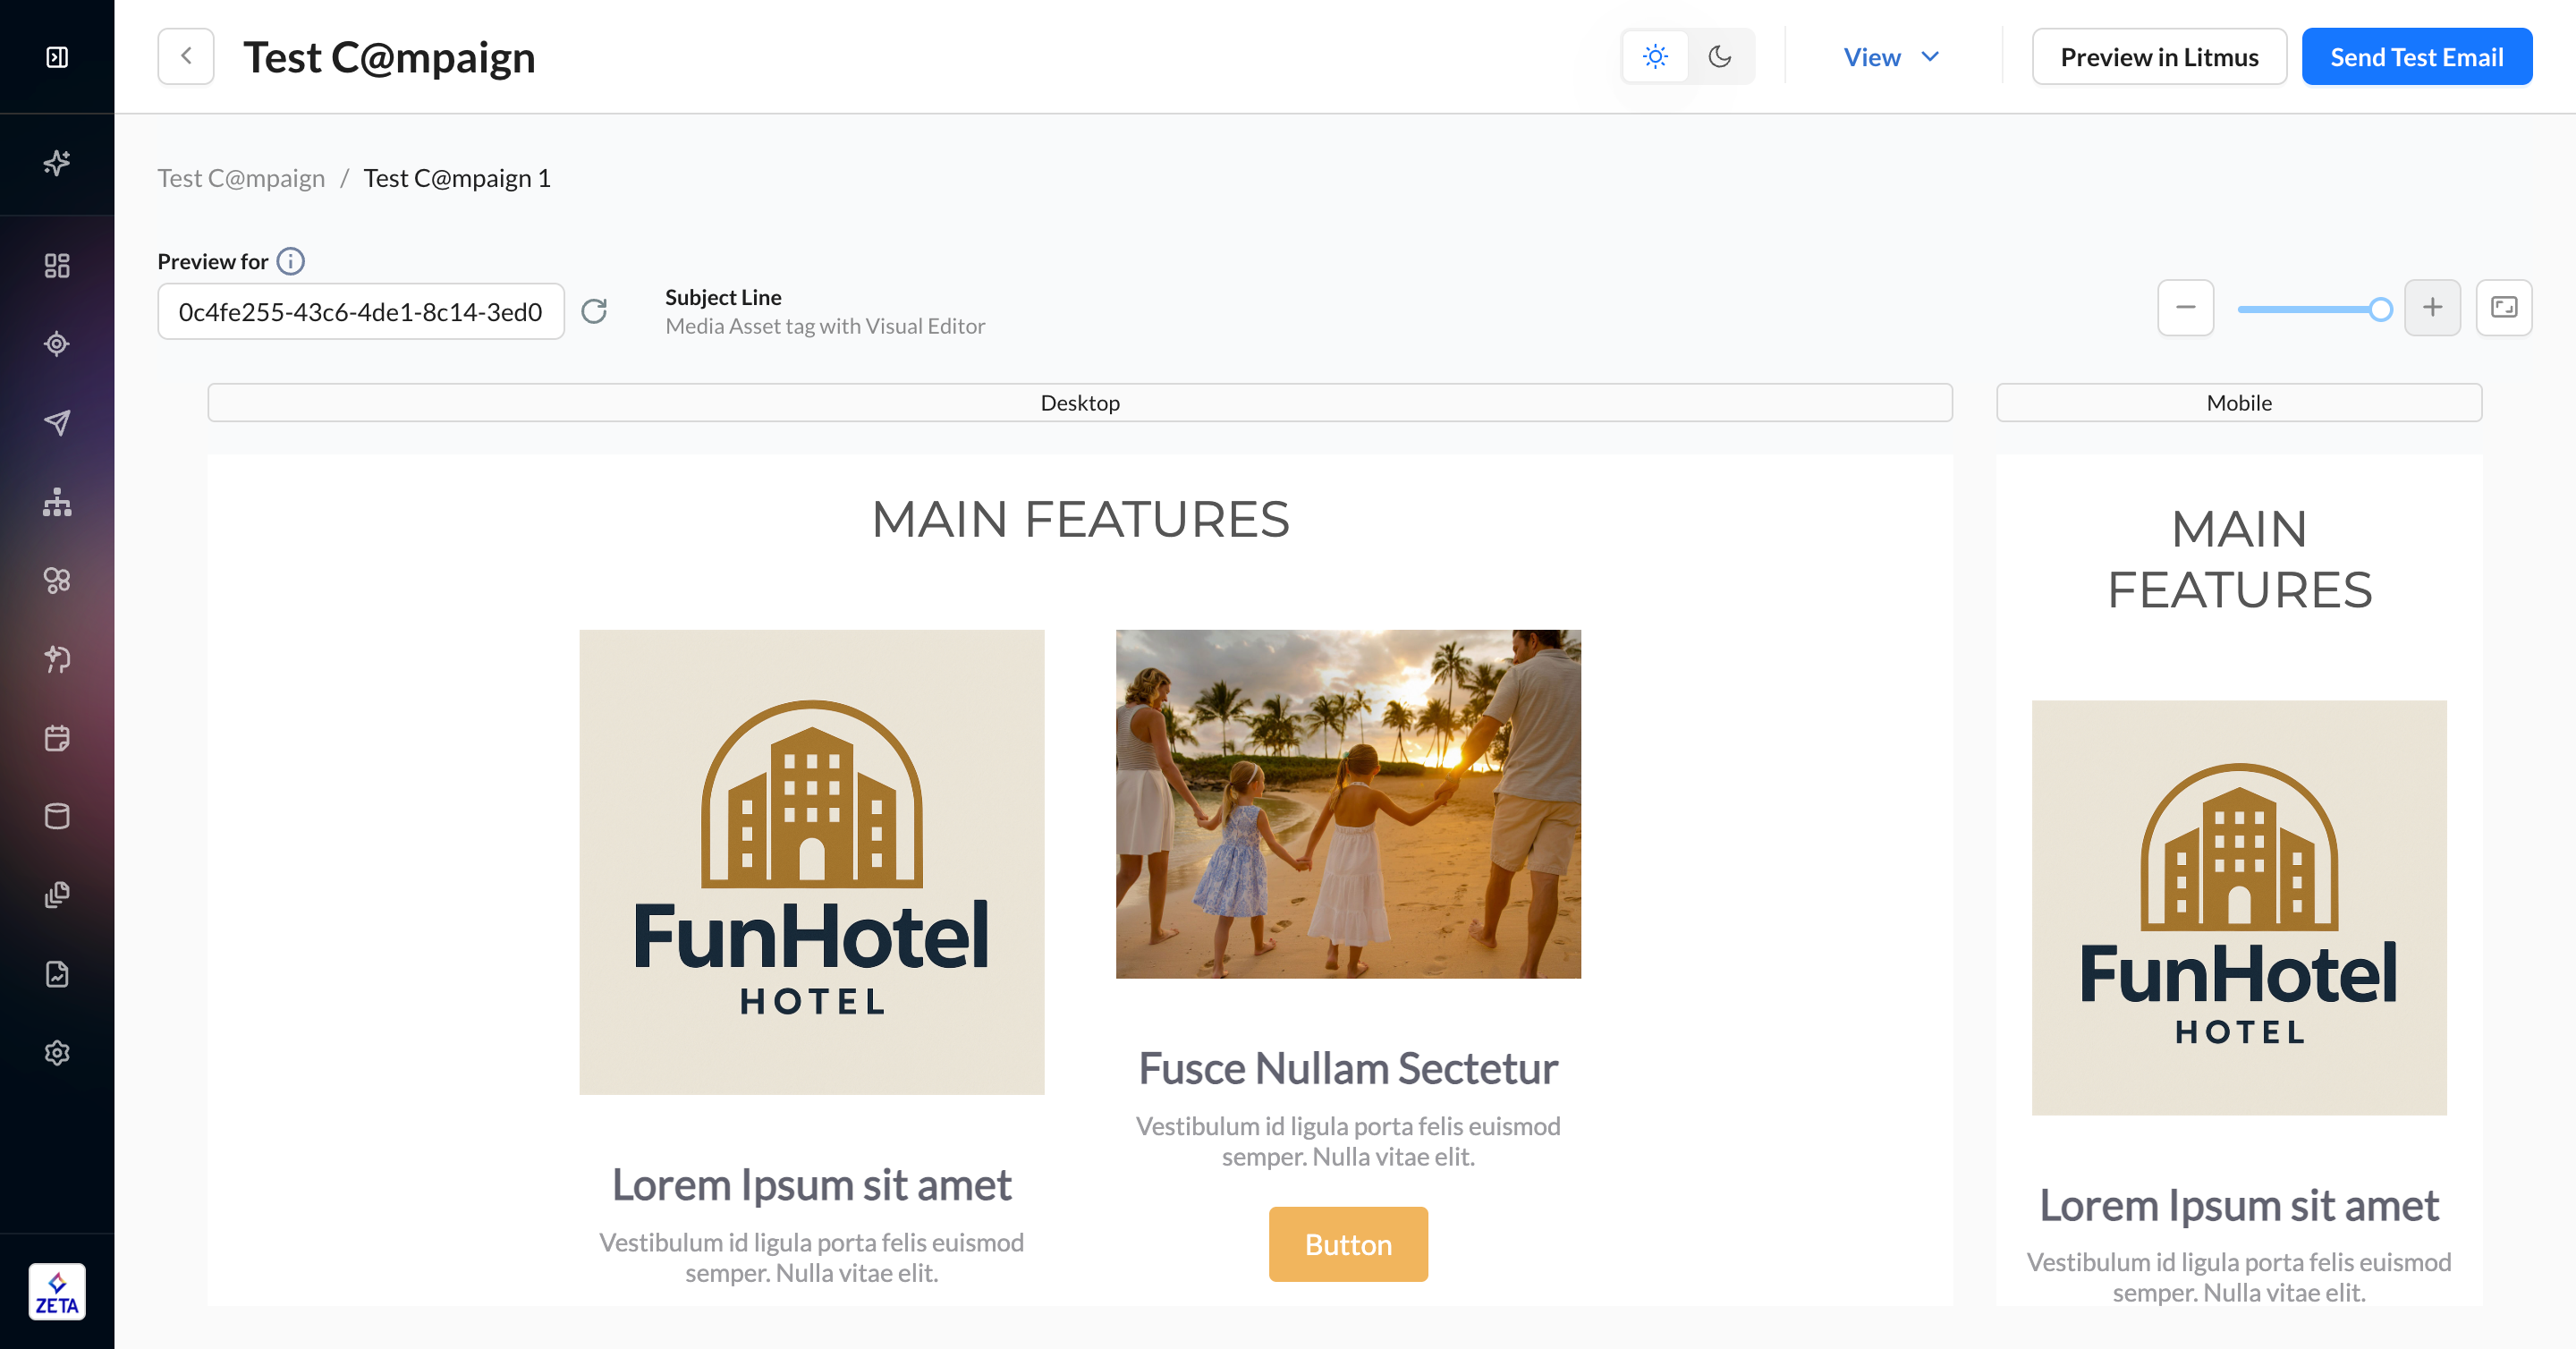
4. Click Preview to see your images render. You can also use the Send Test panel (aka paper airplane) to send proofs to your inbox.
Preview of HTML Editor example:
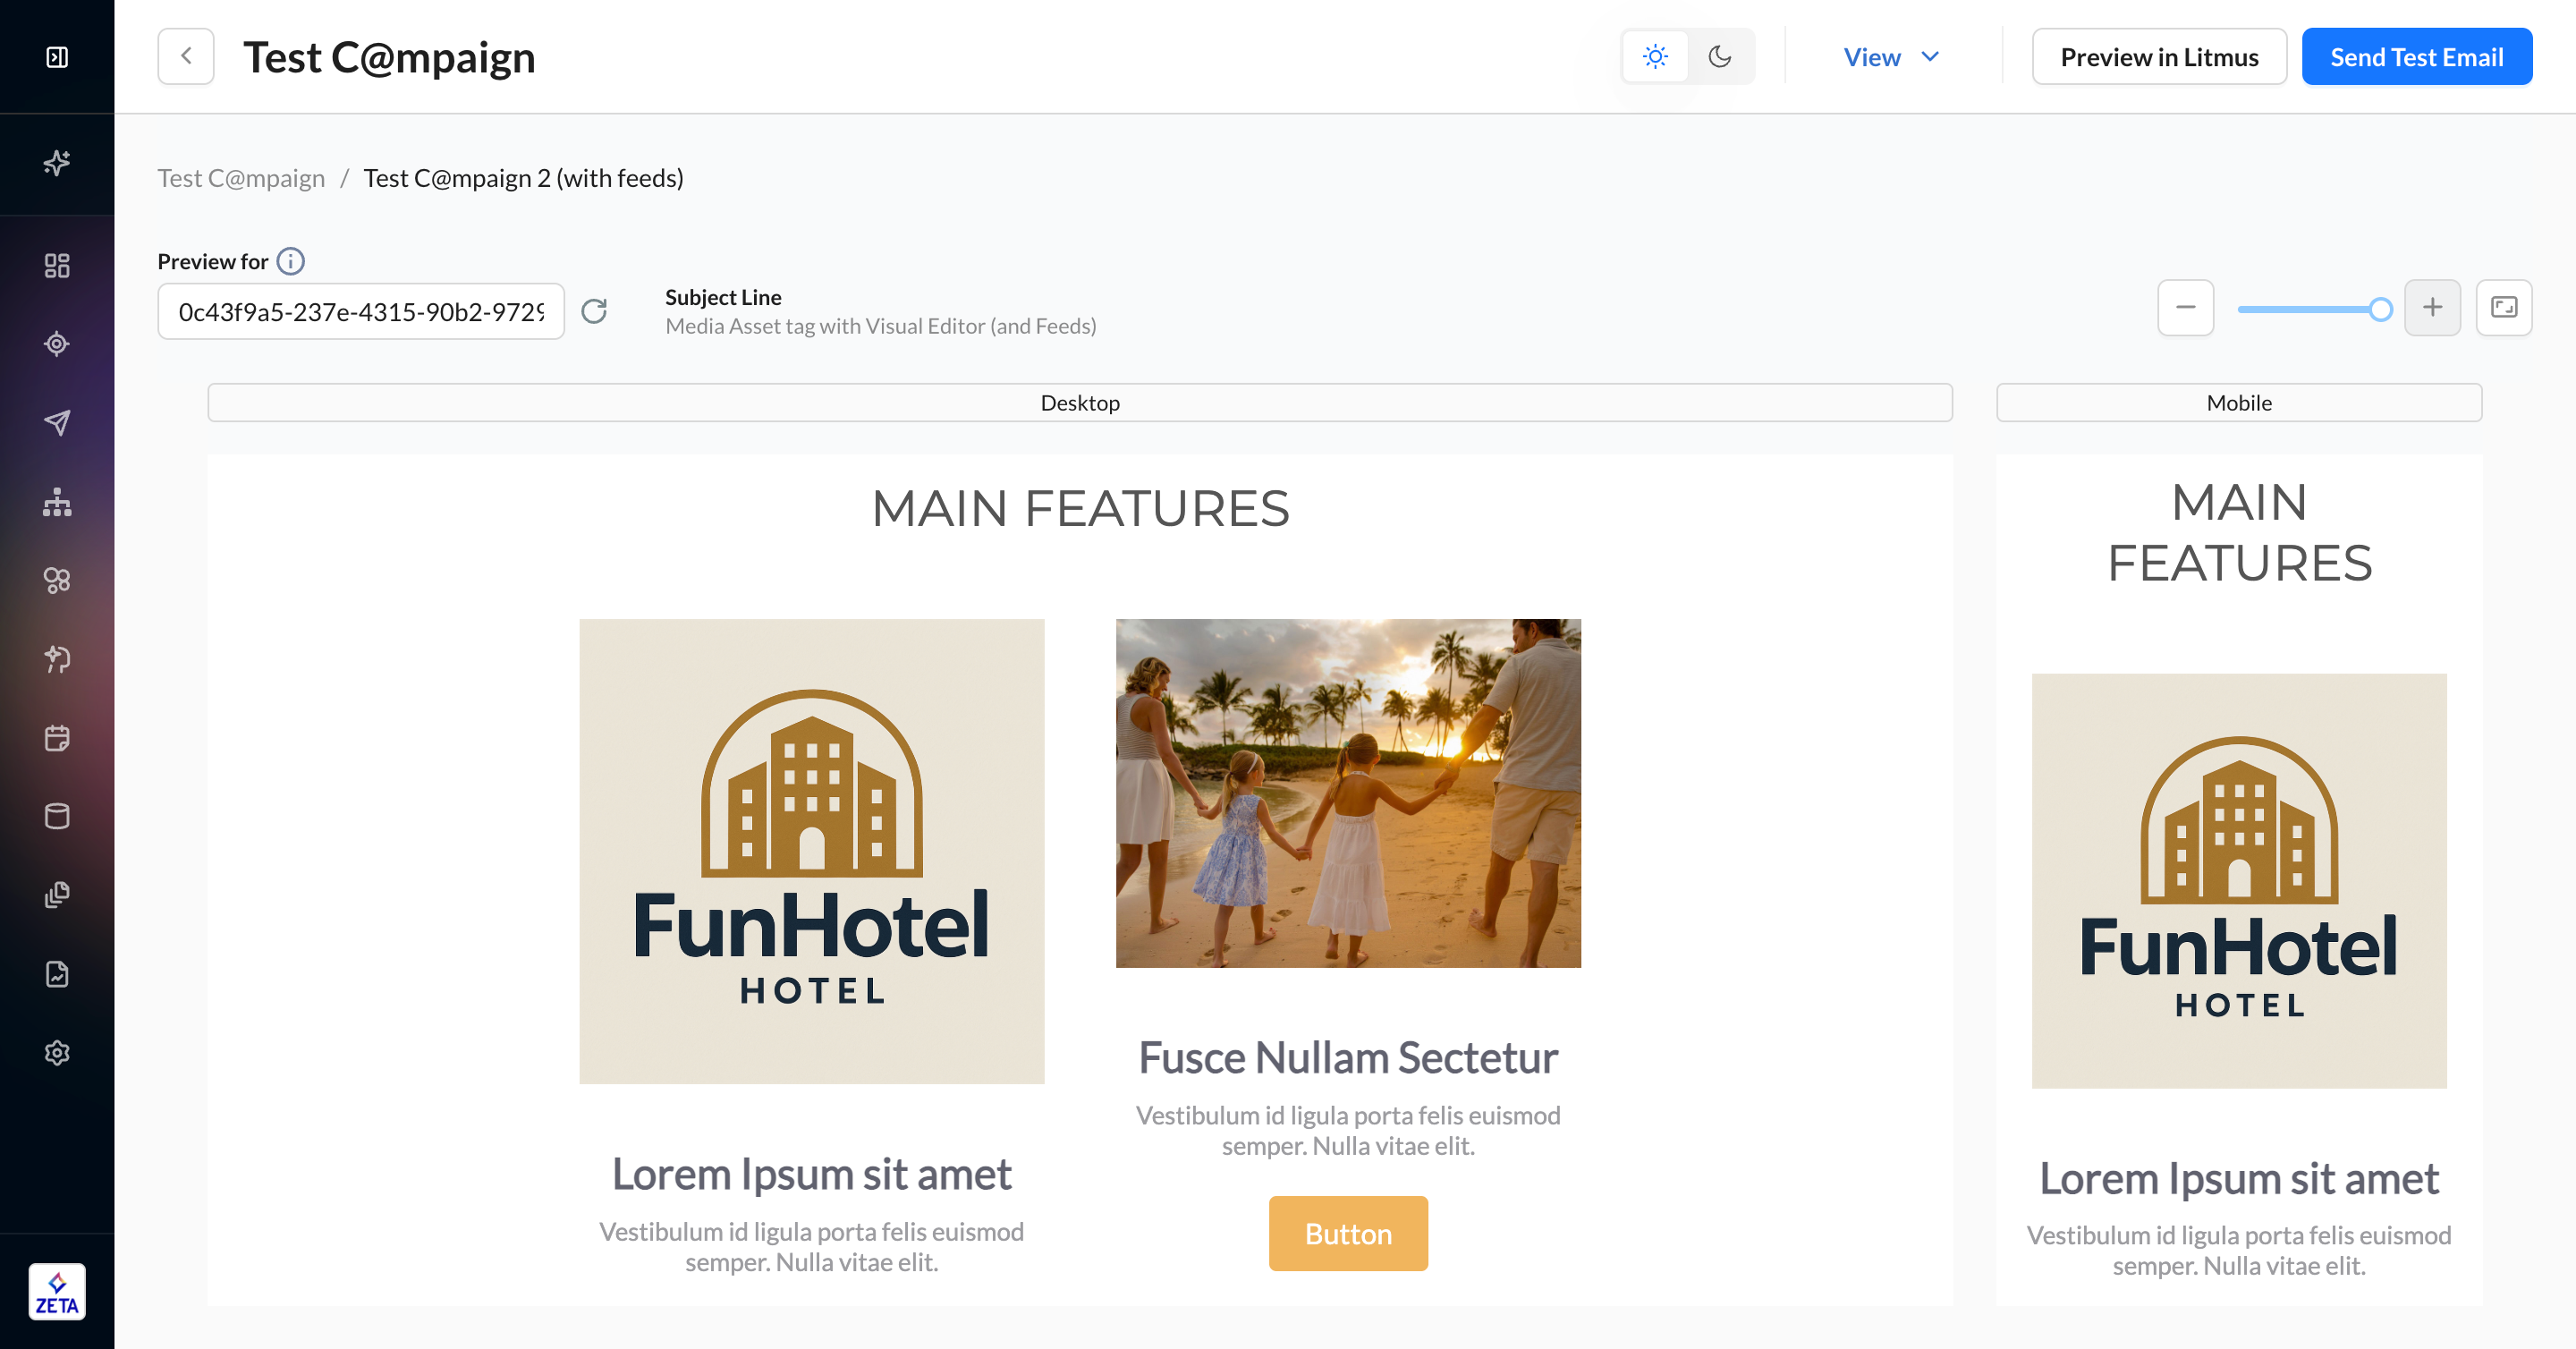
Preview of Visual Editor example:
Using Content Feeds to Construct Your Tag
Learn more about Content Feeds in the Knowledge Base.
If you store your asset URLs in Content Feeds, you can still use the media asset tag, provided that they’re structured and called in the correct chronological order since you’ll be using multiple ZML statements. You can use columns in the Content Feed to help simplify your outputs that make up the media asset tag that we walked through earlier in this article.
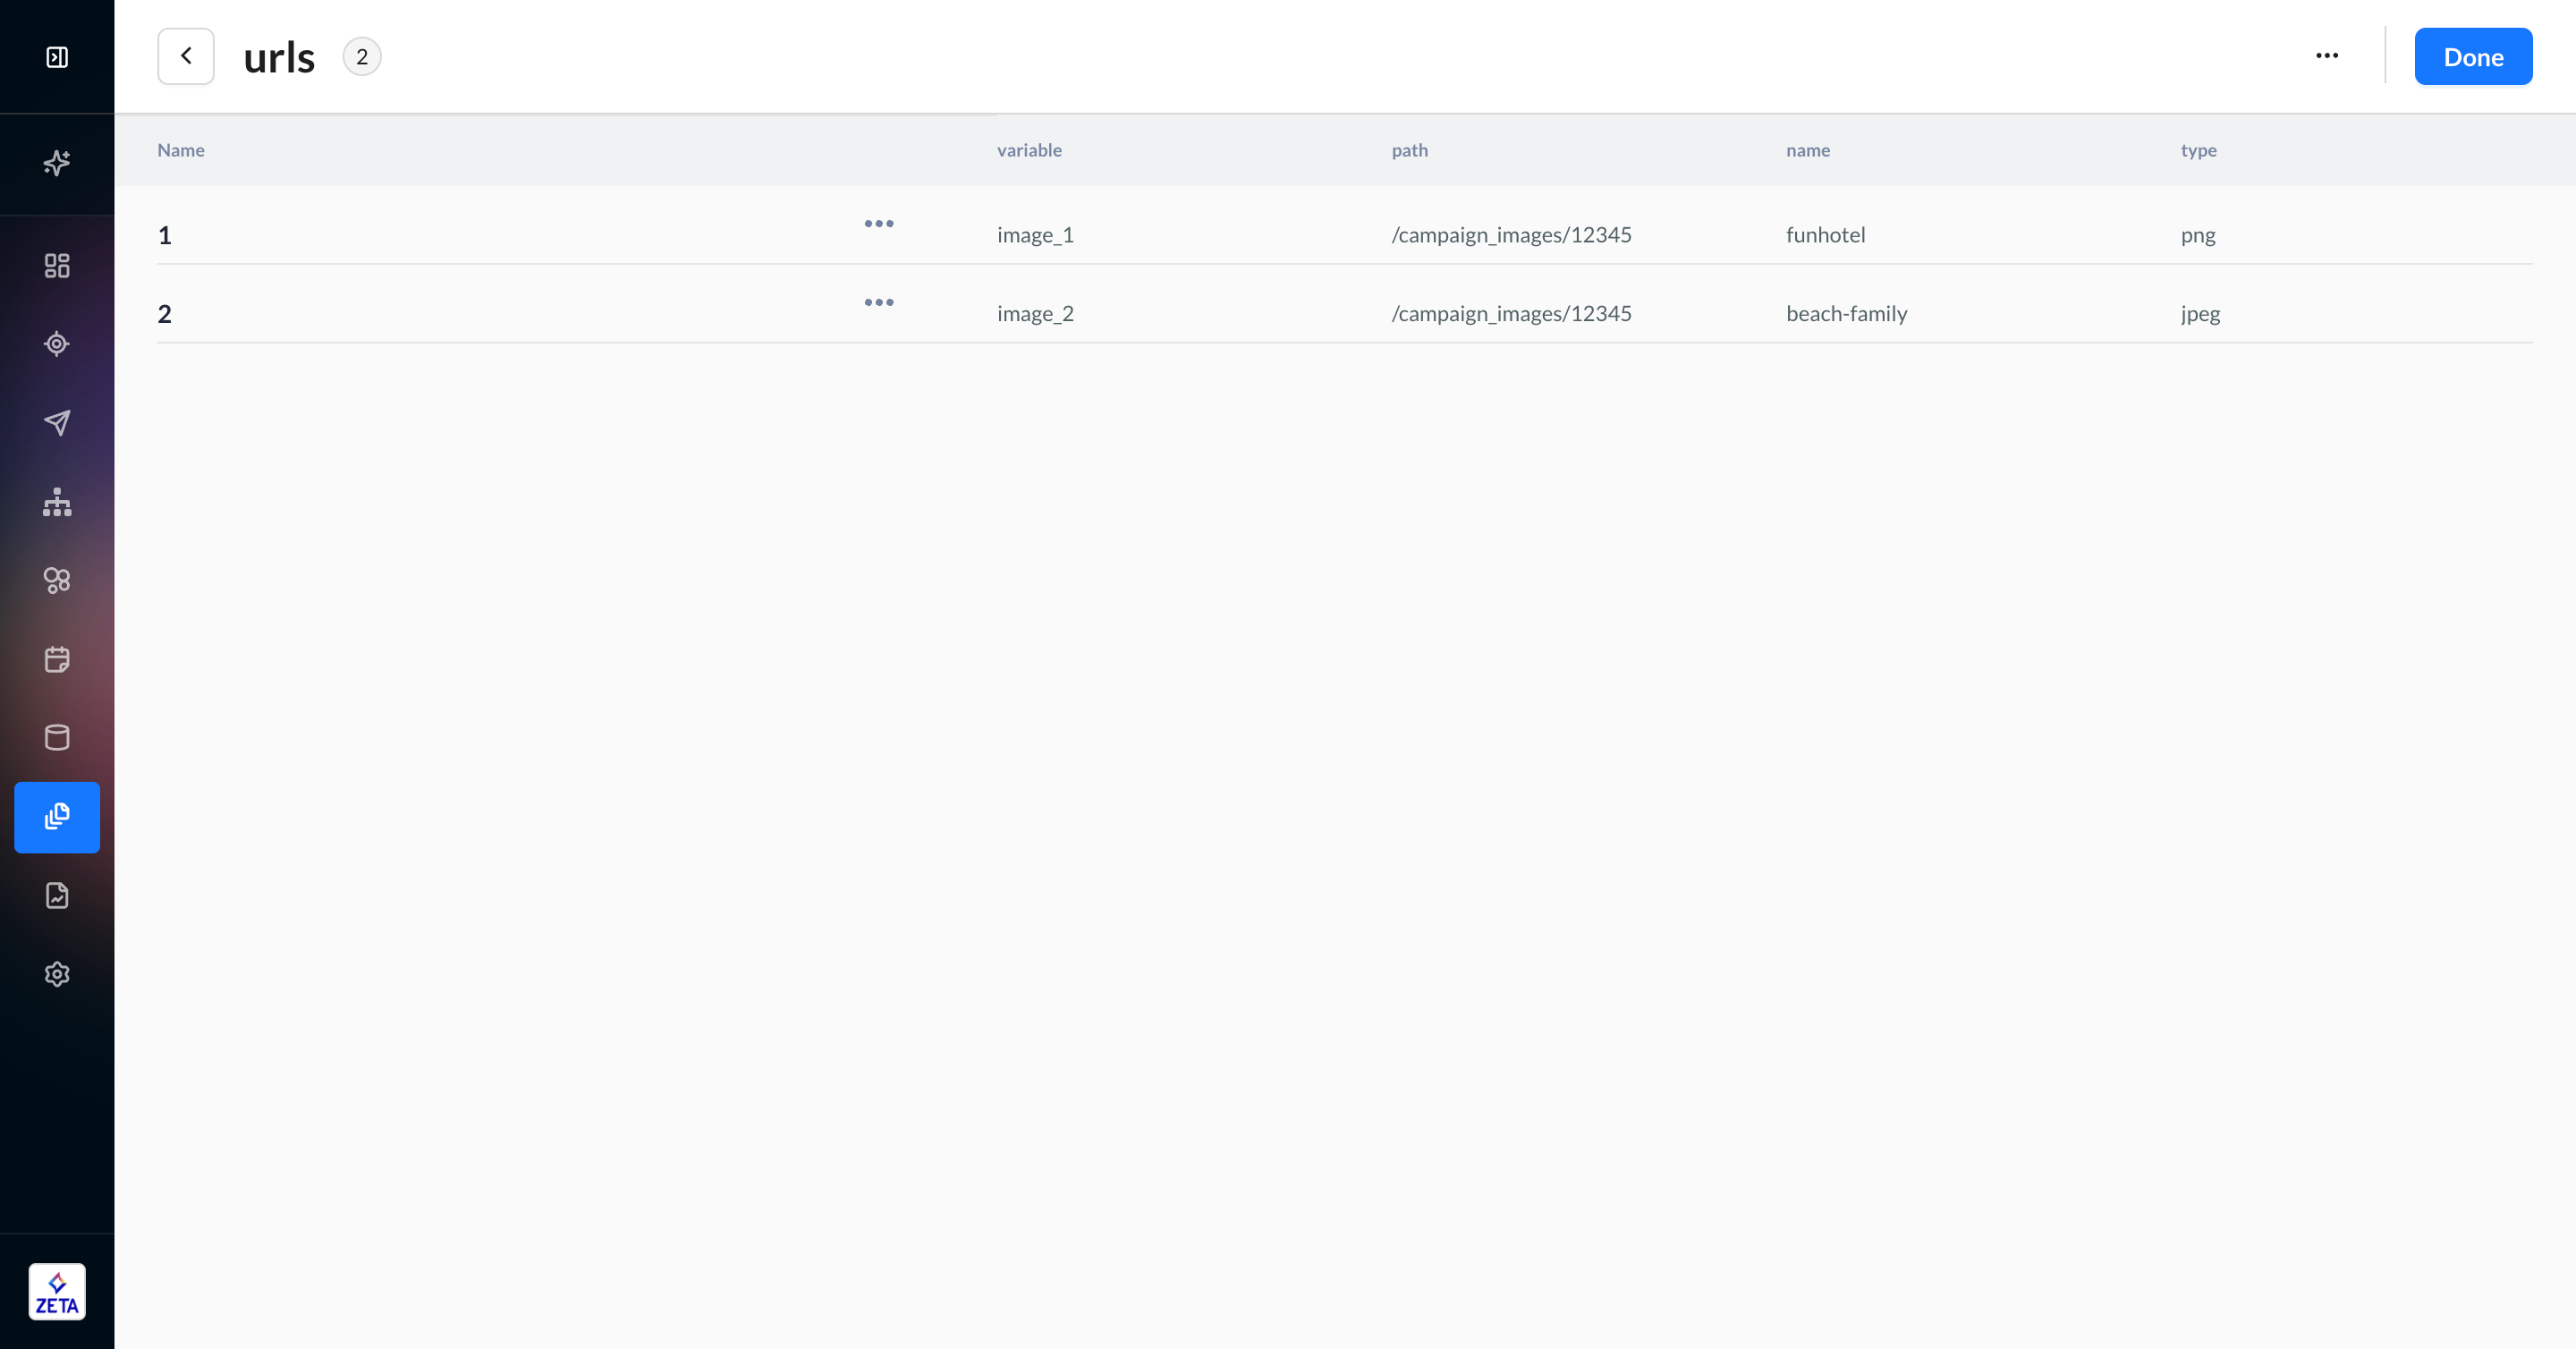
1. In your feed, create columns for your variable, path, name, and type. The feed is called URLs, and we will reference it later in your template. While this is a simple feed, you can add more columns with more information if needed.
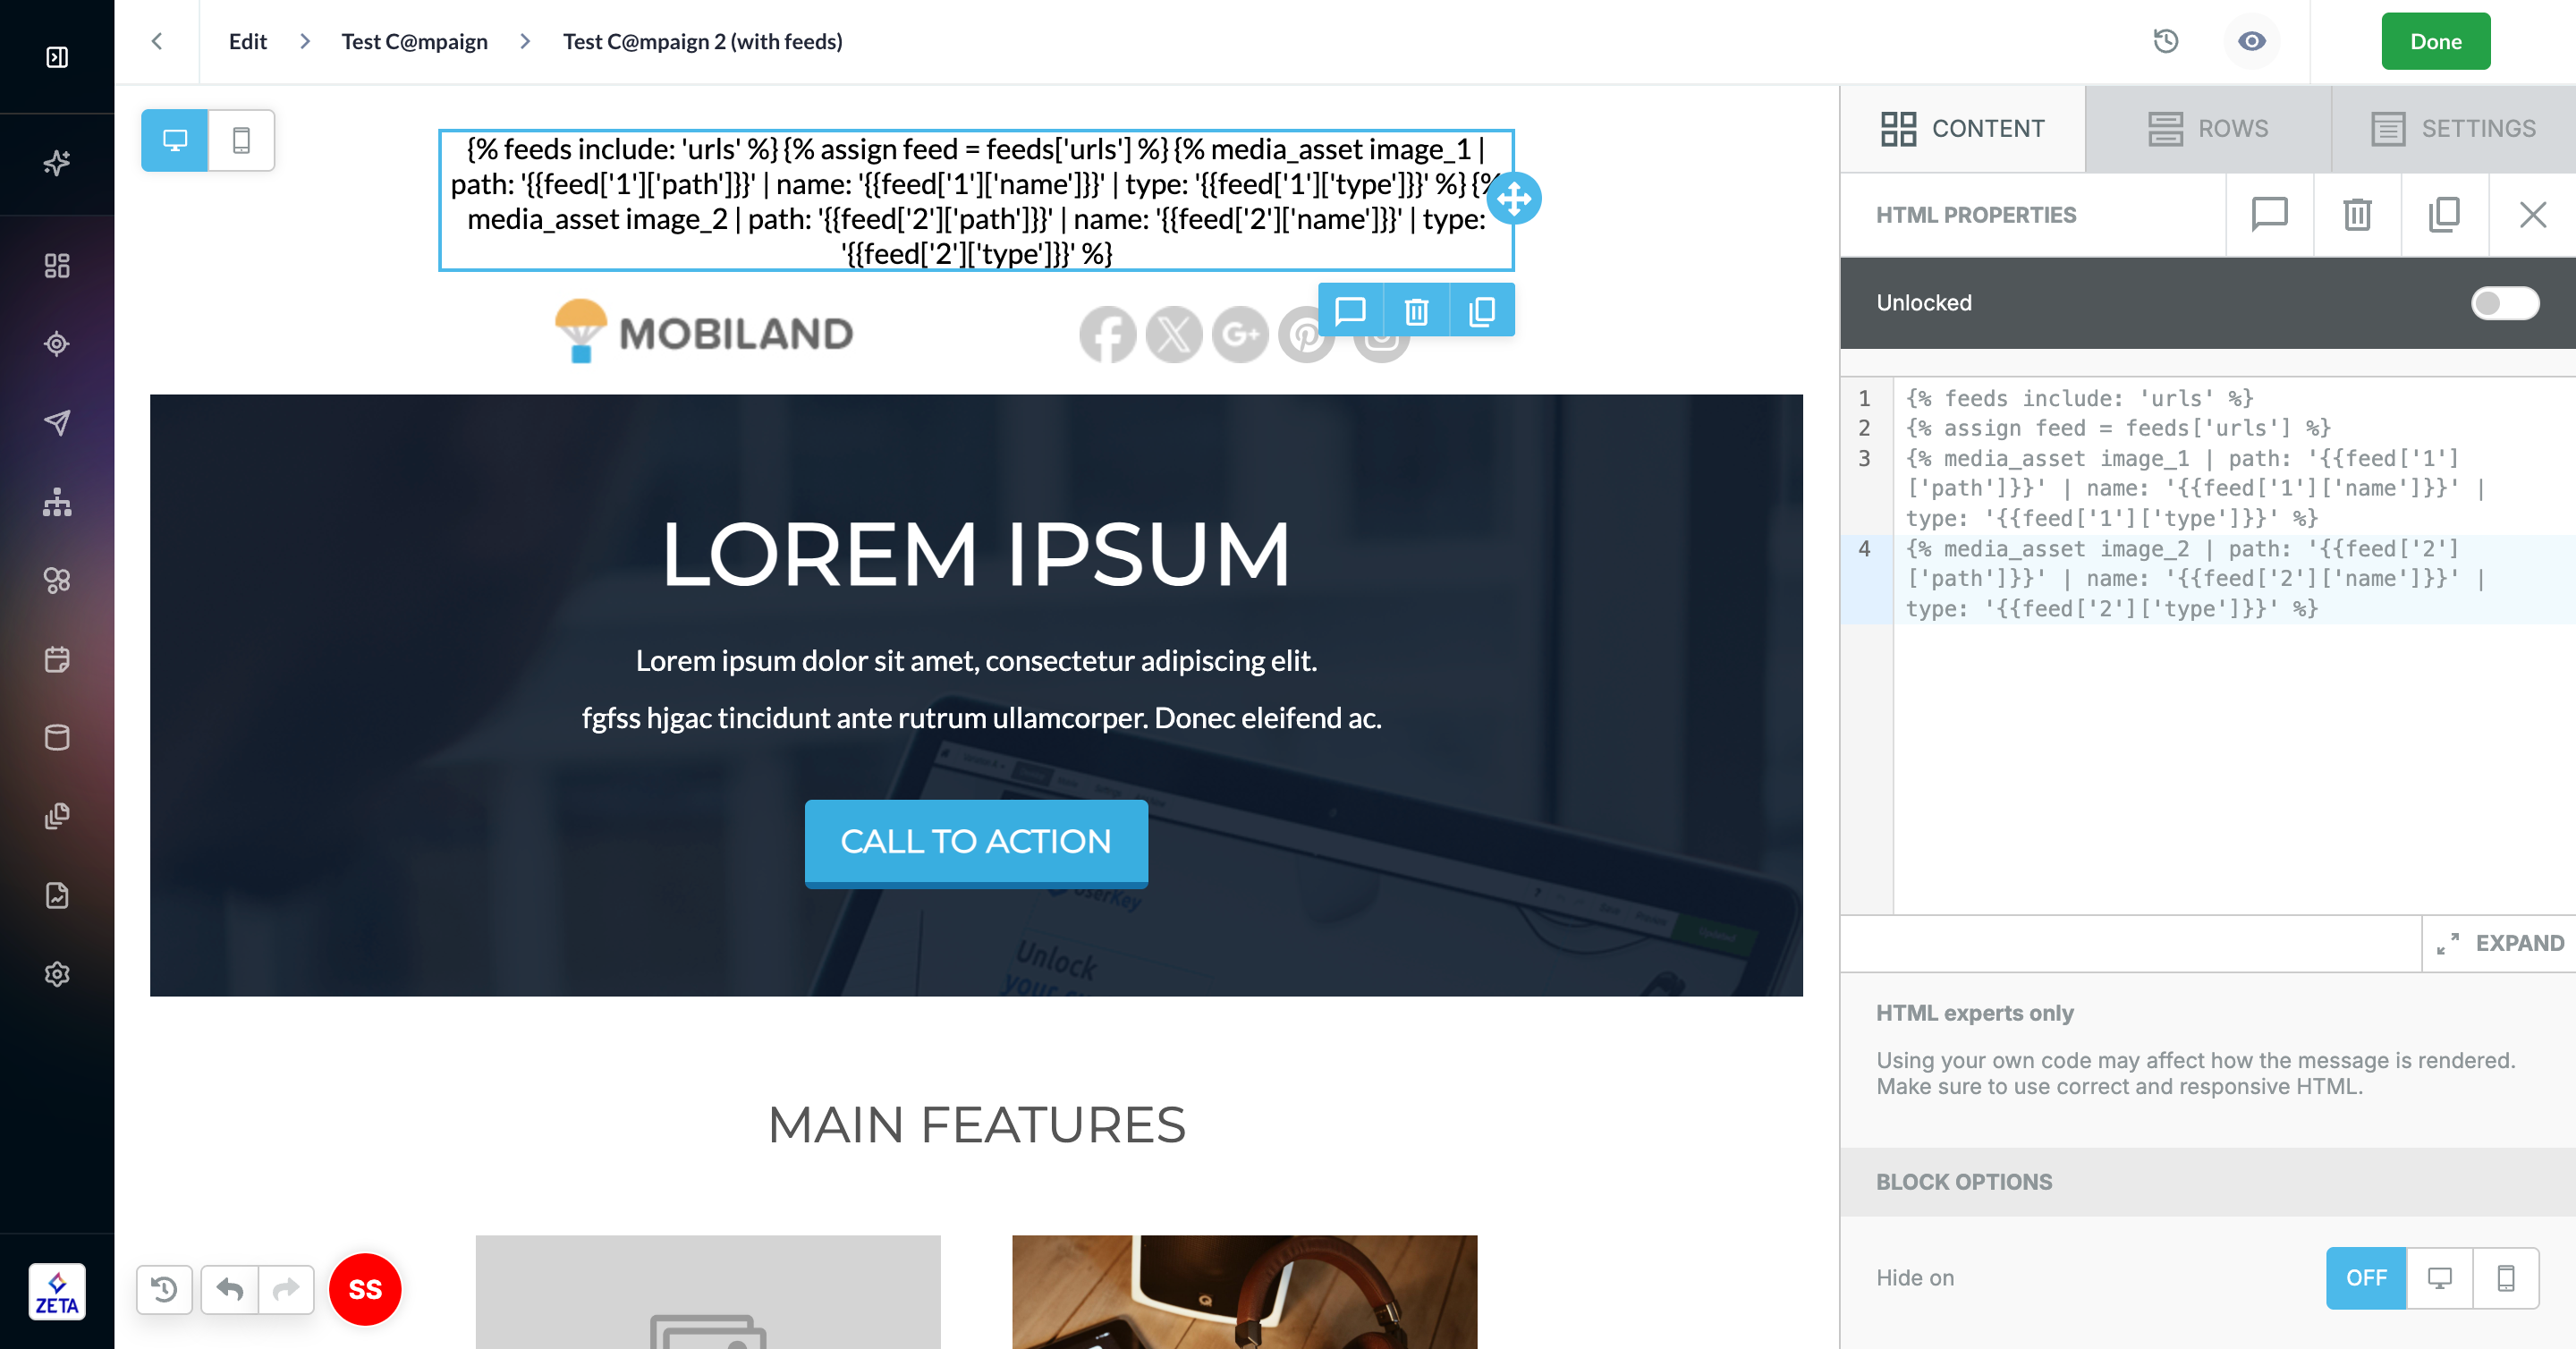
2. In your content template, assign variables from your feed above the media asset tag we created in the last section. Each individual asset should correspond to a specific key — in this example, the key is generic: 1,2,3,4,5. You should update the key in the sample code below to match your actual feed keys.
{% feeds include: 'urls' %}
{% assign feed = feeds['urls'] %}
{% media_asset image_1 | path: '{{feed['1']['path']}}' | name: '{{feed['1']['name']}}' | type: '{{feed['1']['type']}}' %}
{% media_asset image_2 | path: '{{feed['2']['path']}}' | name: '{{feed['2']['name']}}' | type: '{{feed['2']['type']}}' %}
3. In each image field, use the variable name (eg, {{image_1}}) for each unique image.
4. As without feeds, click Preview to see your images render. You can also use the Send Test panel (aka paper airplane) to send proofs to your inbox.