

In order to view all pixels for a single advertiser or campaign,
1. From the menu on the left, choose the Account and Advertiser from the respective dropdowns.
2. Navigate to Data Collection > Pixels.
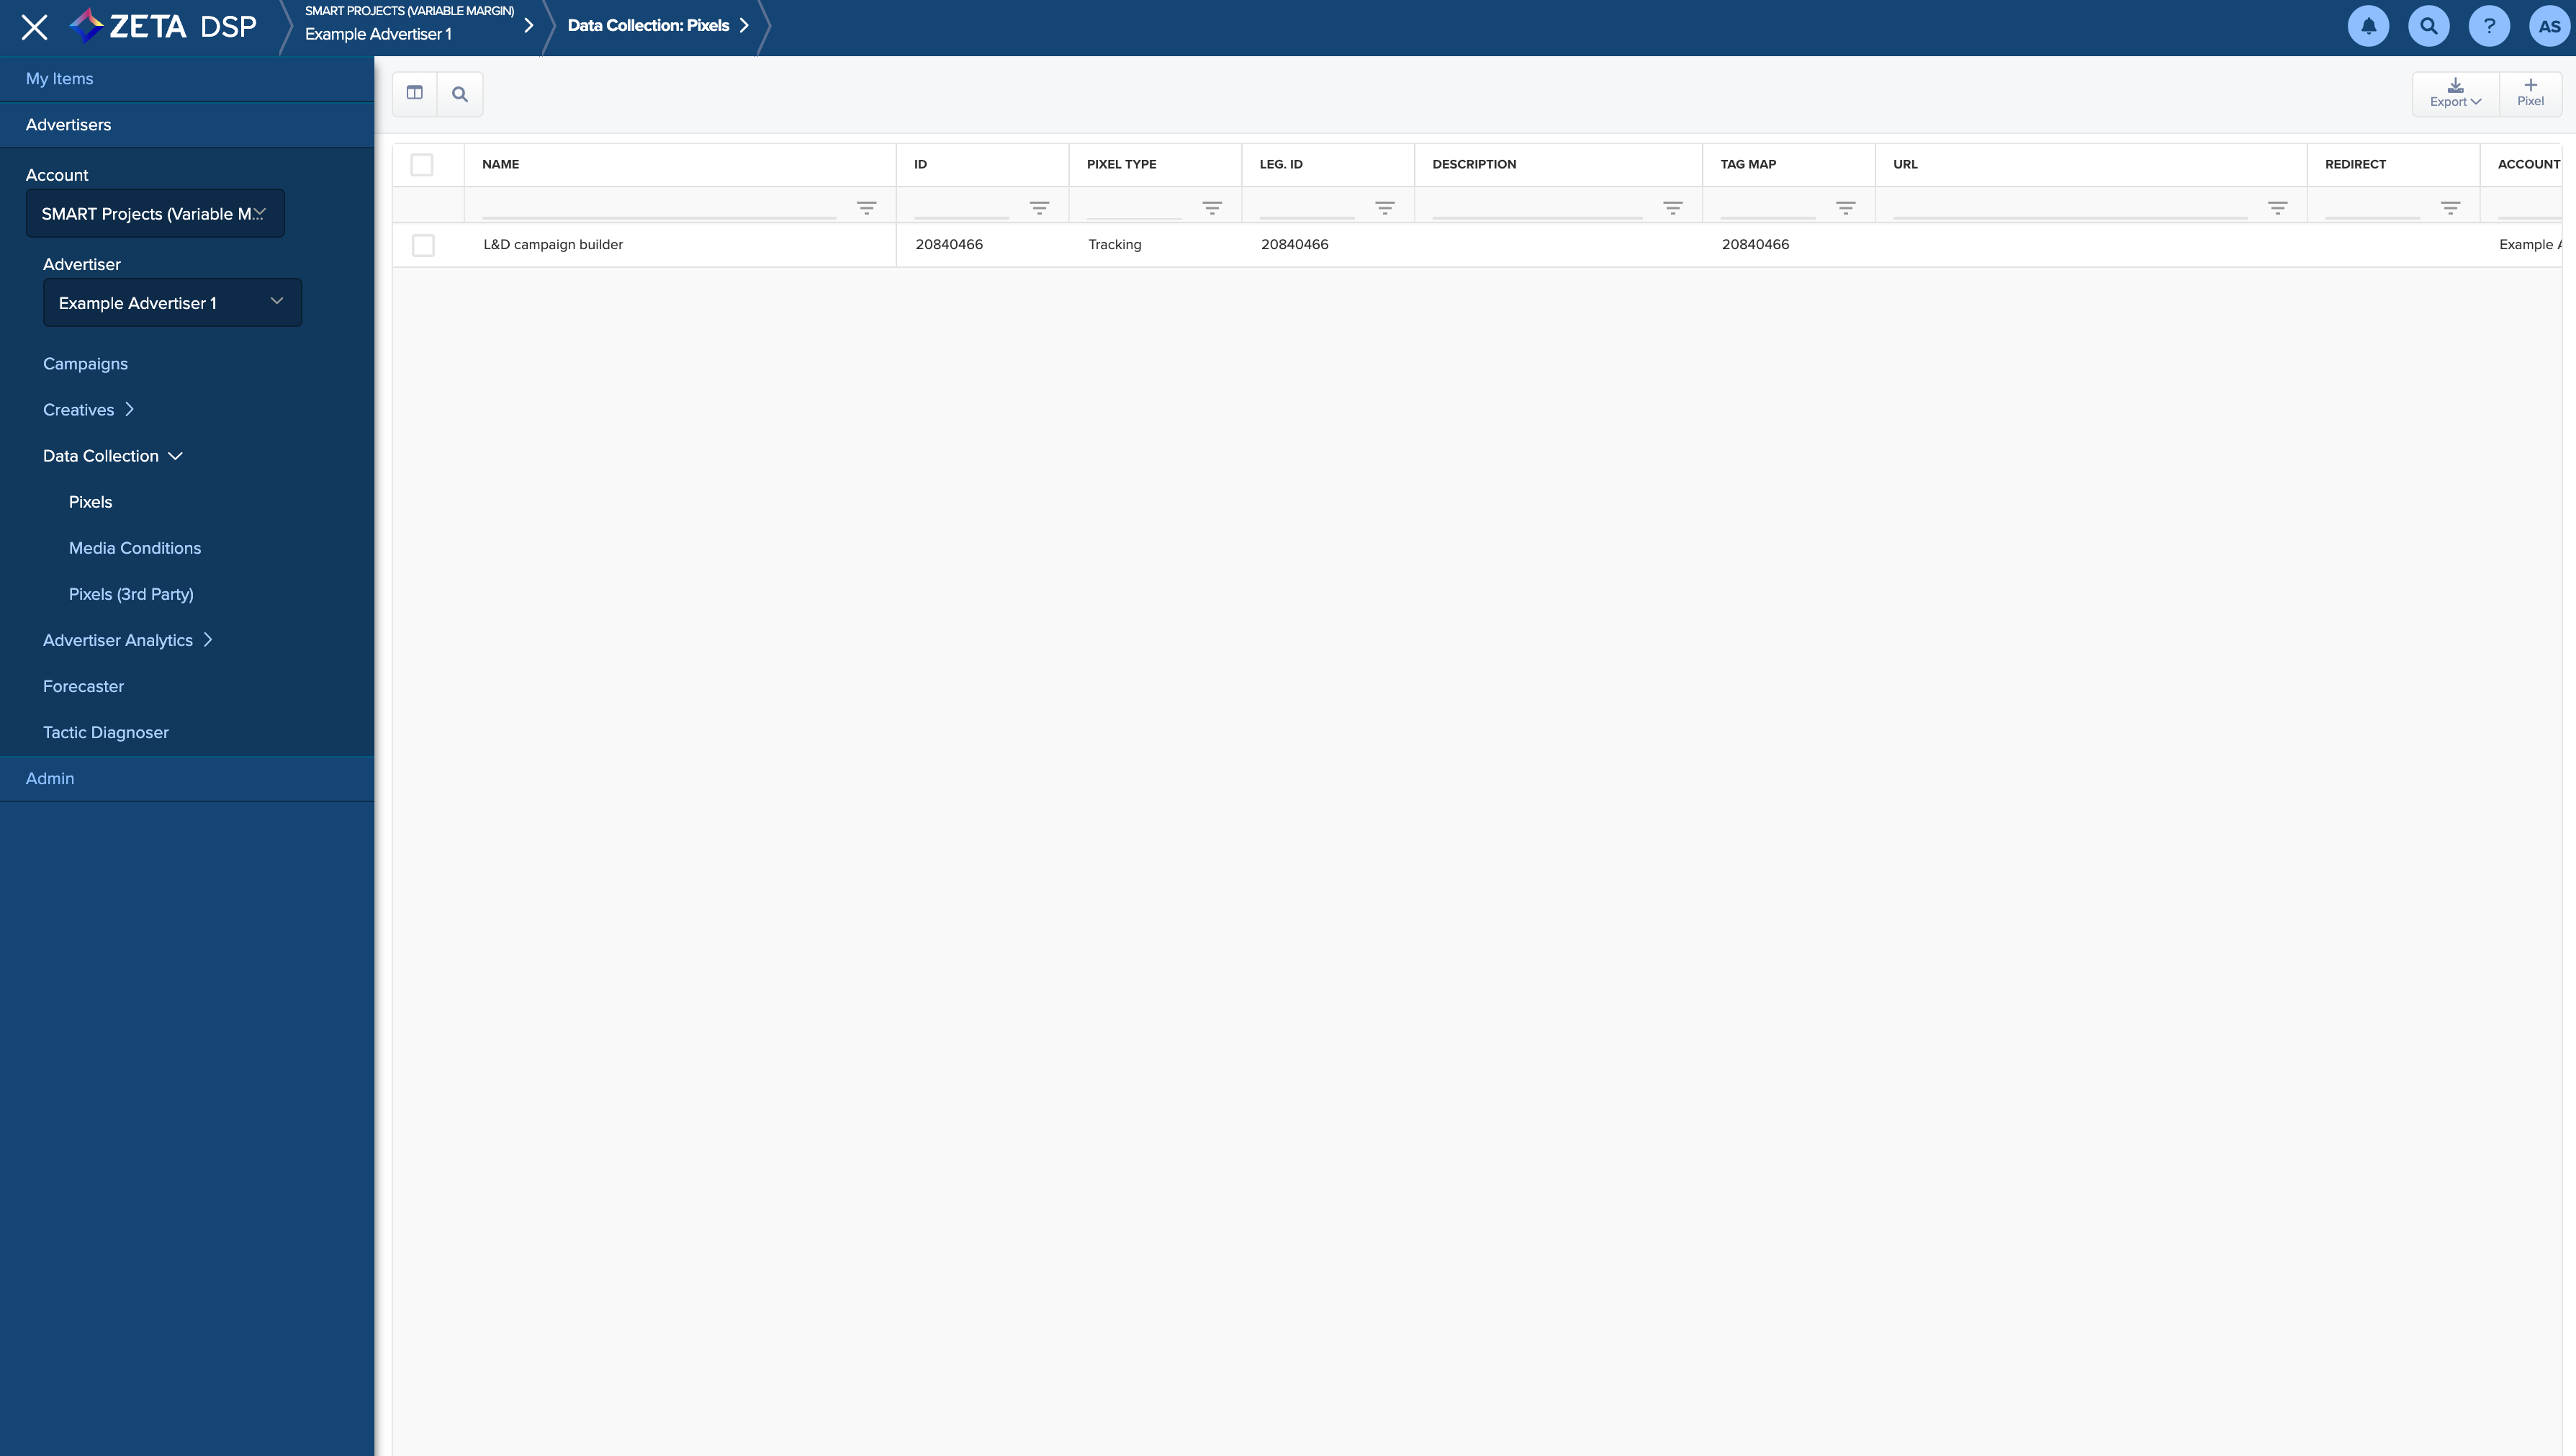
The DSP will show all the available pixels for the advertiser, along with the fields described below:
|
Field |
Description |
|---|---|
|
ID |
Enter a name for the Pixel. Pixel names typically include the account (company) name, campaign name, and pixel type, separated by underscores. It's also useful to include the creation date. Later on, when someone is checking a Pixel deployed on a page it may help them to verify that what's installed is current. For example: Dell Tablet Tracking Pixel March 2019 |
|
Description |
Enter a Description. This is optional but may be very useful later when trying to recall its function. |
|
Tag Map Code |
The DMP sets a Pixel's Tag Code, its unique identifier, By default, but if you prefer something easier to remember, you may choose an identifier yourself. The string of text is limited to letters, numbers, hyphens |
|
URL |
The location where the pixel is to be deployed. Enter the pixel's landing page, for example, myveryownadvertisingcompany.com/products |
|
Redirect URL |
The URL the user should be directed at after clicking the pixel. |
|
Triggers |
This indicates if a trigger is active on the pixel. |
|
Revenue |
Amount of revenue earned
|
|
P Code |
Unique identifier of the product type sold. |
|
Order ID |
Unique identifier of this particular transaction. |
|
Loads: Yesterday |
The number of times the pixel was loaded yesterday. |
|
Uniques: Yesterday |
Number of unique visitors who clicked the pixel yesterday. |
|
Revenue: Yesterday |
Amount of revenue generated from the pixel yesterday. |
|
Loads: Last Week |
The number of times the pixel was loaded last week. |
|
Revenue: Last Week |
Amount of revenue generated from the pixel last week. |
To view pixels assigned to a campaign, open the Goals and Tracking Tab of the Campaign Builder.
You can Analyze Pixels for viewing details on the pixel performance in a chart and grid. If the Pixel Insights Report is showing no (or concerning) data, review the following process:
Troubleshooting Pixels
Pixels may not deliver as expected if:
-
The pixel wasn't placed properly on the site (or in the container tag if one is being used).
-
There is a typo in the pixel implementation.
-
The pixel is on a hard-to-find page of the site.
-
The pixel has not yet been placed on the site.
-
There is a slight delay in populating pixel fire data for any given day. As such, if a pixel was just placed on the client's site(s), we recommend waiting 24 hours before checking the Analyze Pixels report for activity.
Auditing Pixels
1. Install the Ghostery plugin for Chrome.
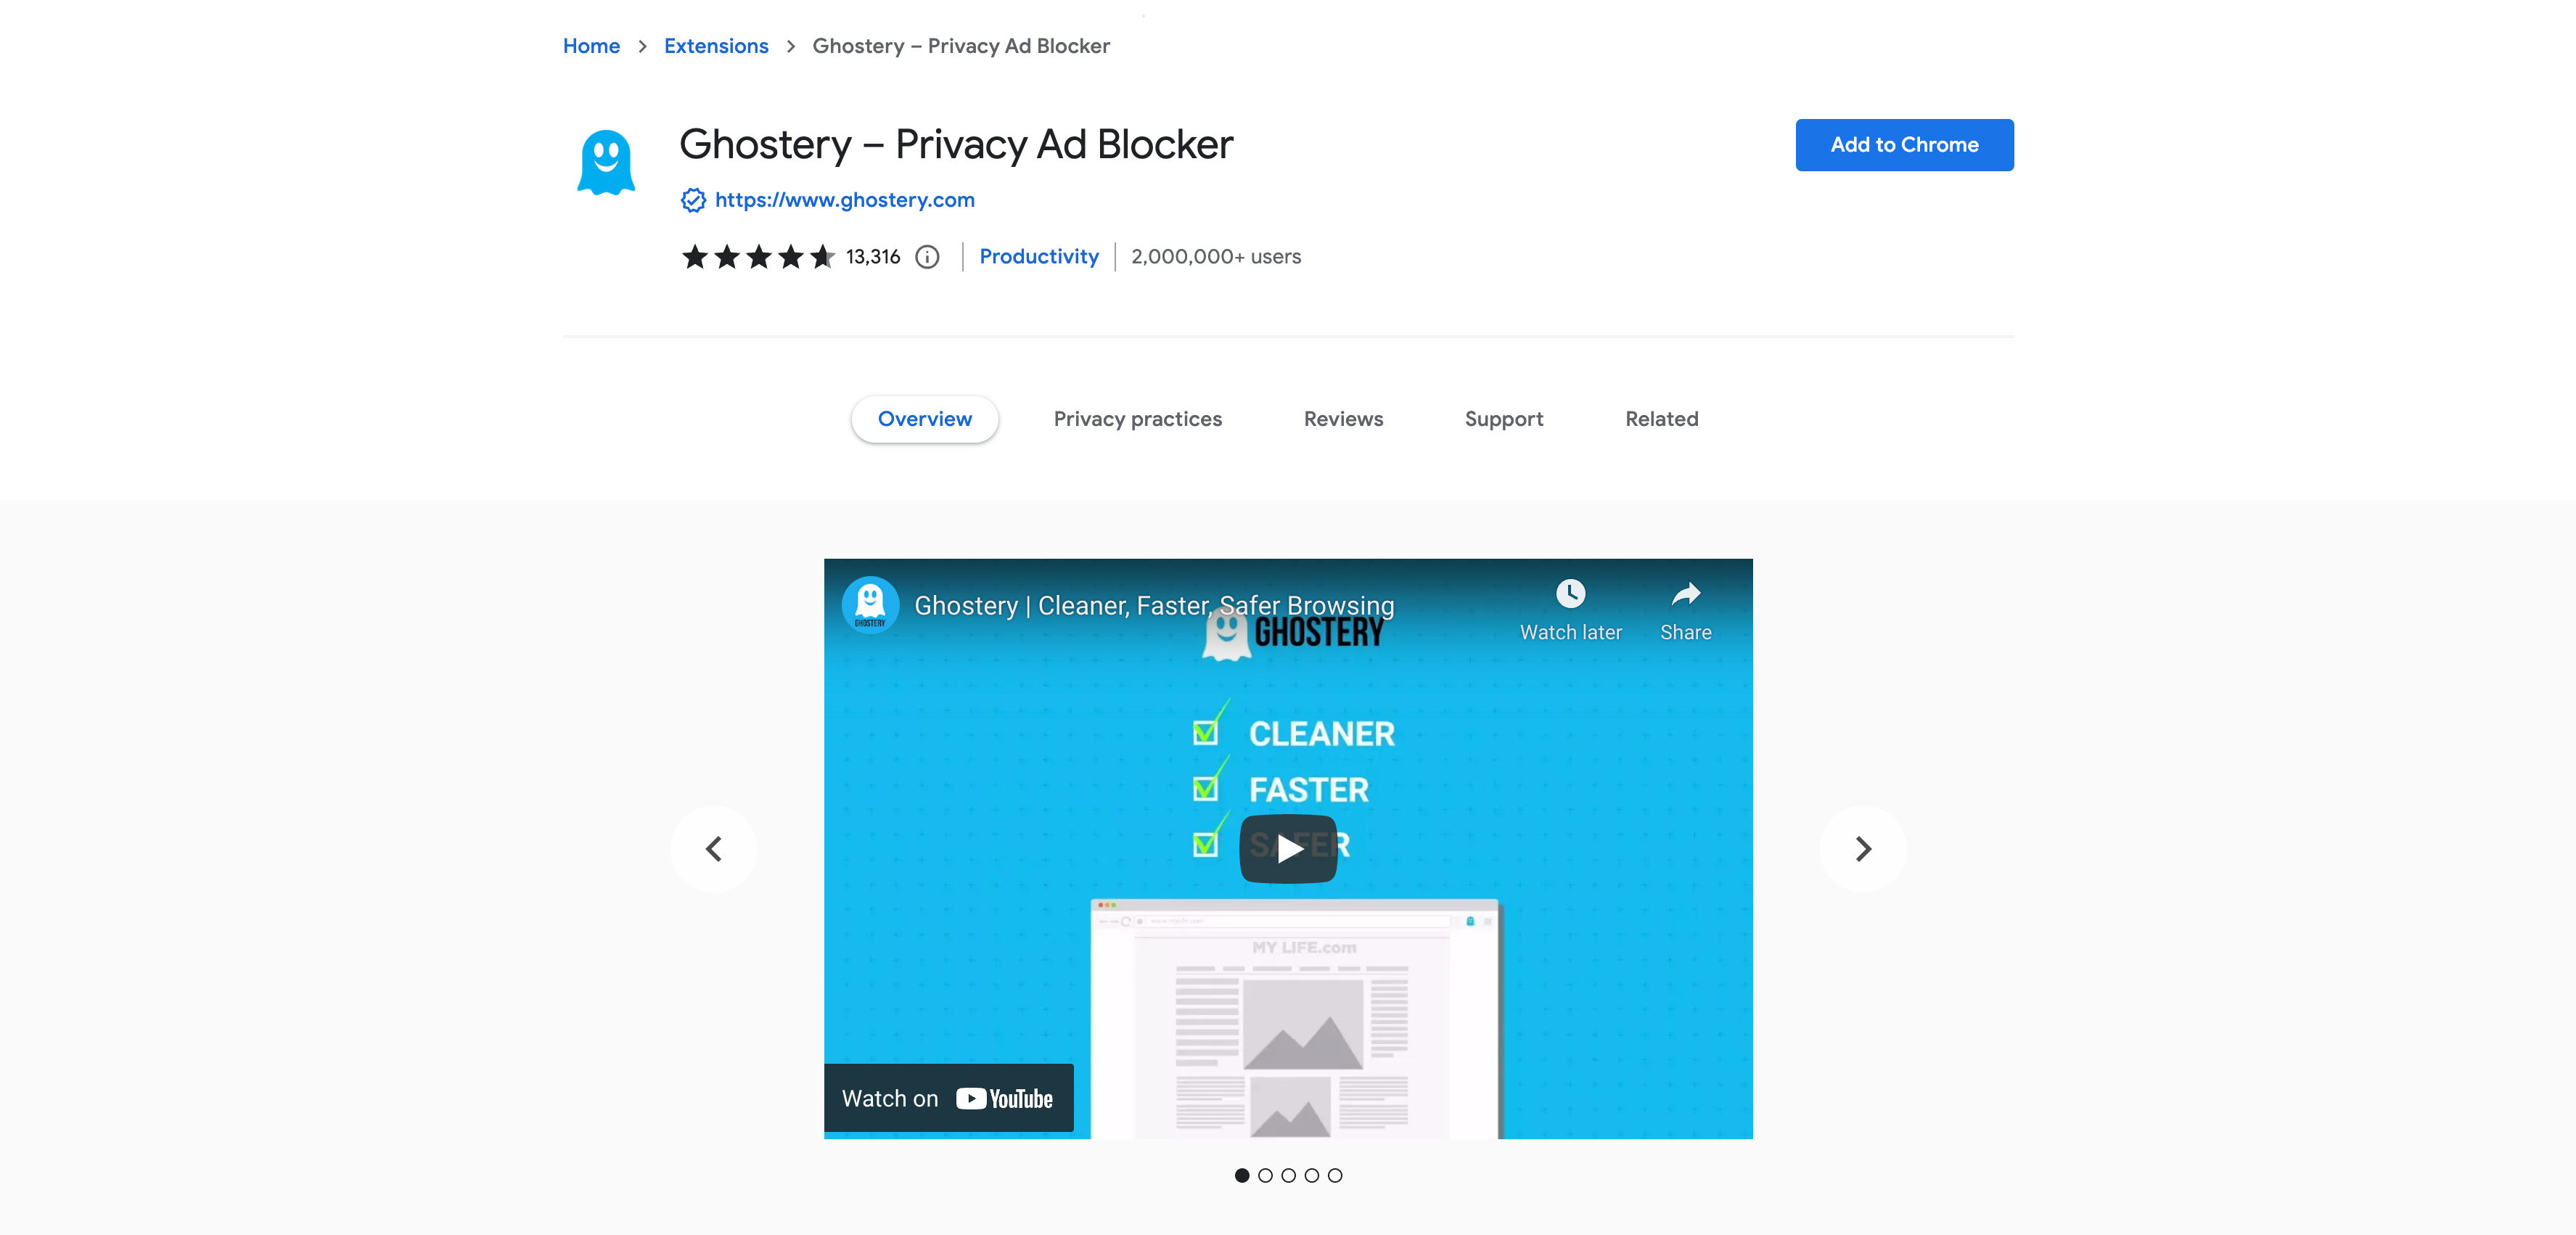
2. Load the page on which you expect your pixels. Ghostery places a small bubble on the bottom right corner of the page. Click on it to review the trackers on the page.
3. Locate the DSP Pixel, and look for the ID.