The LiveConnect tag is a web tag that powers people-based targeting, campaign optimization, and cross-device, cross-browser attribution. It can be implemented on your website or set up through one of our SDK integrations for your mobile app.
LiveConnect consists of two parts – a base tag and an event tag. Below, we will outline how each part of LiveConnect works, as well as the implementation process.
-
If you’re looking for instructions to activate LiveConnect within Shopify, please refer to Shopify LiveConnect implementation.
LiveConnect base tag implementation
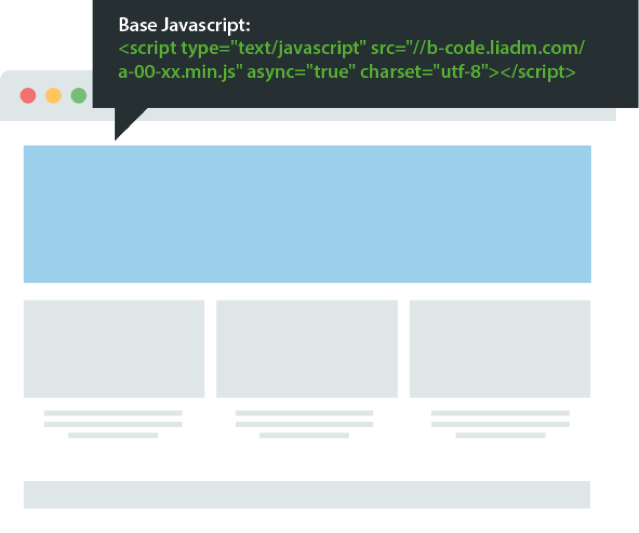
Place the LiveConnect tag provided by your account team across your website so that it loads on all pages. You can deploy LiveConnect by adding it to the global header of your website through a tag manager, or you can add it directly into the HTML.
To add the LiveConnect tag directly to your website HTML:
-
Locate the <head> and </head> tags in your webpage or the head template in your tag management system or web platform. Please be sure that once in the tag manager, LiveConnect is not placed into an iFrame or floodlight. This will prevent LiveConnect from properly firing.
-
Paste the LiveConnect tag code at the bottom of the header section, just above the </head> tag. The LiveConnect tag can be added above or below existing tracking tags in your site header, as long as it is above the </head> tag.
Please do not make changes to the LiveConnect tag structure when placing the tag on your website.
Example LiveConnect tag shown below. Each LiveConnect tag is unique, and you should only use the tag provided by your account team.
When you’re done, please reach out to your LiveIntent Customer Success team to confirm your implementation is operating properly.
**You will only need to install the base tag once per advertiser, even if you are tracking multiple actions. Once you have installed the LiveConnect tag on every page on your website, dynamic audiences for general page visits will automatically start populating. Learn more about Dynamic Audiences here.
LiveConnect event tag implementation
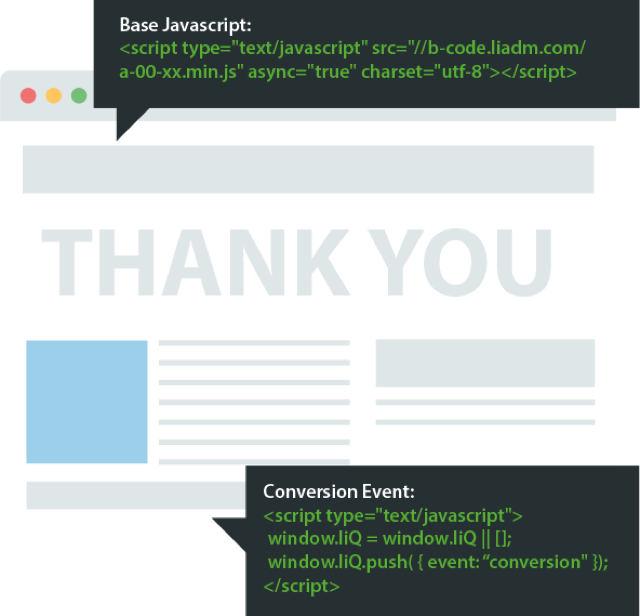
An event tag is an additional piece of code that communicates with the LiveConnect tag. When a user lands on a page where the event tag and the LiveConnect tag are both present, the event tag tells the LiveConnect base tag that an event has taken place.
For advanced examples, including more types of events and tracking, please see our LiveConnect Event Tags page.
Add your event tag to the page on which you would like to track an event (i.e. a purchase confirmation page, ‘thank you for signing up’ page, etc.). Both the LiveConnect tag and event tag must be present on this page in order to properly track events and conversions.
Just like the LiveConnect base tag, all event tags should be placed inside of the <head> section — the LiveConnect tag should be placed first and the event tag should be placed below the LiveConnect tag, before the end bracket. The conversion should align with your campaign goal, such as a purchase confirmation page or subscription confirmation page.
Both the LiveConnect base tag and event tag must be present on the page in order to track conversions. Both elements should be placed within the <head> section.