
Audience Explorer Change Guide
The Unified Audience Explorer (beta) allows for the exploration of first-party CRM customer data alongside the Zeta Data Cloud to create both Prospect and Customer audiences using enrichment from the Zeta Data Cloud. This feature combines the Audience Explorer and Segment/List building workflows into one user interface. The Unified Audience Explorer can also be used independently of the Data Cloud or first-party data if desired.
Changes to the AE user experience will be live on

This guide outlines the changes that an end-user of the platform will experience with the release of a unified Audience Exploration Interface.
User Interface
An account in the ZMP can be set up with a different set of features by the account administrator:
For an account with access to Acquisition features:
The current Audience Explorer interface will no longer be accessible and replaced with the new Audience exploration interface
Audience > Segments & Lists > Explore Audience will be the pathway to the new unified audience explorer
Audiences can be saved as prospect segments
Only Audience Explorer will be enabled, not Segment Builder
For an account with access to CRM features:
Audience > Segments & Lists > Explore Audience will be the pathway to the segment builder
Audiences can be saved as customer segments
Only Segment Builder will be enabled, not Audience Explorer
The Data Cloud team can further assist in data enrichment of customer segments
For an account with access to both Acquisition and CRM features:
The current Audience Explorer interface will no longer be accessible and replaced with the new Audience exploration interface
Audience > Segments & Lists > Explore Audience will be the pathway to the new unified audience explorer
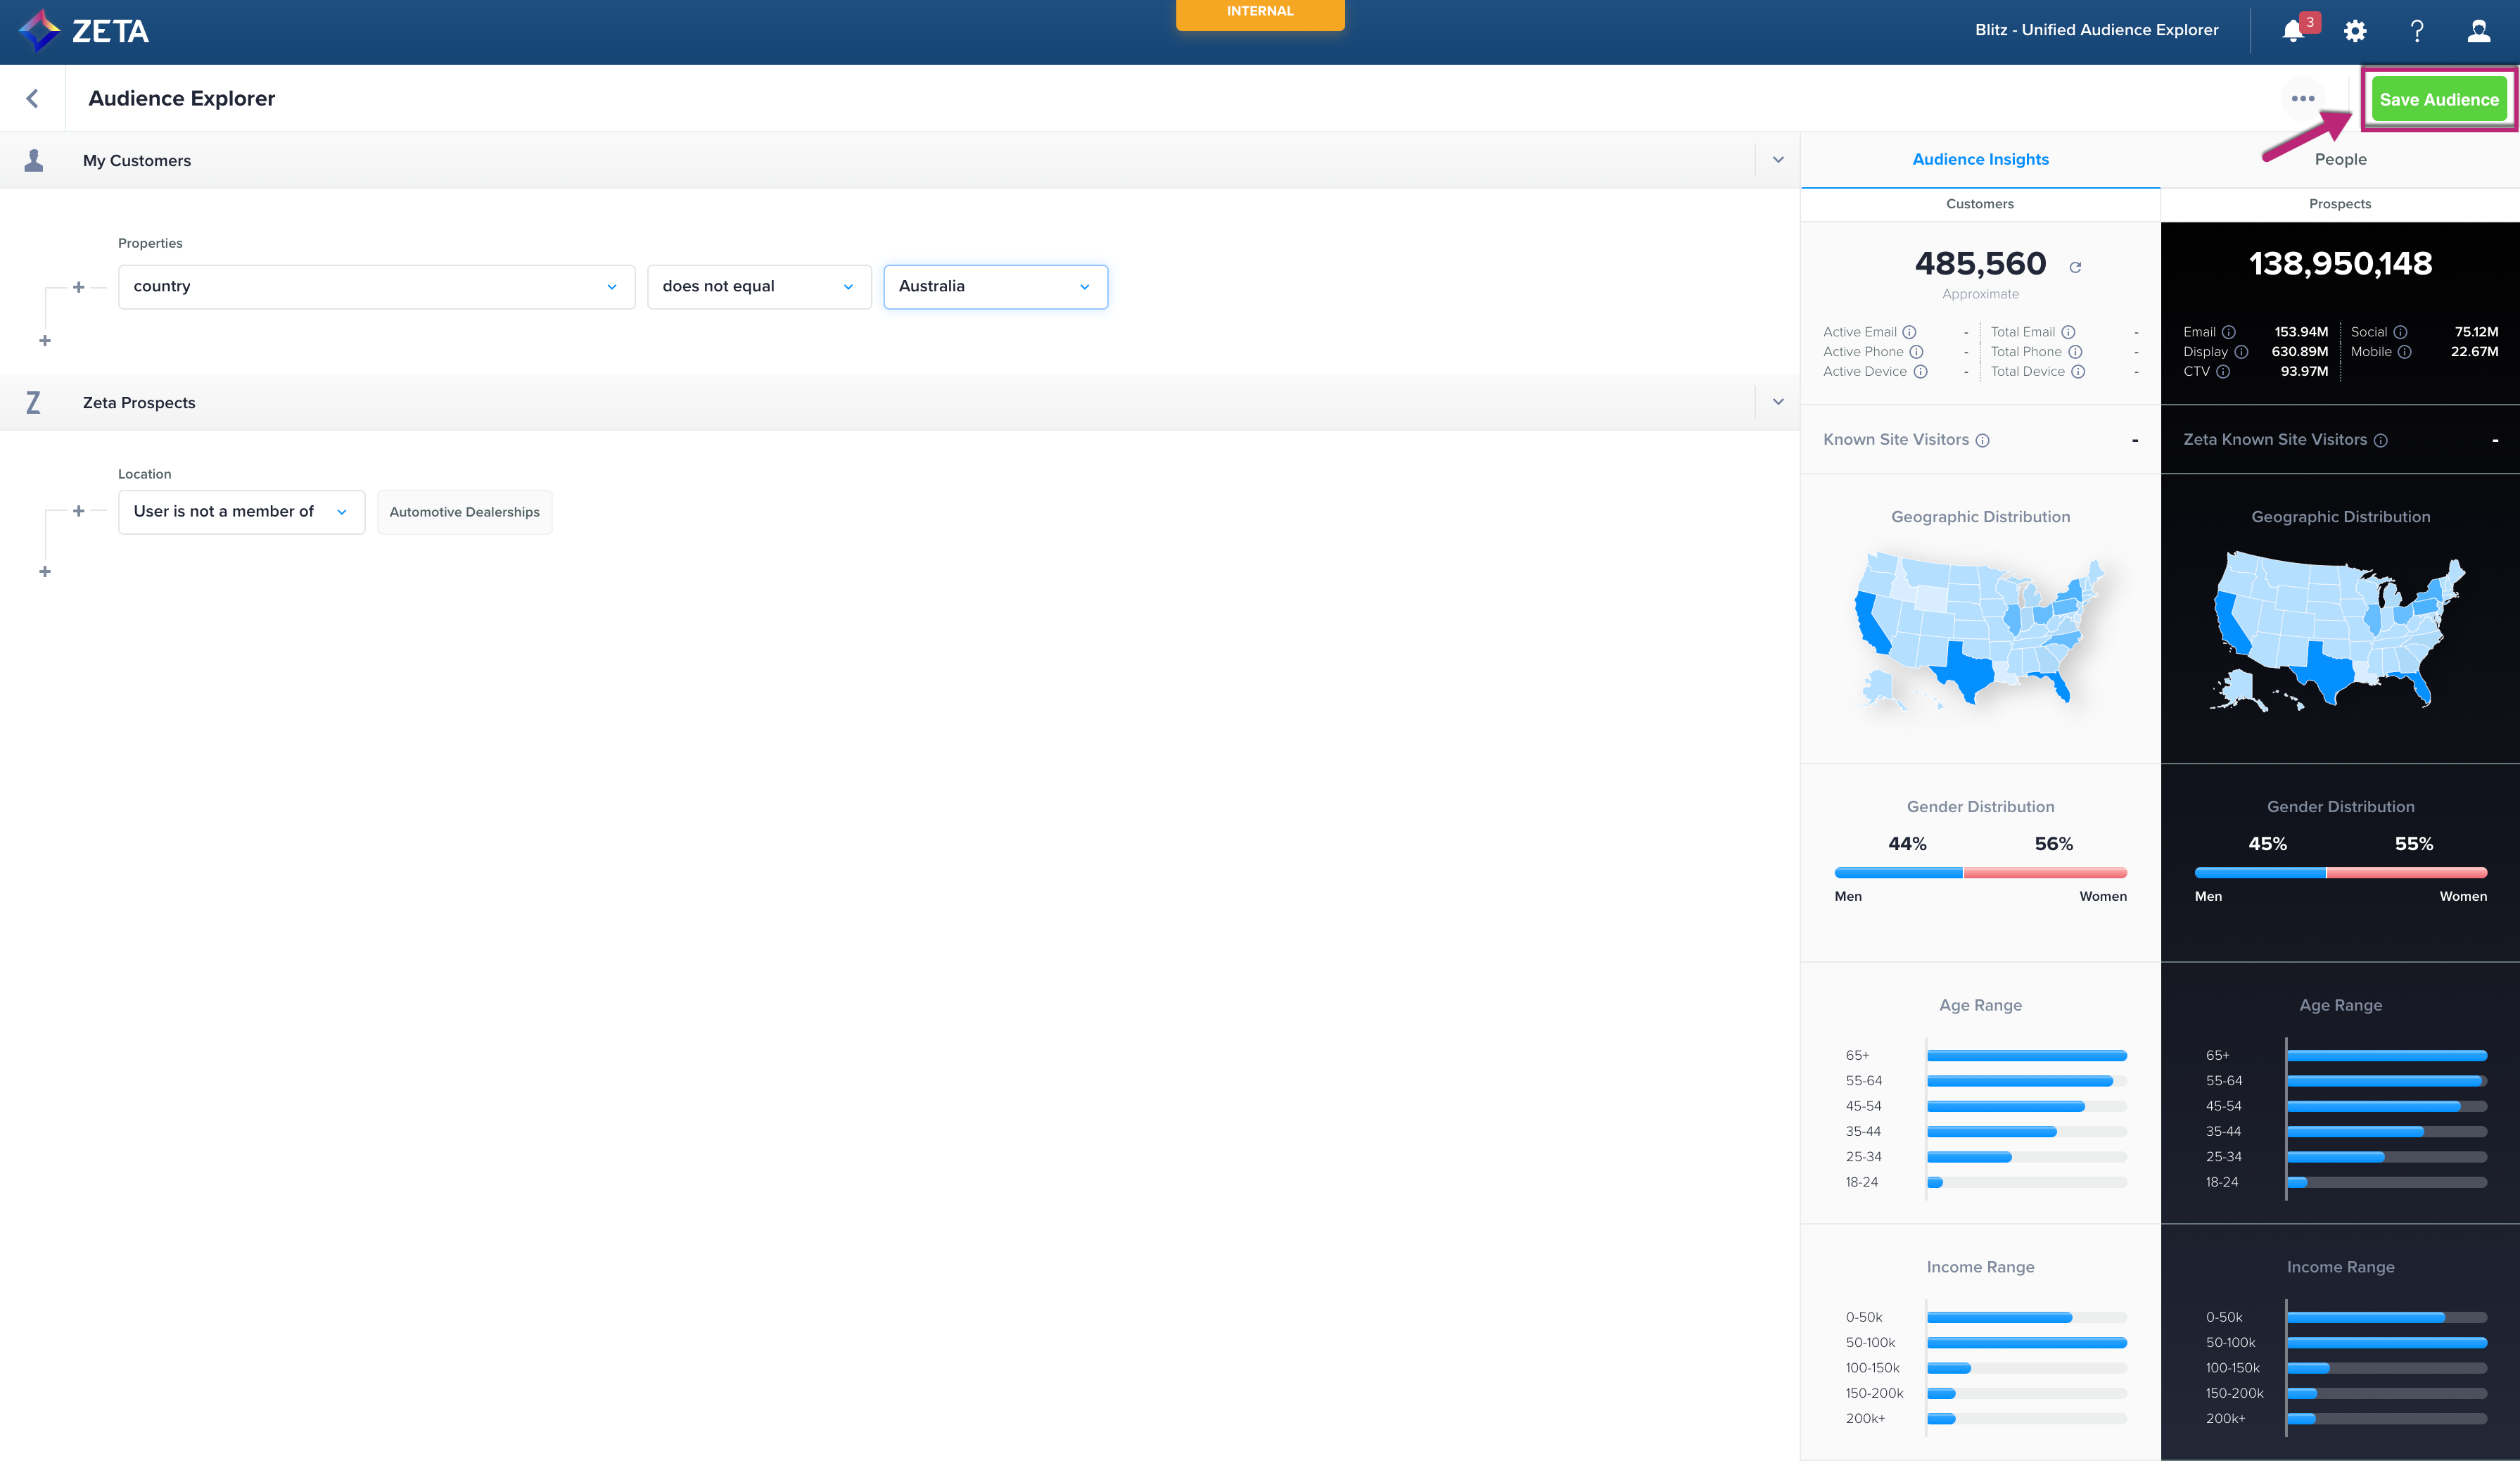
The new Audience Explorer interface enables exploration of customers through the Zeta AI lens and simultaneously creates both customer and prospect segments
Both Audience Explorer and Segment Builder will be enabled
With Data Enrichment Enabled
The Save Audience option is enabled for all explorations
With Data Enrichment Disabled
Users can explore the audience using all available filters but cannot save and activate the audience under all conditions
✓ The Save Audience option is disabled when filters are used across CRM and DC (prospect filters)
✓ The Save Audience option remains enabled when 'Only CRM' or 'Only DC' filters are used
Please reach out to your account team or Winnie Shen and David Schey on the Data Cloud team to enable the Data Enrichment Plan
Terminology Changes
Old Terms | Modified to |
|---|---|
Segment | Customer Segment |
List | Customer List |
Zeta Audience | Prospect Segment |
Navigation Changes to Expect
Creating a Segment
Earlier, the steps for creating a segment were:
1. From the menu on the left, select Audiences > Segments & Lists. Click on Create New.
2. Select Segment and click on Next.
3. Click on the ![]() symbol to add properties of your preference.
symbol to add properties of your preference.
4. Click on Save and name the segment as per your choice.
.gif?inst-v=1d69e3a2-1020-4101-b810-9c42f957de95)
Now, the steps for creating a segment are:
1. From the menu on the left, select Audiences > Segments & Lists. Click on Explore Audience.
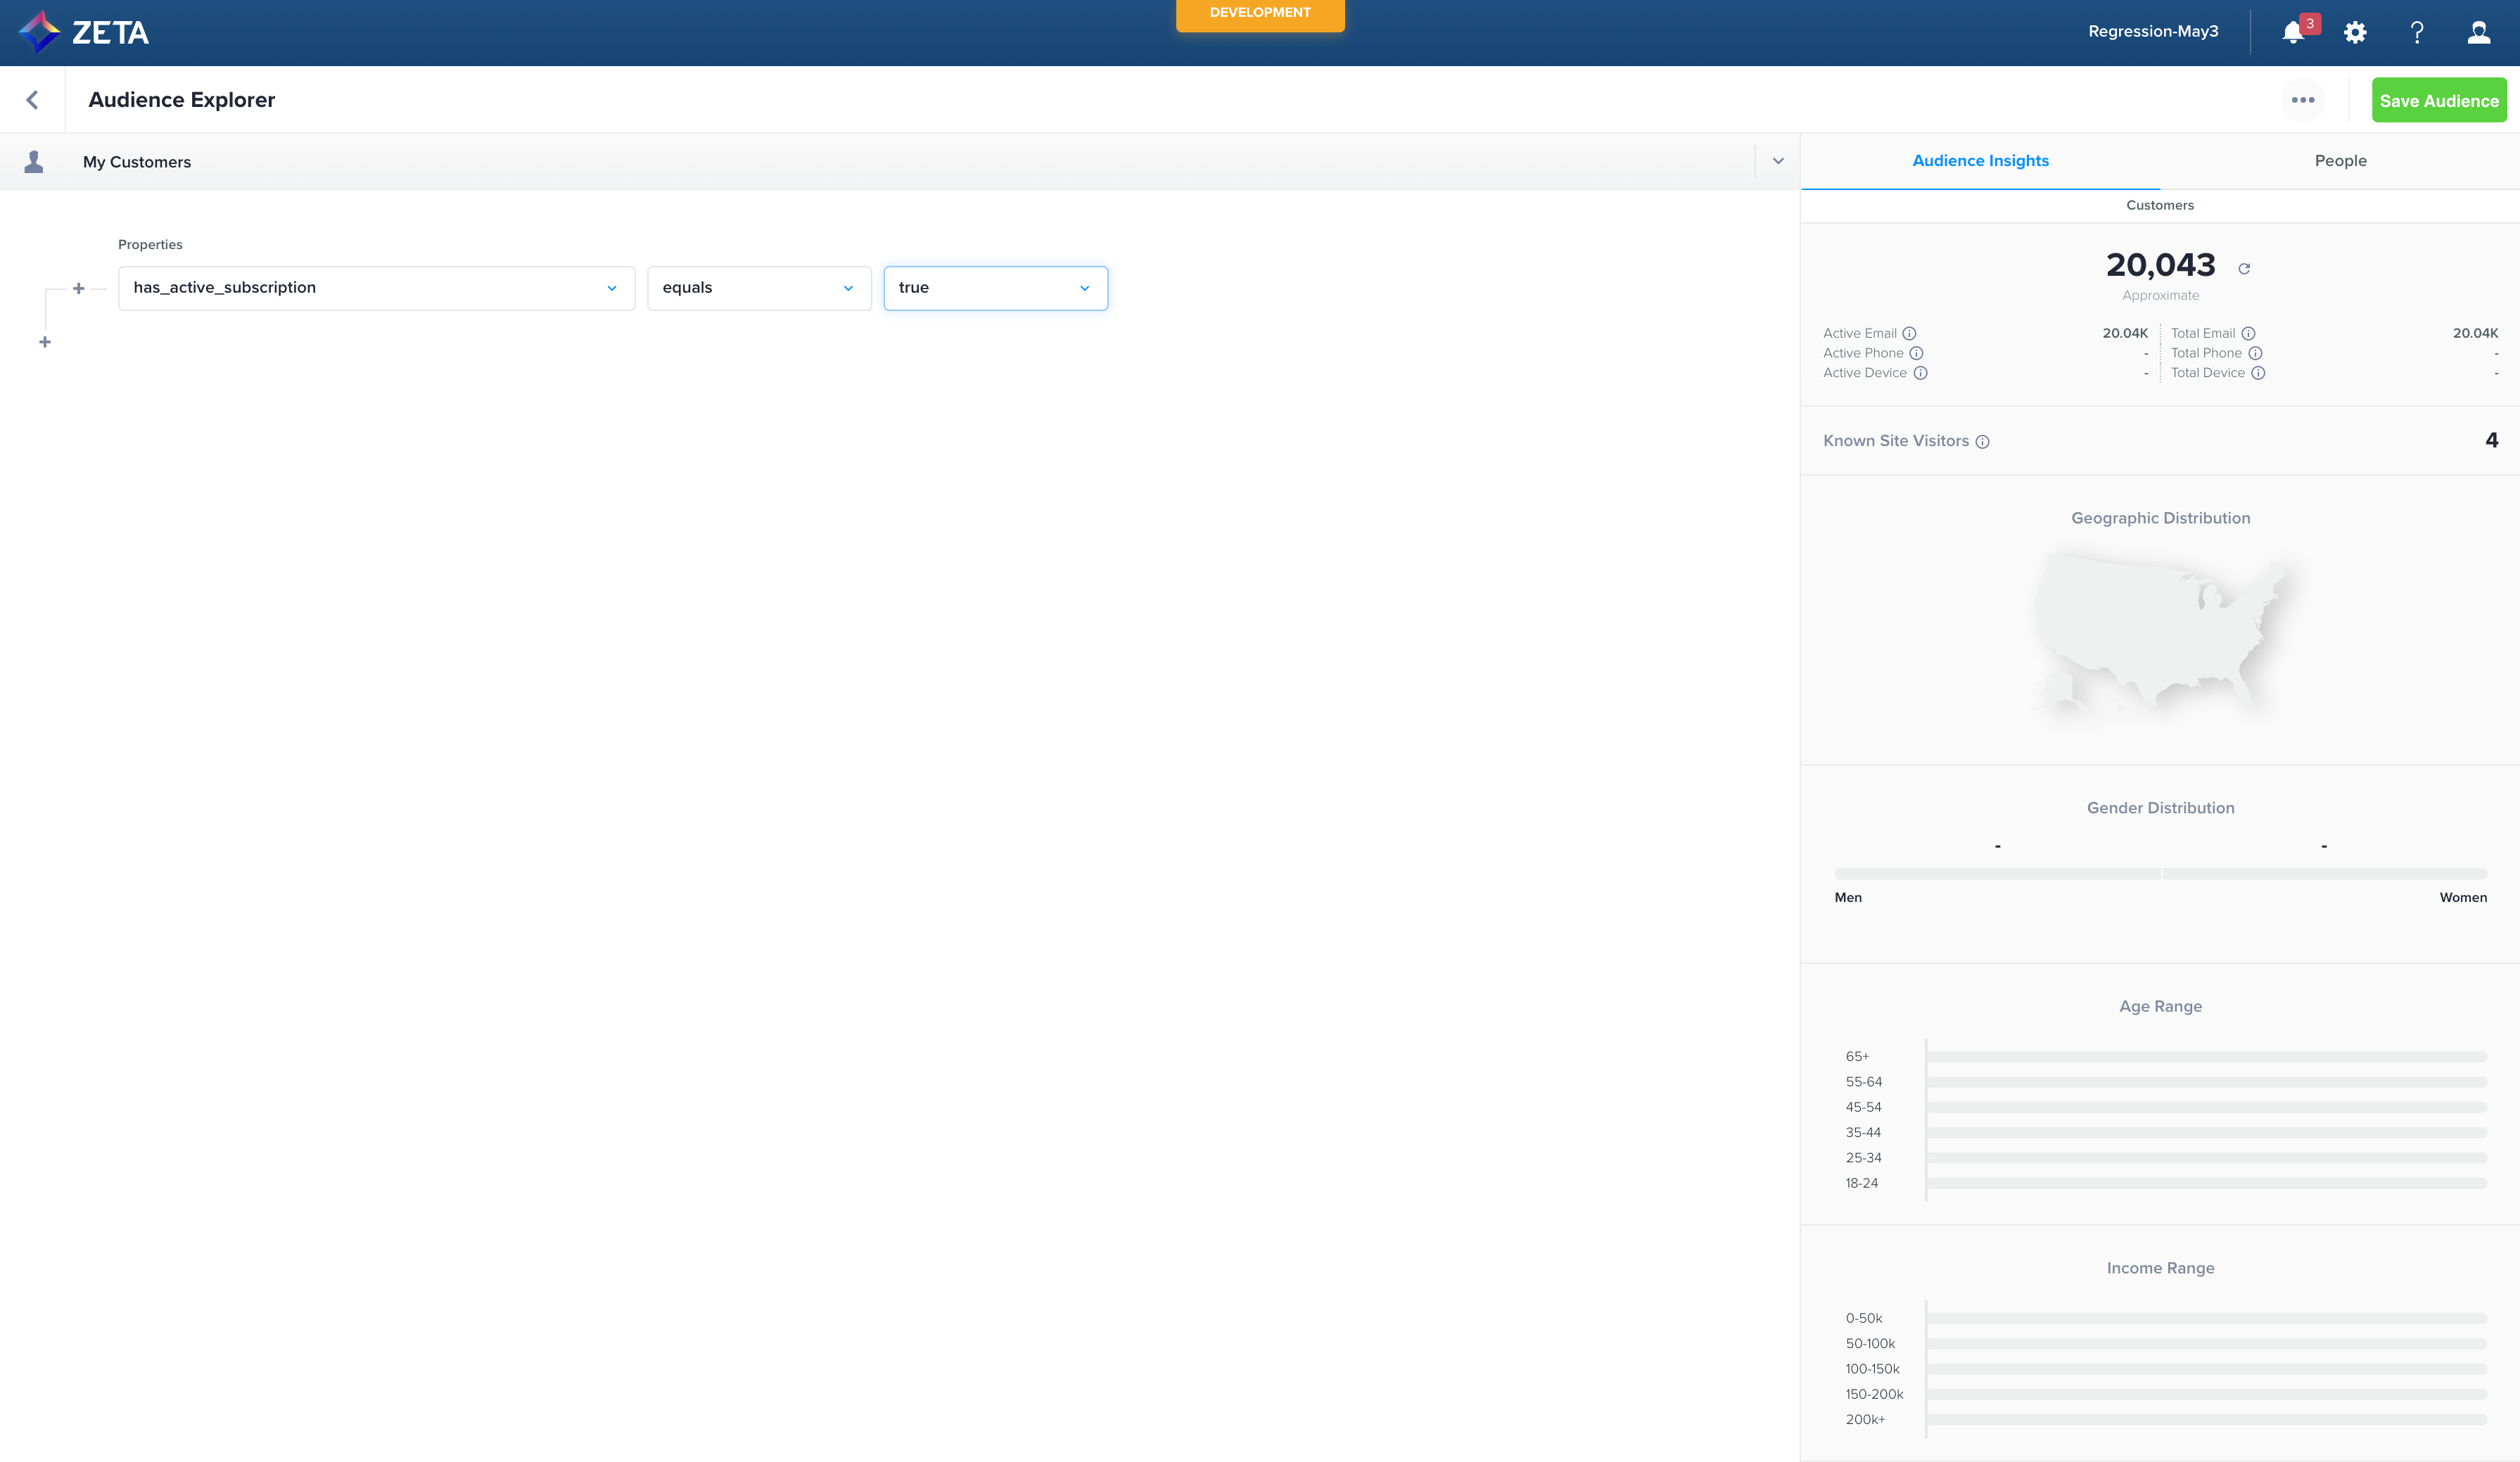
2. Select My Customers > Properties and choose the property(s) of your preference.
3. Once you’ve selected the property’s parameter, click on Save Audience and name the segment as per your choice.
.gif?inst-v=1d69e3a2-1020-4101-b810-9c42f957de95)
Creating a List
Earlier, the steps for creating a list were:
1. From the menu on the left, select Audiences > Segments & Lists. Click on Create New.
2. Select List and click on Next.
3. Drop or browse for a CSV file containing the list of users you want to import.
4. Name the segment as per your choice and click on Save.
.gif?inst-v=1d69e3a2-1020-4101-b810-9c42f957de95)
Now, the steps for creating a list are:
1. From the menu on the left, select Audiences > Segments & Lists. Click on Explore Audience.
2. Click on Add Audience File and select List. Click on Next.
3. Drop or browse for a CSV file containing the list of users you want to import.
4. Name the list as per your choice. and click on Save.
.gif?inst-v=1d69e3a2-1020-4101-b810-9c42f957de95)
Creating a Query Based Segment
Earlier, the steps for creating a lookalike were:
1. From the menu on the left, select Audiences > Segments & Lists. Click on Create New.
2. Select Queries and click on Next to select your query.
3. Add the parameters to create the query-based segment of choice.
.gif?inst-v=1d69e3a2-1020-4101-b810-9c42f957de95)
Now, the steps for creating a lookalike are:
1. From the menu on the left, select Audiences > Segments & Lists. Click on Explore Audience.
2. Select My Customers > Query Database and select your query.
3. Add the parameters to create the query-based segment of choice.
.gif?inst-v=1d69e3a2-1020-4101-b810-9c42f957de95)
Creating a Matched List
Earlier, the steps for creating a matched list were:
1. From the menu on the left, select Audiences > Segments & Lists.
2. Click on the dropdown arrow against Create New and select Prospect.
3. Select Matched List and click on Next.
4. Upload a CSV file with your audience or generate your FTP folder and select the file you want to create the matched list of choice.
.gif?inst-v=1d69e3a2-1020-4101-b810-9c42f957de95)
Now, the steps for creating a matched list are:
1. From the menu on the left, select Audiences > Segments & Lists. Click on Explore Audience.
2. Select Zeta Prospects > Matched Lists > ![]() icon in the navigator.
icon in the navigator.
3. Upload a CSV file with your audience or generate your FTP folder and select the file you want to create the matched list of choice.
.gif?inst-v=1d69e3a2-1020-4101-b810-9c42f957de95)
Creating a Lookalike
Earlier, the steps for creating a lookalike were:
1. From the menu on the left, select Audiences > Segments & Lists.
2. Click on the dropdown arrow against Create New and select Prospects.
3. Select Lookalike Audience and click on Next.
4. Fill in the details for your lookalike and click on Generate.
.gif?inst-v=1d69e3a2-1020-4101-b810-9c42f957de95)
Now, the steps for creating a lookalike are:
1. From the menu on the left, select Audiences > Segments & Lists. Click on Explore Audience.
2. Select Zeta Prospects > Lookalike > ![]() icon in the navigator.
icon in the navigator.
3. Fill in the details for your lookalike and click on Generate.
.gif?inst-v=1d69e3a2-1020-4101-b810-9c42f957de95)
Creating a Zeta Audience
Earlier, the steps for creating a zeta audience were:
1. From the menu on the left, select Audiences > Explorer.
2. Set the demographic filters and click on Add Audience.
3. Add custom properties to build your preferred audience.
.gif?inst-v=1d69e3a2-1020-4101-b810-9c42f957de95)
Now, the steps for creating a zeta audience are the same as that of creating a prospect segment, the steps to which are:
1. From the menu on the left, select Audiences > Segments & Lists. Click on Explore Audience.
2. Select My Customers > Properties and choose the property(s) of your preference.
3. Once you’ve selected the property’s parameter, click on Save Audience and name the segment as per your choice.
Actual vs. Estimated Counts
Earlier, to get an actual count of qualifying customers, we could use the spinner icon next to the estimated count on the top navigation:
.gif?inst-v=1d69e3a2-1020-4101-b810-9c42f957de95)
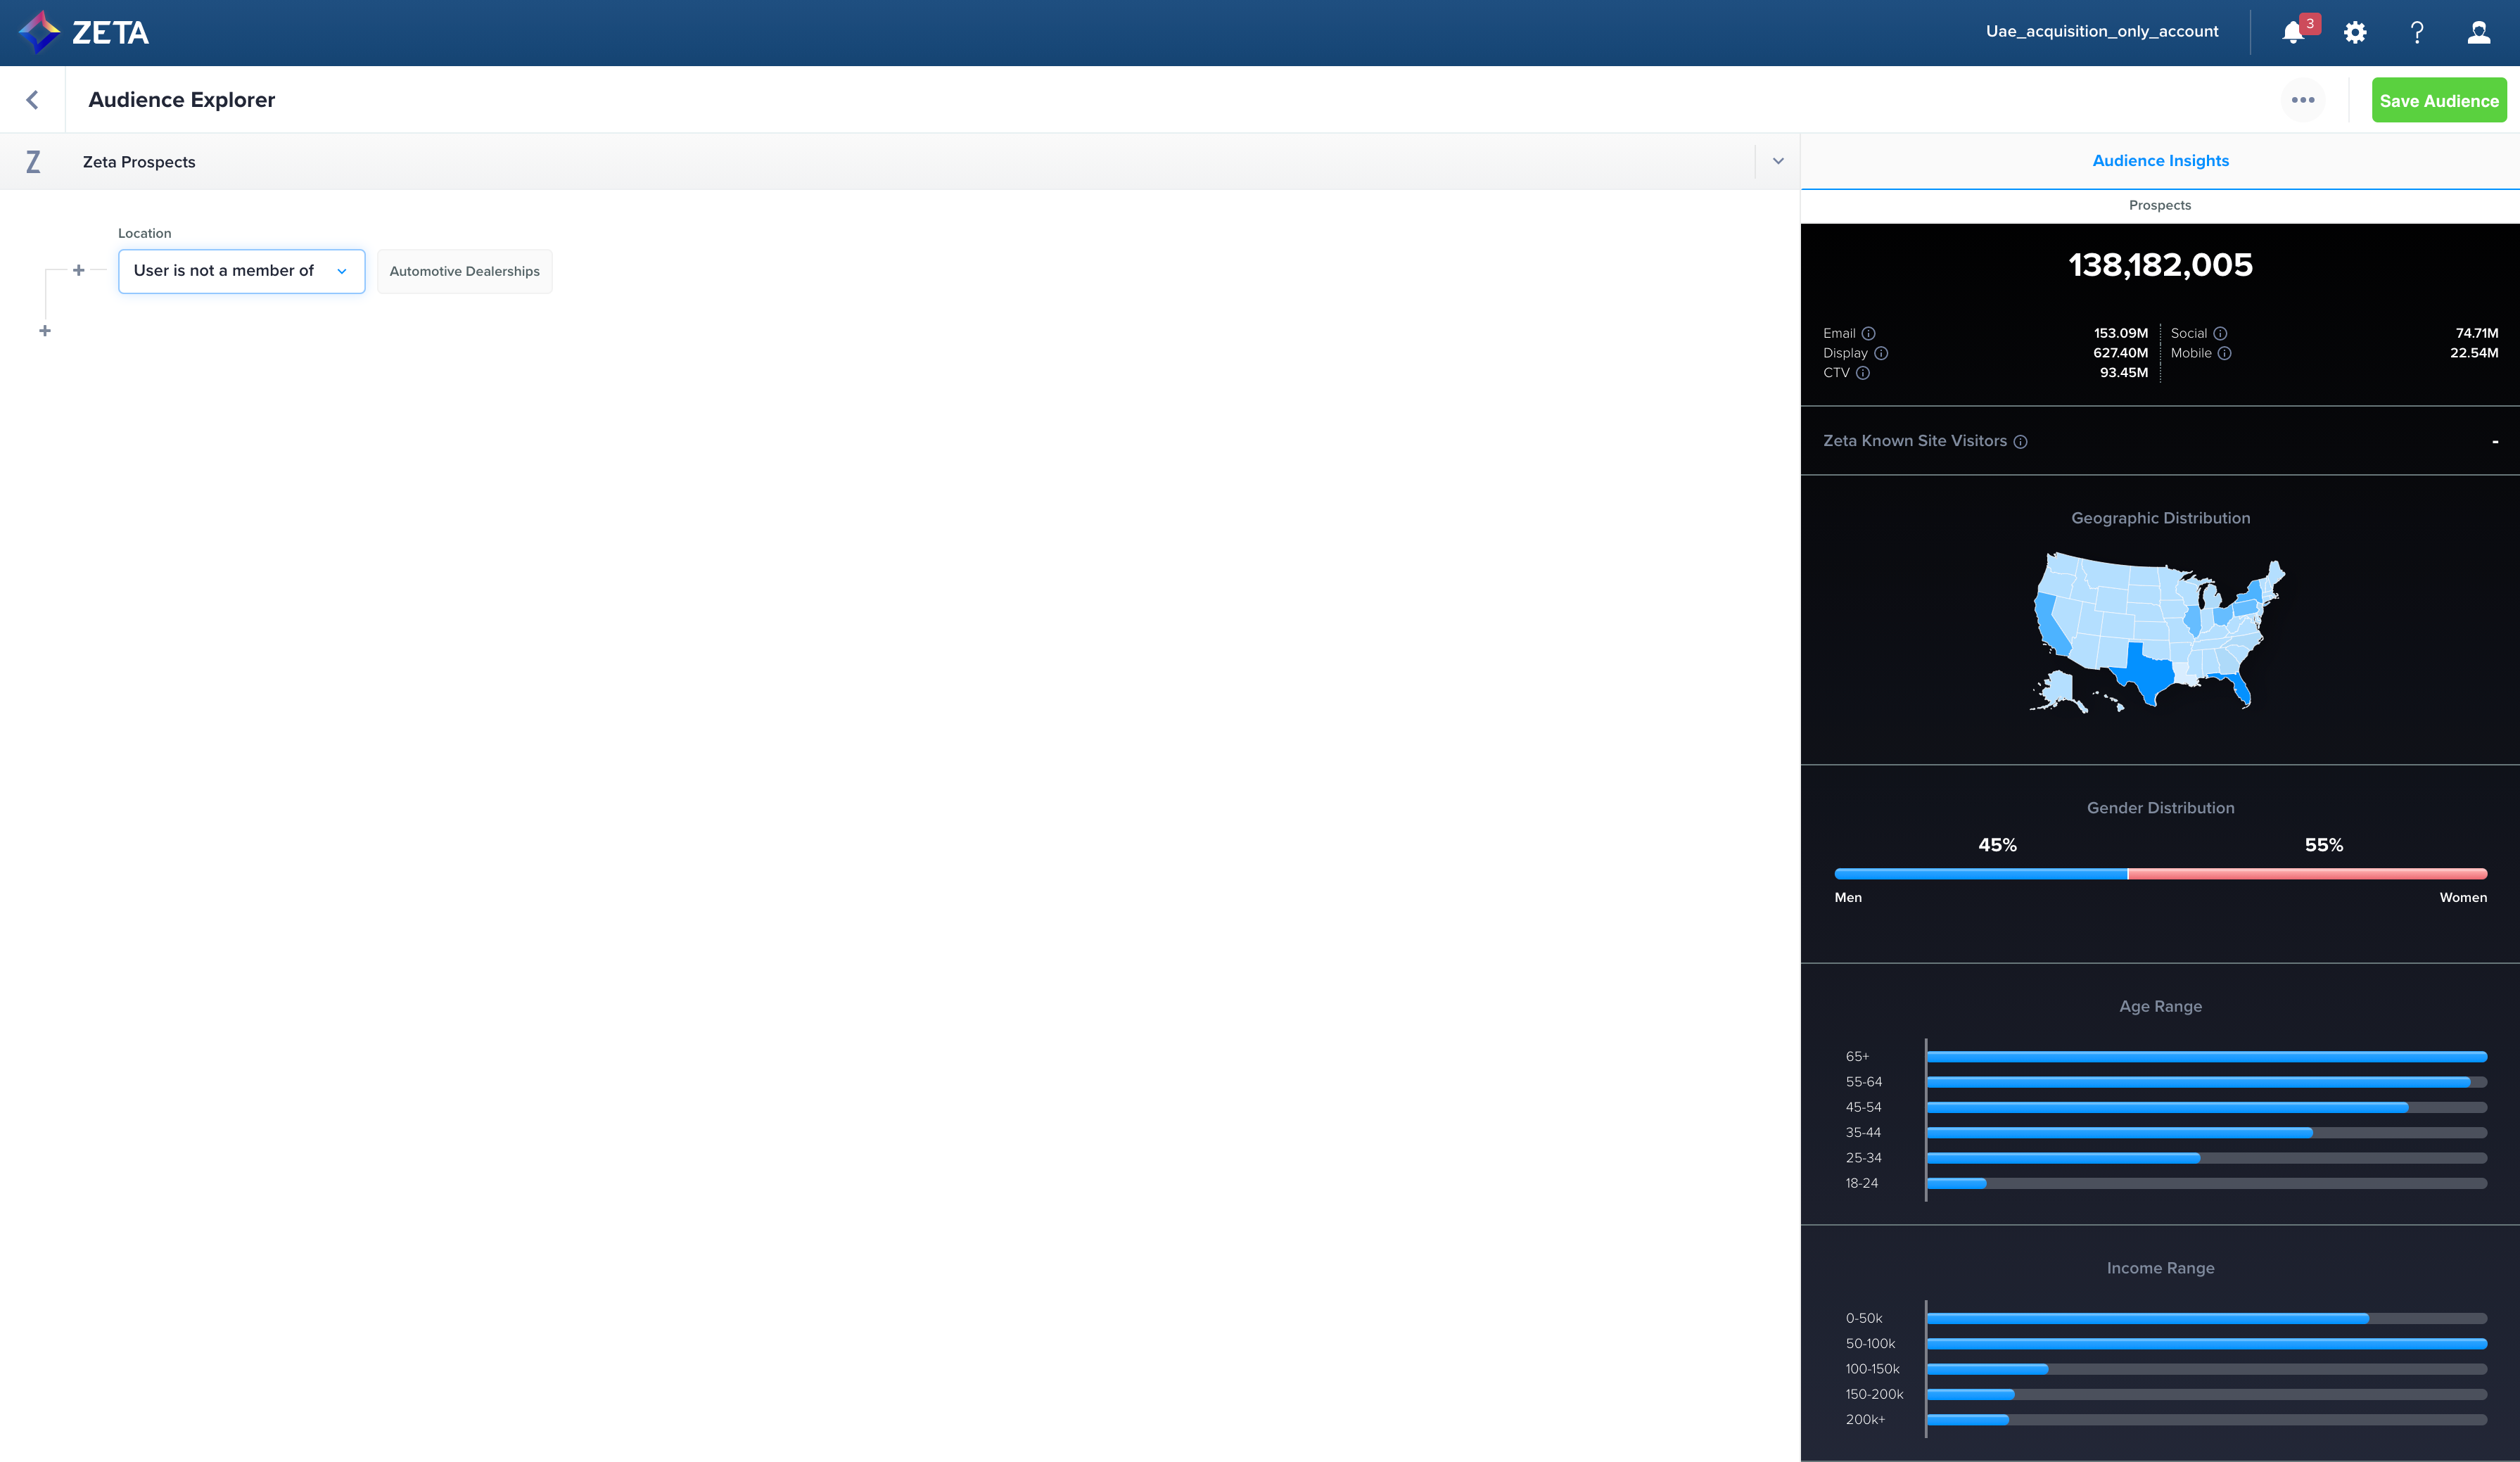
Now, we can directly see the numbers on the Explore Audience launch page:
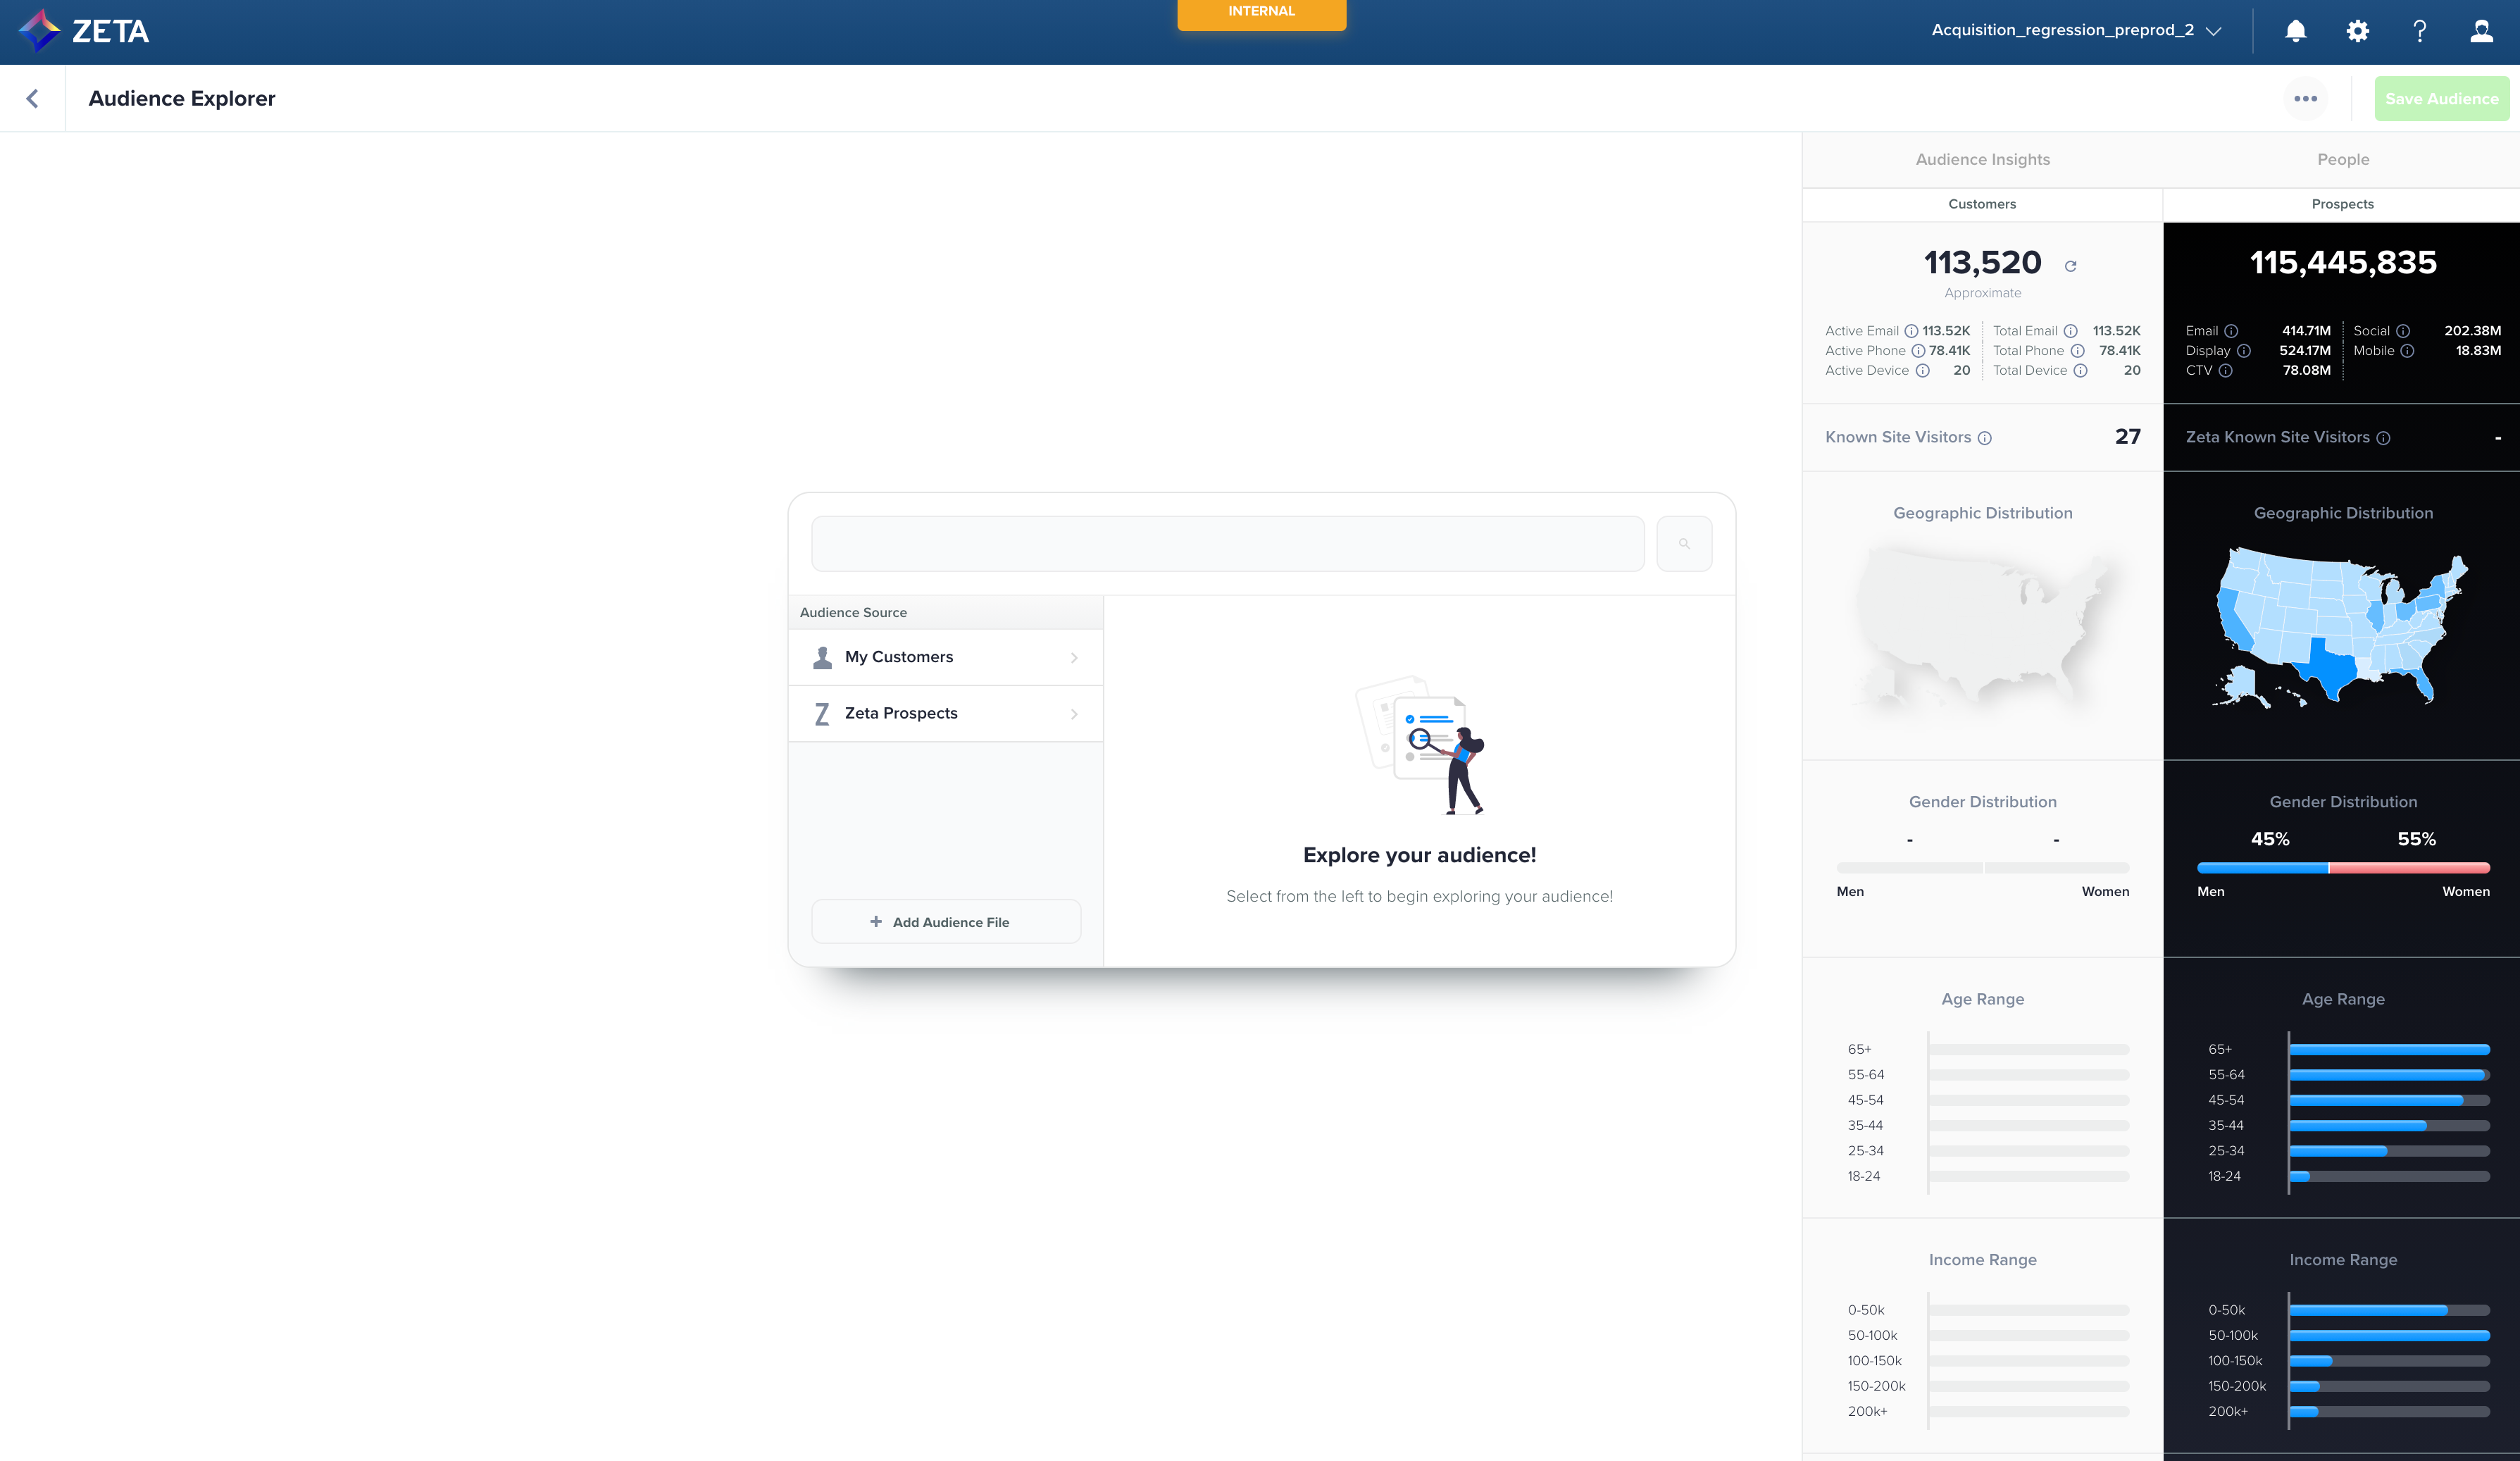
Audience Insights
Earlier, to get the audience insights, we could use the users' icon next to the estimated count on the top navigation:
.gif?inst-v=1d69e3a2-1020-4101-b810-9c42f957de95)
Now, we can directly see the numbers on the Explore Audience launch page under the People tab:
For more information and visuals, please check out our Training Videos.
New Enhancements
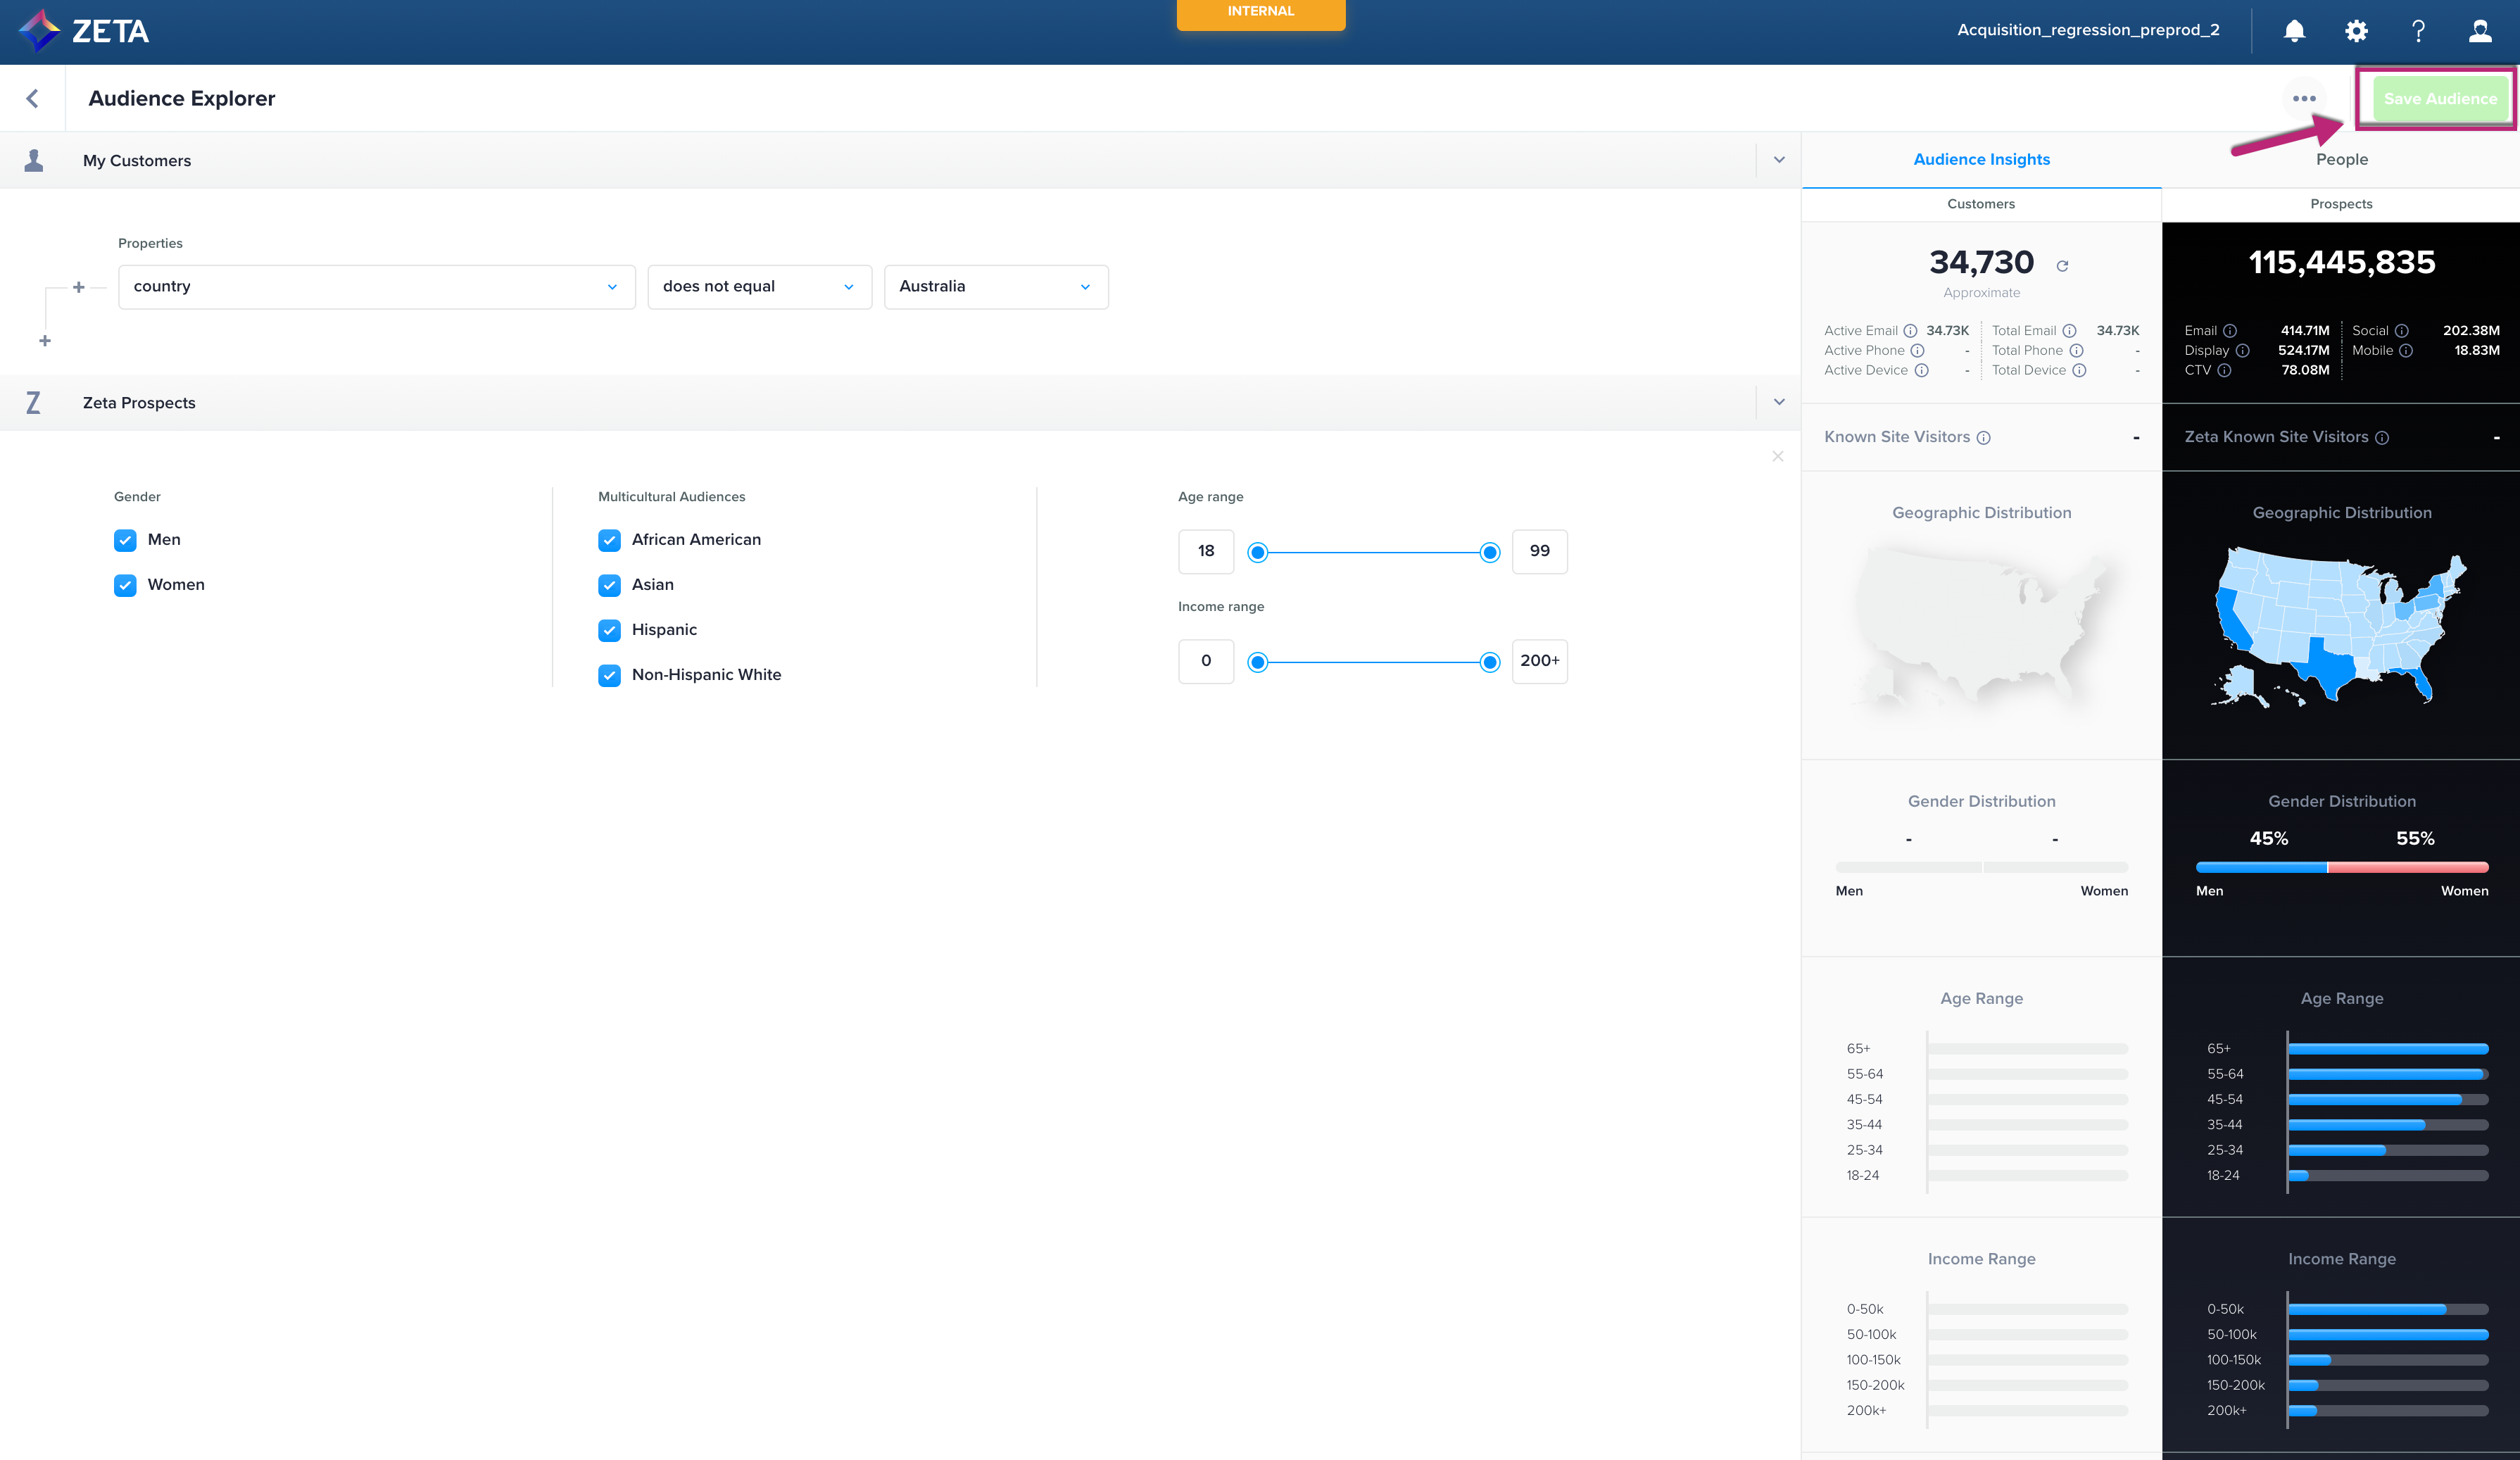
Multicultural Audience Filters
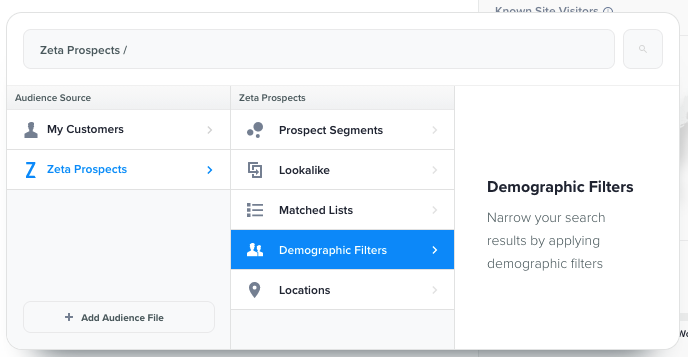
To support multicultural marketing, Zeta now supports Multicultural Audience Filters in Audience Explorer. By using Demographic Filters for Zeta Prospects, ZMP users can select people in the following segments:
African American or Black
Asian
Hispanic or Latino
White or Non-Hispanic White
Multicultural Audience | Definition |
|---|---|
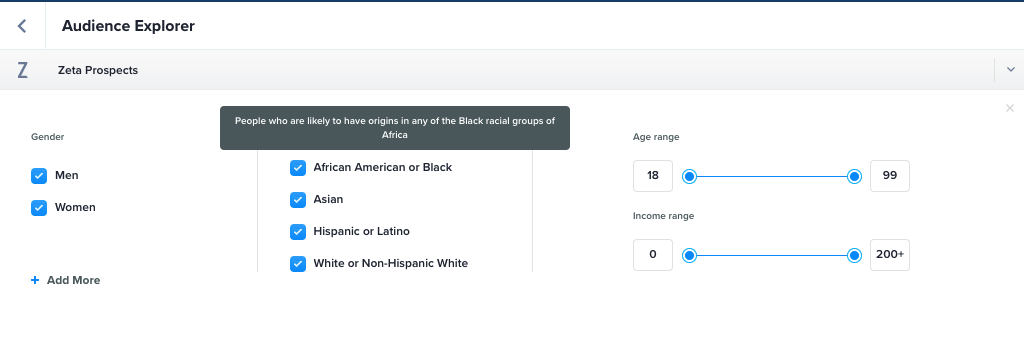
African American or Black | People who are likely to have origins in any of the Black racial groups of Africa |
Asian | People who are likely to have origins in any of the original peoples of the Far East, Southeast Asia, or the Indian subcontinent |
Hispanic or Latino | People who are likely to be of Cuban, Mexican, Puerto Rican, South or Central American, or other Spanish culture or origin regardless of race |
White or Non-Hispanic White | People who are likely to have origins in any of the original peoples of Europe, the Middle East, or North Africa |
These filters can be combined with the other criteria available in Audience Explorer to create Prospect audiences that the user can use elsewhere in the ZMP.
Please reach out to the accounts team to get Multicultural Audiences enabled for your account.
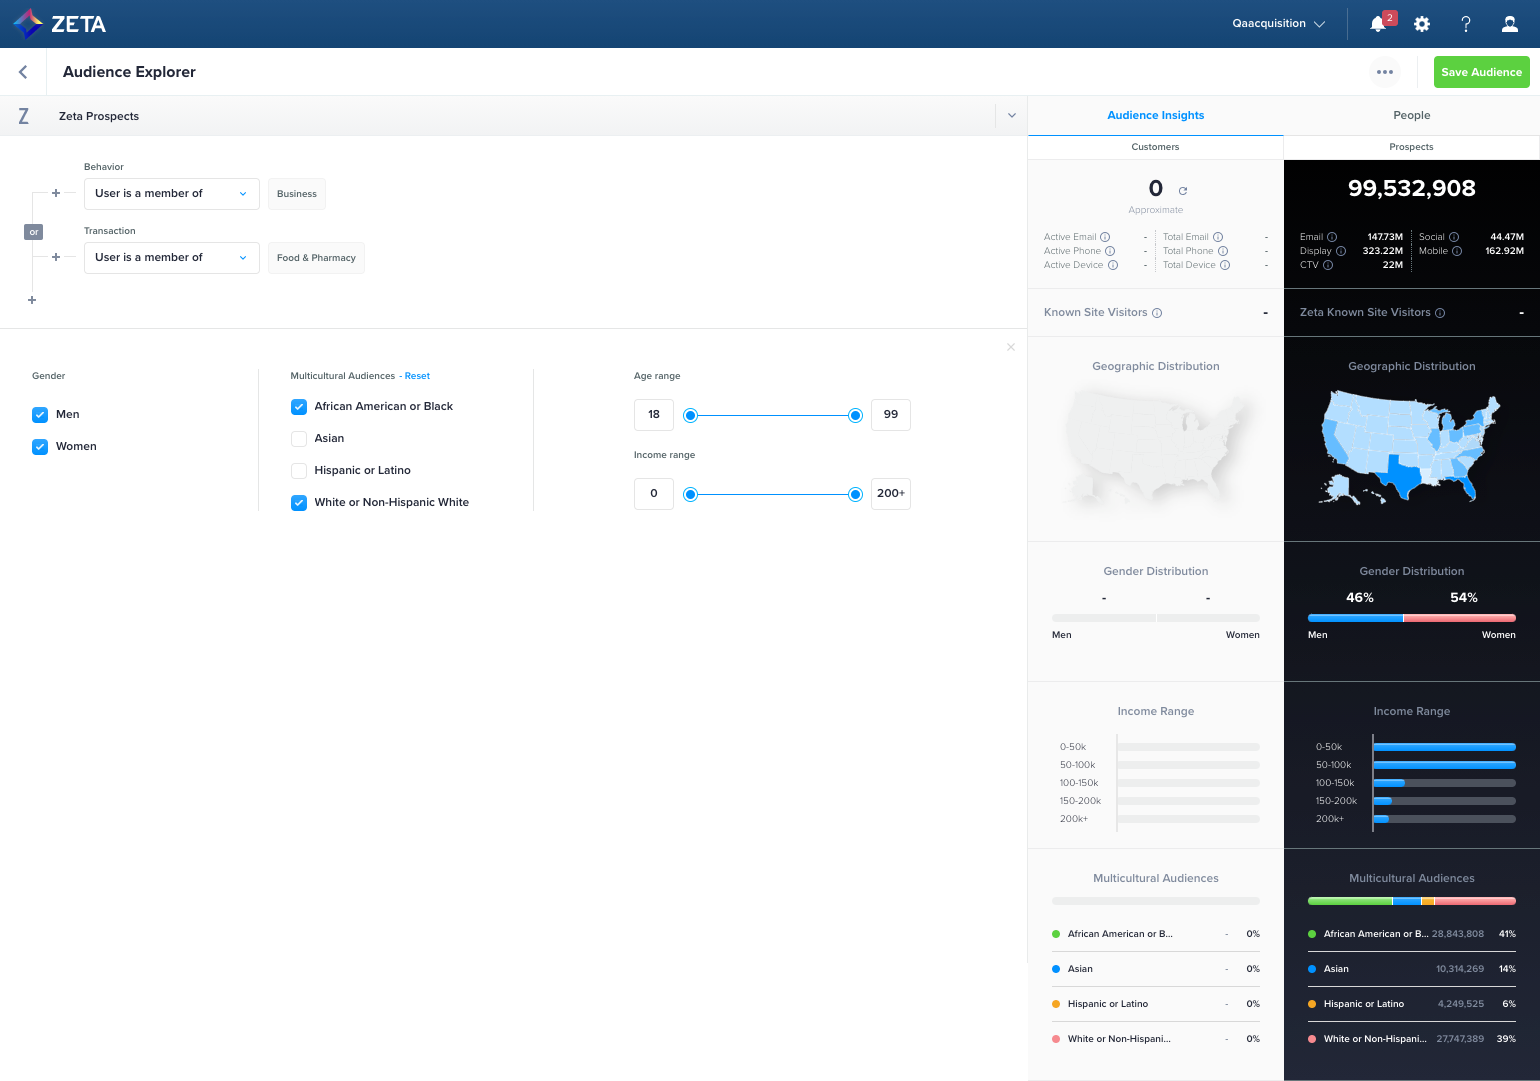
1. Navigate to Audience Explorer and select Zeta Prospects > Demographic Filters.
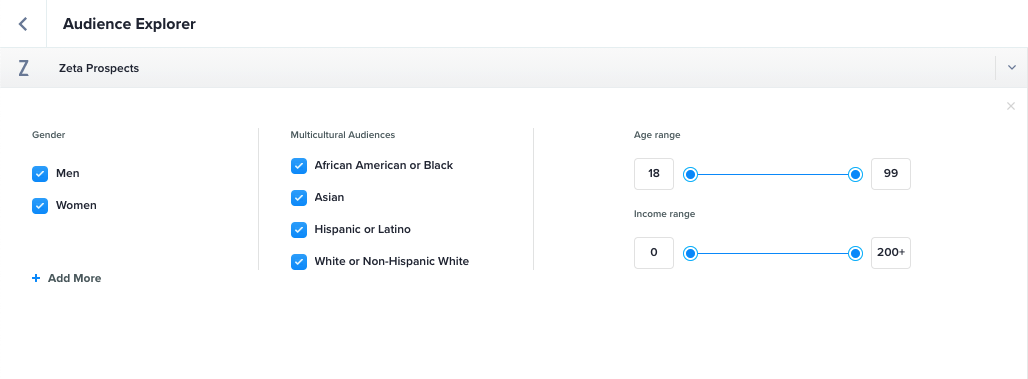
2. Find Multicultural Audiences in the Demographic Filters canvas with 4 pre-selected filters:
African American or Black
Asian
Hispanic or Latino
White or Non-Hispanic White
3. To view the definitions for each Multicultural Audience Filter, hover over the name of the group.
4. Check or uncheck Multicultural Audience Filters, along with other criteria, to arrive at your desired target segmentation. The Audience Insights data visualization panel will update as you change your criteria to give you an estimated count of the audience. This also includes a section for Multicultural Audiences broken out by group.
All filters are pre-selected when the Demographic Filters canvas loads. The same logic applies whether all or none of the filters are checked.
5. When you’re finished, click on Save Audience to use the Prospect segment elsewhere in the ZMP.